Today I’m going to be sharing the second of my CREATE COUTURE: The DIY Blogger Challenge tutorials, the Woodland Headband.
If you like what you see, don’t forget to vote!
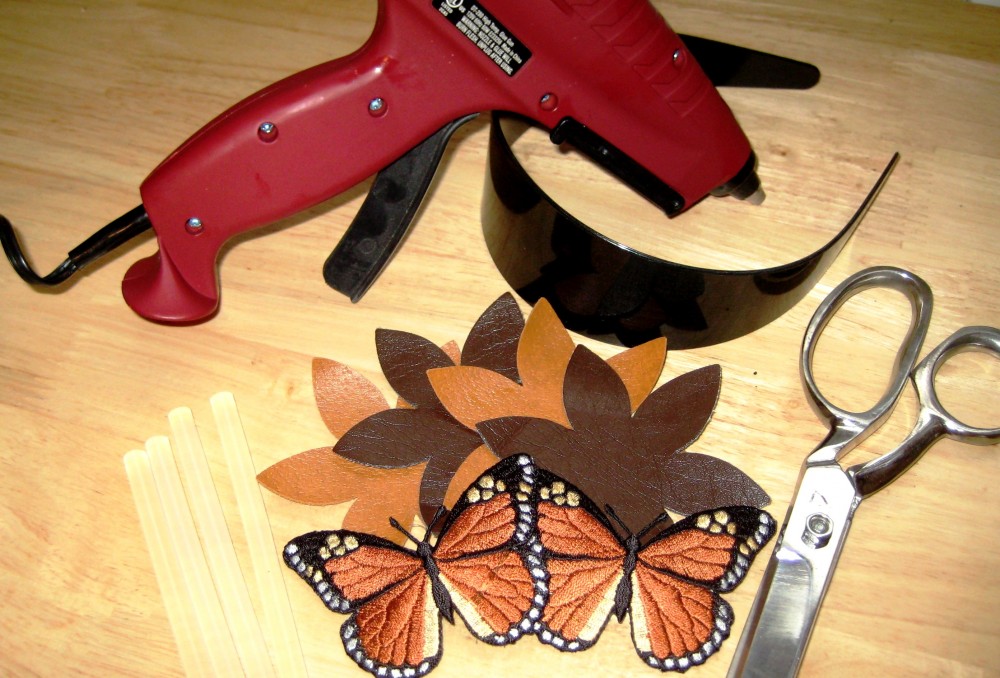
To make Woodland Headband you will need to first gather your materials. You will need: scissors, a glue gun, a plain, thick headband, two large butterfly appliqués, and four large leather flower appliqués (I used the light brown and dark brown colors).
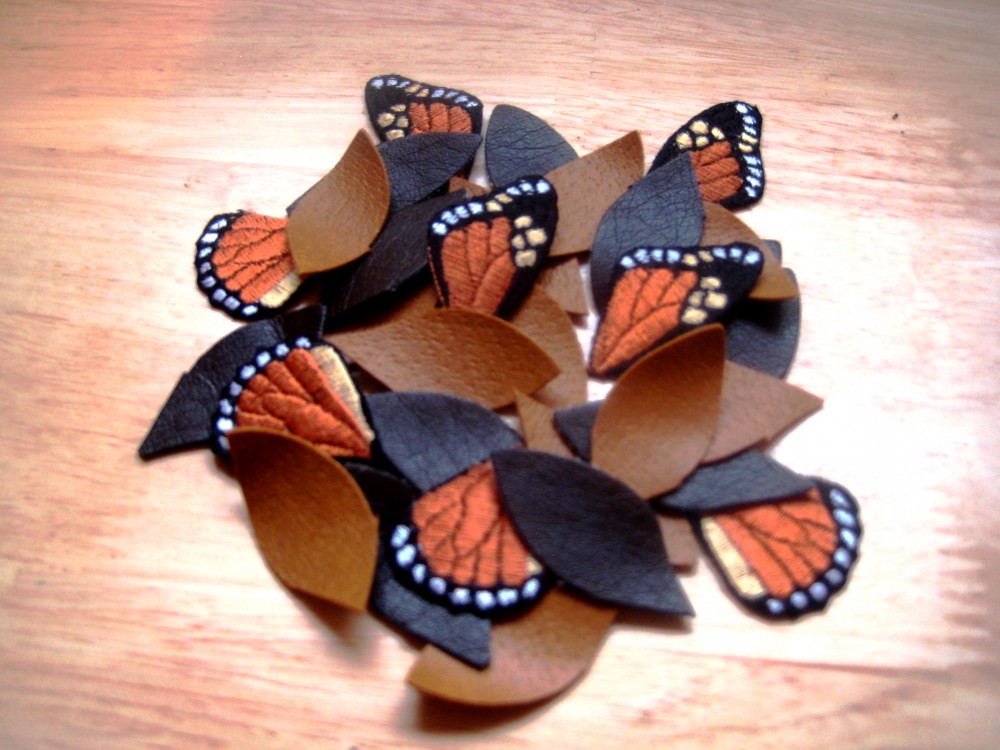
After you have all of your materials, take your scissors and cut the butterfly appliqués in half along the edges of the wings, and then again alongside the edges of the wings, separating the patch into quarters. This should leave you with four pieces for each appliqué.
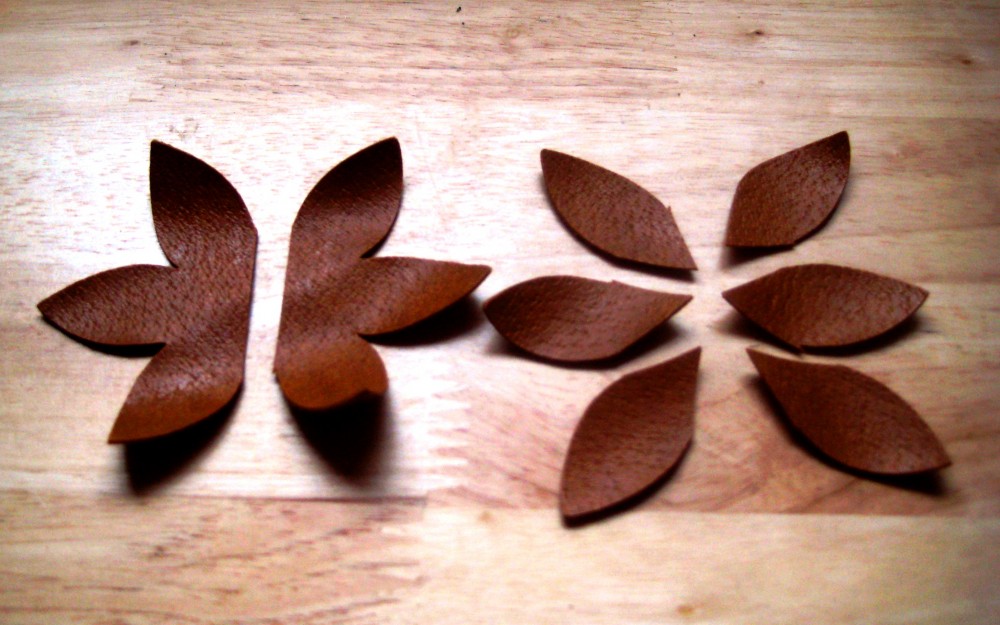
Next, take your scissors and cut the leather flower appliqués in half, and the separate each half into three individual pieces. Cut the pieces at angles to shape each piece into an individual leaf shape.
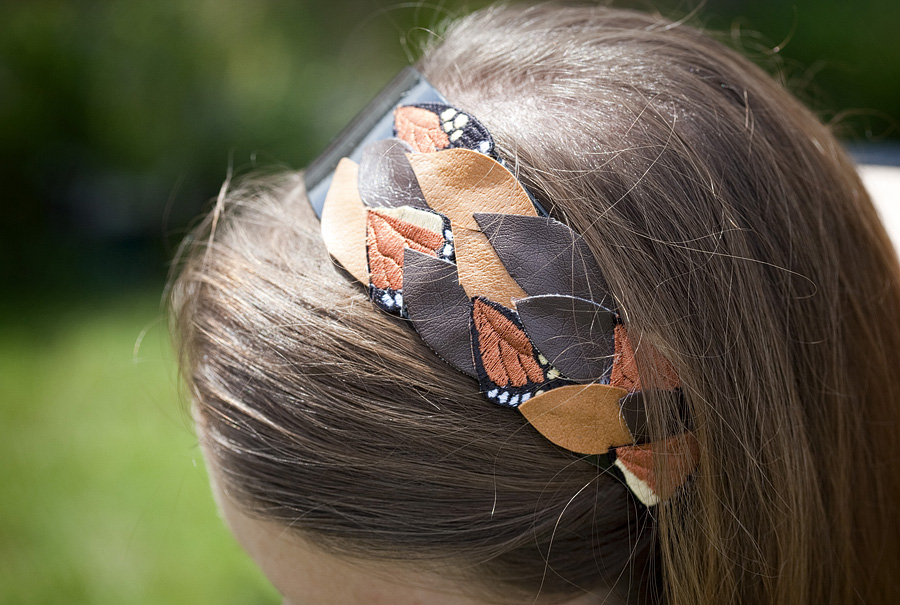
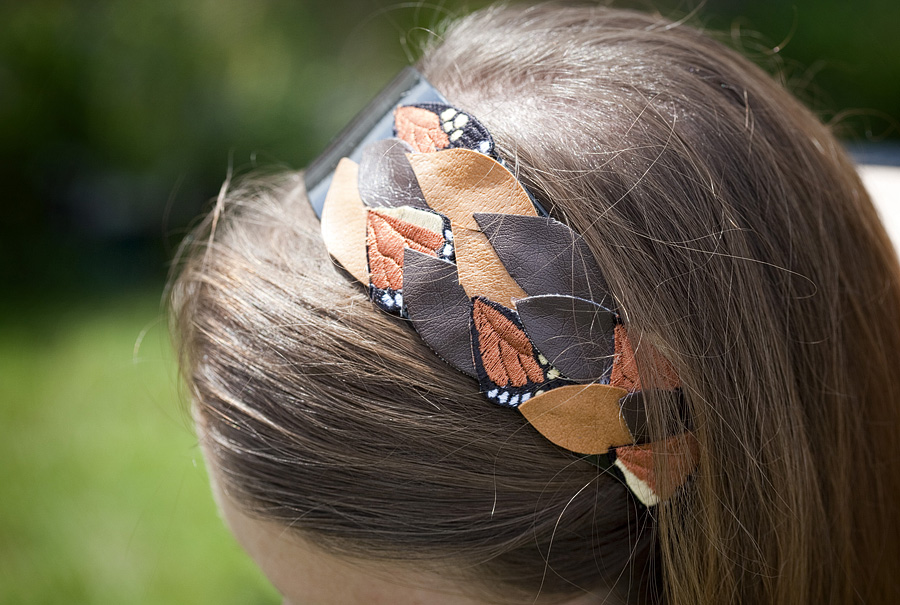
Now you should have a pile of leather leaves and butterfly pieces. Arrange the pieces however you like, slightly layering each piece over the next and gluing them down onto the headband.
Keep gluing until you reach the bottom. I layered mine in such a way to try and create a braided effect. Make sure to let it dry before you try it on — you don’t want glue-gun strands stuck in your hair!
Remember: Head over to NewYorkDesignShop to check out all of the bloggers’ designs and VOTE!
Other than my eternal gratitude, there’s something in it for you too: by voting for the DIY projects you like the best, you could win one of the winning bloggers’ creations, so head over and cast your vote!
(PS: Thanks to my BFF for taking pictures of my completed projects!)





Beautiful! I’ll definitely be voting for this one (as well as trying to make it myself!)
Becca