
We’ve been busy chipping away room by room at our house to bring things up to date, I still feel like none our rooms are totally “finished” (let’s be real: will I ever?), but gosh are things starting to look better (aka a little more 2016 and a little less 1974). Figured it was about time to finally share some updates here, starting with our kitchen. We outsourced two major projects in the kitchen over the winter: removing the coal stove that took up a major part of the room’s footprint, and installing new hardwood floors — bye bye to the linoleum straight off the set of That 70’s Show! Those two projects have already made it into a totally new space. 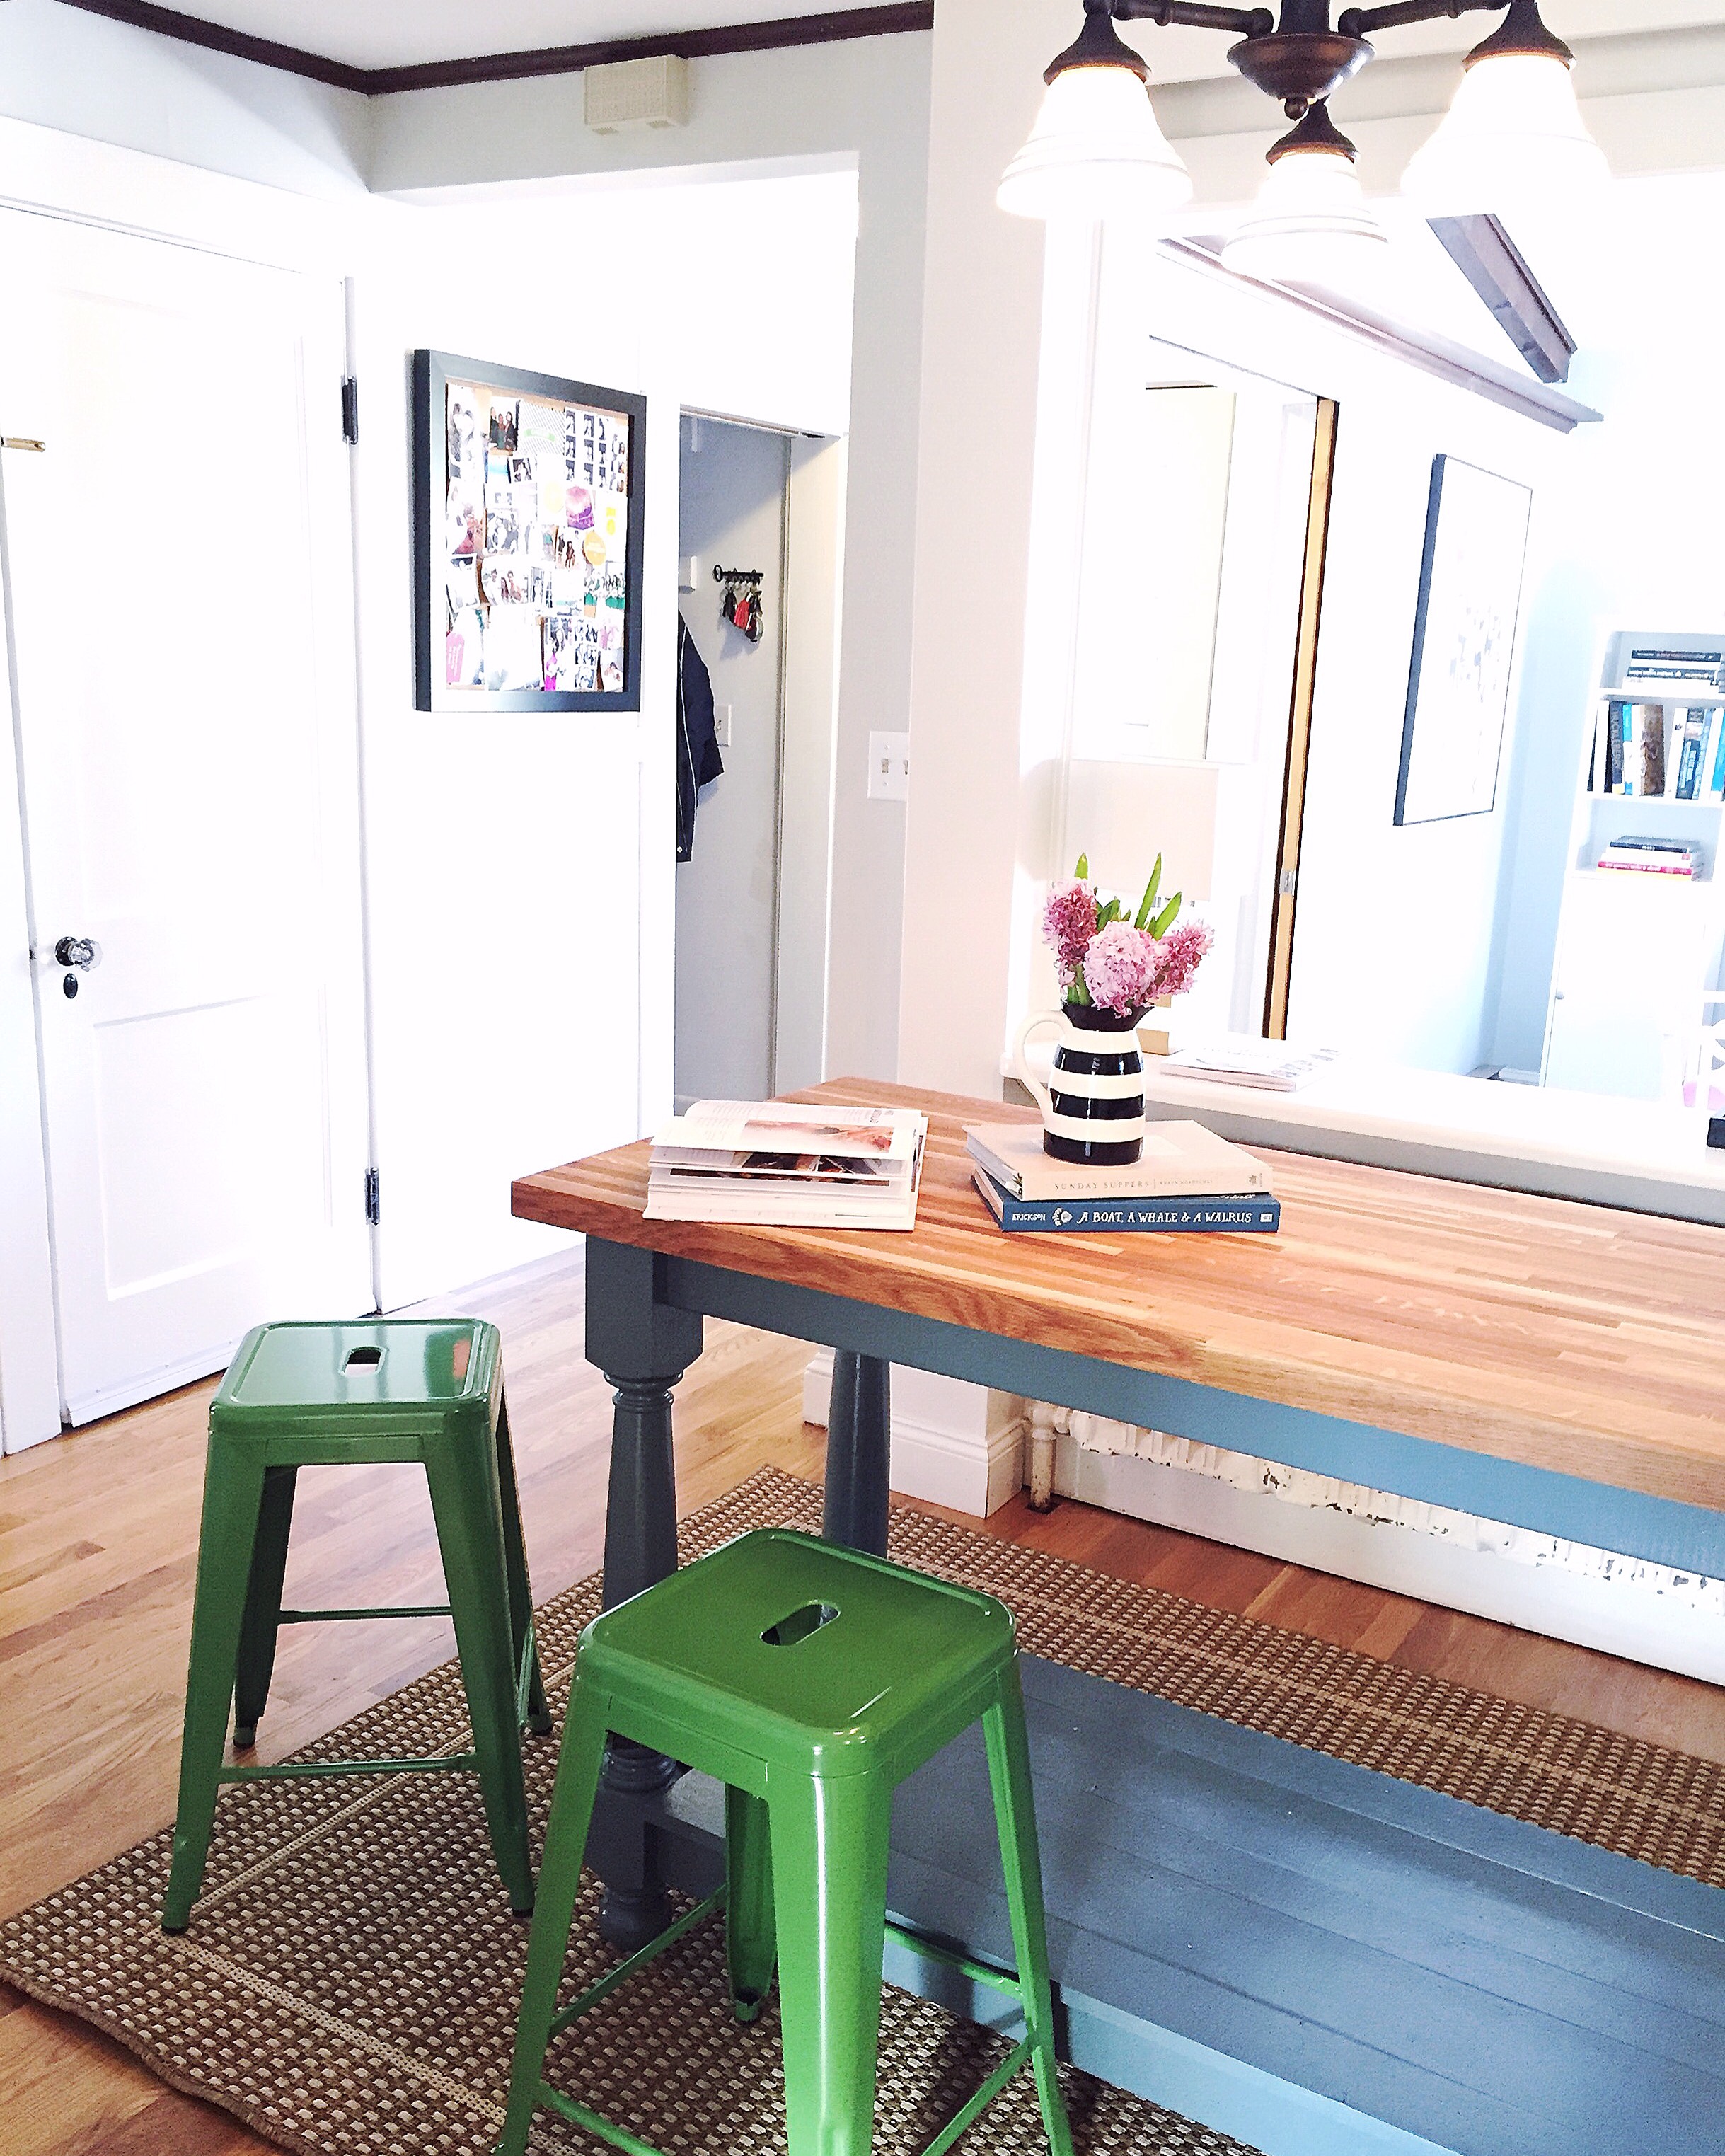
After those projects were done, we replaced the baseboards and gave the walls a fresh coat of paint (Benjamin Moore’s Titanium) and tackled adding in some furniture. We bought an island that didn’t work for the space, and struggled to find something that was the perfect size for the traffic flow of the room. So my amazing, crafty, talented husband built me and island! Look at that thing! Can you believe he made that? (This is dangerous, now that I know he can build furniture there is a long list of projects building up on my Pinterest boards!)
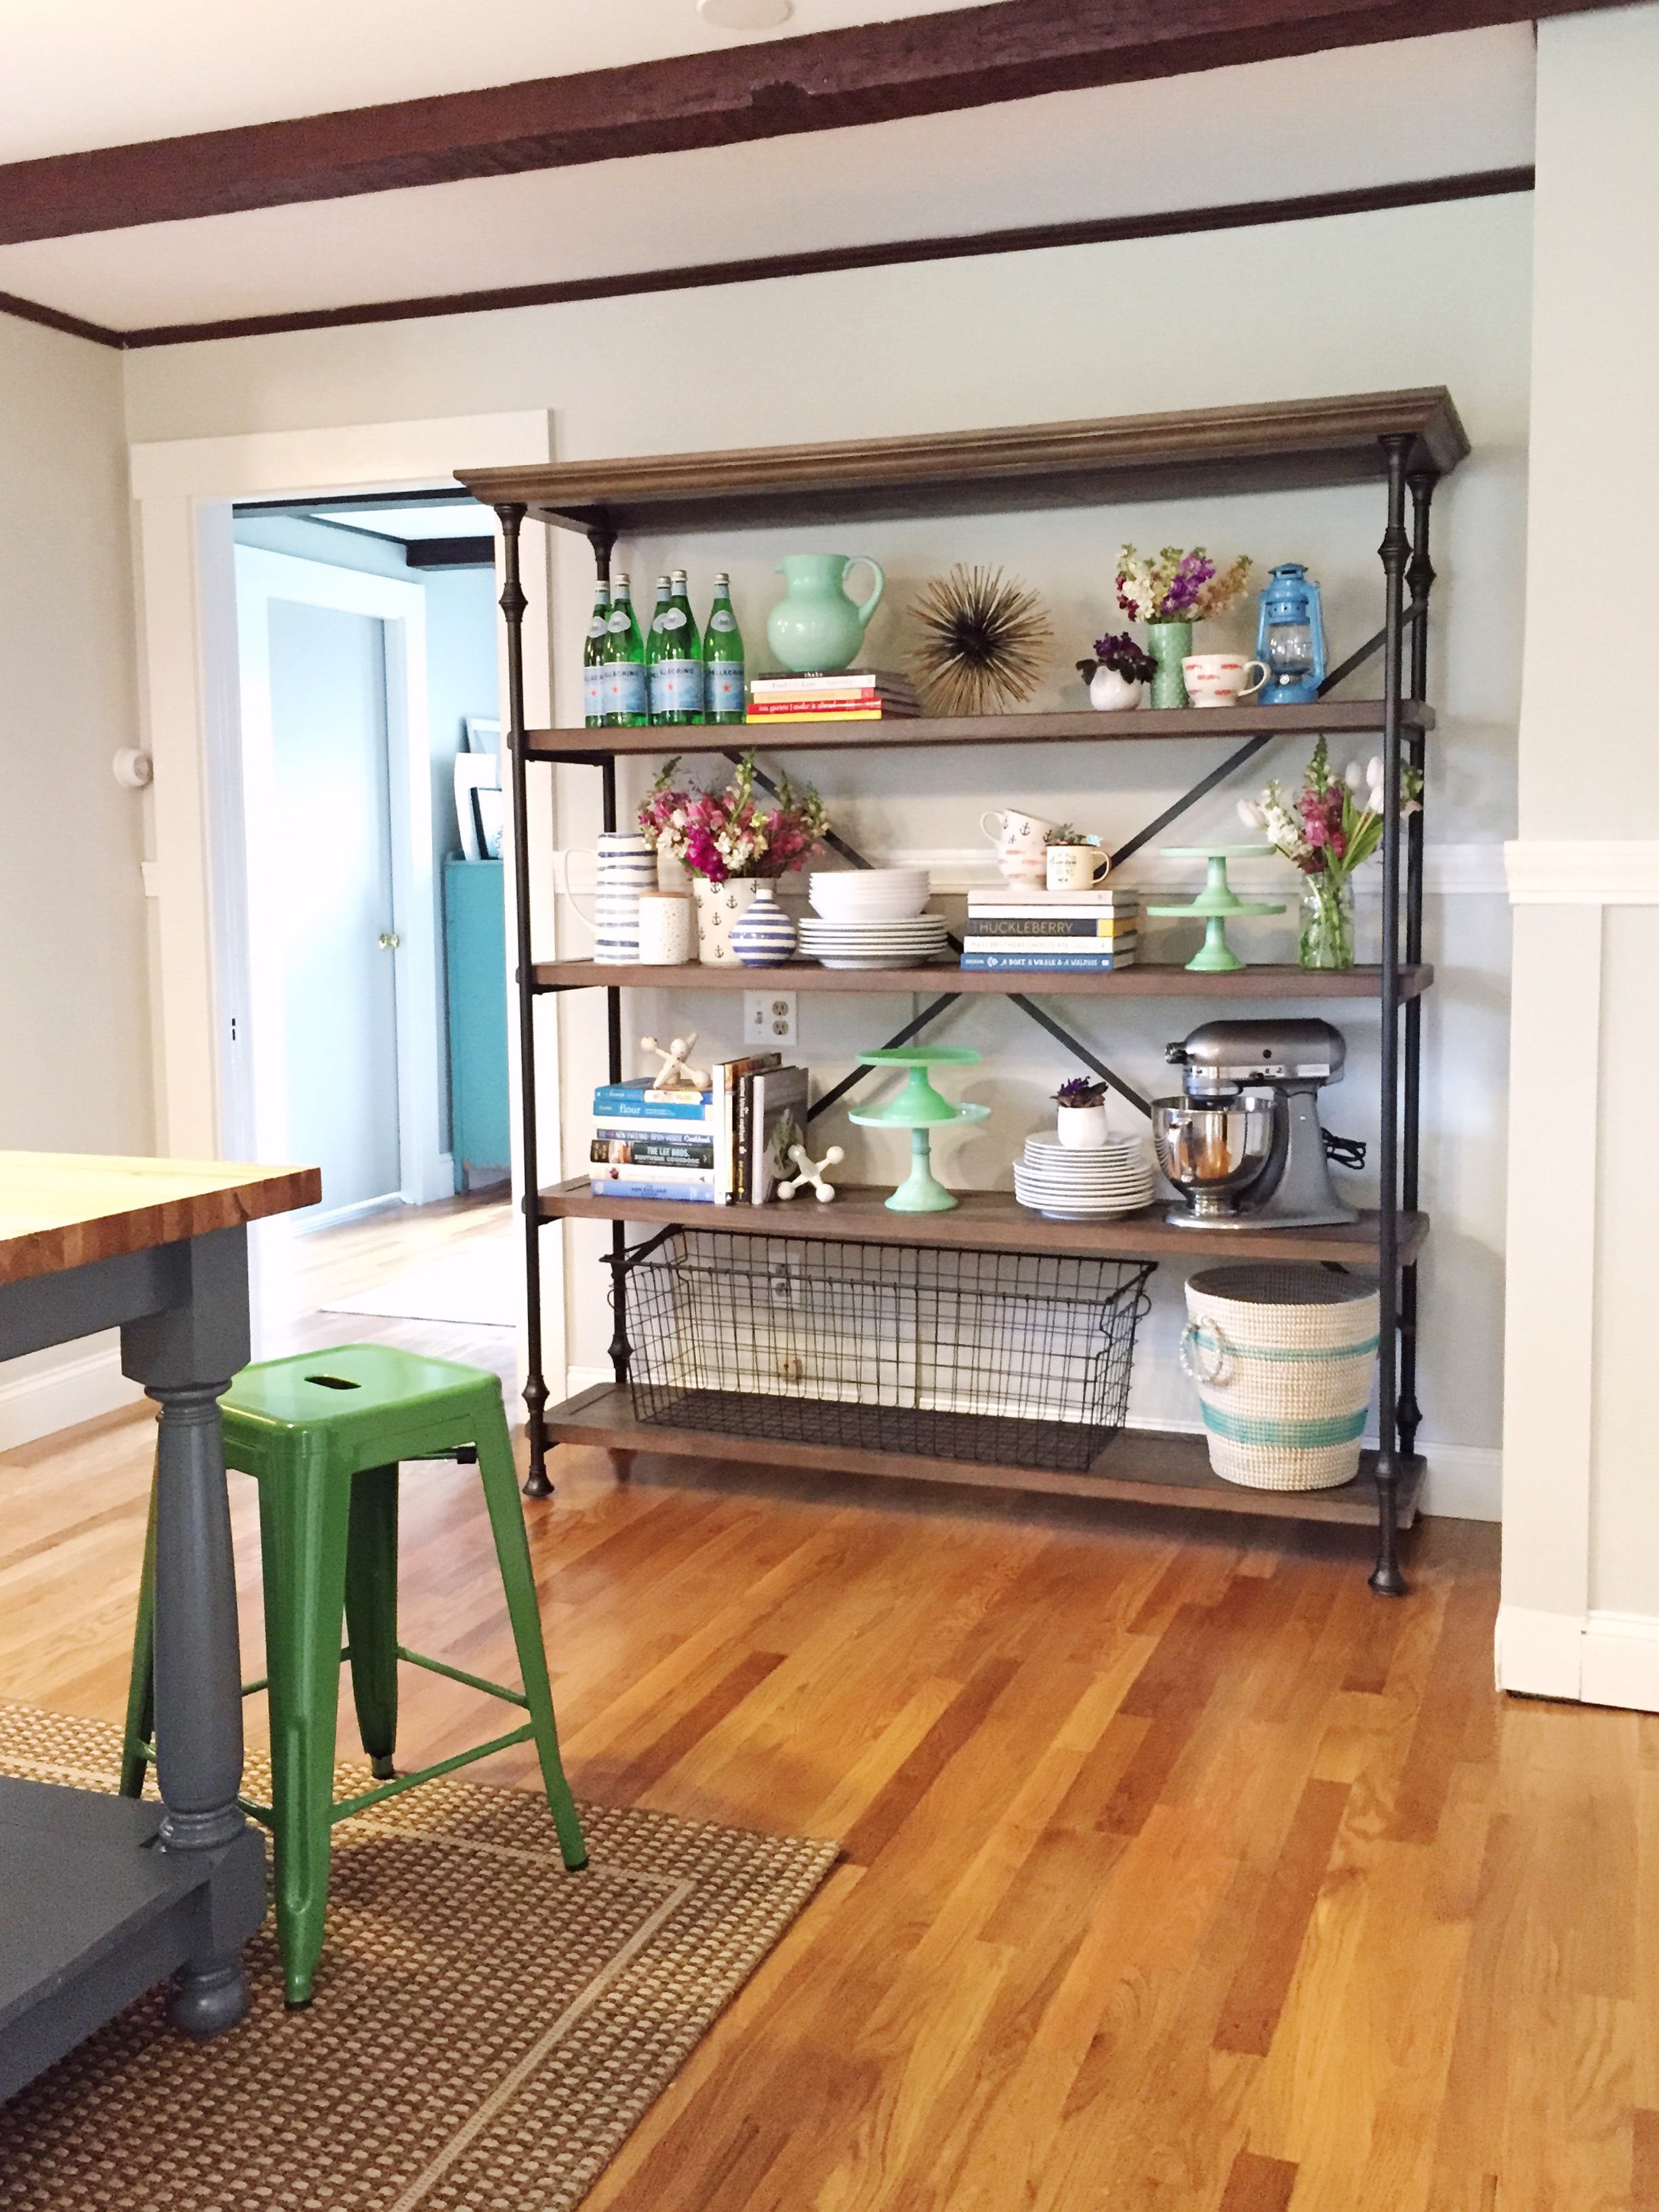
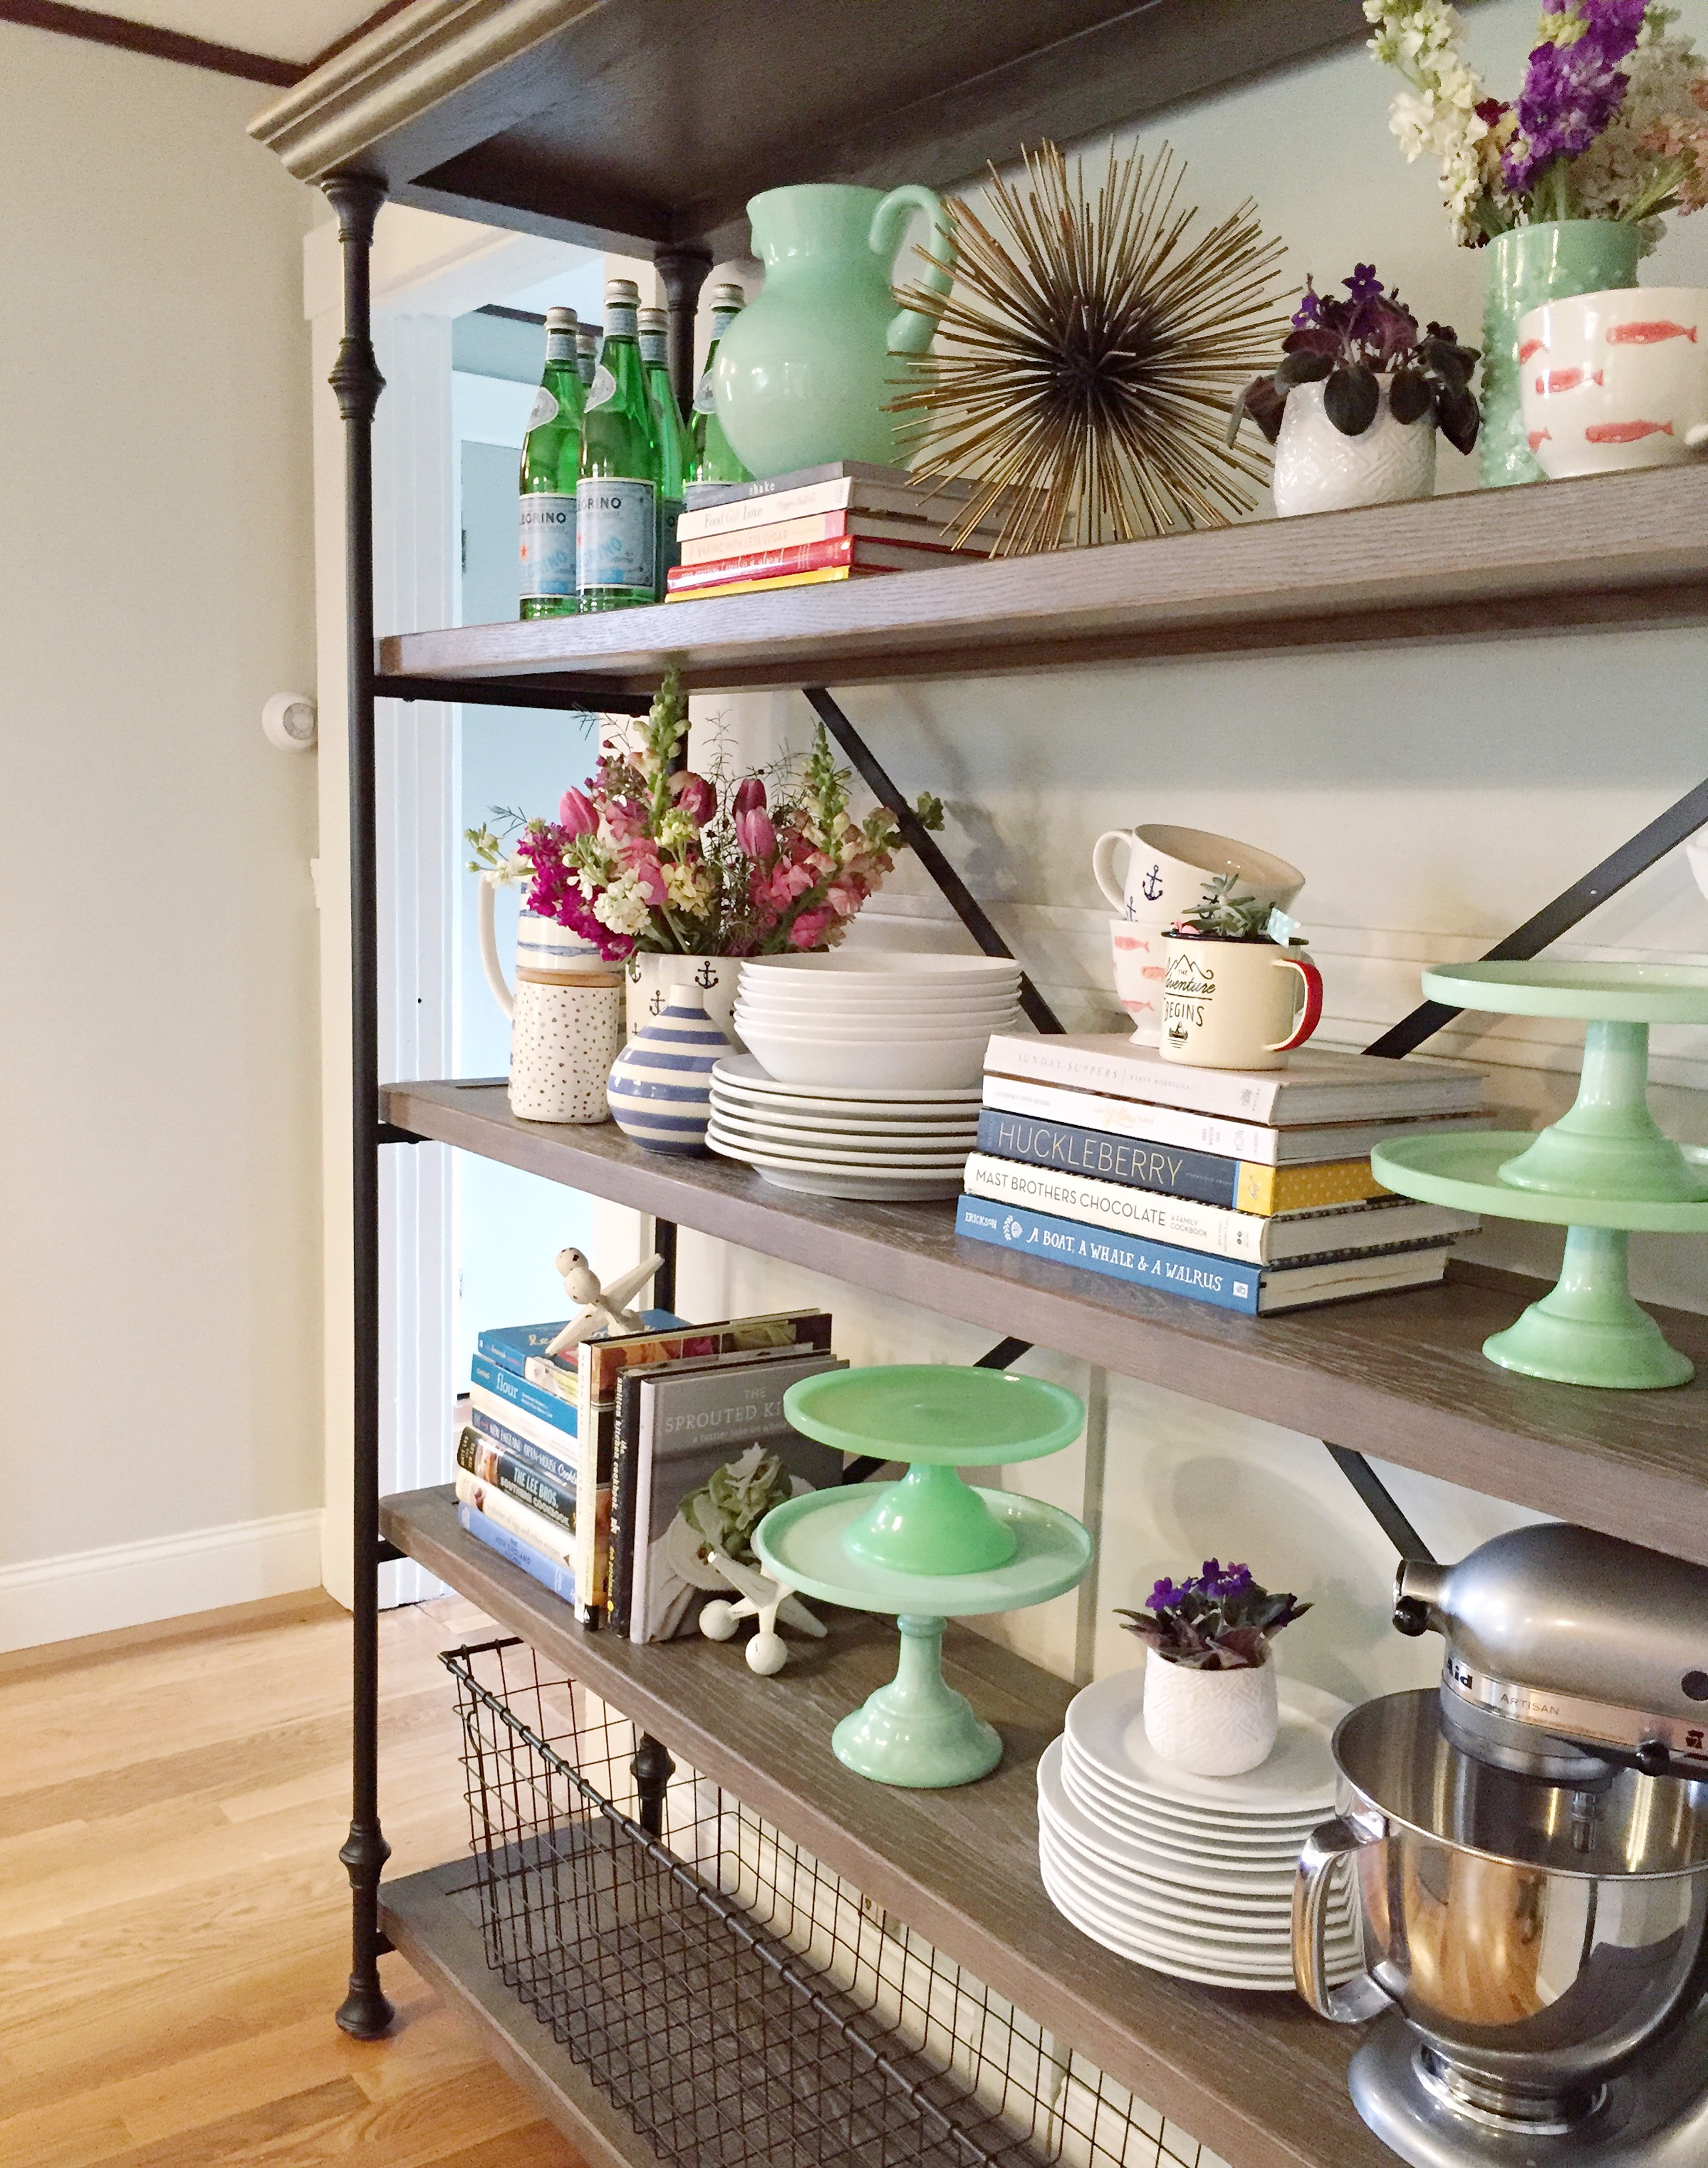
On the wall that used to house the coal stove is now a large empty space. Long term, we may update the kitchen and add new cabinets along that wall, but that isn’t the budget right now. So I was lucky to get to work with Boston Interiors and find a piece of furniture that fits perfectly in the space. The Palmer Storage Rack was a great solution for filling the wall, and giving us some extra storage. My hoard of cake stands and cookbooks have a home now and I’m loving moving things around to style the shelves.
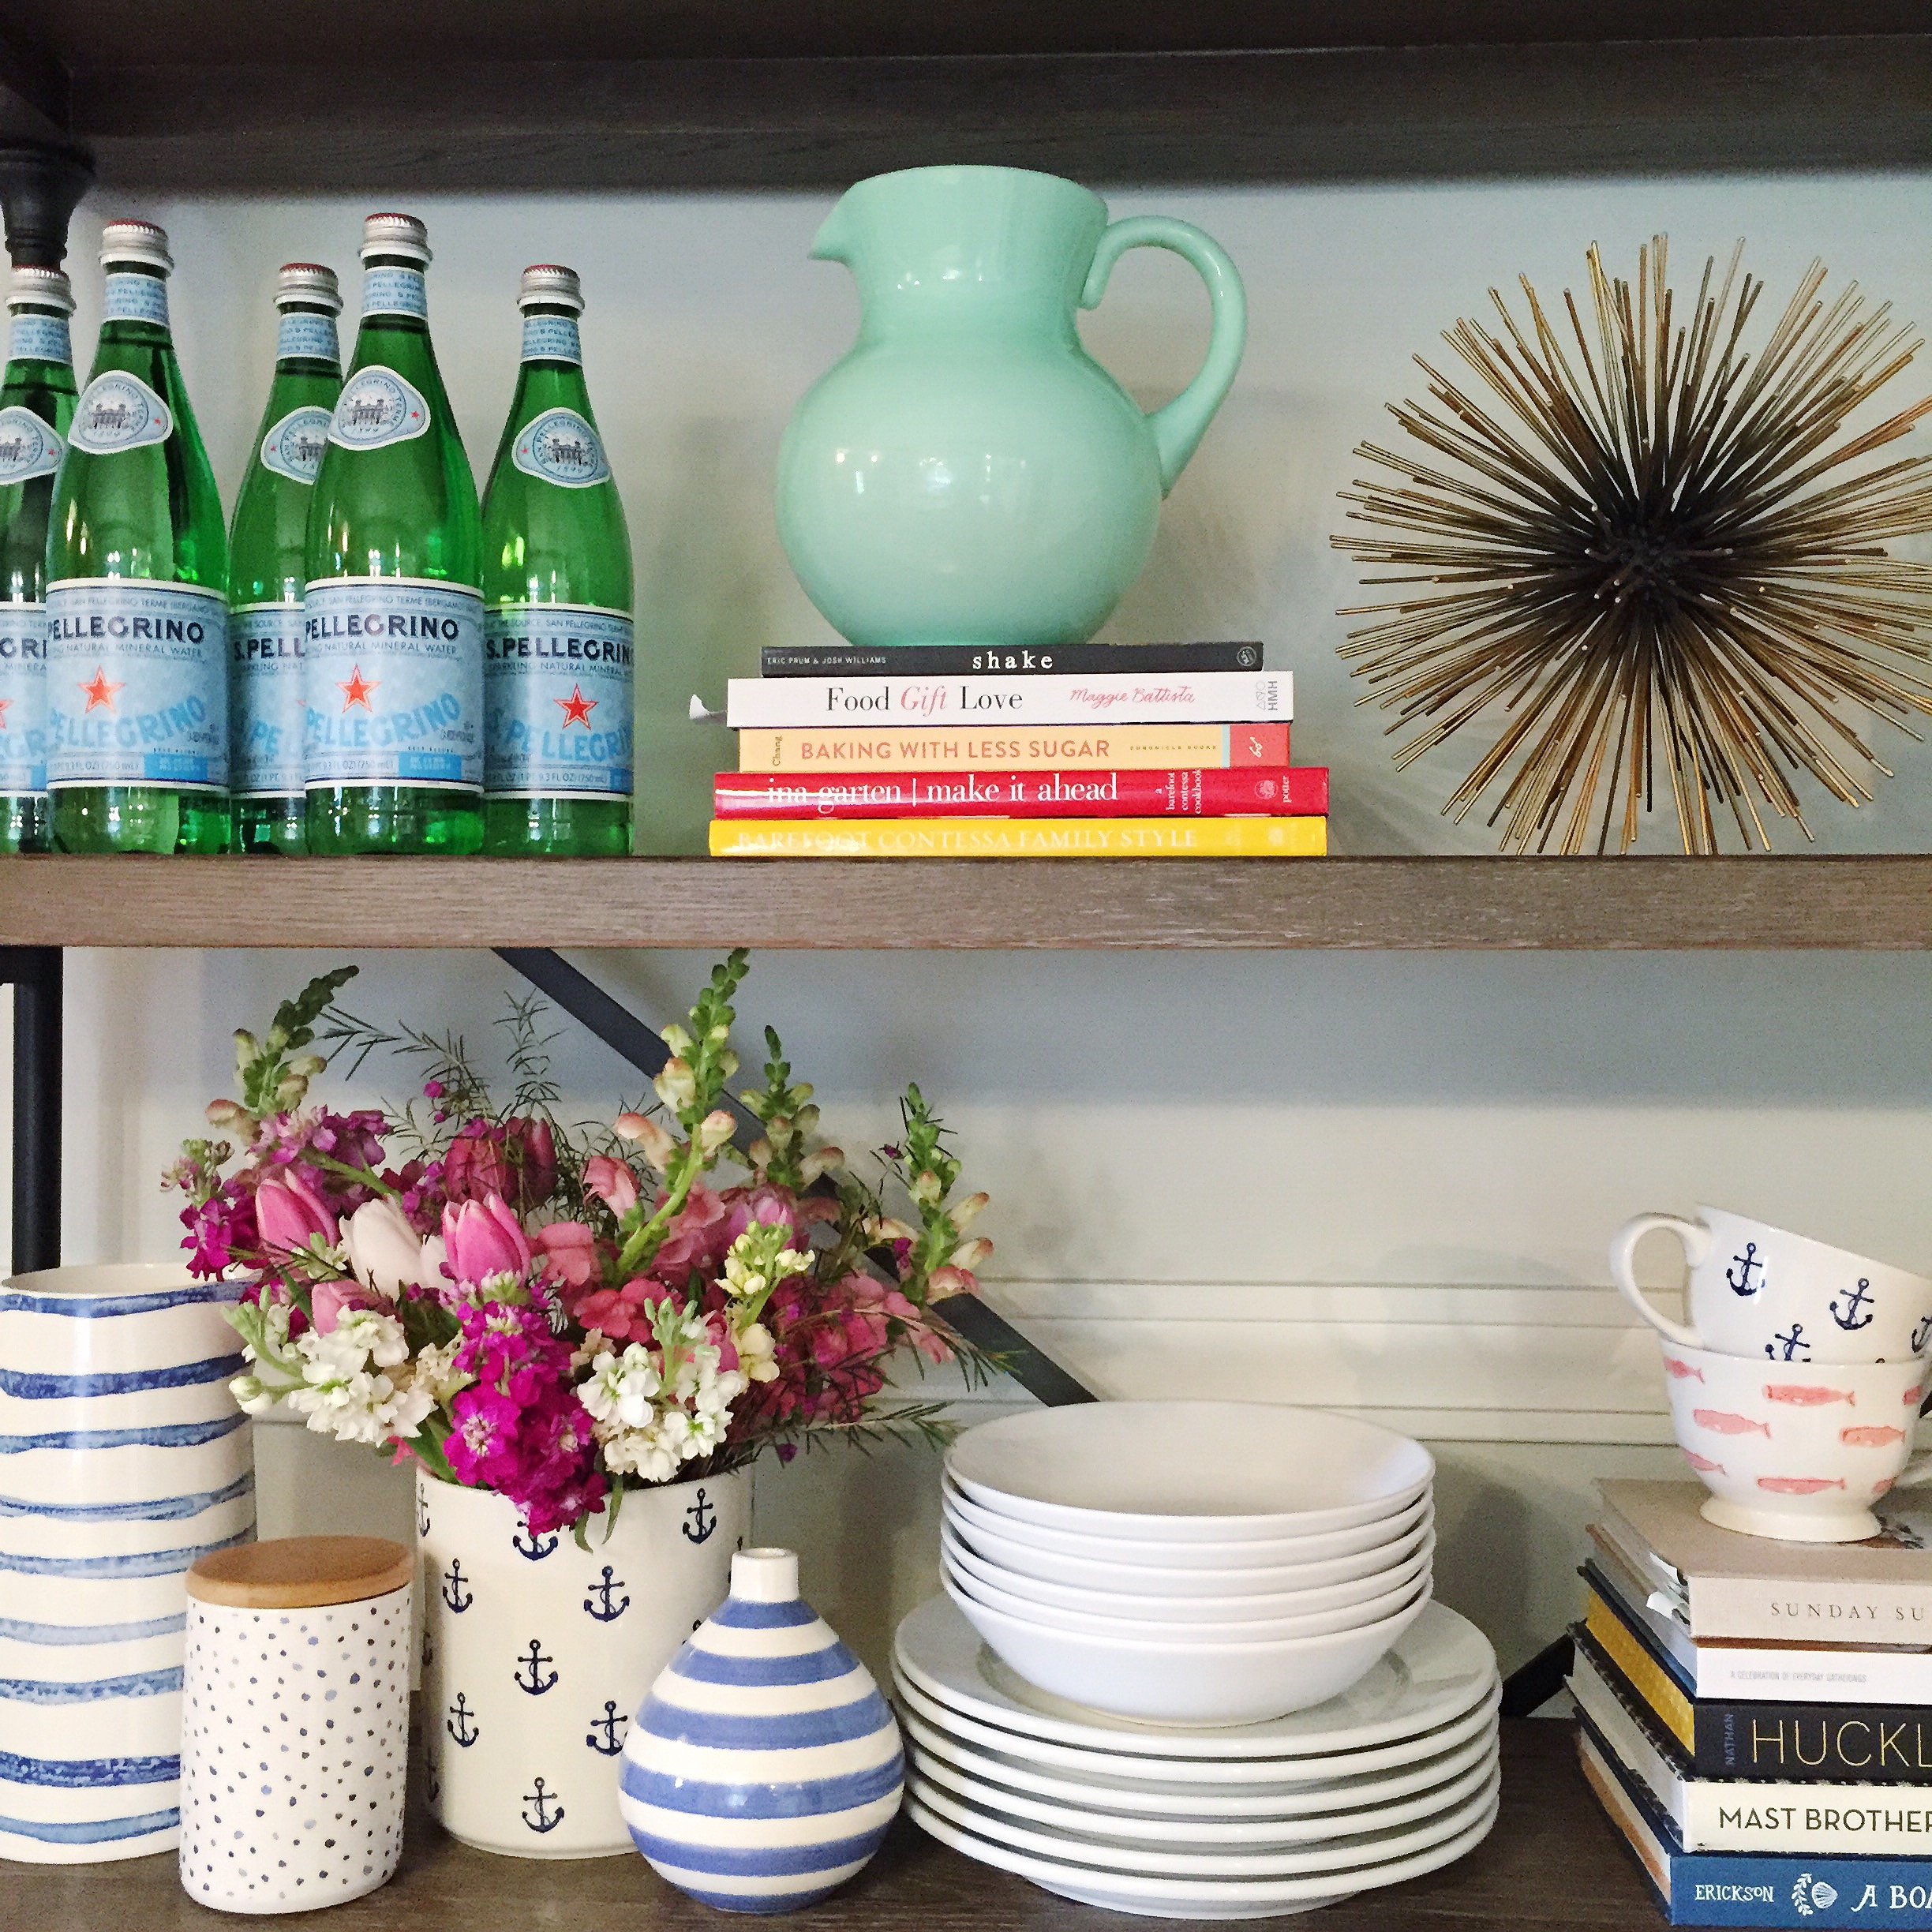
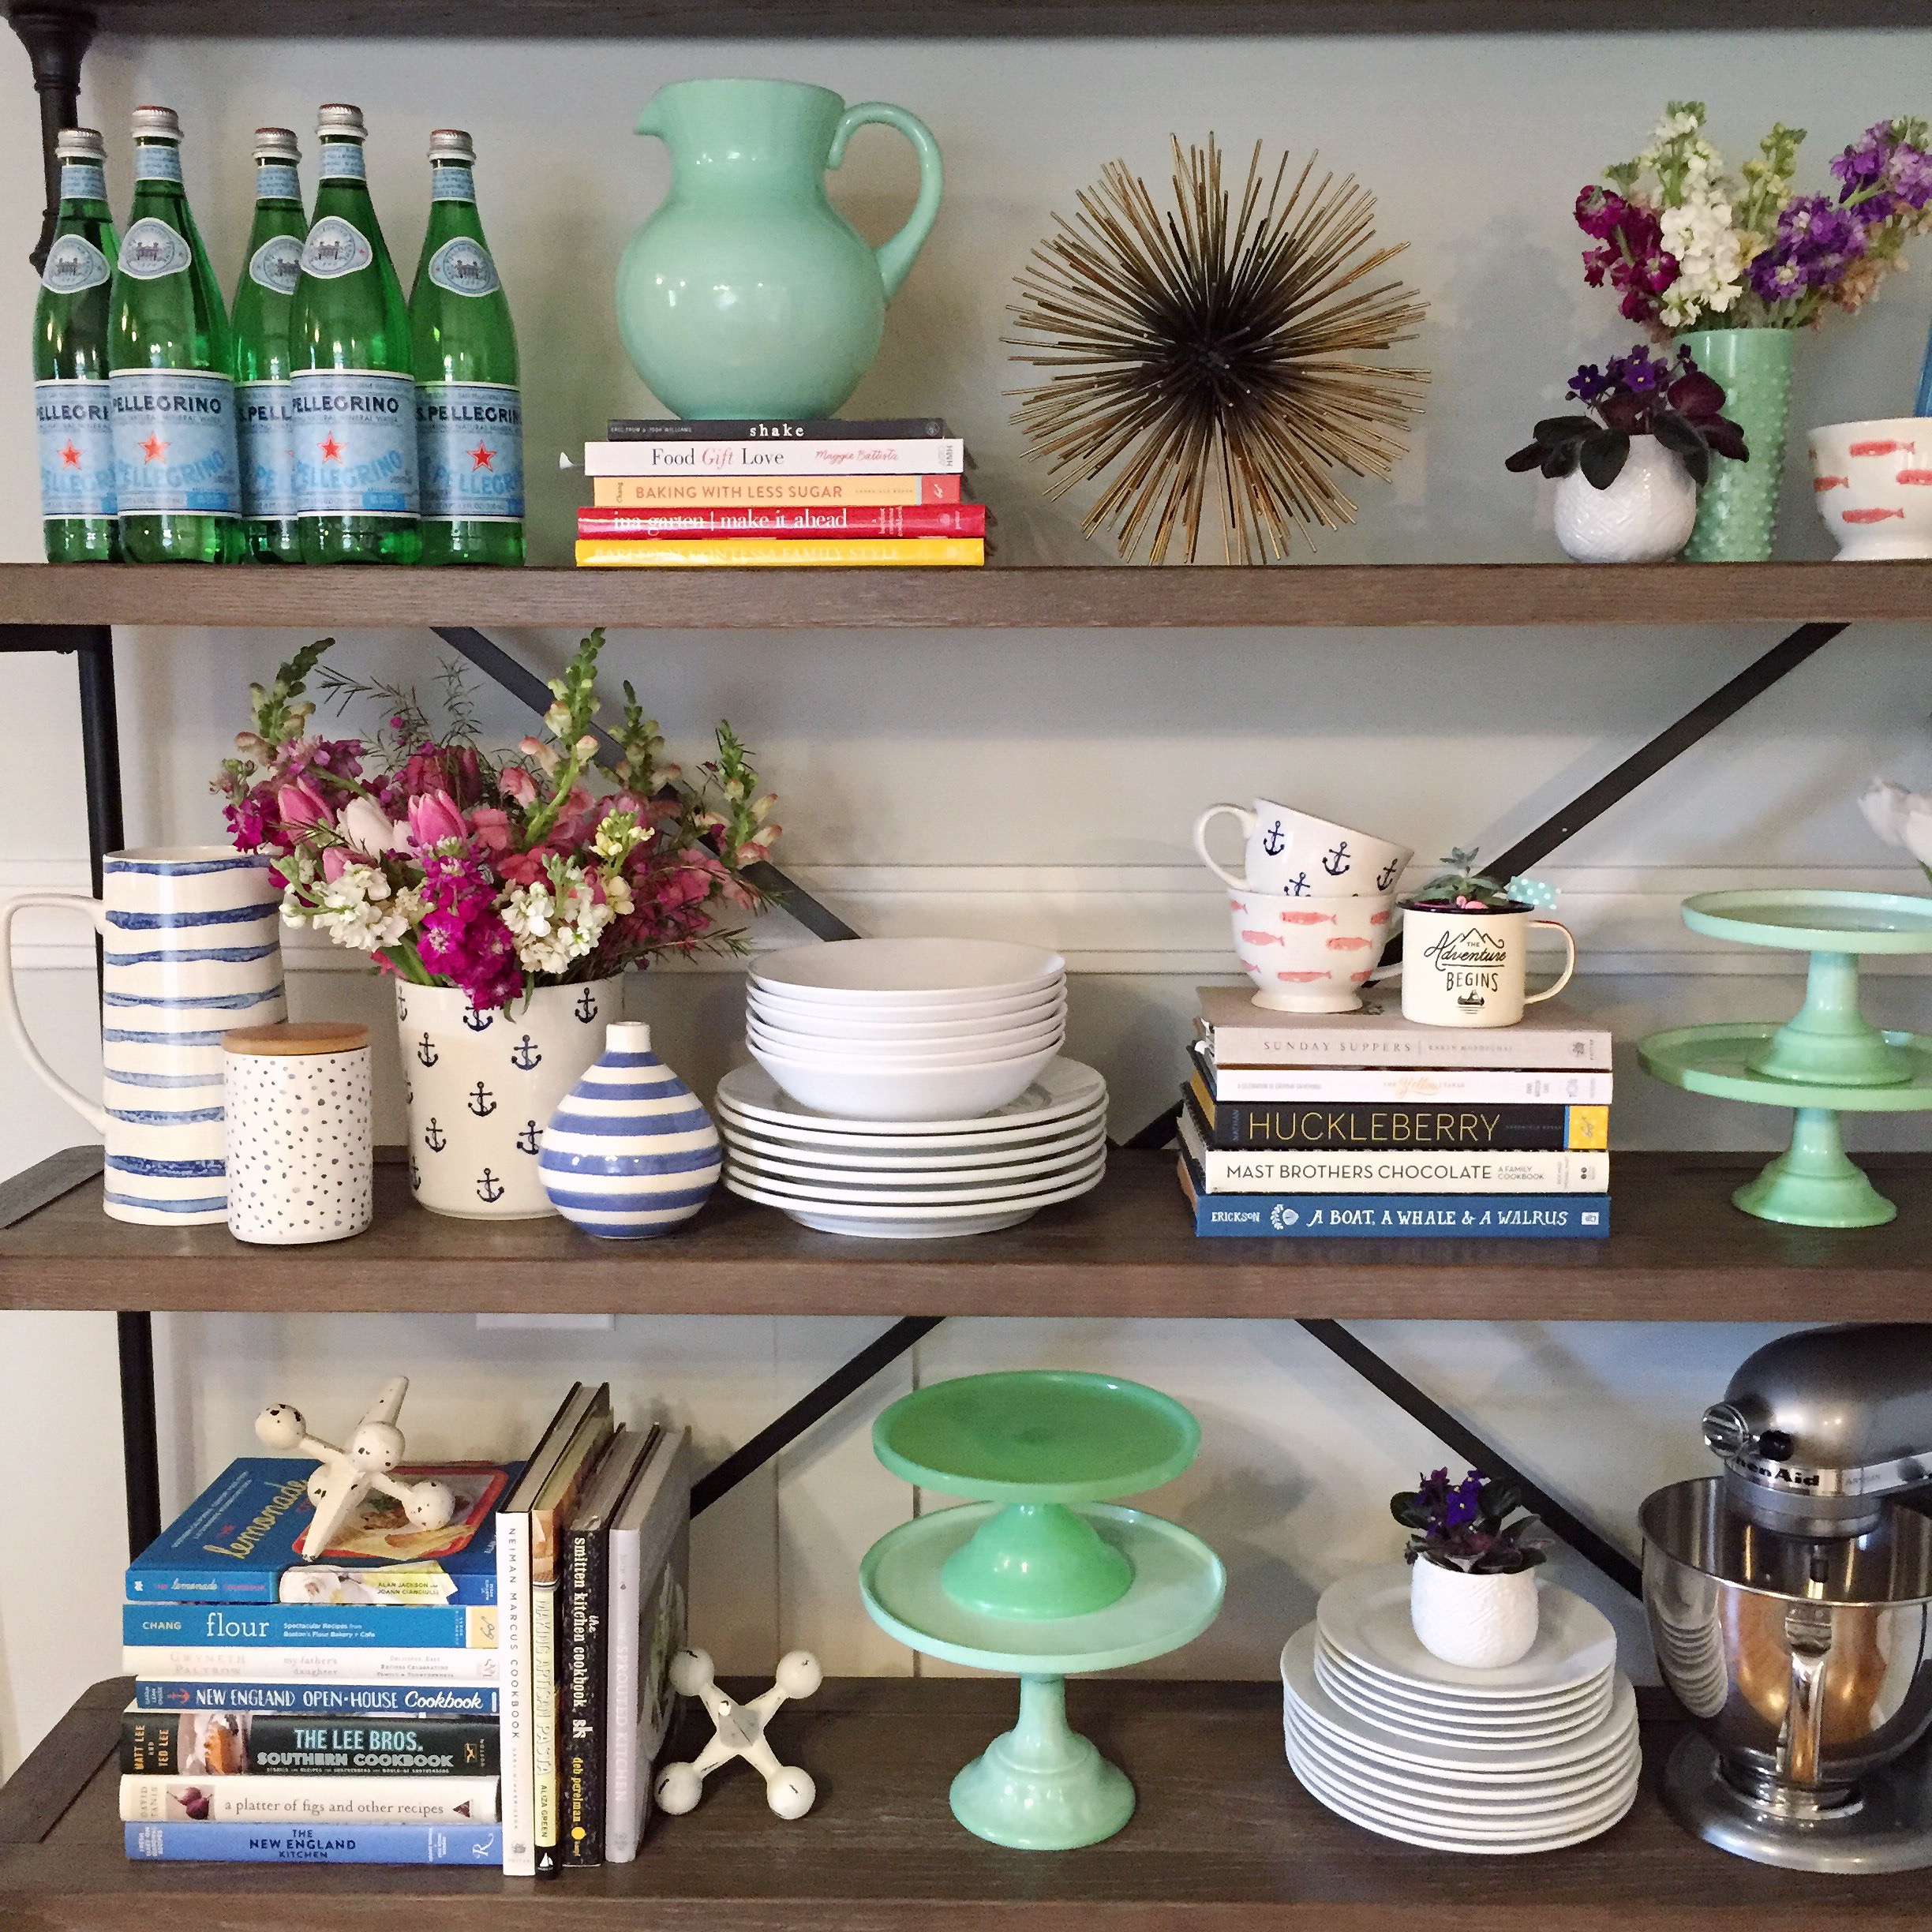 In addition to the new storage rack, Boston Interiors sent me a few fun items to style the shelves with — some nautical mugs, vases, jars and pitchers, and a giant gold starburst. Styling open shelves, particularly of this size can be overwhelming — there’s lots of space to fill, and you don’t want it to look too sparse or too cluttered. A few rules I follow to give open shelves a full, styled look:
- Alternate groupings of similar objects in a diagonal pattern (check out the cookbooks in these images) so that they don’t line up vertically below each other, it moves the eye back and forth on the wall.
- Layer-up! Stack bowls on top of plates, add objects on top of book stacks, and layer cake stands. Filling the vertical height on each shelf will make them look full and reduce white space.
- Vary scale of objects: place larger objects (like the gold starburst!) next to groupings of smaller objects (like the collection of petite vases).
- Need to fill large gaps in the shelves? Try oversized decorative baskets, larger (attractive) appliances, and rows of decorative water bottles (Pellegrino green bottles are always a colorful choice).
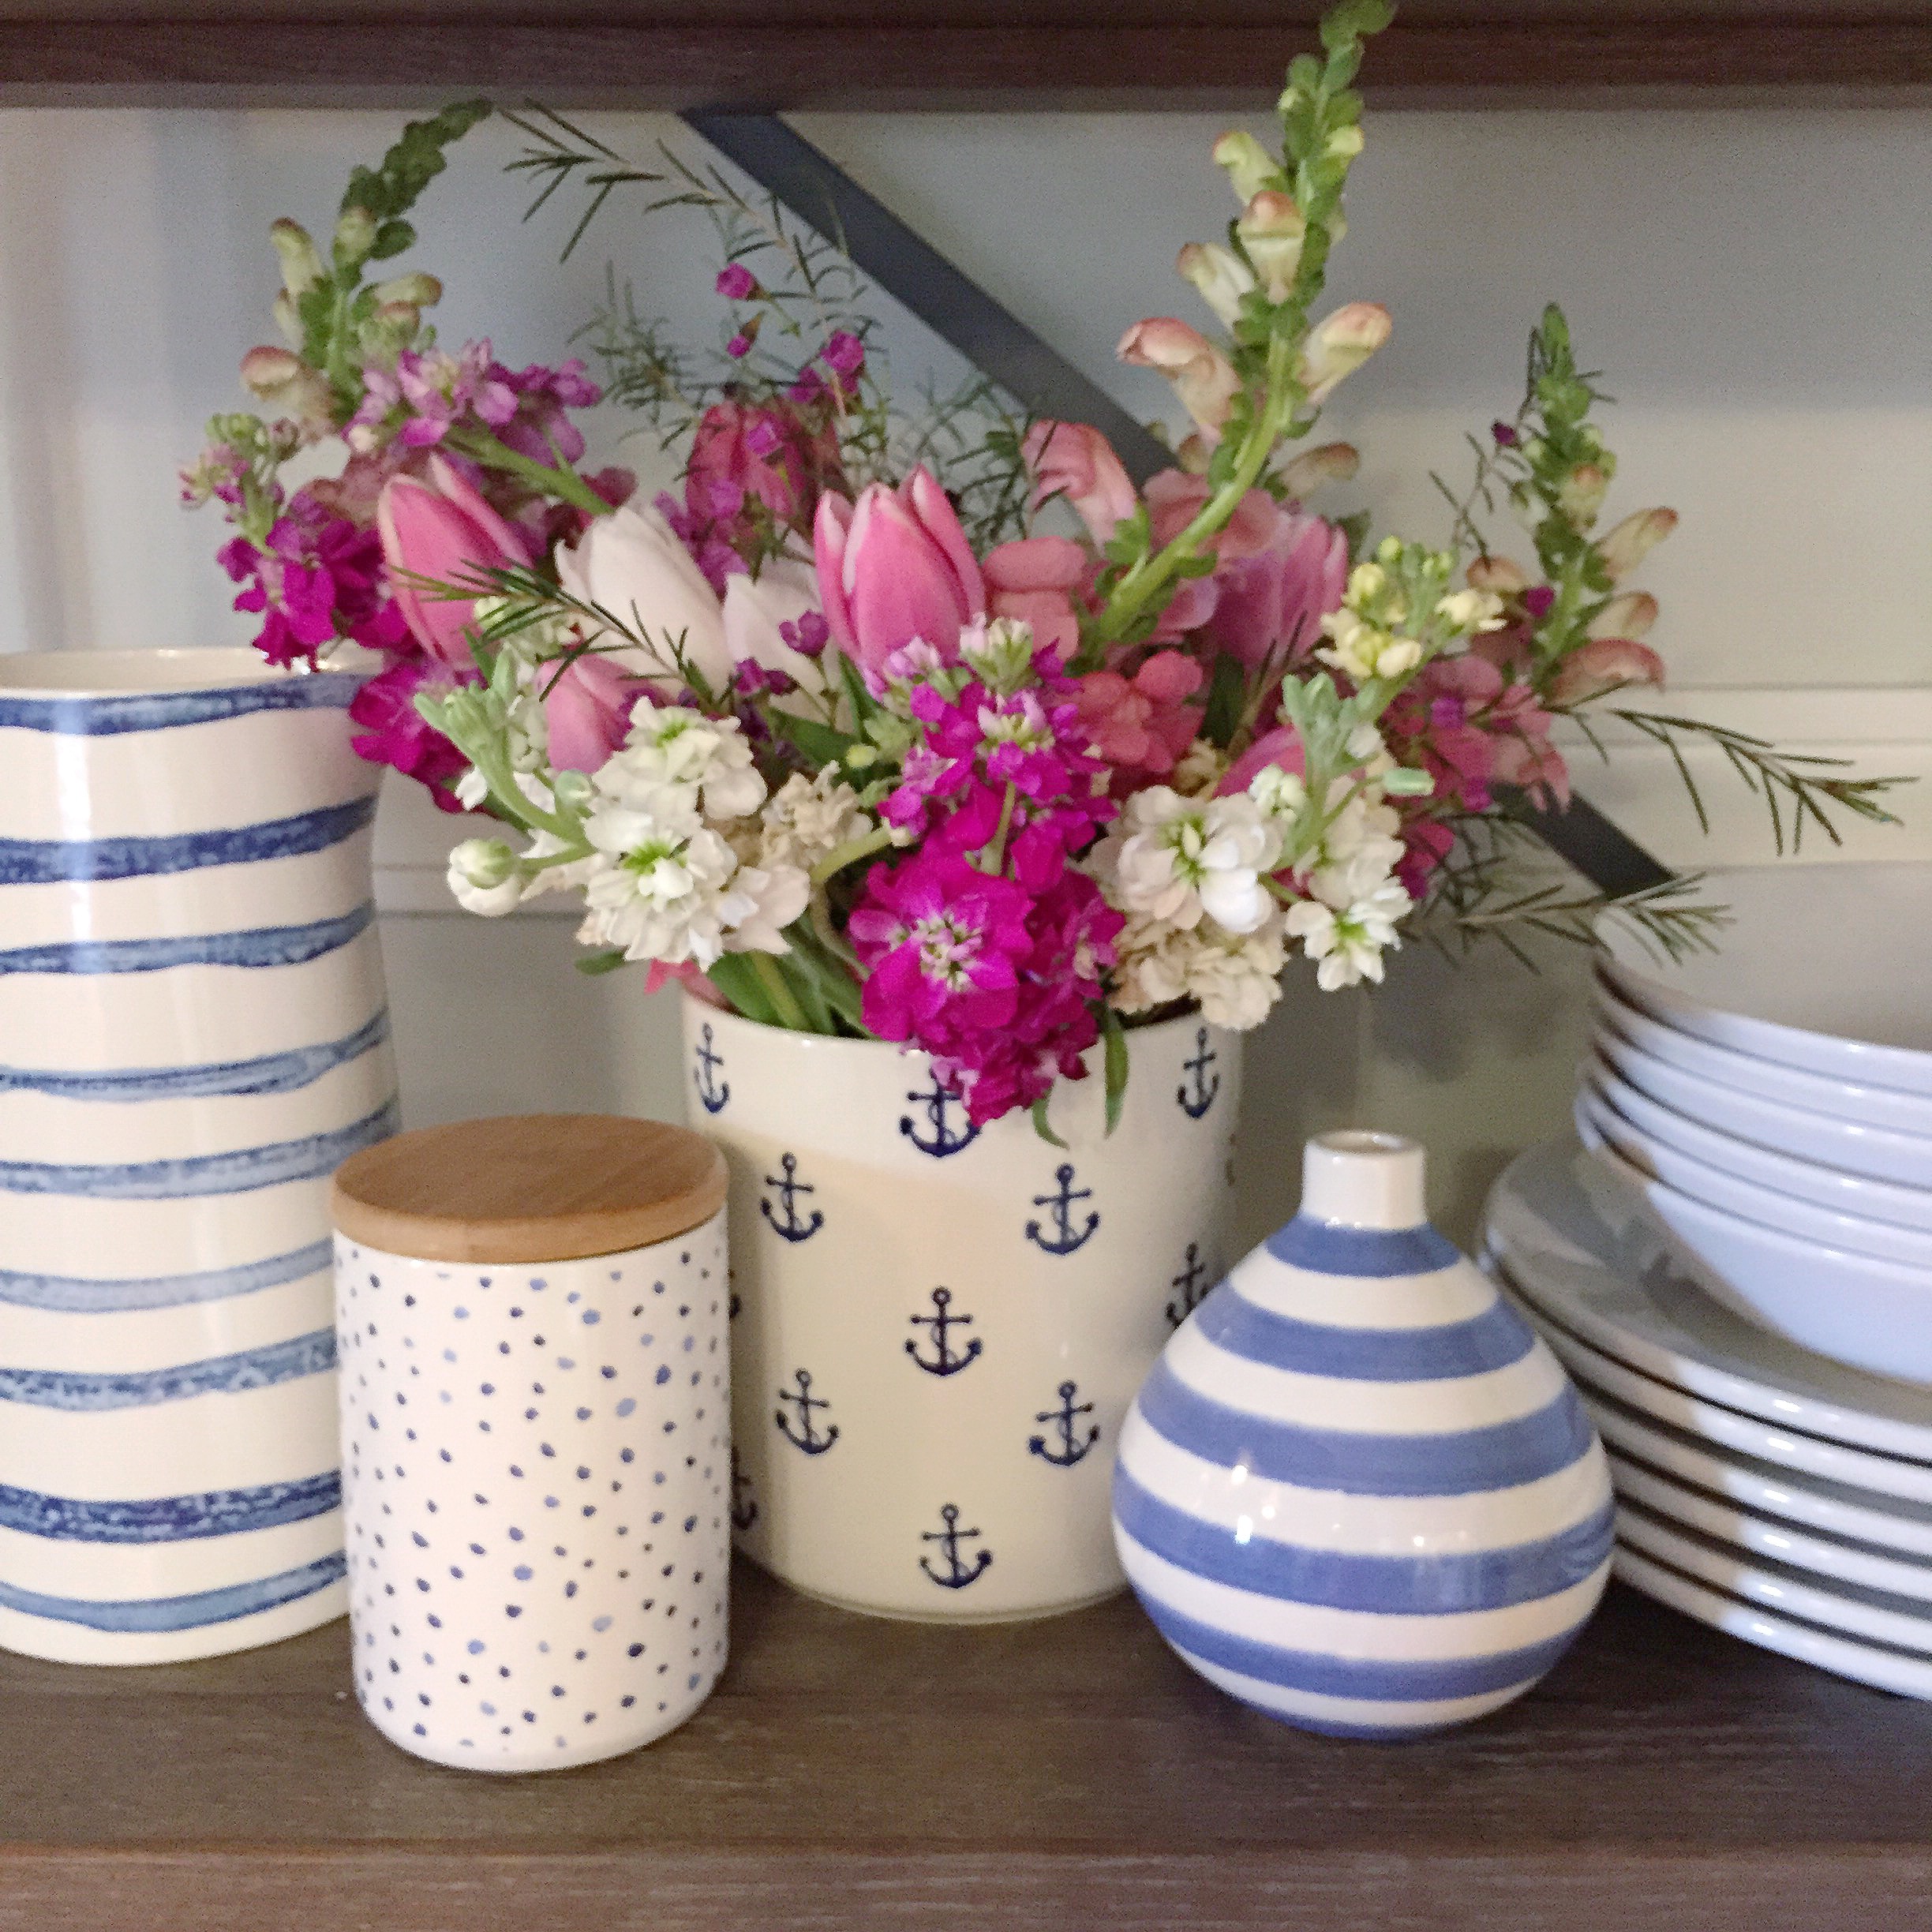
- Add some green: flowers, succulents, potted indoor plants can all add a softer texture to the display, and help update the look seasonally.
- Create mini collections with like-colors. A group of blue and white ceramics on this shelf is a great example of this. The pieces aren’t completely similar, but the consistent color palette creates cohesion.
The last tip I have? Nothing is permanent! Move things around and keep it fresh, it’ll always be evolving into a new styled look. I take that tip seriously — I’ve already rearranged these shelves half a dozen times in the 2 weeks since we had the storage rack delivered.
Next on our kitchen to-do-list is to paint the cabinets and add in some new counter tops to match the island — then I’ll be ready to mark this one ‘done’ (for now!).
Please note: This post was created in partnership with Boston Interiors, all opinions, images, and content are my own.


I have shelfie envy!! Looks awesome!!
so good! that set up is PERFECT in your kitchen and I can only imagine what that setup will look like for every holiday.
This looks gorgeous! That island is great!!
Really really loving this! Looks so chic and such a fun kitchen space. I love watching this transformation!