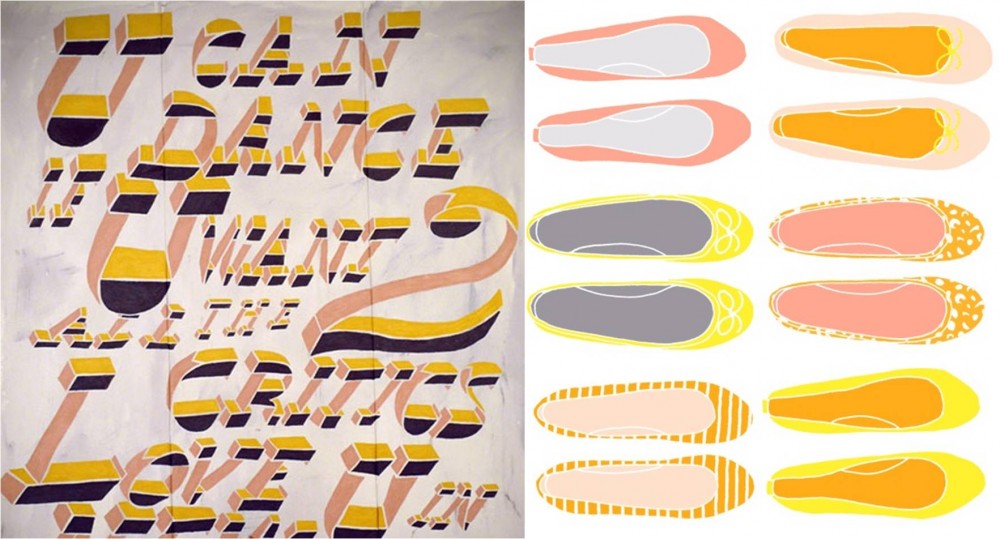
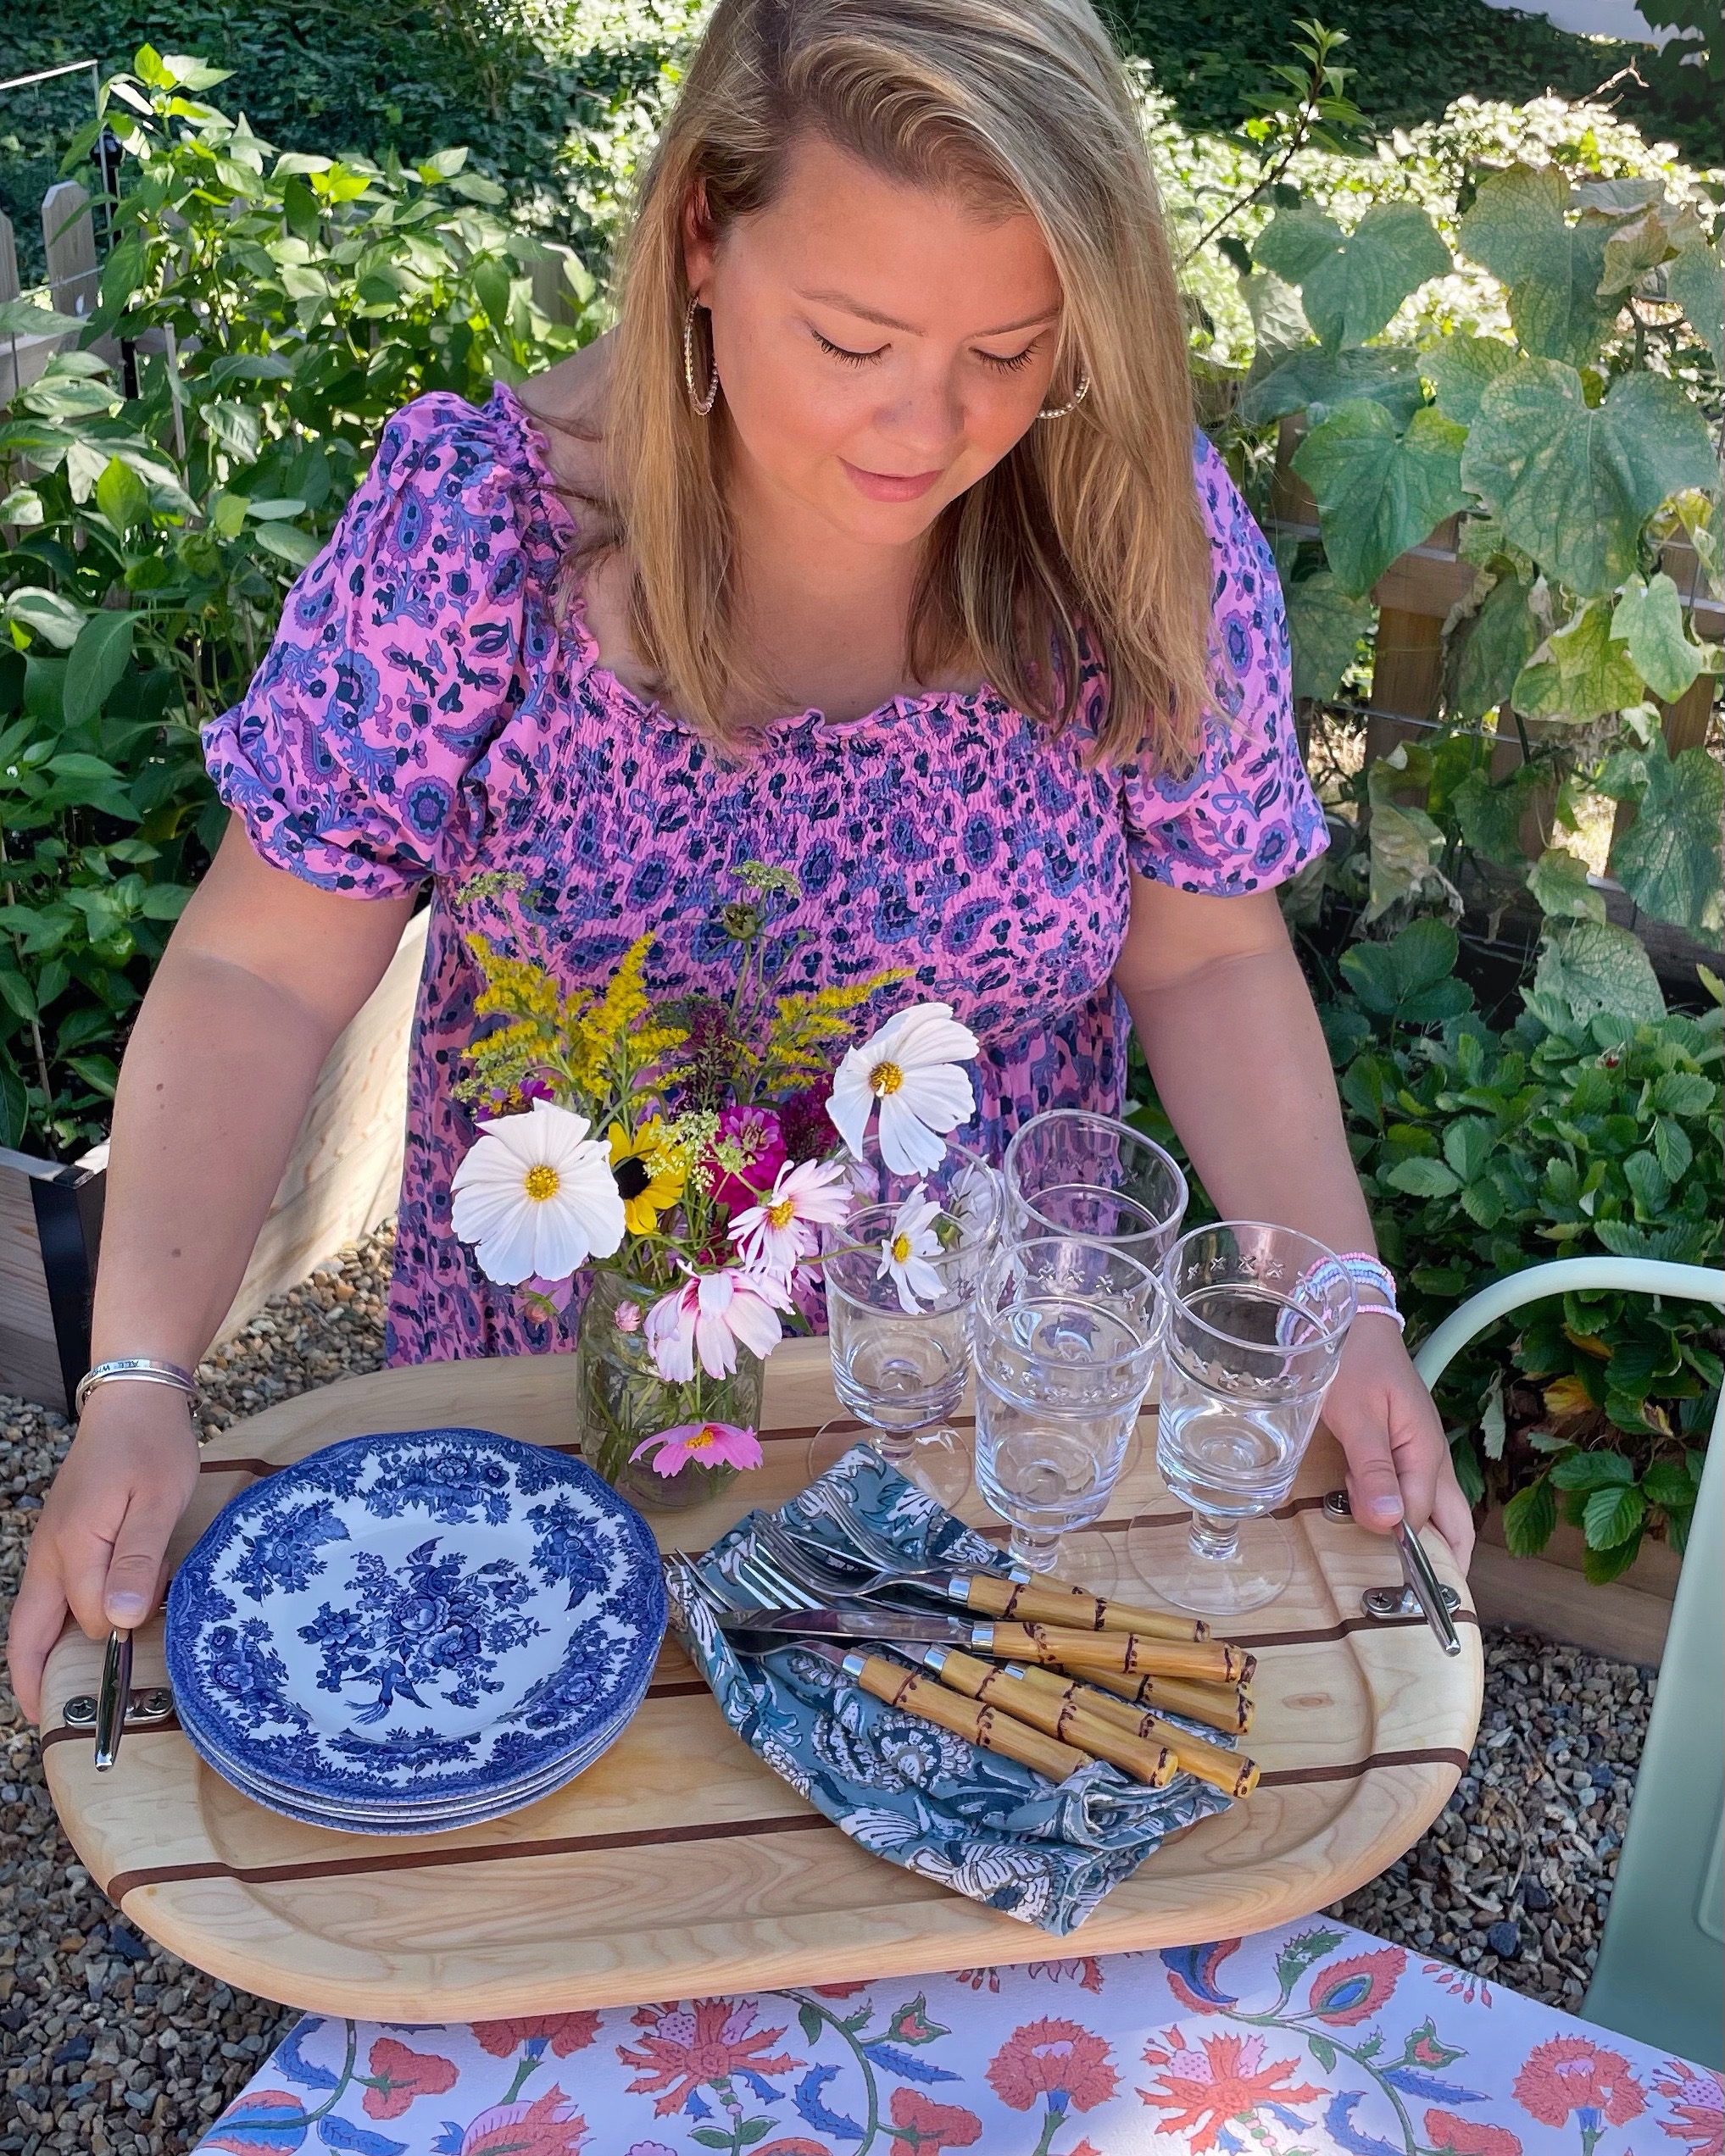
Adoring this color combination:
I browsed for some fabrics in this palette — wouldn’t this make a gorgeous color scheme for a quilt or girls bedroom?
Via Minted Design and Glitter Guide
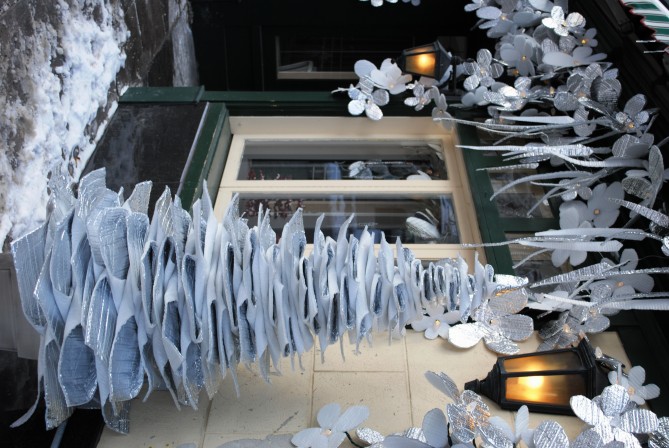
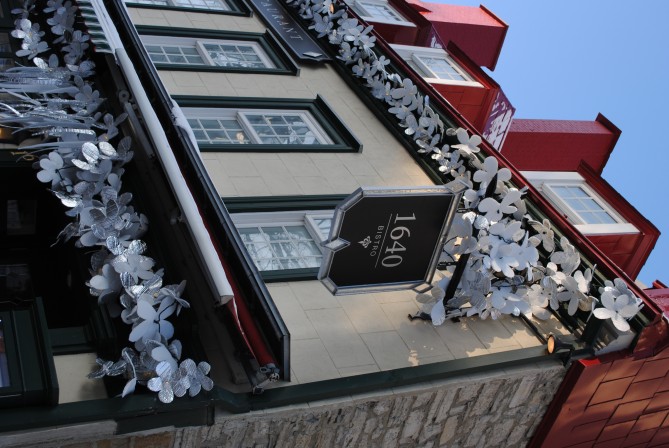
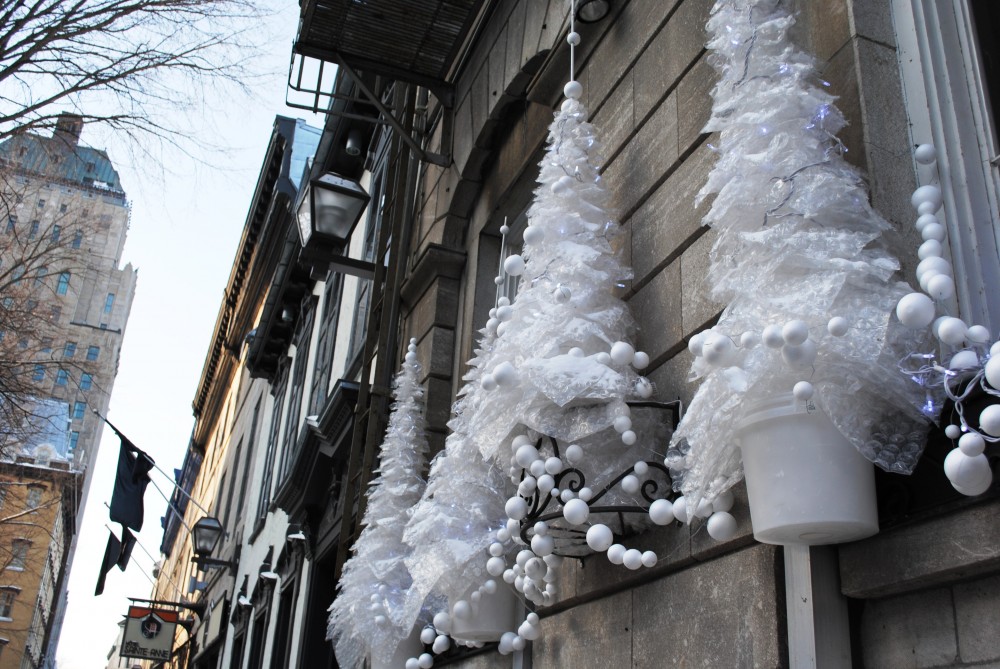
Quebec City is the pinnacle of Christmas decorations, they go all out with garland and lights and ornaments. I snapped lots of pictures of the holiday trimmings, but the ones that really caught my eye were actually made out of recycled bubble wrap. They looked so pretty that I didn’t realize they were made of recycled materials until I got up close. I thought it was fitting for a holiday that causes so much excess trash!
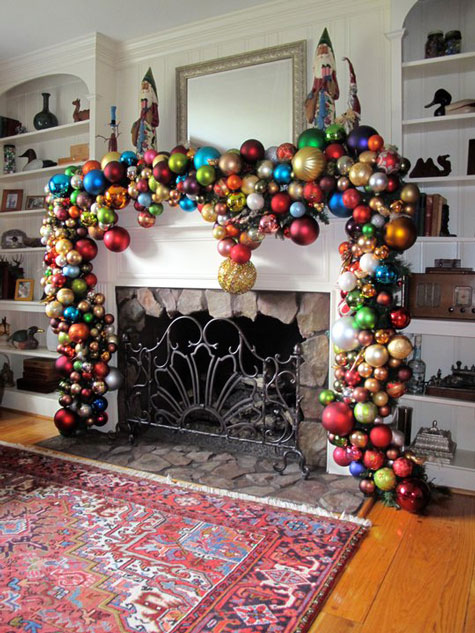
It’s a decorating emergency! I need more ornaments! And a fireplace! So I can have this:
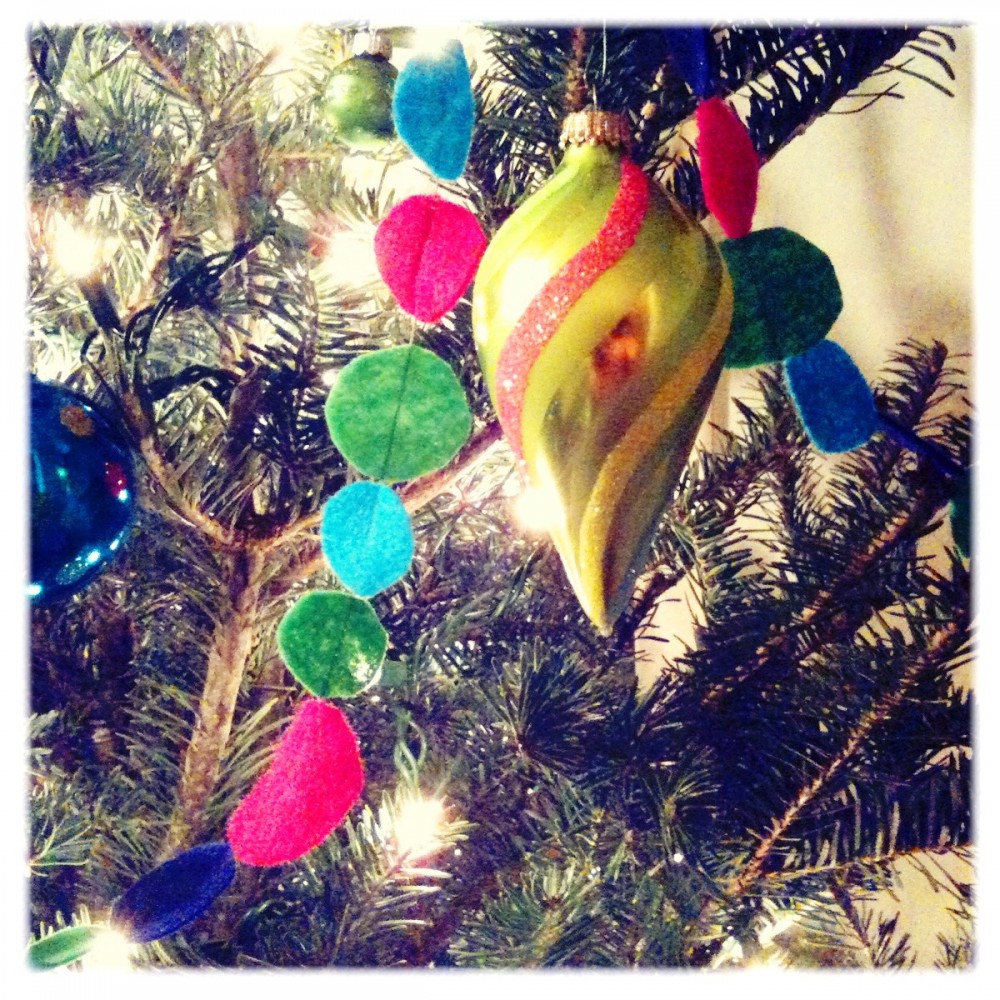
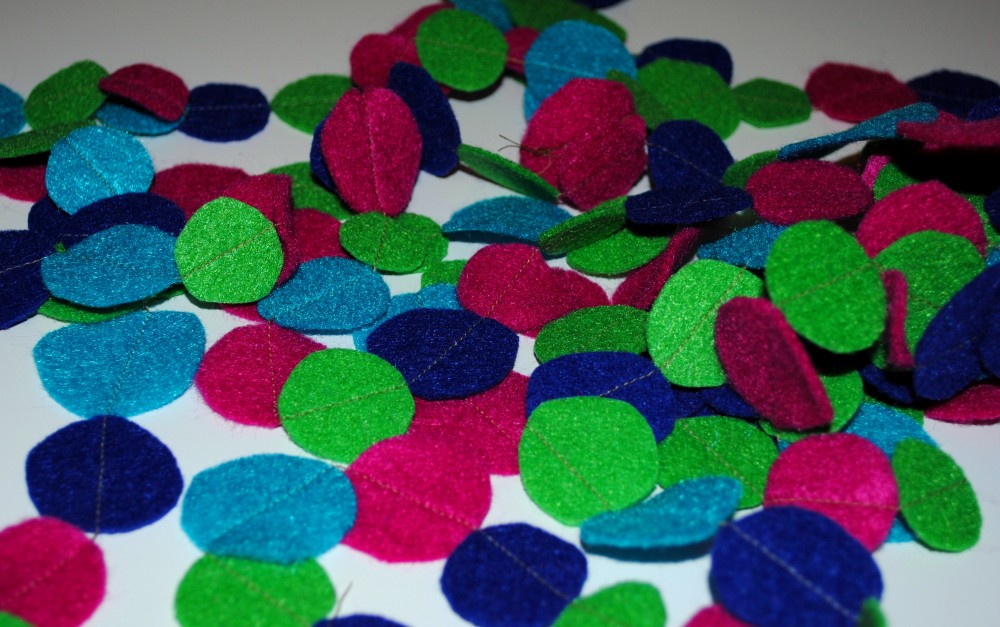
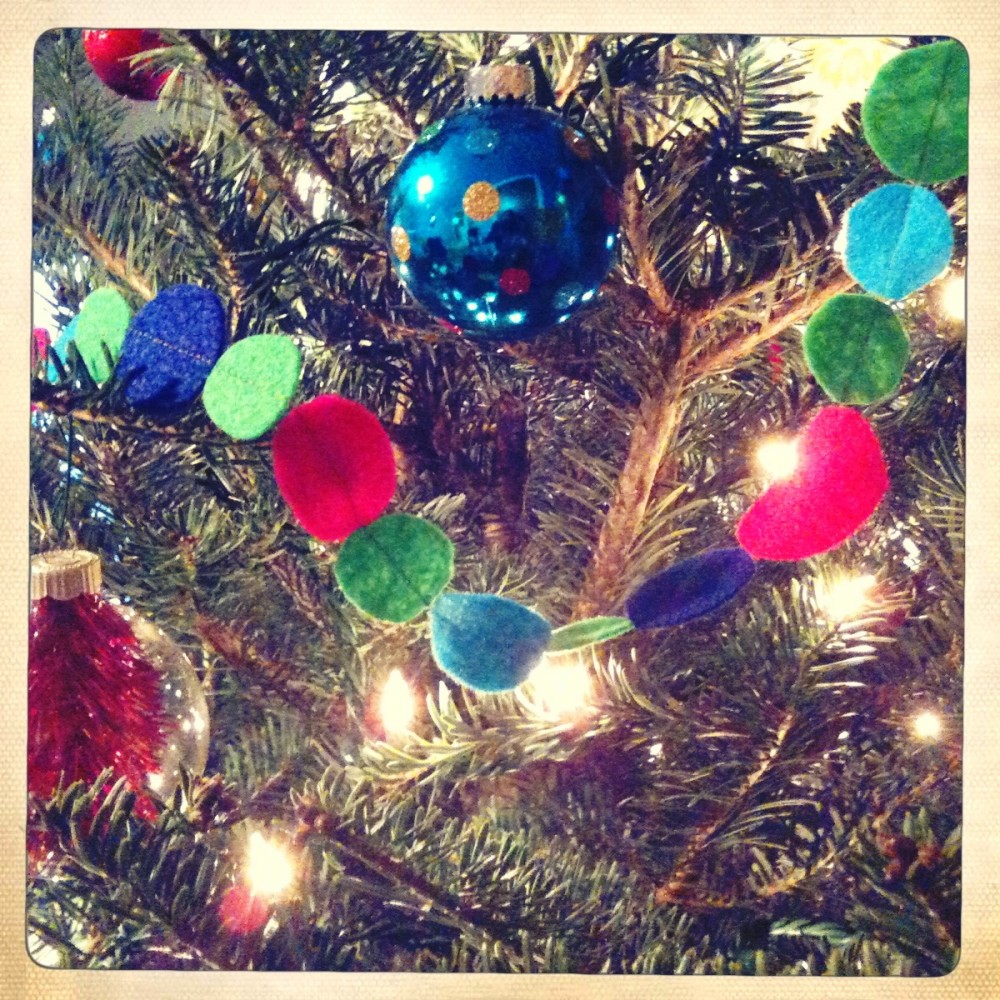
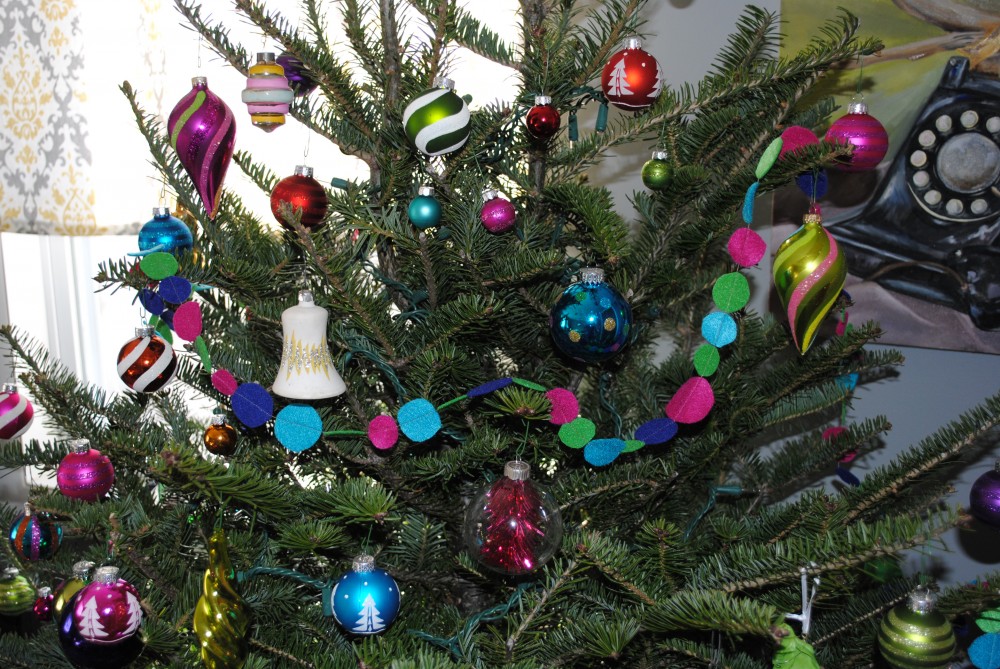
Thanks for all of your sweet comments yesterday about my tree skirt, it made for a pretty awesome Wednesday. I’m not done yet though… I also crafted up some felt garland for the tree and thought I’d show you a few more pictures than the sneak peek you got the other day.
I followed the super simple instructions from The Purl Bee. The hardest part is cutting the circles — I recommend either buying them pre-cut on etsy, or finding a few romantic comedies on your DVR to watch if you plan to do it yourself.
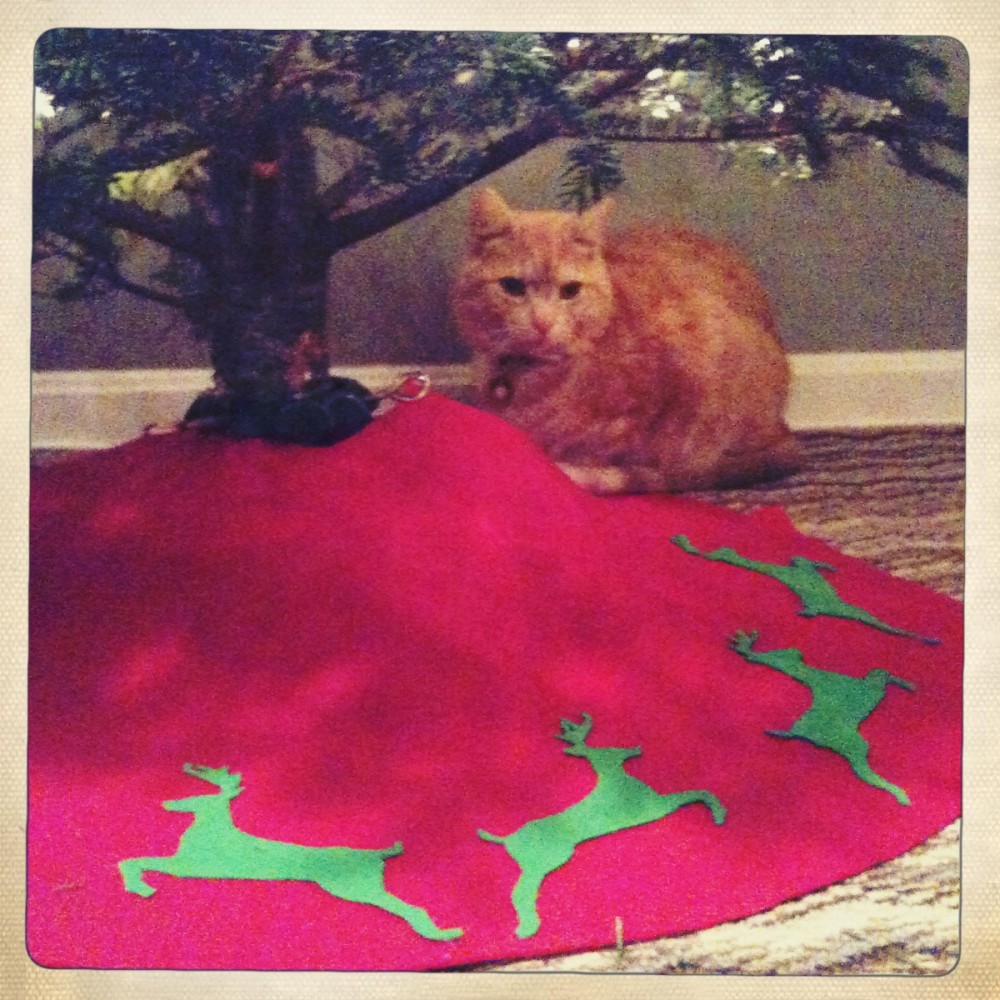
It’s a very felt-y Christmas this year. I used the leftover hot pink felt I had from my jewelry box project and whipped up a skirt for my tree; then I cut out bright green reindeer to prance around the border. If I can pat myself on the back for a moment, several hours of meticulously cutting out santa’s favorite woodland creature was well worth it, look how cute it turned out:
More crafts later,I still have to share my felt garland project!
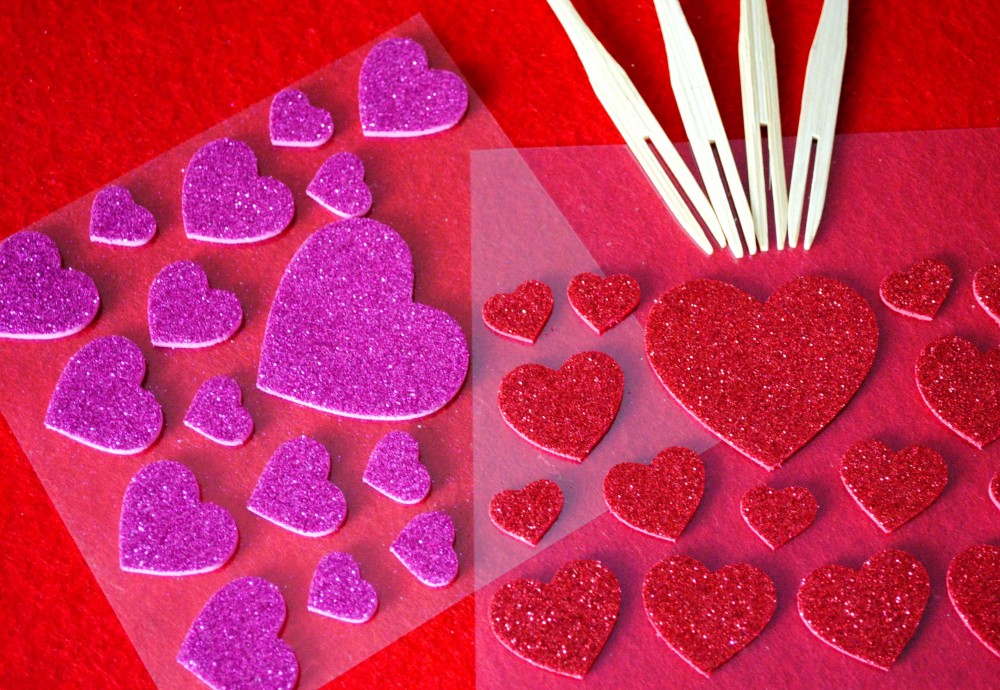
I spent the day shopping at the outlets on Saturday and have come to the conclusion there is no avoiding the sparkles and sequins in every store right now for the holidays.
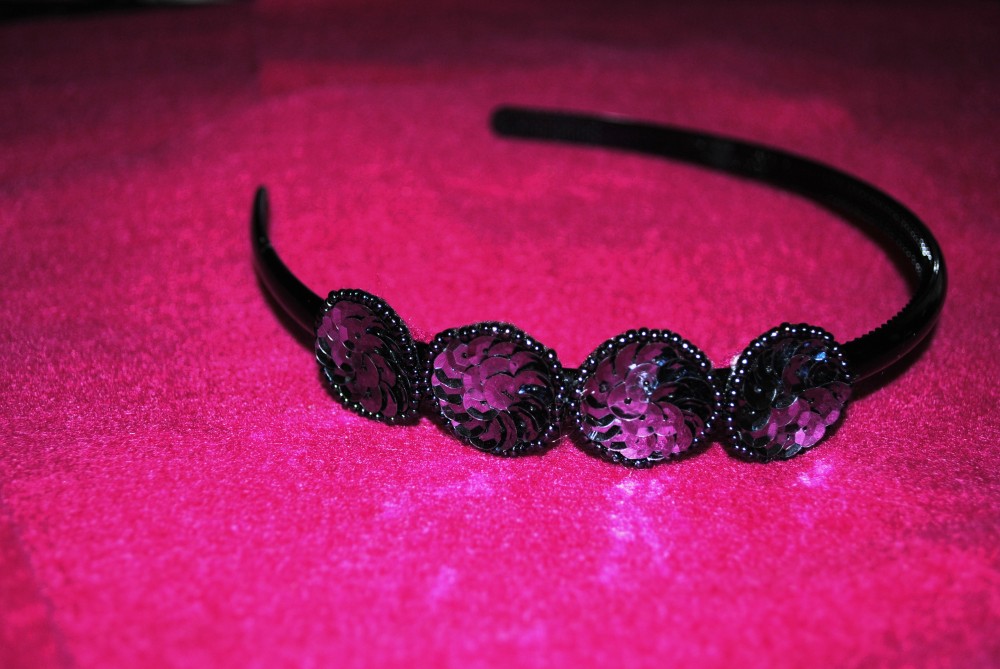
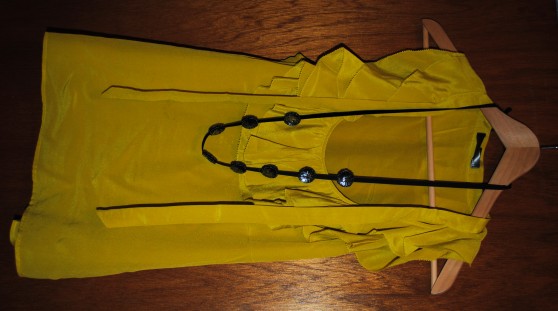
I came home sequin-less from my shopping excursion, but go to work DIYing a few sparkly pieces at home; I think it’s fair to say that sequins and glue guns go together like PB&J:
Check out my DIY Jewelry Armoire featured today over on Sweetie Pie Pumpkin Noodle‘s Vanity series, and be sure to check out all of the other great posts featuring blogger’s vanities this week!
Is anyone else having a hard time adjusting like me from the long weekend and back to reality today?
I had a lovely weekend spent enjoying the last days of summer with good food and good friends, and getting a few little projects in progress. I stripped and started to reupholster a chair for my living room, and thought I’d share the fabulous fabric I found after taking off the first layer of upholstery. It’s too bad it spent years hiding underneath boring navy fabric!
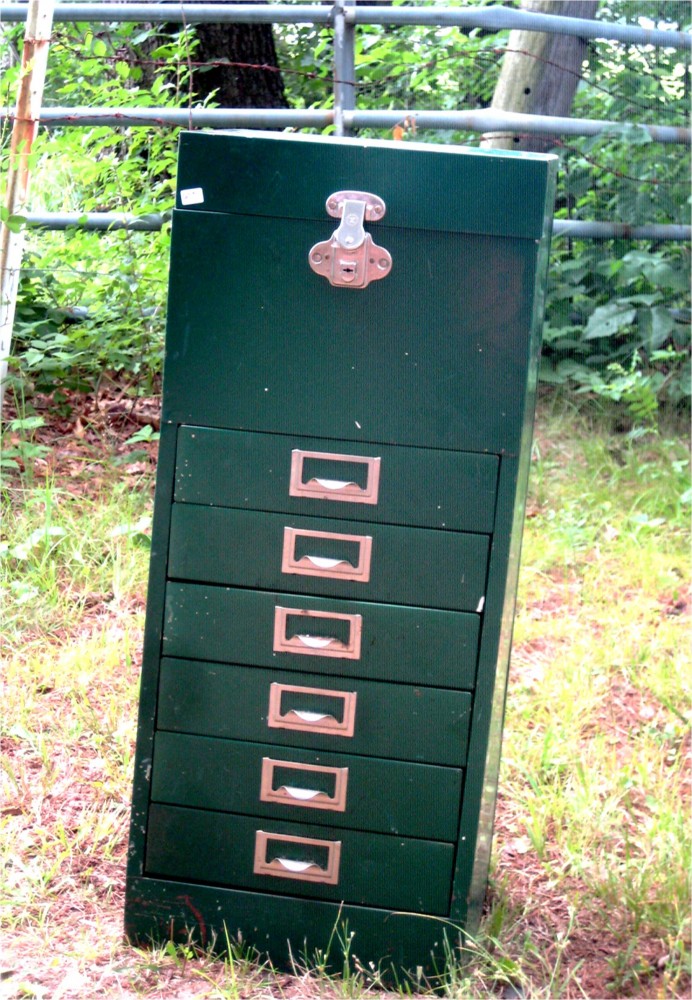
I kept my promise and reworked the old toolbox I bought at Brimfield into a glamorous jewelry armoire last week. I can’t wait to share the “after” pictures, but first, let’s revisit the “before” picture of the rusty old tool box (this picture doesn’t do it justice, it was pretty banged up and dirty):
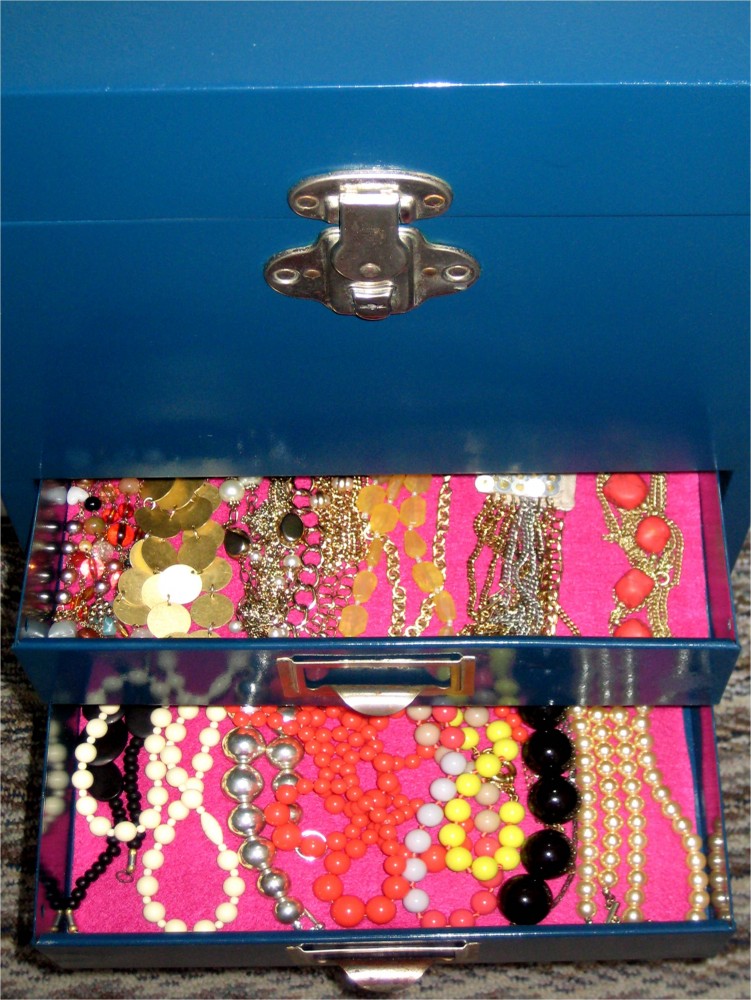
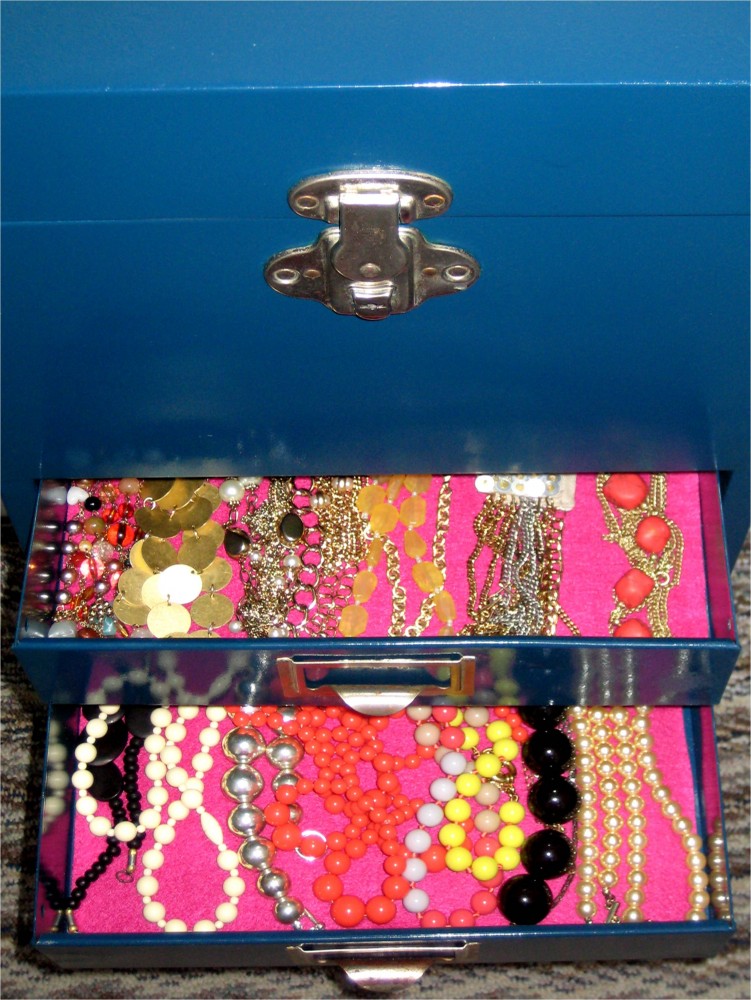
After hours of sanding down rust with steel wool (lots of help from a loving boyfriend) and several coats of spray paint later, I have to say, I’m a bit obsessed with how it turned out:
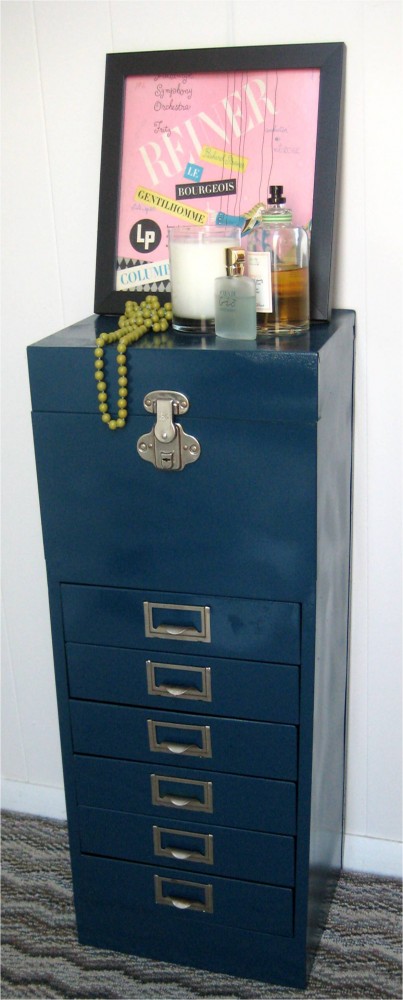 I’m mostly excited because I can’t believe how organized all of my accessories are now! There’s a little surprise on the inside, hot pink felt lining to keep my necklaces from rattling around in the metal drawers:
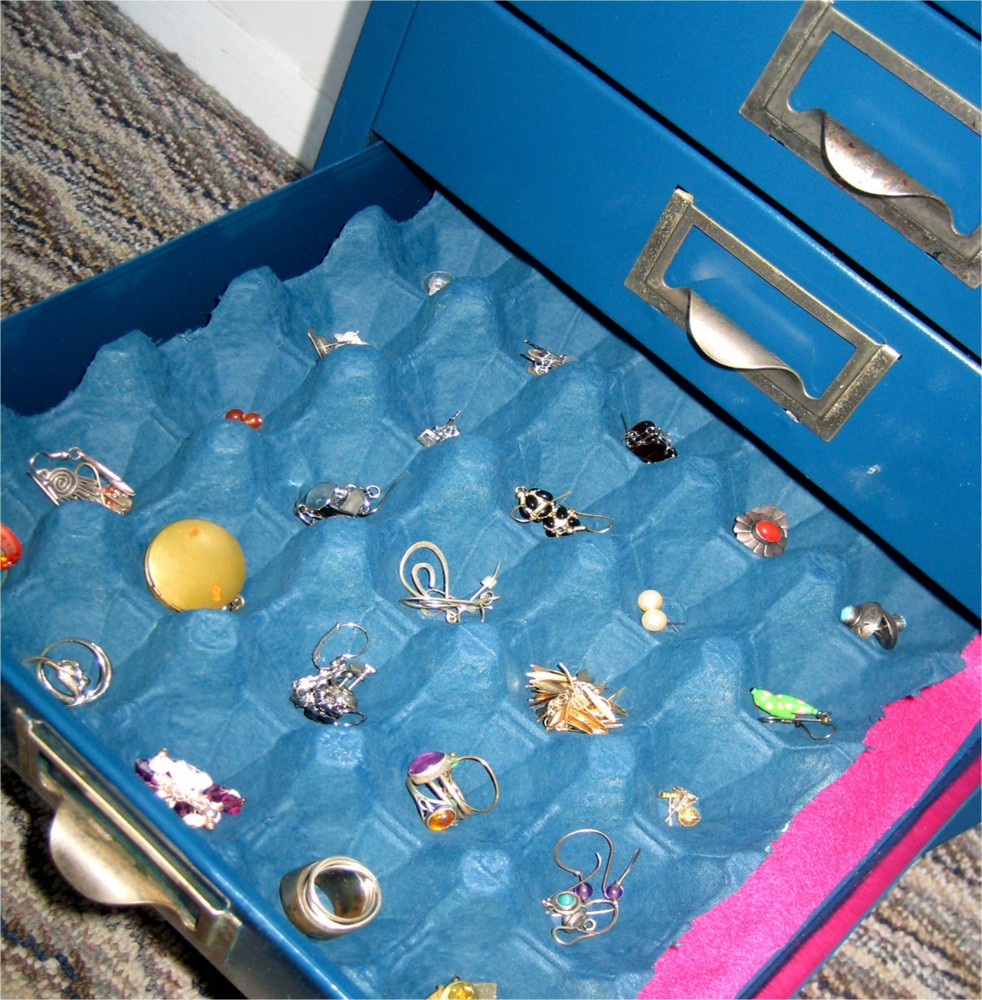
And to corral all of the teeny-tiny bits of baubles I spray painted an egg crate to match the metal.
It was quite the facelift — from holding to wrenches to cocktail rings!

