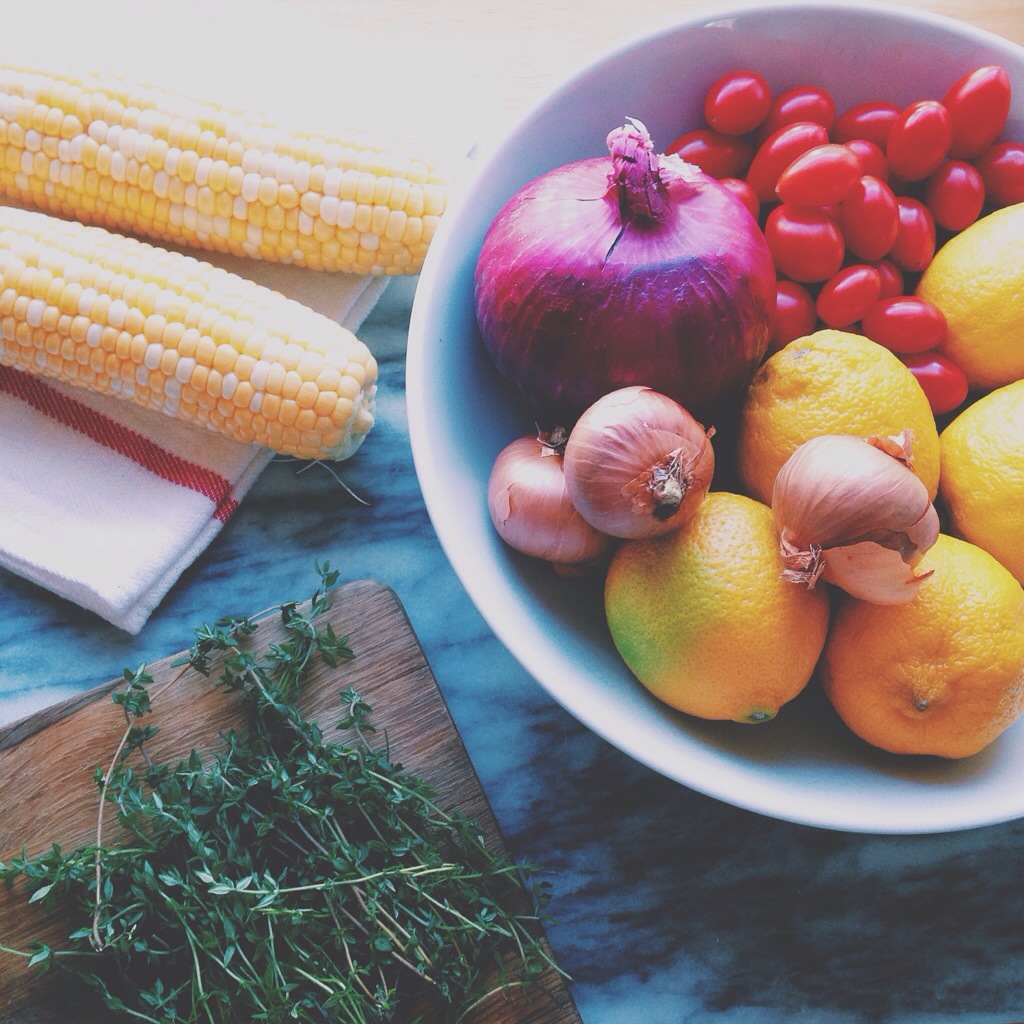
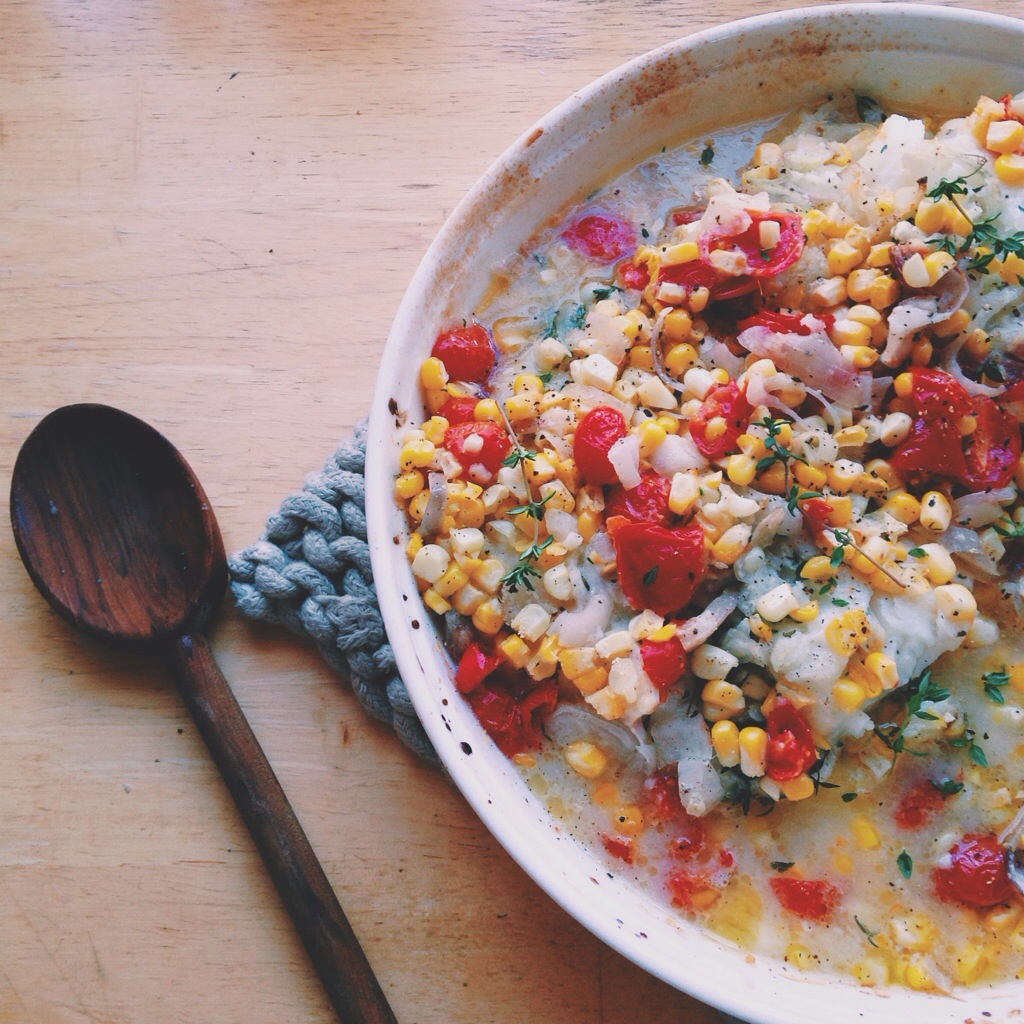
There’s something a bit funny about me posting a recipe for a fish dish because  I never really had a taste of seafood until a few years ago. My husband loves fish and slowly got me to taste it when we would go out to eat at restaurants. Now I’m a seafood lover –I’m thankful he broke me of that picky-eating-habit — but cooking fish at home has been intimidating for me! I’ve experimented though and finally cracked a good basic recipe of baked cod that I then mix up with different toppings (kalamata olives and tomatoes is a favorite!). We saw some sweet yellow corn at the market this weekend and I decided to experiment with a baked cod dish that has a summer spin: corn, tomatoes, shallots and thyme — full recipe below!

20140622-194905-71345983.jpg20140622-194907-71347775.jpg20140622-194906-71346862.jpg20140622-194908-71348601.jpg20140622-194909-71349550.jpg

Ingredients:

  • 1lb of fresh cod
  • 2 tbsp of white wine
  • 2 tbsp of parmesan cheese
  • 1/2 cup grape tomatoes, quartered
  • 3 thinly sliced small shallots
  • 2 ears of corn
  • Fresh thyme
  • Lemon
  • 1 tbsp butter, melted
  • Salt & Pepper

Preheat oven to 425 degrees, and in a shallow baking dish arrange the pieces of cod. On top of the fish, pour 2 tbsp of white wine, and then sprinkle 2 tbsp of grated Parmesean cheese. Next, arrange 1/2 cup of quartered grape tomatoes, 3 thinly sliced small shallots, and corn kernels from two ears of corn. Top all of the ingredients with a generous amount of salt and pepper, 6-8 fresh thyme sprigs, the juice of one lemon and 1 tbsp of melted butter. Pop that tasty summer dish into the oven and let it bake for 15-20 minutes, until the fish is cooked through. Serve over rice with fresh thyme.

This past weekend we headed out to Lake George for a wedding and decided to take the scenic route through Vermont on our way there. My husband recently sent me an article about the Vermont Cheese Trail, and since we were driving through part of the region on our trip we had to make a stop at one cheese maker that caught my eye — the Plymouth Cheese Company. I’d be lying if I said it wasn’t the packaging and quaint location that made this one a high-priority visit. It was absolutely darling and the cheeses were majorly tasty.We devoured the Original Plymouth cheese this weekend with a cinnamon pear jam I got at the shop. You can even watch the cheese making process while you’re there — it’s one of the oldest artisan cheese makers in the country. If you’re ever in the area, be sure to pop in for a tasting and some treats for the road! 20140616-204007-74407858.jpg20140616-204008-74408801.jpg20140616-204010-74410376.jpg20140616-204009-74409616.jpg


Lemon and basil are one of those flavor pairs that I just can’t get enough of. I had a bunch of leftover lemons from a photo shoot last weekend, so I decided to dig through the pantry and make up something tasty to use them in.  My tasty result was a lemon basil pasta with skillet chicken and shallots. It was tasty, and you can  make it too — recipe below!

Processed with VSCOcam with f2 preset

Boil water and cook pasta to al dente, reserve a few tablespoons of pasta water for sauce. In a skillet, heat olive oil and sauté two thinly sliced shallots. Once they begin to soften, add in chicken breasts that has been seasoned with salt, pepper, and herbs de provence. When the chicken is browned and cooked through, remove to a plate and let rest. Add 1/4 cup of white wine to the pan, scraping up the shallots and browned bits from the bottom of the pan. Then add in 1 tbsp of butter, the juice of one lemon, and the reserved pasta water and let the sauce reduce for 4-6 minutes. Chop up the chicken into bite-sizes pieces, and toss back into the sauce with the pasta to combine. Then sprinkle the dish with freshly chopped basil and parmesan cheese before serving! Processed with VSCOcam with f2 presetProcessed with VSCOcam with f2 preset

I tried spinning once before a few years ago and it was not for me — I vowed never to go back. But last week The Handle Bar hosted our Boston Bloggers group for spinning class and I decided to give it a second chance. Jess, the lovely owner of the studio, totally changed my mind. First off –I’m a sucker for design and the studio is the kind of place you actually want to work out in — bright cheery yellow walls and adorable details like the neighborhood specific logos. Before we got started, the staff were hands-on helping everyone get set up so they felt comfortable on the bikes and with the terminology they’d be using during the ride. When it was time to start the lights dimmed down super low — which I loved! (Yay for not having to worry about looking like a sweaty mess!). I think the best part was that the music was perfectly synced up to the movements of the ride, and  the time flew by with the variety of exercises you did while on the bike. So overall, I think they converted me! Thanks to Jess and the Handle Bar Fenway for hosting our group!
Processed with VSCOcam with c1 presetProcessed with VSCOcam with c1 presetProcessed with VSCOcam with c1 presetphoto 1

The Handle Bar offered this class complimentary to members of Boston Bloggers, all opinions are my own. 

I hope you’re sitting down while reading this, because I’m about to share a recipe with you that combine donuts… and s’mores. Yup, you read that right! With National Donut Day later this week, I knew I had to put my thinking cap on to take my love for donuts to the next level.  What I came up with is the easiest of easy recipes with just four tasty ingredients: donuts, marshmallows, graham cracker crumbs, and butter.  I took store-bought mini-chocolate donuts and skewered them with cake-pop sticks. Then I melted about a half a bag of marshmallows with 1 tbsp of butter over low heat (stirring constantly) until it had a smooth consistency. Dunk those chocolate donuts into the melted marshmallows, and then while it’s still hot, dip them into the graham cracker crumbles. Then set them out on a piece of parchment paper until they cool (or feel free to sneak a bite of a hot one, I won’t judge you). How cute is that? I am definitely bringing these to BBQs this summer — it’s a tasty little treat that’s perfect for us city-dwellers that don’t have a fire for s’mores making!

20140601-201012-72612083.jpg20140601-201012-72612951.jpg20140601-201013-72613675.jpg


I have a major back-log of recipes I’ve been meaning to share here, and with the chilly grey weather in Boston this week, a highly caloric comfort food recipe just seemed like the right choice to share. We celebrated my mother-in-law’s birthday in early May and I made a big tray of twice-baked potatoes, loaded to the brim with bacon and cheese-y goodness. They were a crowd-pleaser, which is always a treat when they’re actually so simple to make!

20140504-141733.jpg
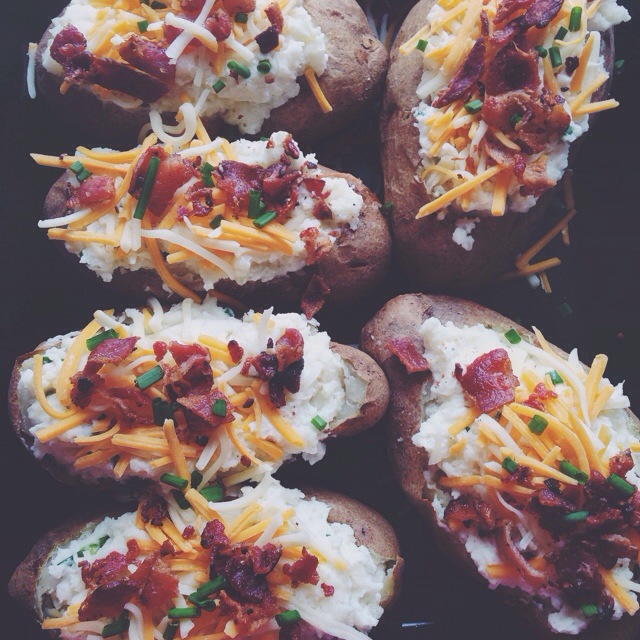
Preheat oven to 350 degrees. Scrub baking potatoes thoroughly, and use a knife to slice a few holes to let steam out. Pop them in the oven and let them bake for about an hour. While the potatoes are baking, prep your toppings: shred sharp cheddar cheese, chop up scallions and/or chives, and crisp up bacon and chop it into bits.

After the potatoes are done baking, use a sharp knife to slice the top 1/4 inch off the top of the potato horizontally and discard of the skin. Using a spoon (I think a melon-baller works great!), scoop out the inside of the potatoes into a bowl. In the bowl, combine the potatoes with salt, pepper, and sour cream — I used about 1/8 cup of sour cream per potato, you may need a bit more if they’re really big. Mash the combination together to thoroughly combine and then fold in some of the chives, bacon, and cheddar cheese.

Then you’re ready to re-stuff the loaded mashed potato goodness back into the potato skins. You’ve added more to the mixture, so they’ll heap over the edges a bit at this point. Then add more bacon and cheese on top and pop them back in the oven for 5-10 minutes until the cheese is melted; sprinkle with fresh chives before serving.

One of my most daunting items on my 30 before 30 list is this: grow something from a seed. That may seem like a fine task for the average human, but for all of my skills in the kitchen and DIY tendencies, I seem to have a black thumb (coupled with some very mischievous city squirrels that like to dig up anything I plant). I am determined this year though to make it happen, and have been growing some herbs and veggies on the porch that were just about ready to be re-potted this weekend into their homes for the summer. I decided to make a few plant markers out of popsicle sticks to keep my seedlings straight! A coat of acrylic paint on the bottom of the sticks gave them a pop of color, and I topped them with some chalkboard paint to make them easy to label — a quick and easy DIY. Now I just need to keep those plants alive! Garden Markers 1 Garden Markers 2 Garden Markers 3 Garden Markers 4 Garden Markers 5

I’m back with part II of our West Coast adventure. After we made our way through wine country, we took a drive down to Muir Woods National Park and hiked through the Redwoods (to be fair, it was more of a nature walk  — not a hike. There were grandmas whizzing by me in wheel chairs, but I like to pretend I was a tough outdoorsy chick who hiked!). It was a magical place; not only are you walking through these magnificent massive trees, but just a few minutes down the road is one of the most breathtaking beaches and coastal views I’ve ever seen.  Processed with VSCOcam with f2 presetSan Fran 5

After our ‘hike’ I earned a tasty dinner at Foreign Cinema — and swooned over the food and the restaurant interior. We spent our last day in the city exploring, including via boat where we circled around Alcatraz and underneath the Golden Gate bridge. Such a fun way to see the city! When our boat pulled back into the docks we saw a massive group of sea lions that just chill all day right at the edge of the pier —  I took about 400 pictures of them and was completely enamored — I mean, aren’t they the cutest? At the end of our trip we finished things off with a Giants game, because I like to finish all of my vacations with hot dogs and beers (and the lovely water views didn’t hurt!).

photo 2 (13)San Fran 4San Fran 1San Fran 3Processed with VSCOcam with g3 preset

We celebrated our 1-year anniversary a little early with a trip to Napa and San Francisco last weekend — I was traveling for work in the area so we decided to make a mini-vacation out of it! I know most people visit Napa and drink their way through the region, but I think we actually spent more of our time eating our way through. We wandered through Oxbow Public Market and feasted on Hog Island Oysters (paired with a rosé of course) and then made our way to Gott’s Roadside for burgers (paired with a milkshake of course). And we did manage to do tastings at a few vineyards (Robert Sinksey was our favorite, they had  tasty little snacks paired with the wines and the whole place had a laid back atmosphere).  We ended our day strolling through downtown Yountville — I had perhaps the tastiest salad of all time at Redd Wood — an asparagus, bacon, and burrata salad, yum! Before we left to drive down to San Francisco the next day we made an obligatory stop at Bouchon Bakery, where I had a croissant for breakfast and of course couldn’t leave without picking up some macarons for the road!

Napa 1 Processed with VSCOcam with f2 presetProcessed with VSCOcam with f2 presetProcessed with VSCOcam with c1 preset Napa 5 Processed with VSCOcam with c1 preset Processed with VSCOcam with c1 preset Processed with VSCOcam with f2 preset Processed with VSCOcam with c1 preset Processed with VSCOcam with c1 preset

I don’t know about you guys, but this past weekend felt like a summer weekend to me — we had our first warm night out on the porch with friends and sipped on some warm weather beverages. With Memorial Day coming up this weekend, I partnered with Seagram’s Escapes to put together a little DIY to get you in the summer entertaining spirit! I am a fan of all things nautical, and decided to customize some koozies to keep my cocktails cool as the temperature rises. Read on for instructions to create your own nautical drink koozies.

Seagrams Escapes Summer DIY 2

To start, use painters tape to mark off the stripes at consistent intervals on plain white drink koozies (I use the width of the tape to mark off where the next one starts to space them evenly). Once the stripes are taped off, paint the space between the taped lines and let it dry completely before removing the tape. Next, use a pencil to mark off your design — I used a stencil to draw an anchor for a nautical motif — and paint inside the traced shape. You may need to use two coats of paint when using a lighter color over a dark stripe. Be sure to let the koozies dry completely before using! 
Seagrams Escapes Summer DIY 3
Seagrams Escapes Summer DIY 5Seagrams Escapes Summer DIY 1Seagrams Escapes Summer DIY 4Seagrams Escapes Summer DIY 9If you’re interested in getting into the summer entertaining spirit, head over to the Seagram’s Escapes Facebook page and enter to win a Seagram’s Escapes party kit!

This post was sponsored by Seagram’s Escapes; all opinions and DIY ideas are my own. 

To make your own custom koozies visit:  Imprinted Koozies


Verified by MonsterInsights