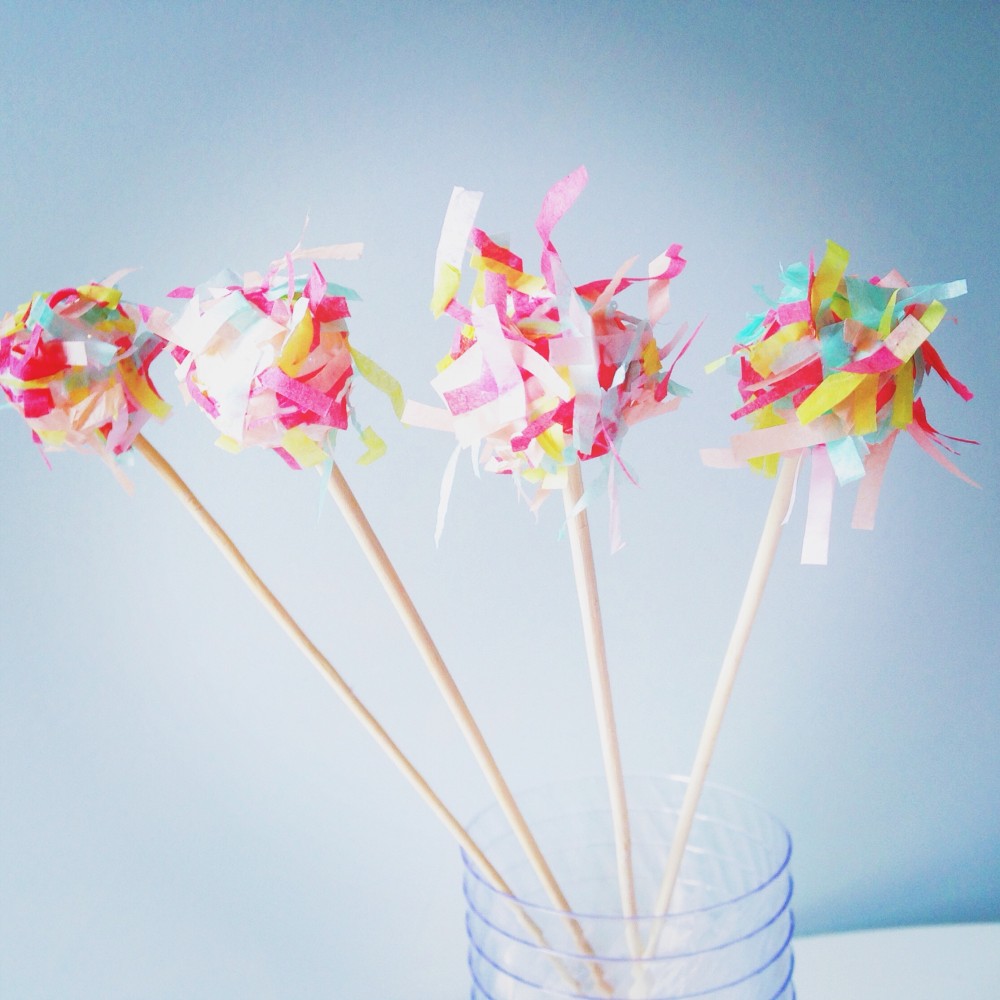
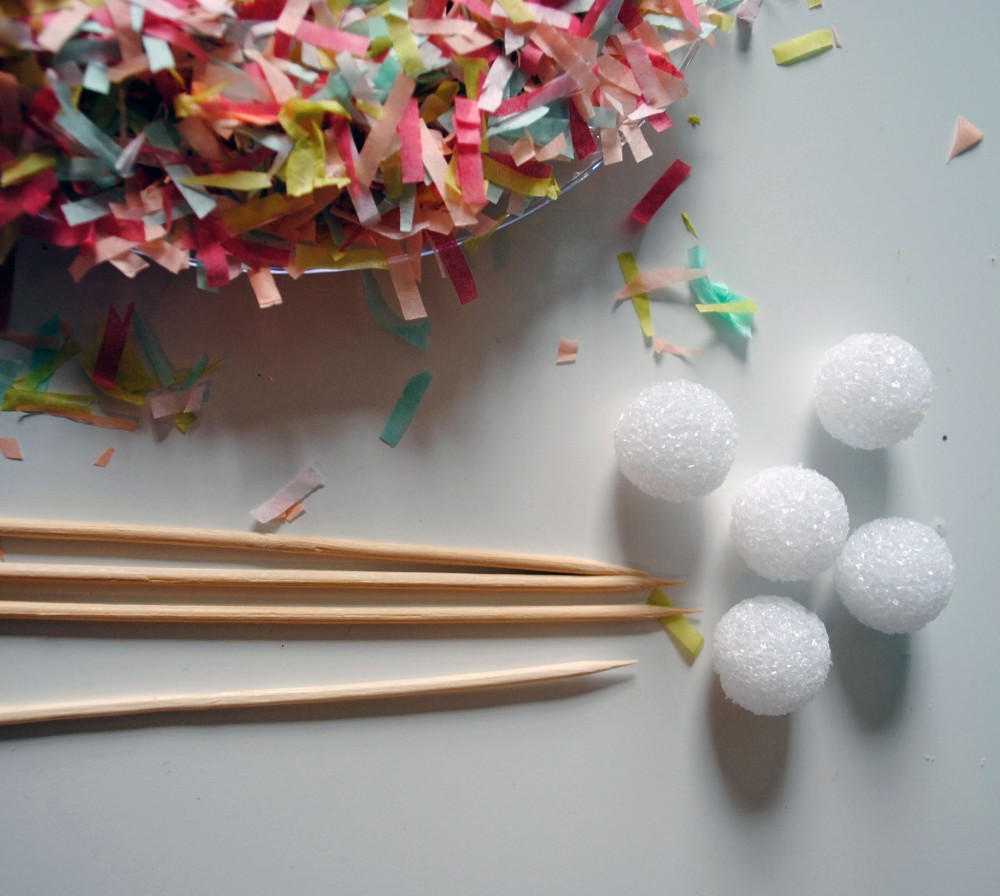
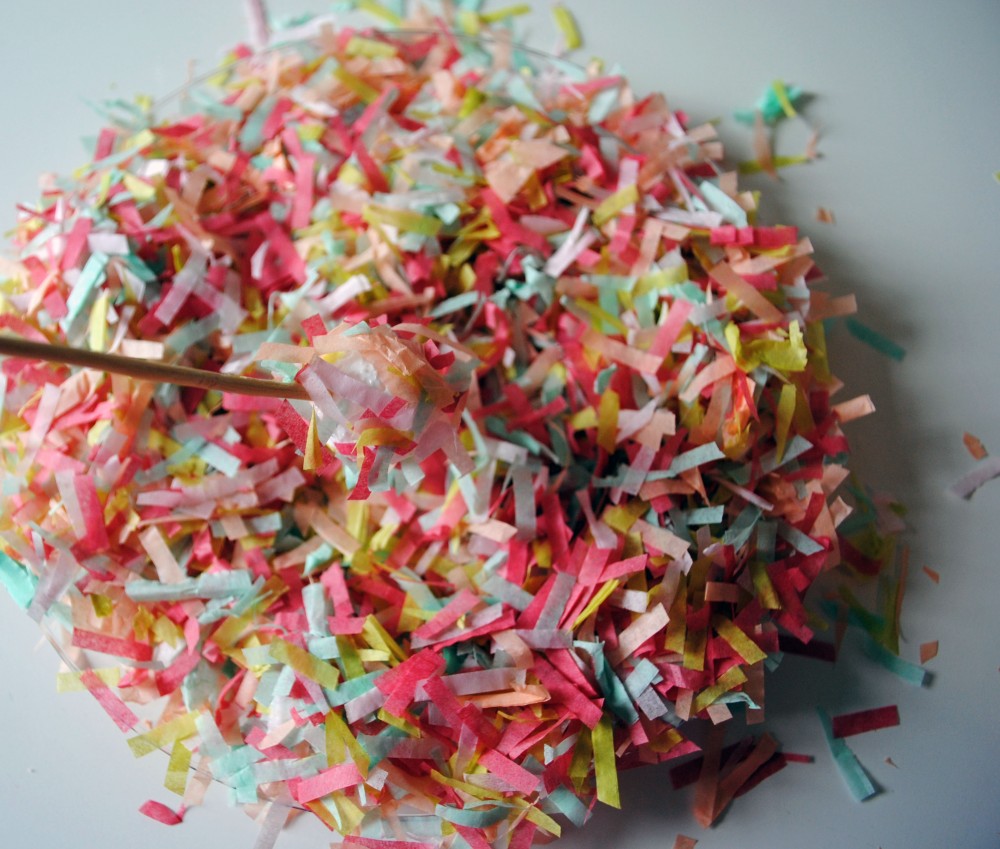
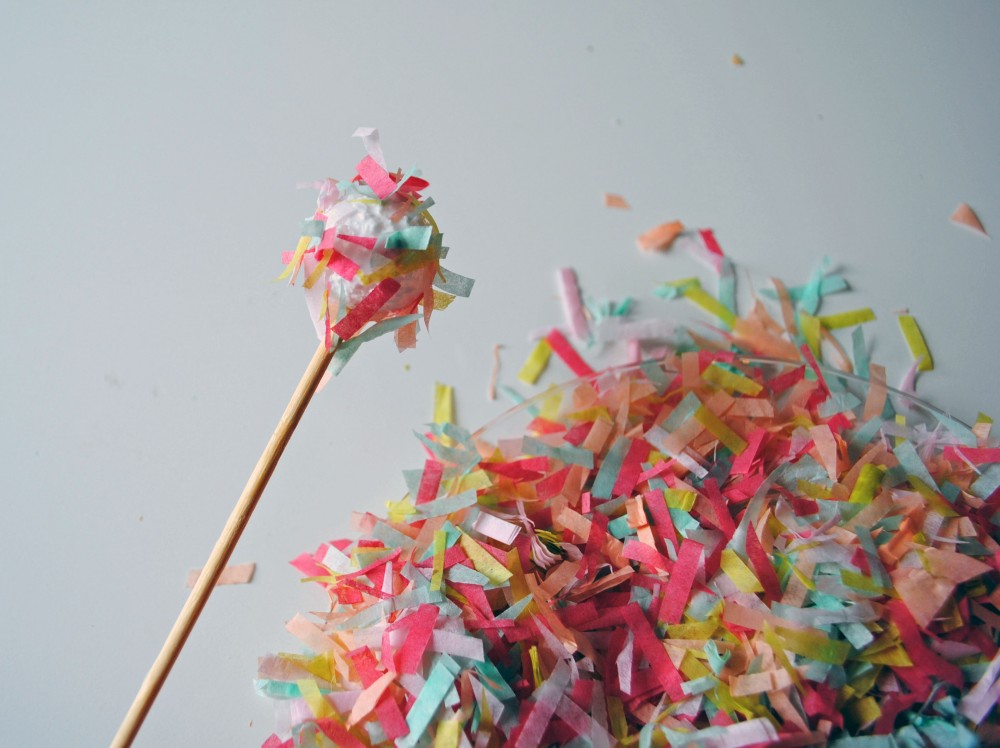
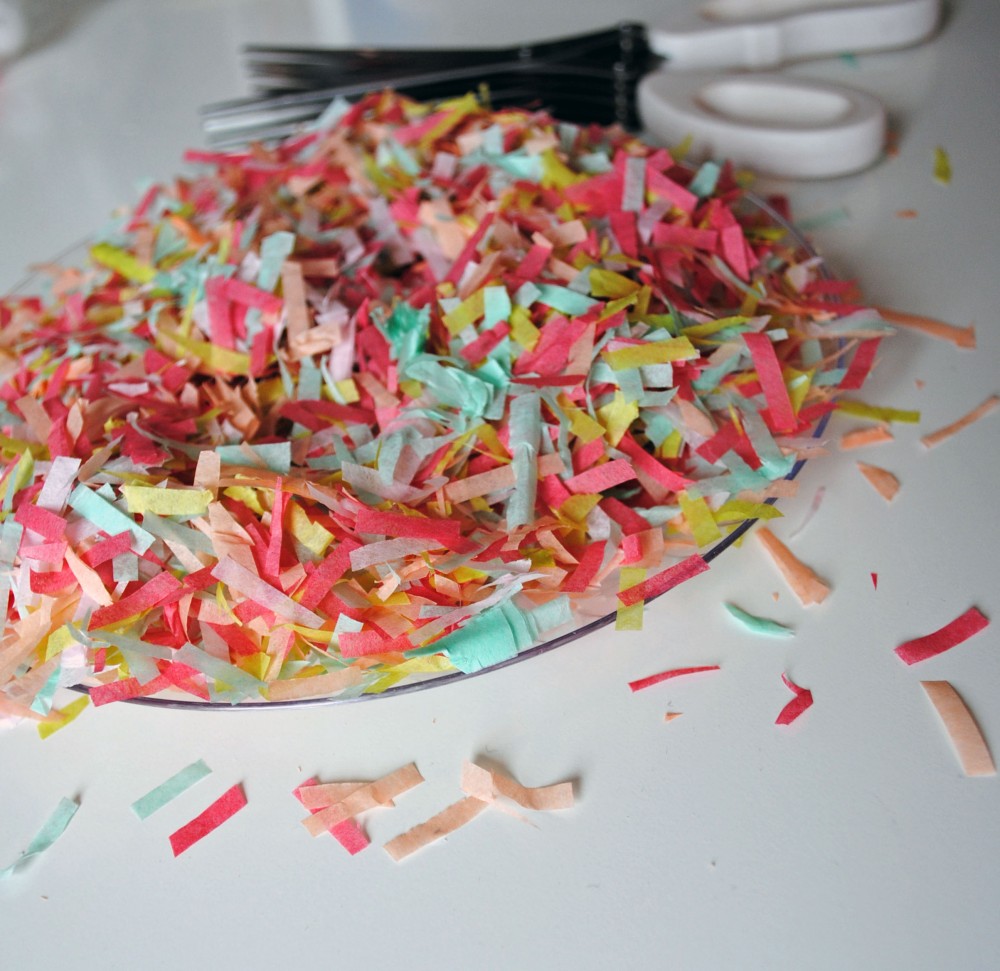
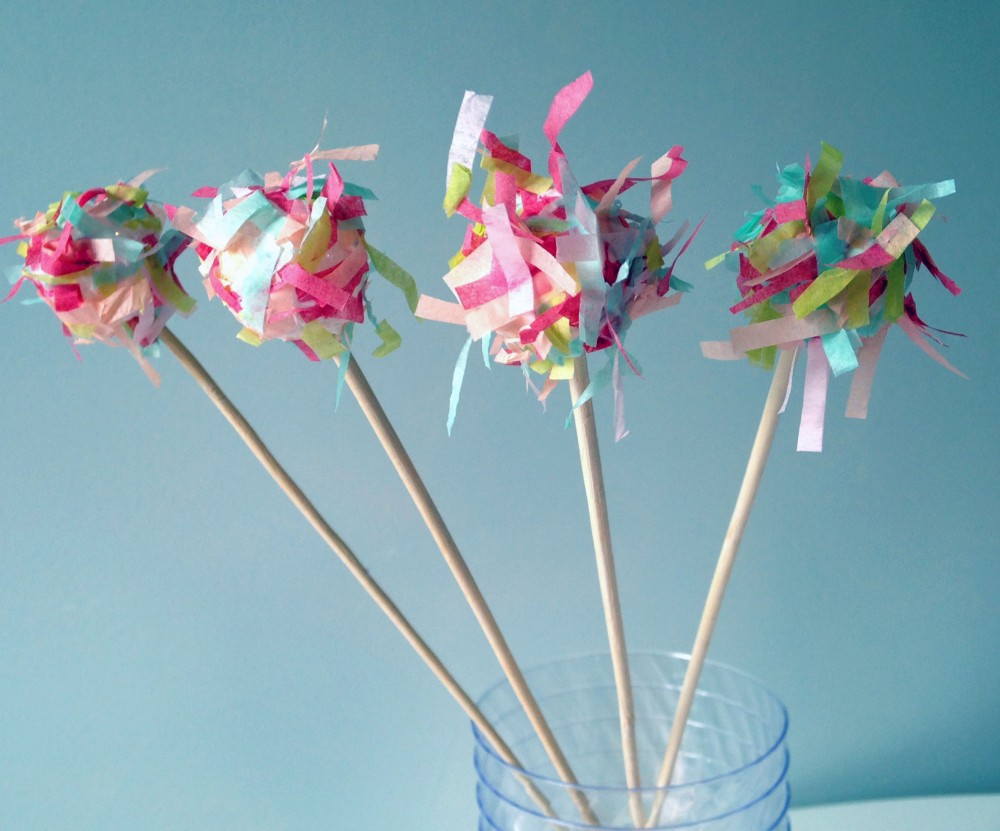
What’s a girl to do when she has some extra confetti lying around? Make some confetti drink stirrers, of course. I was working on a project this weekend and had a little bowl of leftover confetti that I didn’t want to go to waste, so I DIY’ed some festive little drink stirrers that were so simple to make. I pierced a tiny styrofoam ball with a wood skewer and covered the ball with glue. Then I just rolled the styrofoam in the plate of confetti until it was coated, and in any places that looked a little bald, I added on some more glue and dunked them back in for another coating. Then I just let them dry and they’re ready to adorn some tasty cocktails!
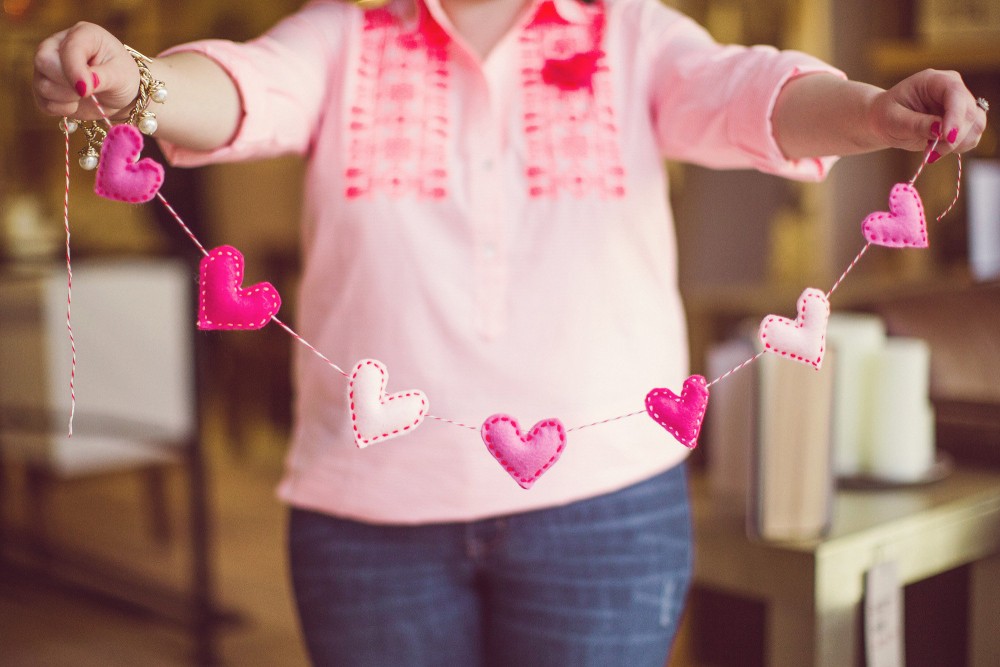
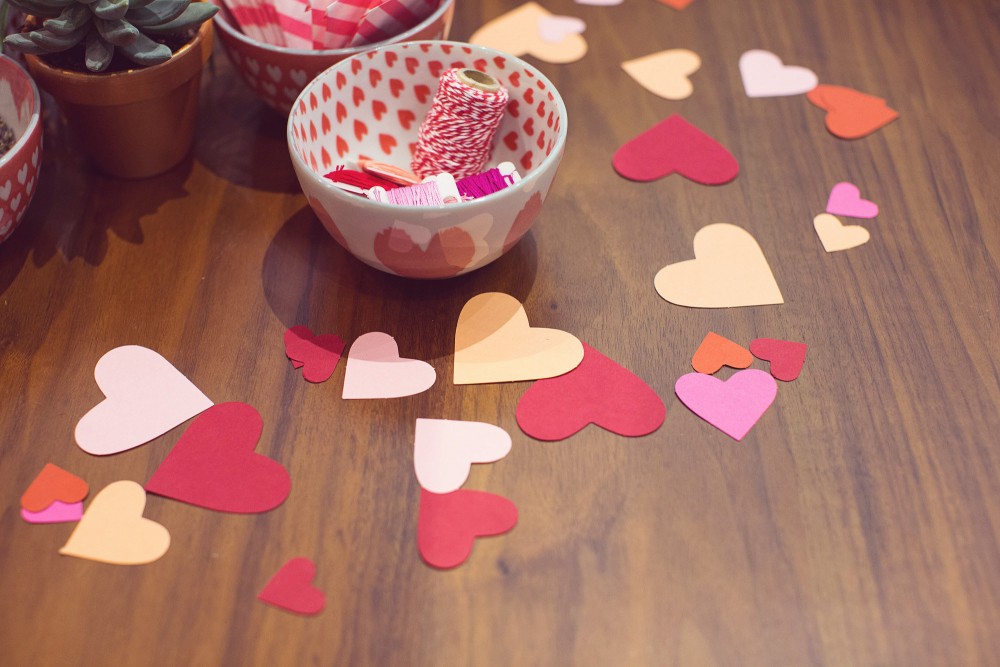
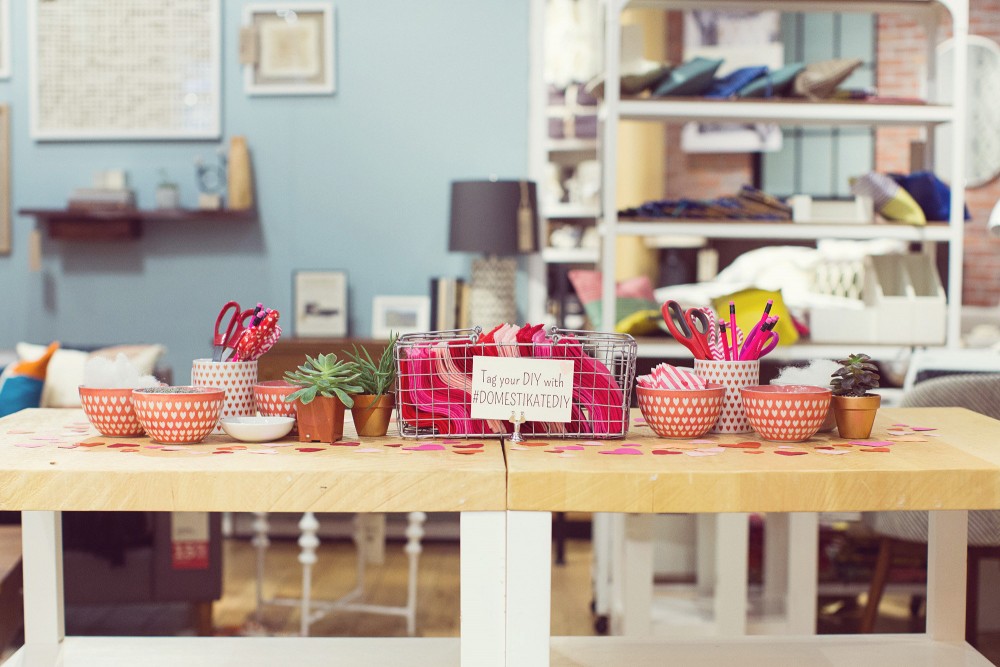
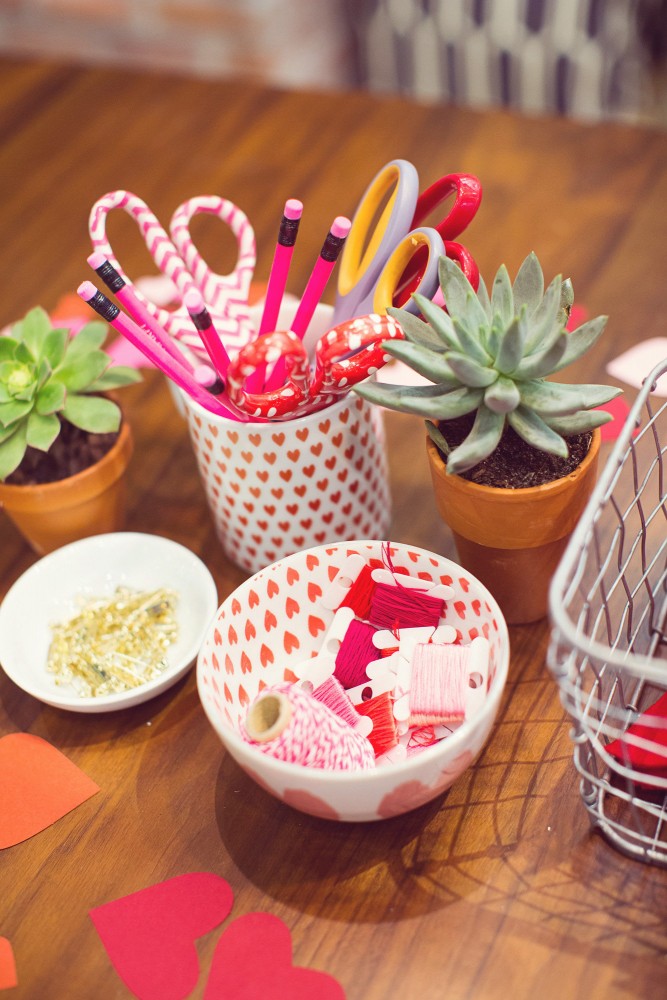
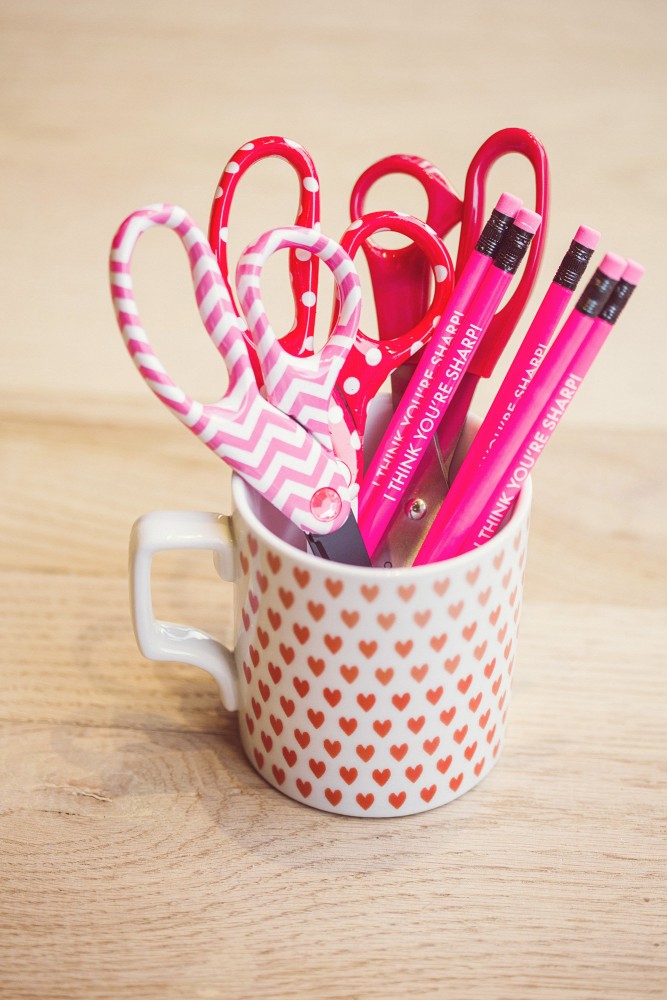
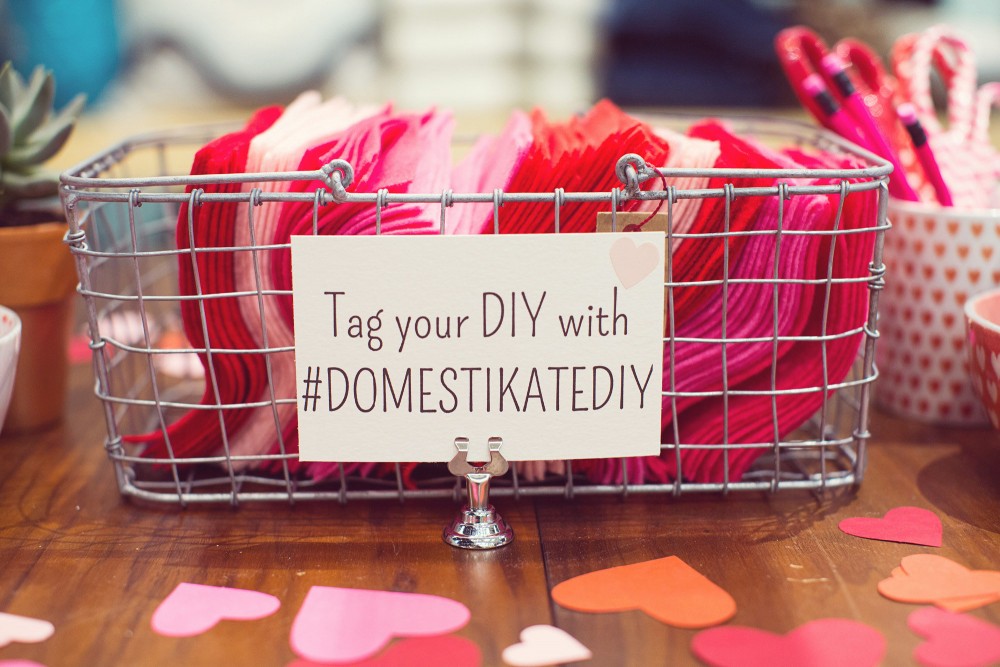
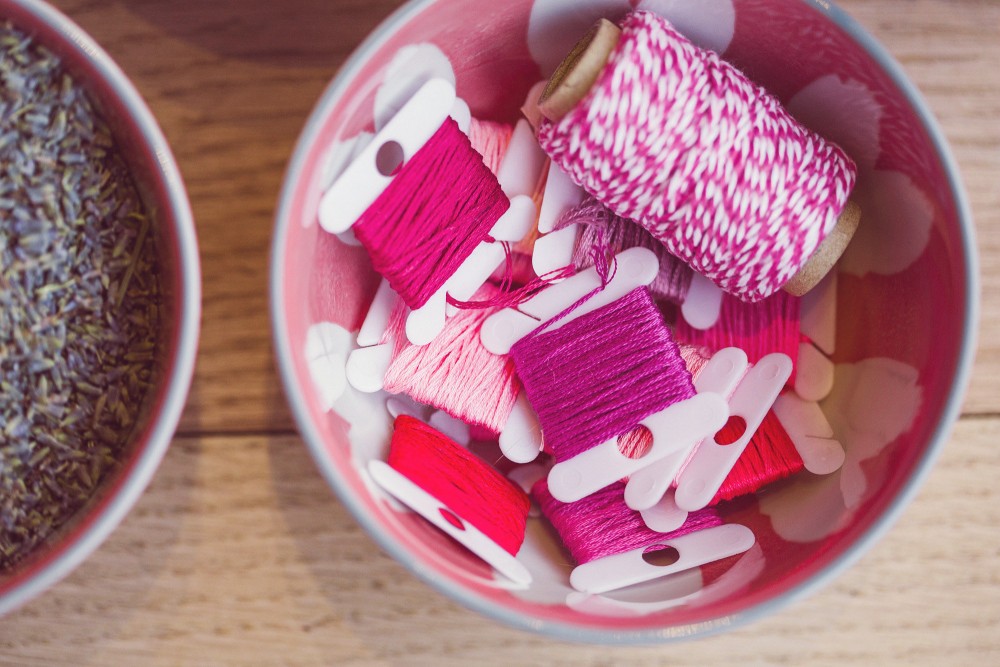
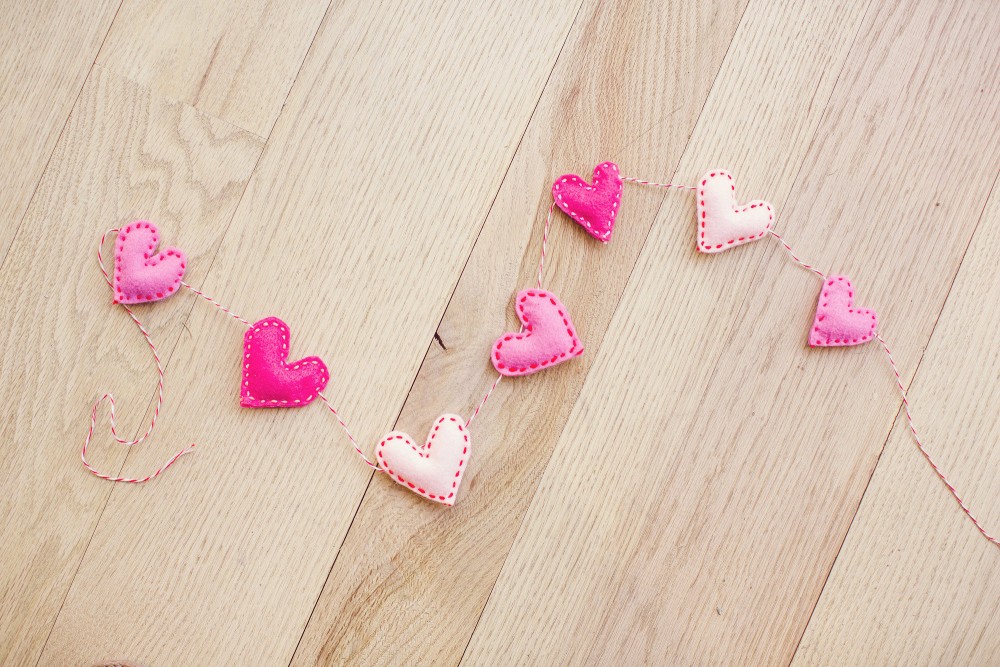
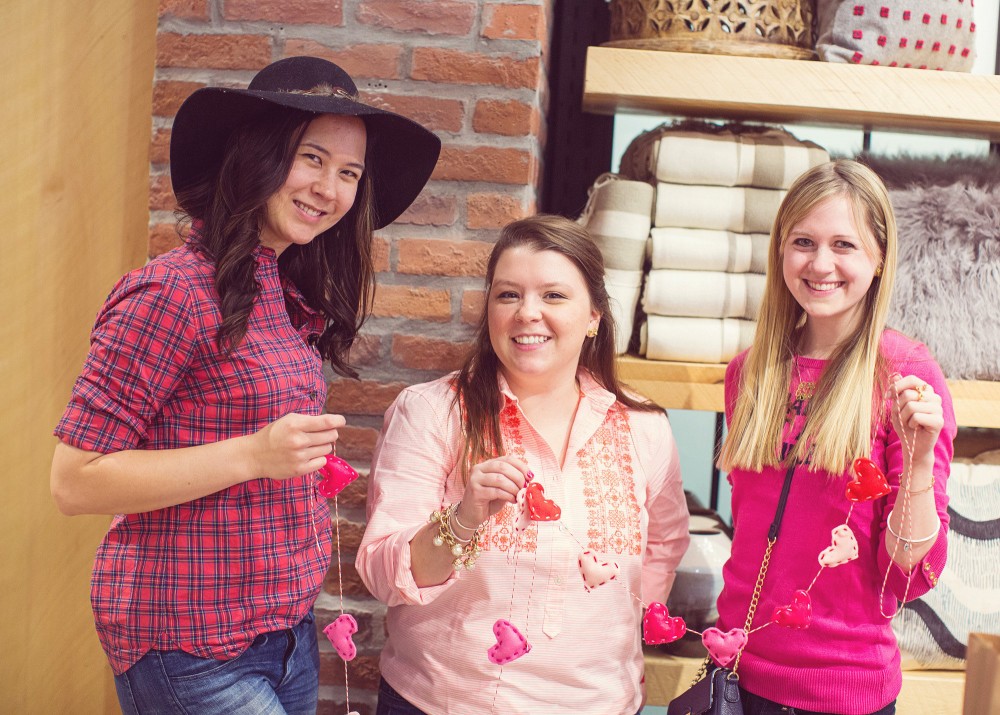
Last week at my West Elm DIY event, I taught a group of crafty ladies to make a festive felt heart garland to celebrate Valentine’s Day. I thought I’d share the instructions here so you can make one at home too! First, using two pieces of felt layered on top of each other, trace and cut out two hearts. Next, using about an arms length of embroidery floss, tie off the end and begin sewing the two layers together (starting at the tip of the heart). When you get to about 3/4 of the way around the heart shape, you want to stop sewing and stuff your heart. We used pillow batting for the garlands and pins, and loose dried lavender to make sachets. Once the heart is stuffed, pinch the layers together with your hands and sew the remaining 1/4 of the open heart closed, tying off the end with a knot. Once you have your stuffed heart, you can sew on a pin to the back, add hook to make it a hanging sachet for your closet, or string multiple hearts together to make a sweet garland for your bar cart or mantle!
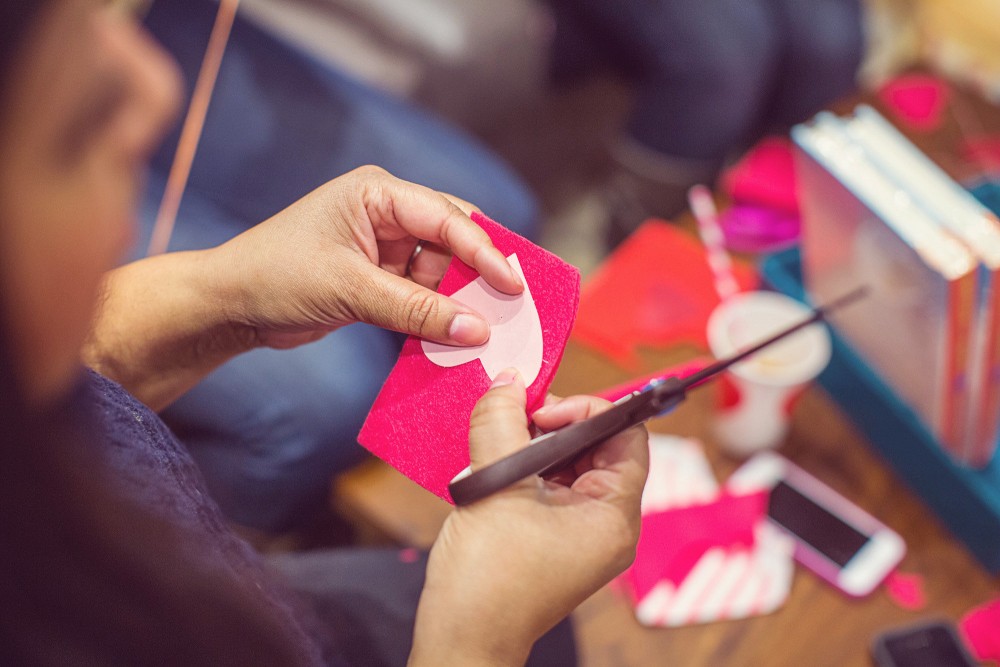
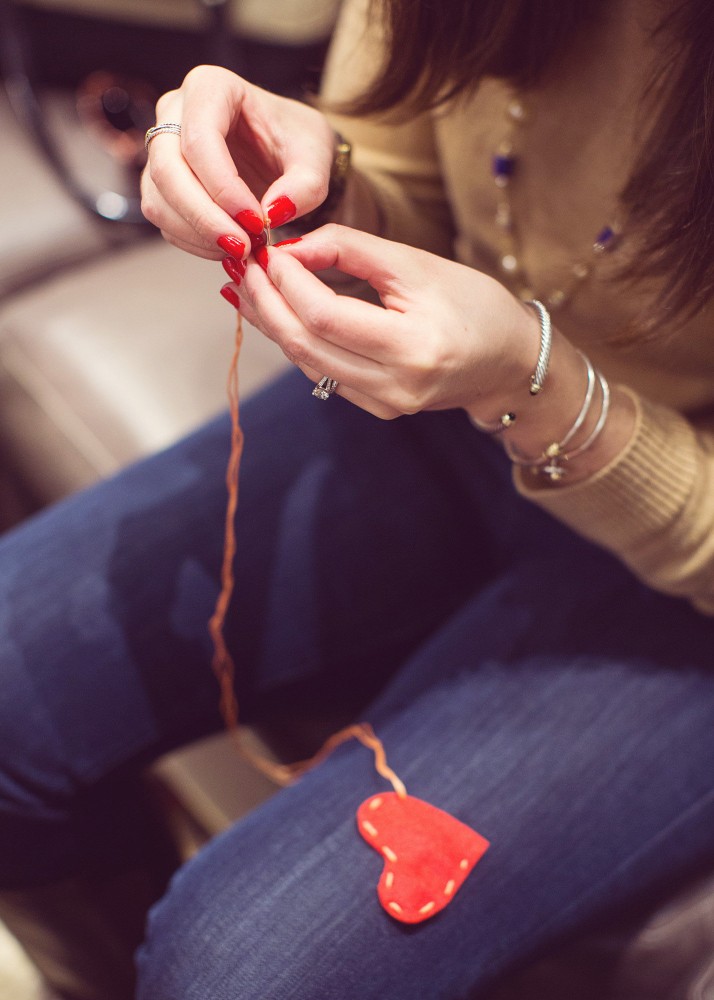

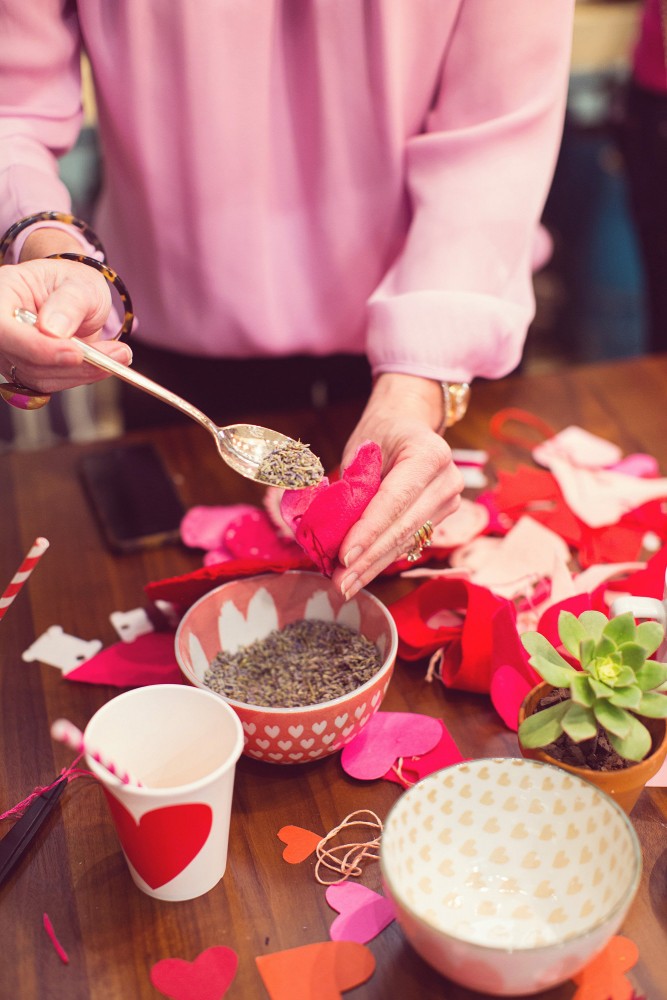
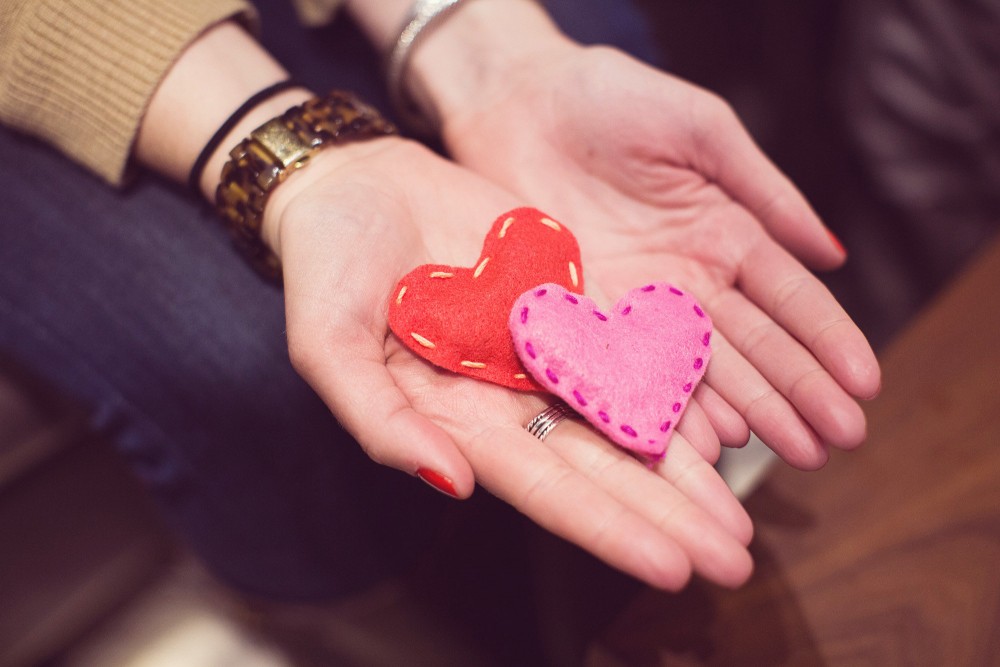
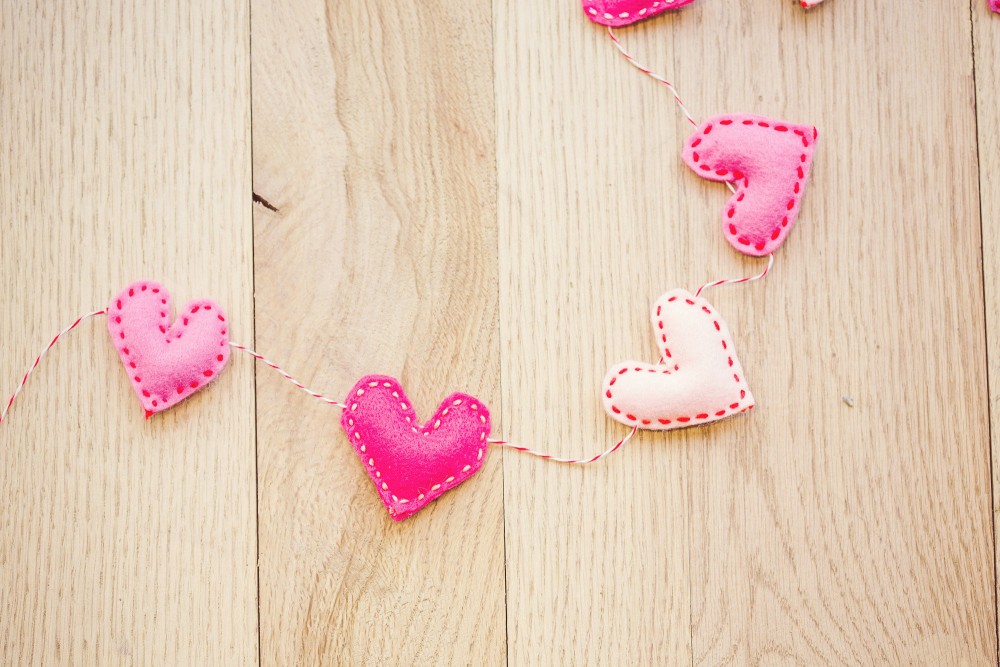 All photos via the fabulous Bring To Light Photography!
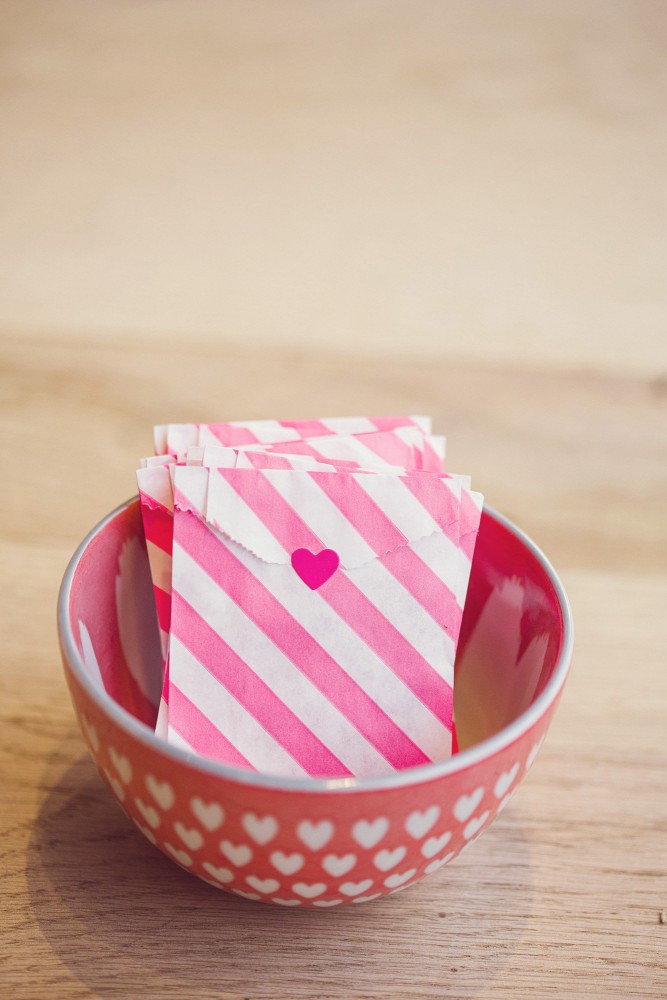
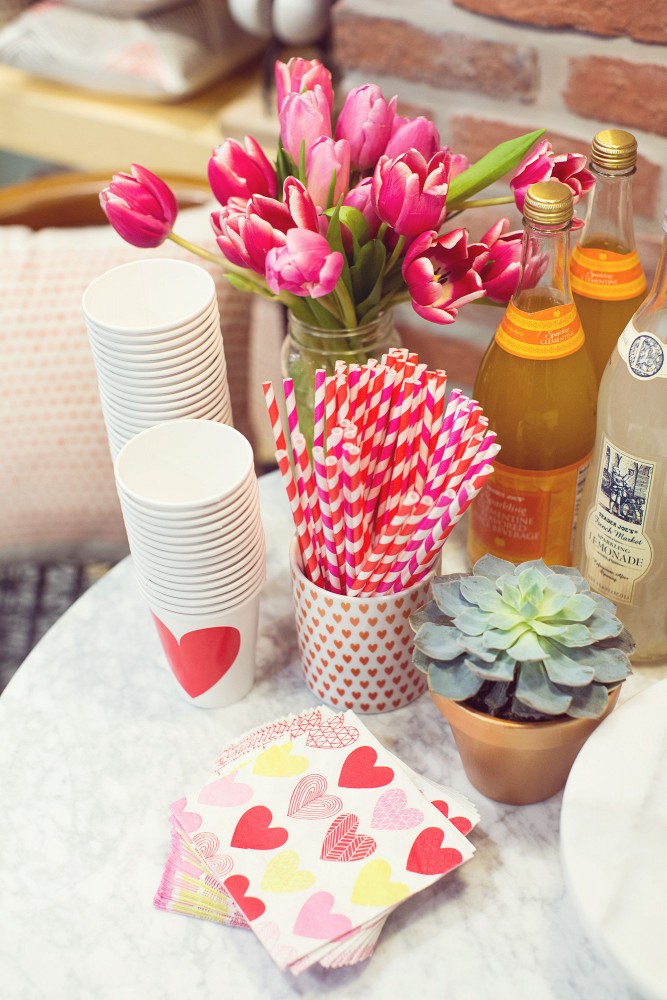
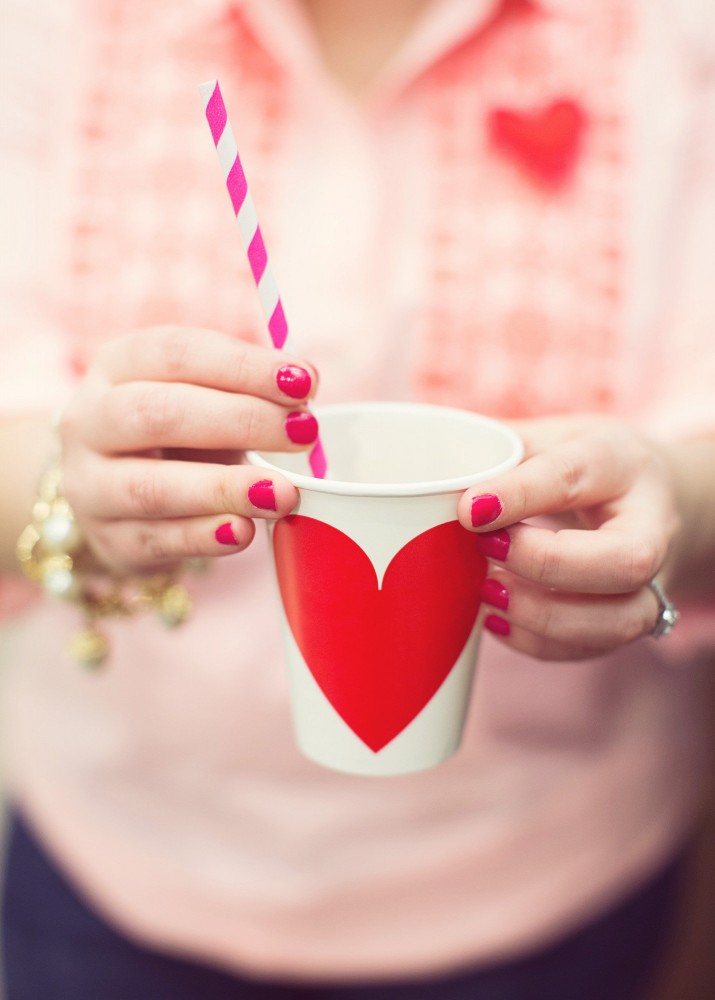
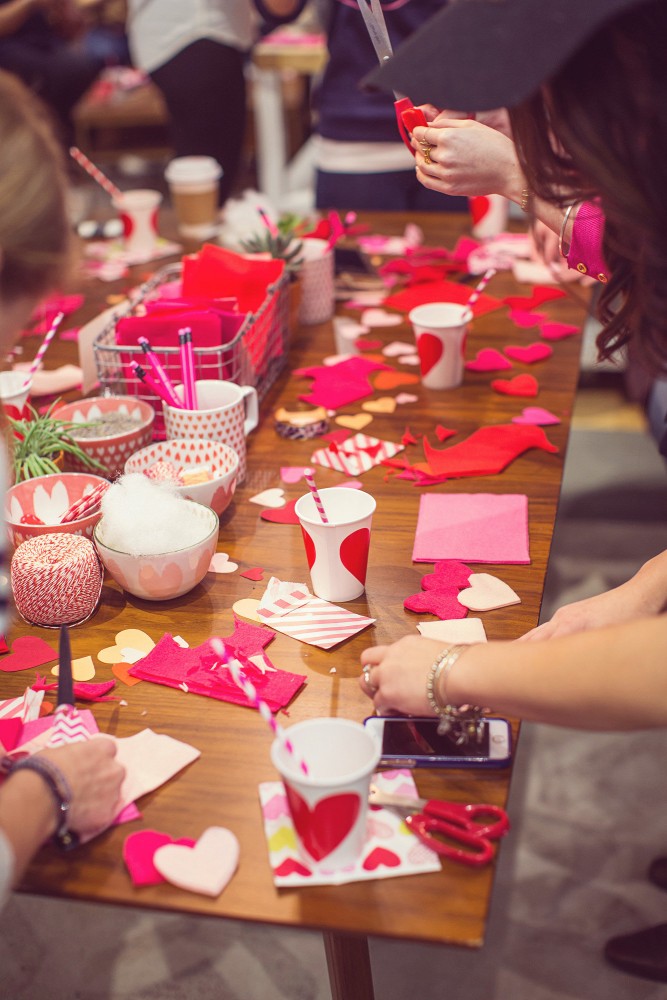
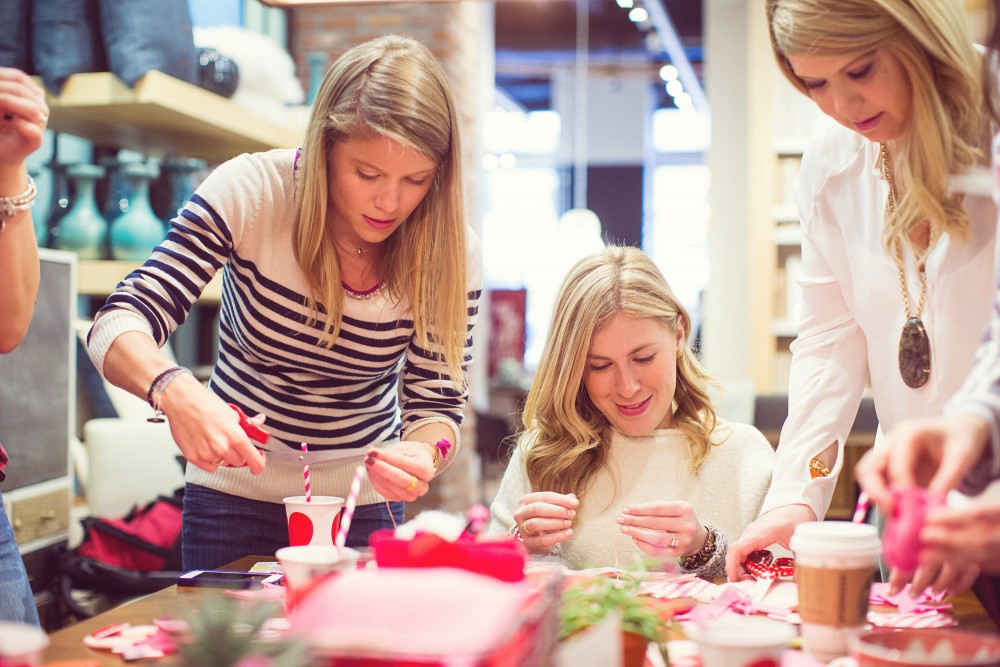
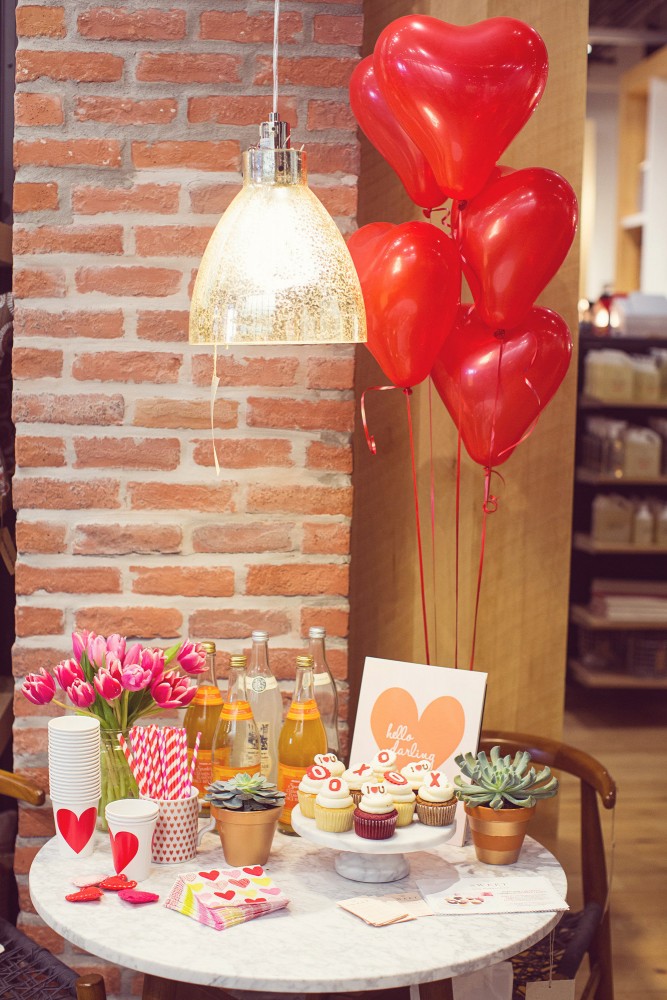
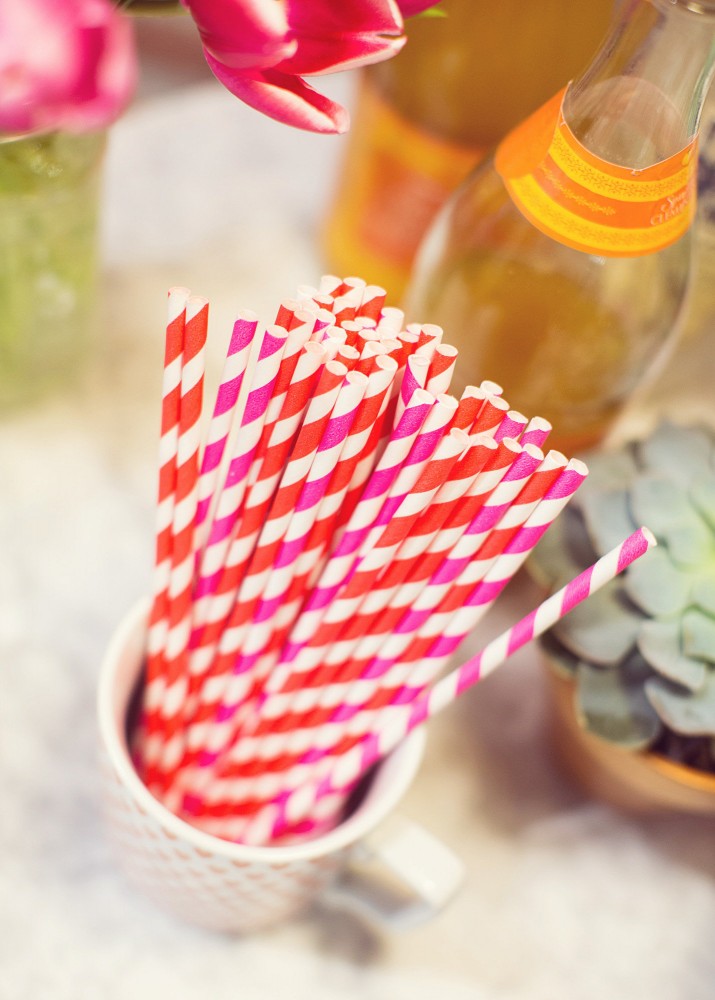
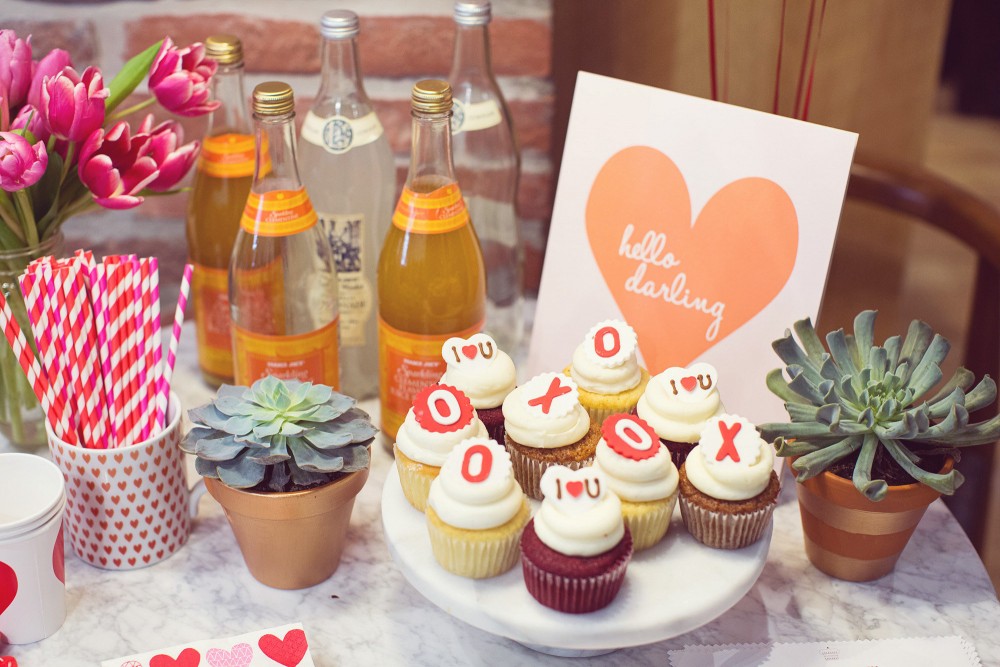
I’m so excited to share a few pictures from my event at West Elm Fenway a few weeks ago! It was such a fun day — I mean, really, is there anything better than hanging out with your girls and making cute things? I’ll post a tutorial this week with step by step instructions so you can make your own felt heart garlands (or pins! or sachets!). Thanks to my bestie Taz from Bring to Light Photography for taking these fabulous pictures, the lovely folks at West Elm Fenway for hosting, Sweet Cupcakes for making sure we had tasty bites to snack on, and for all of the lovely friends, blogging buddies, and new faces that came out to craft with me! Let’s do it again, OK?
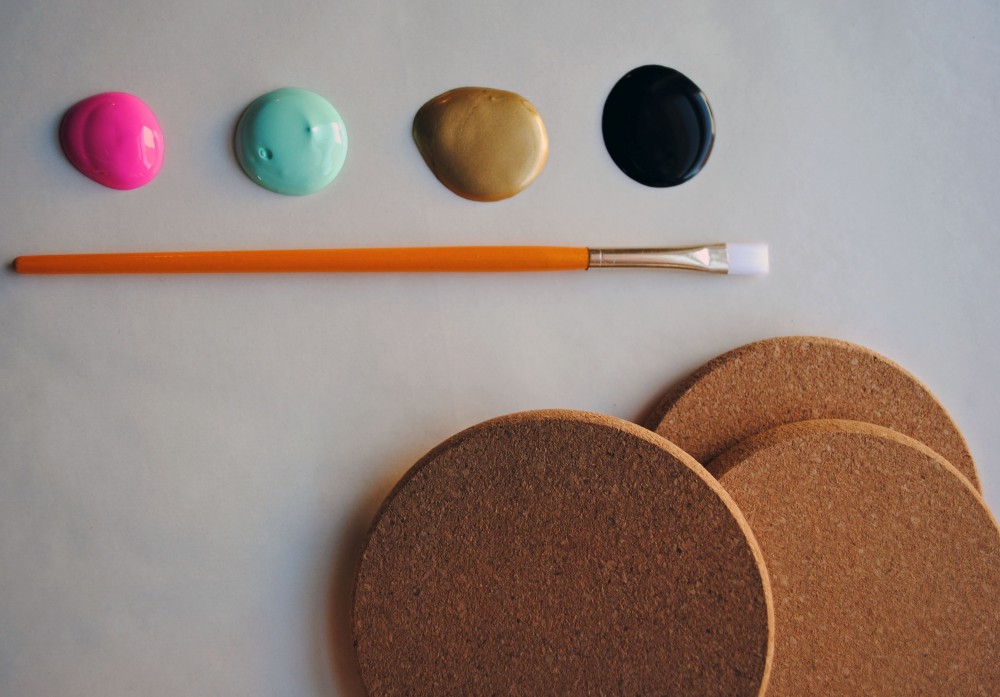
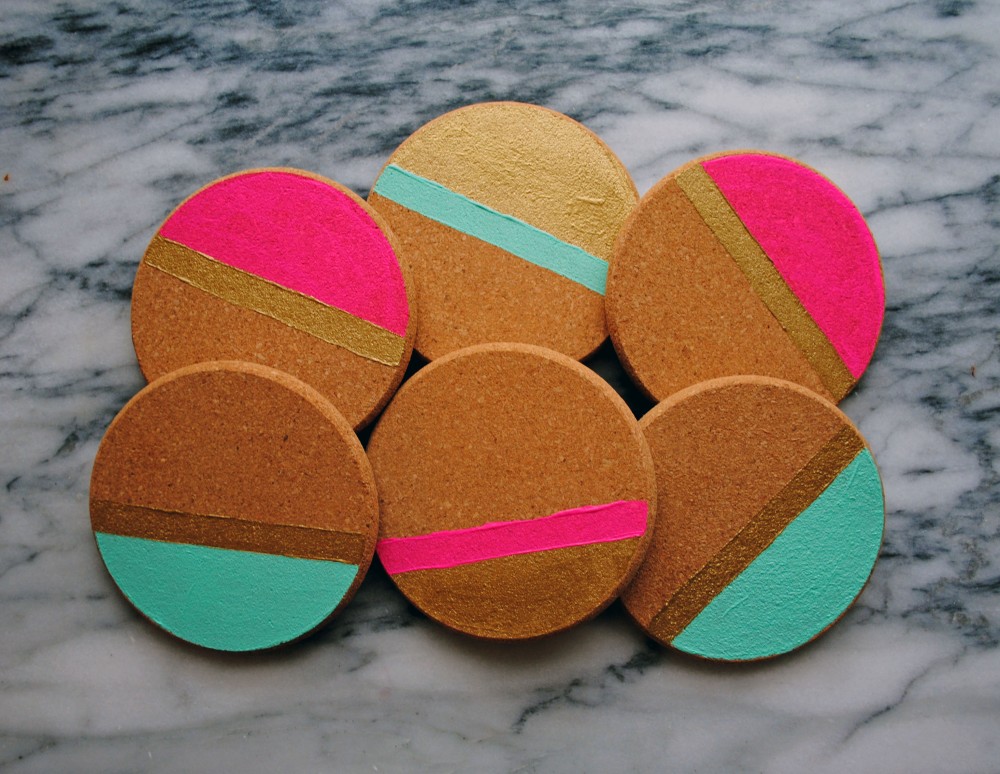
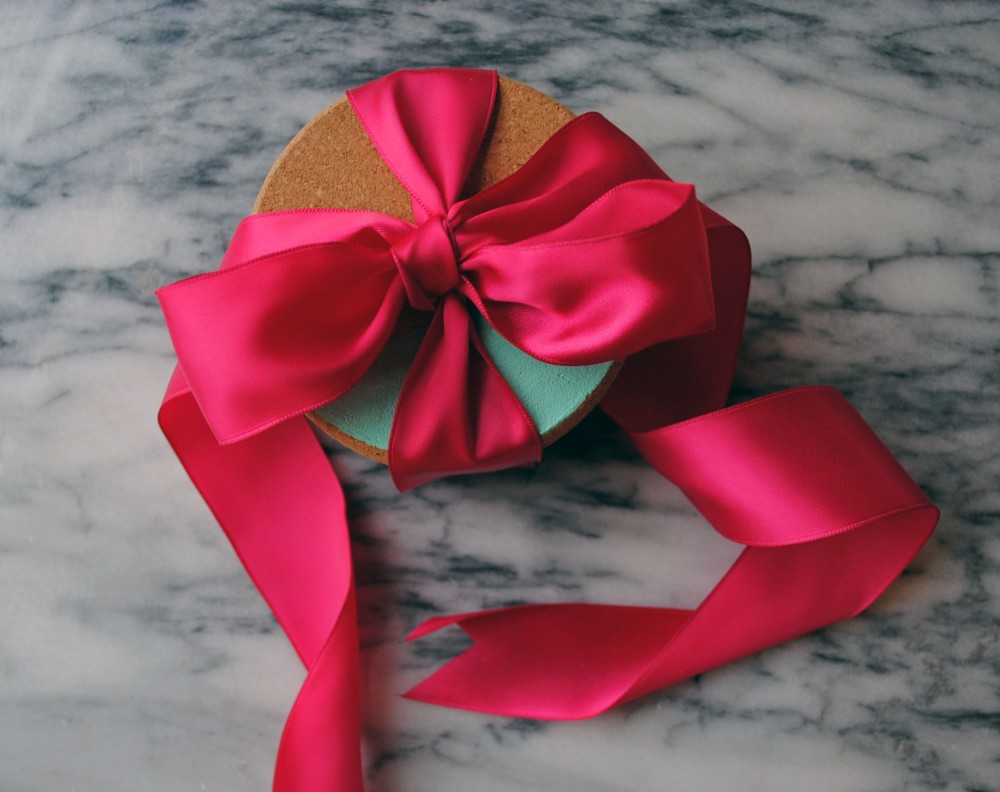
I hate to play favorites, but I think I saved the best handmade holiday gift idea for last this week — painted cork coasters. Using plain cork coasters, I painted stripes and color blocks in pink, teal, and gold, and then finished off the top of them with a matte sealer to keep them waterproof. You could play around with color combinations that match your gift recipients’ home and style to make a customized gift, and pair them with their favorite wine or spirit. Are you trying any homemade gifts this year?
Looking for more DIY present ideas? Check them out here.
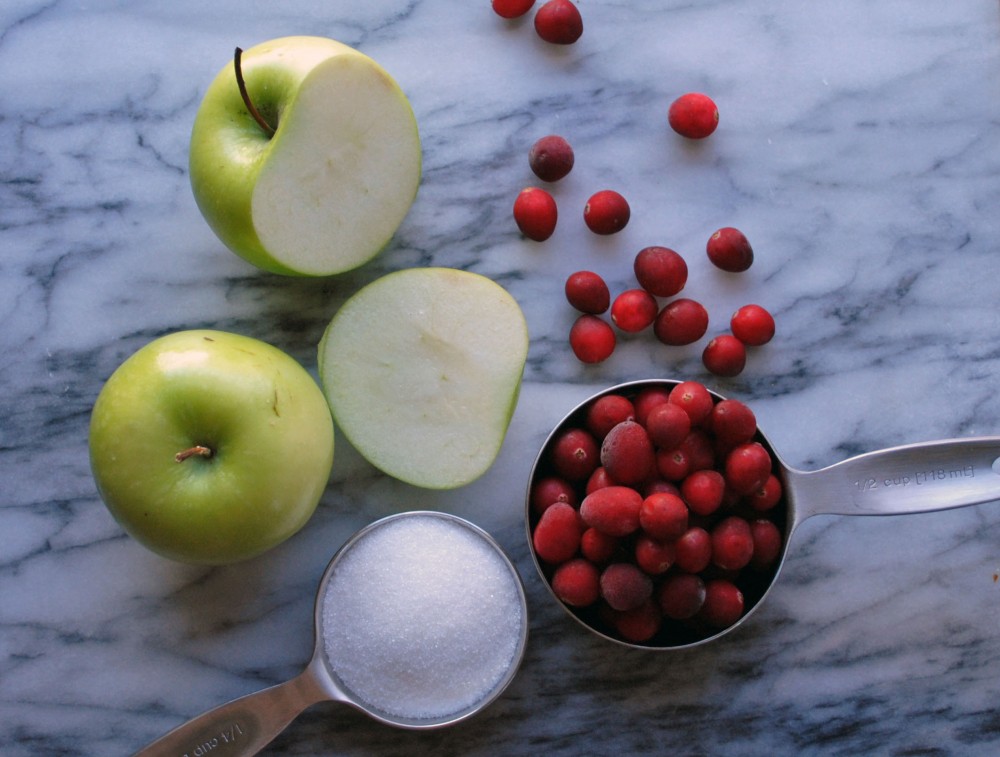
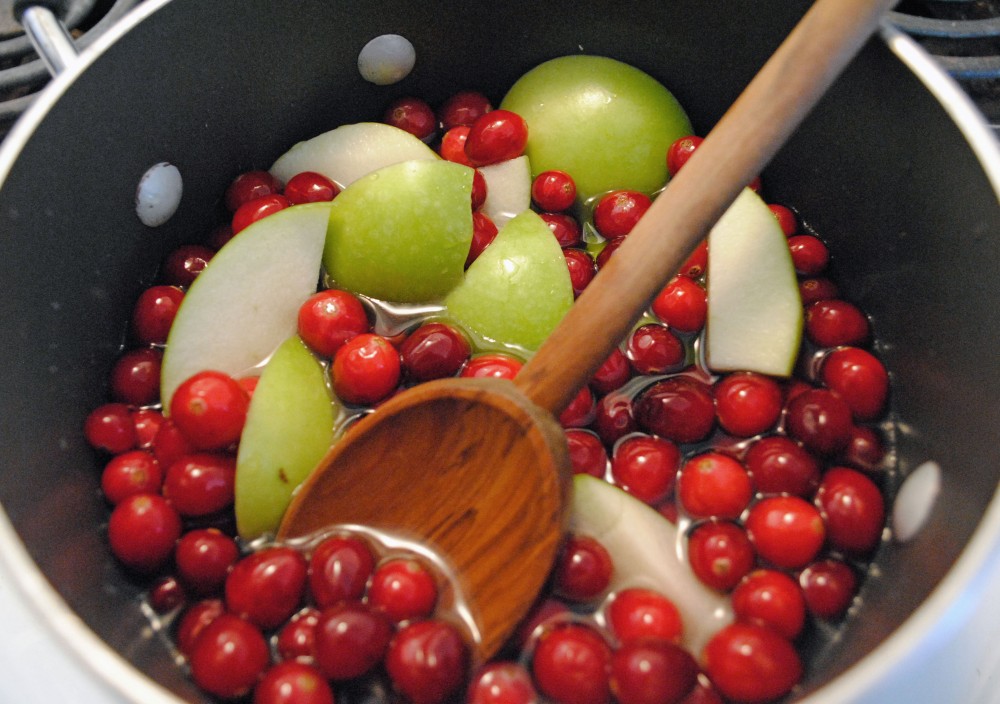
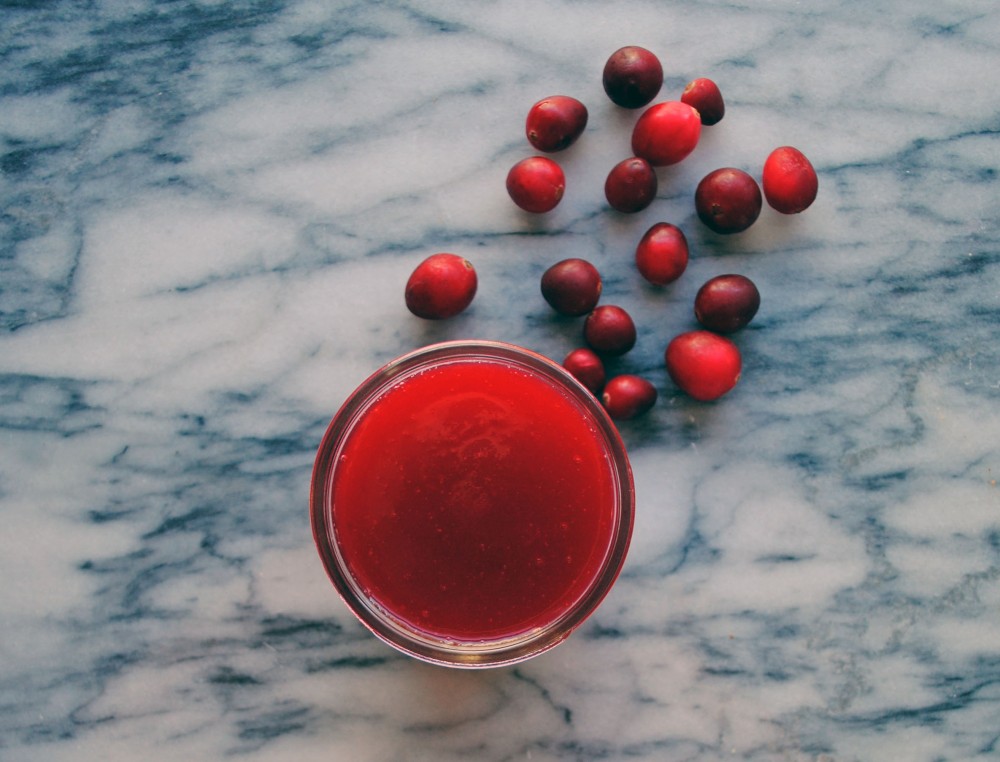
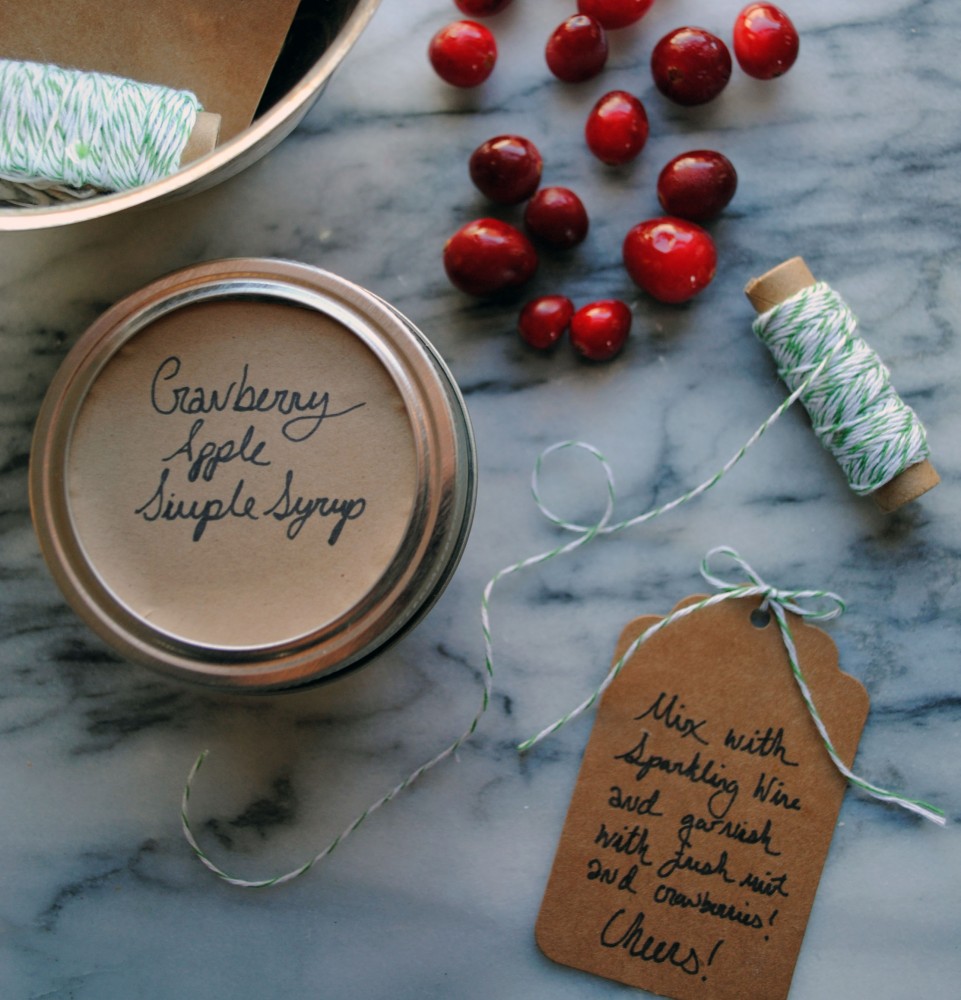
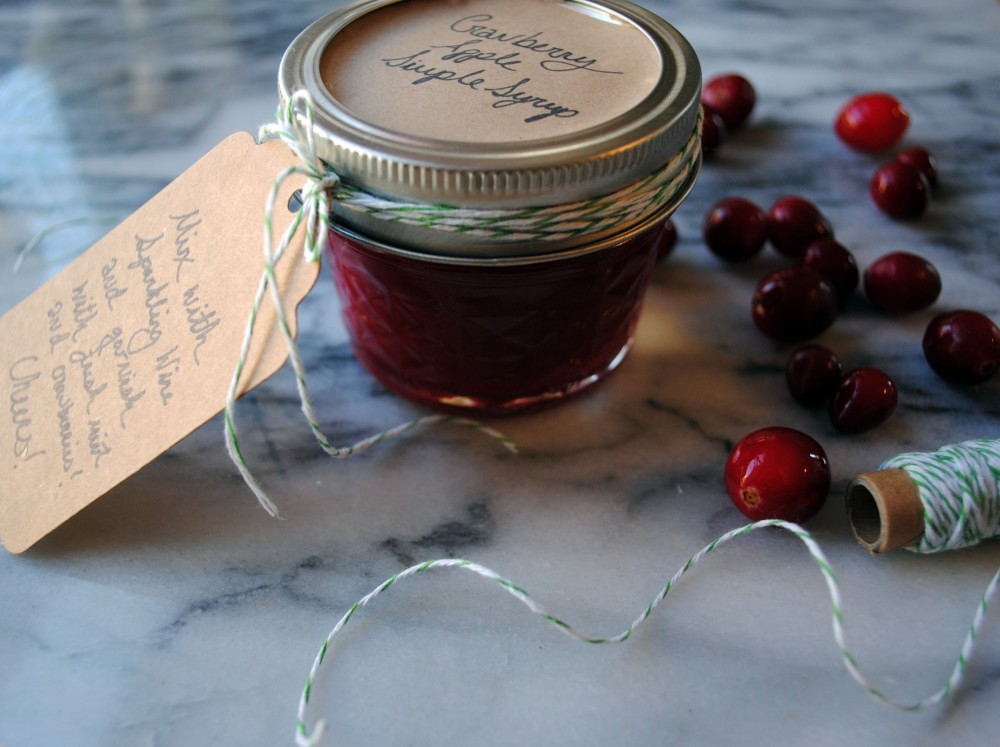
This is a DIY gift that I can nearly guarantee anyone would love to receive, homemade simple syrups. Sometimes I wonder, do they call it simple syrup because it’s so simple to make? I think they might! I used this recipe, and added apples for my own twist. Then I packaged it up in mini-mason jars and labeled the tops with brown craft paper, bakers twine, and recipe tags. Experiment with flavors and come up with your own mixture (I’ve used this recipe before too) — it’ll make your gift even more unique when you give it your own spin!
Looking for more DIY present ideas? Check them out here.
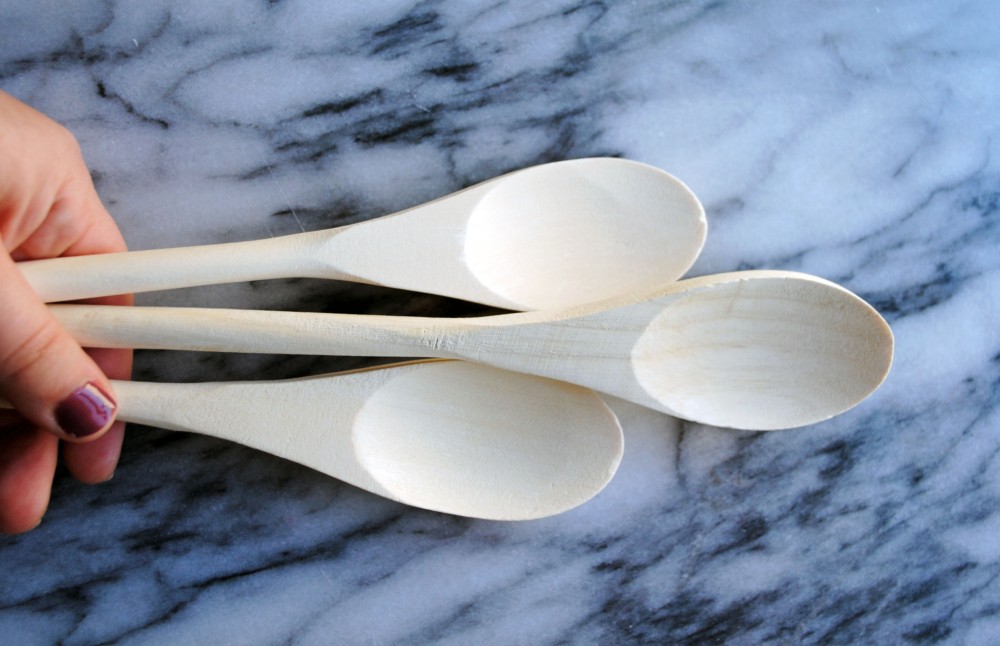
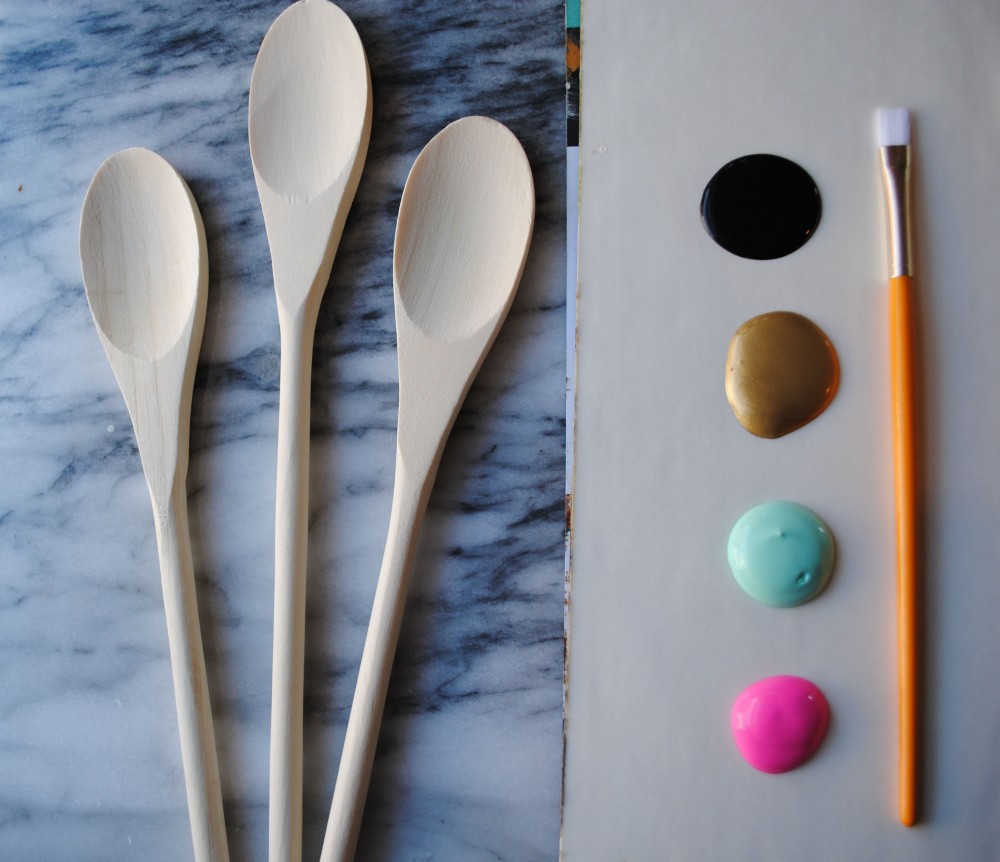
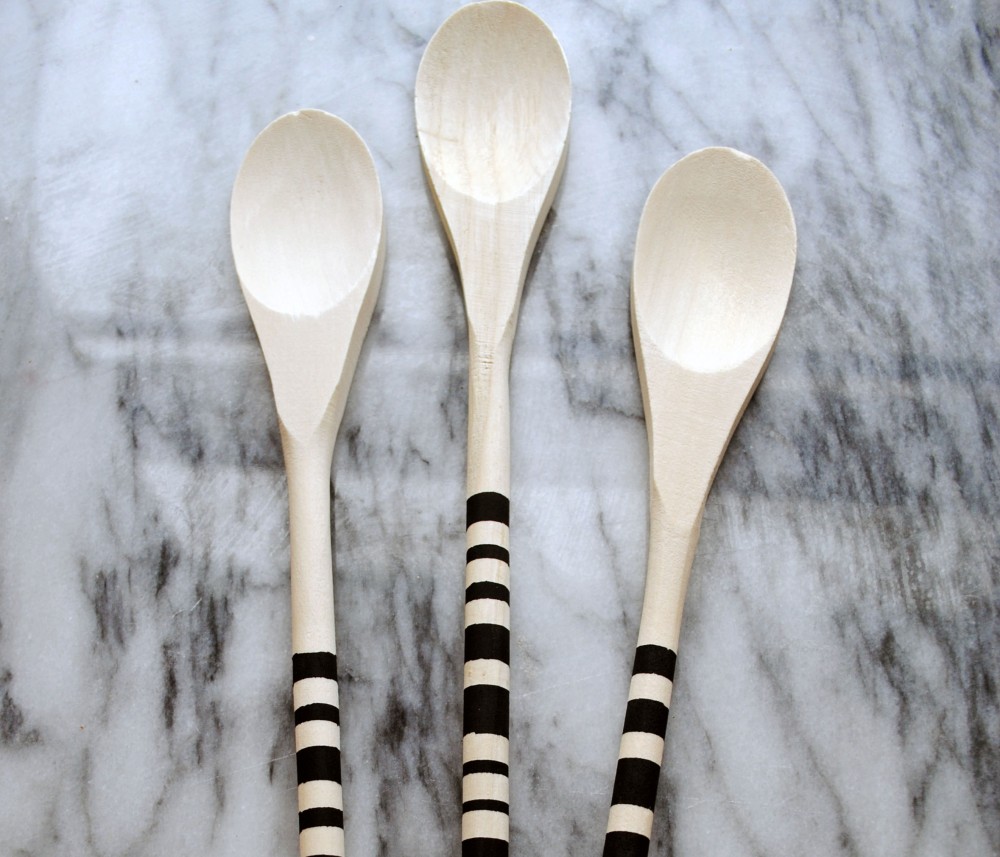
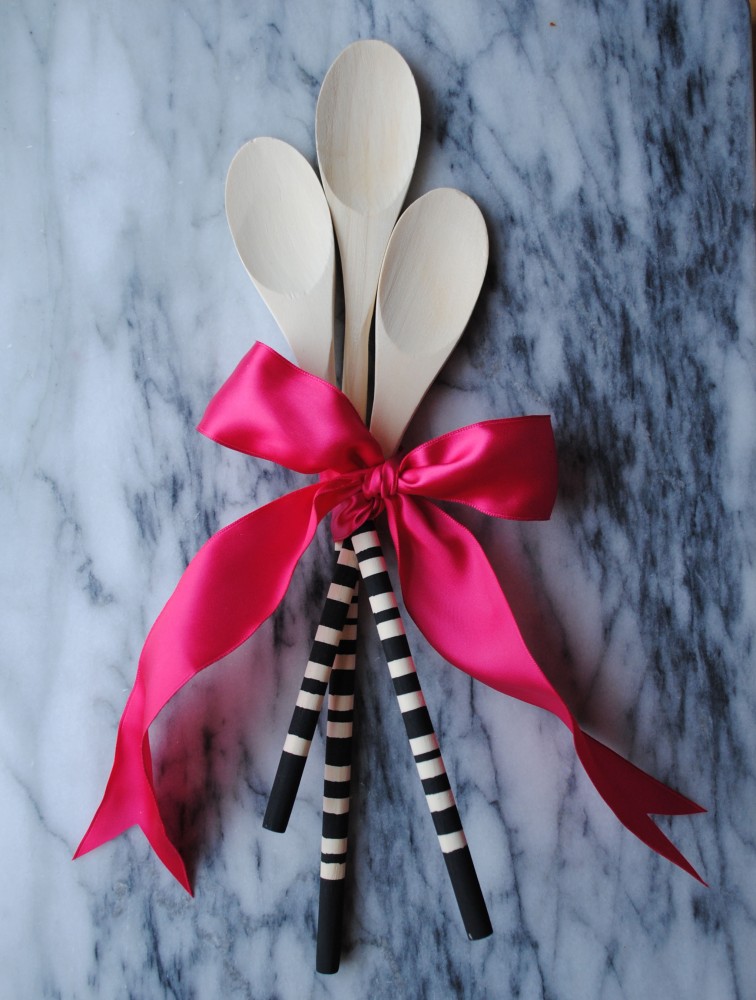
Today’s handmade holiday idea is all about creating a simple hostess gift. I purchased a few different sizes of wooden spoons, and taped off stripes at various intervals with painter’s tape, and then painted in the lines with black paint. After the paint thoroughly dried, I peeled back the tape to reveal the pretty stripes. Make sure you add a matte coat of clear finish over the top so that they’re safe to hand-wash. And of course, presentation is everything — I wrapped the set up in a shiny silk ribbon to make them gift-giving-ready!
Looking for more DIY present ideas? Check them out here.
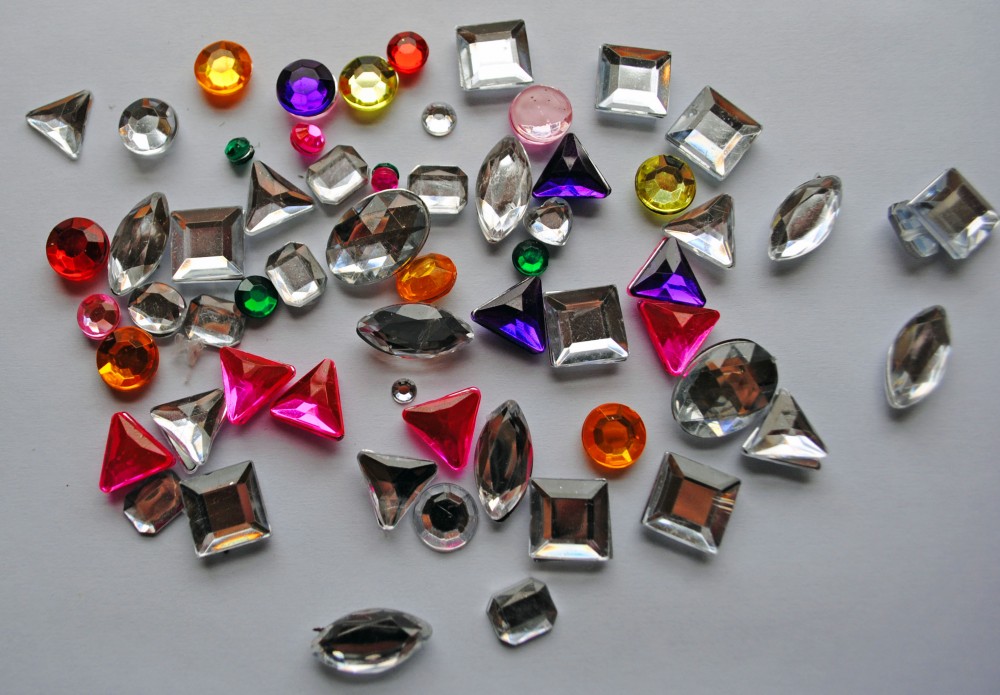
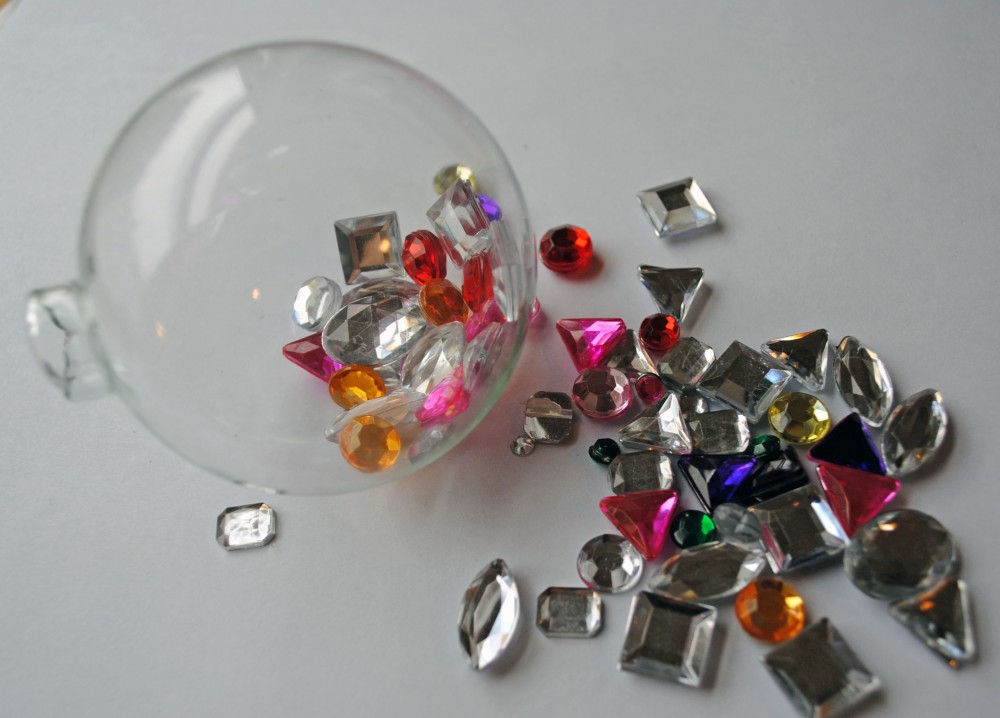
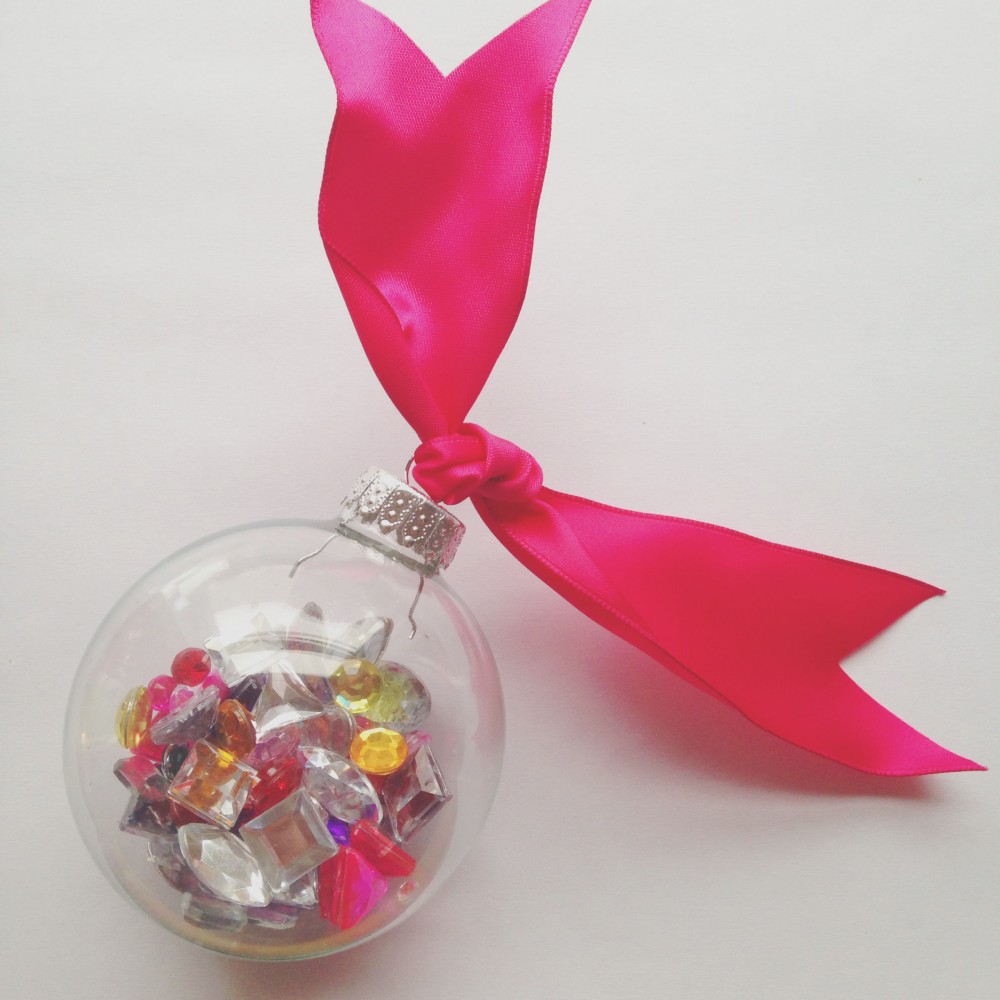
Ready for another simple handmade holiday gift? This is another under-5-minutes DIY — glittery rhinestone filled ornaments. To make these, I purchased clear ornaments from my local craft store, and filled them up with rhinestones in various colors, shapes and sizes. Then I added a bright pink silk ribbon to the top for hanging. While I sort of want to keep these shiny little decorations for myself, I think they’d make a great gift for your girlfriends, customized in colors to match their style. Or tie a few onto a wrapped present as a special decoration that the recipient can add to their tree!
Looking for more DIY present ideas? Check them out here.
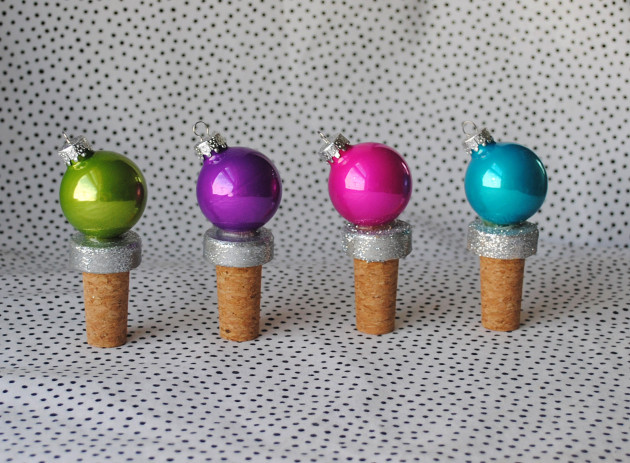
Next week I have a few fun DIY ideas for handmade holiday gifts — but in the meantime I thought I would share a few of my favorite DIY gifts from last year to get you in the crafting-mood! My favorite of these is the festive bottle stoppers, I gave them out as gifts last year and they were a hit — plus I still have a few hanging around that I plan on using for holiday entertaining! Do you have any plans for homemade gifts this year?
Festive Bottle Stoppers | Cookie Mix Jars | Glitter Hangers | Polka Dot Candle Holder | Monogrammed Coffee Mugs
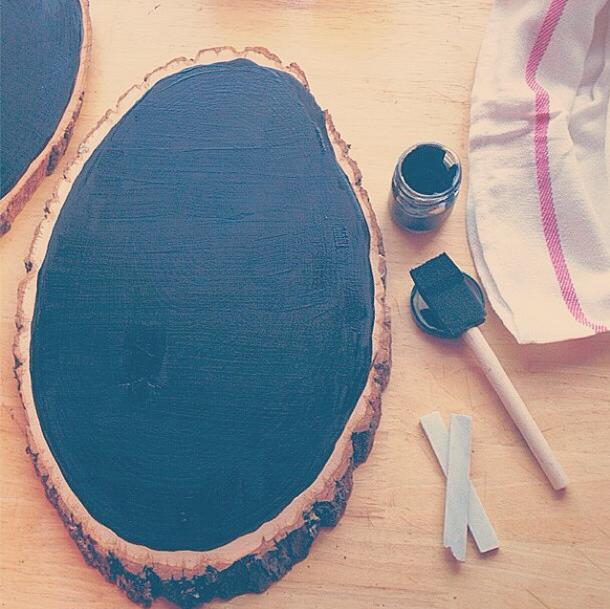
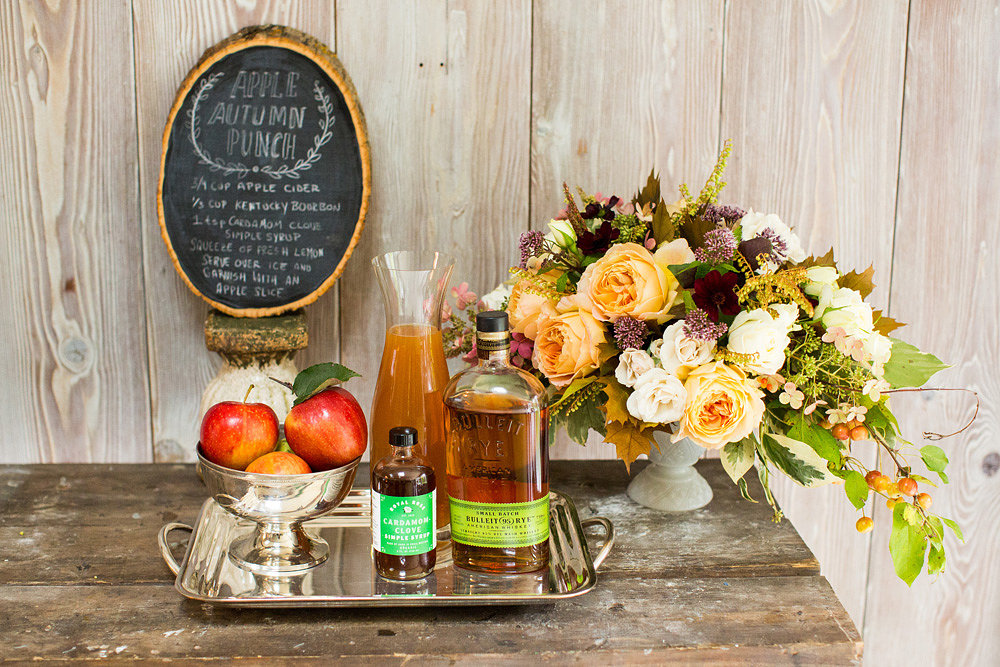
I think is going to be my first post where I claim the ‘holiday season is upon us’ — because I officially saw them rolling out the roasting pan displays and racks of Christmas decorations at Target last night! I did a little DIY project a few weeks back to create a custom chalkboard and I think this idea is perfect for adding a little rustic touch to your holiday decorating. It’s as simple as this: I found the tree stump slices at Michael’s and painted them freehand with black chalkboard paint, leaving a little border around the edge to show some of the wood. I think they would be just perfect for writing out your holiday dinner menu on, sharing your signature cocktail recipe (like I did below) or even a thoughtful note about what you’re thankful for at Thanksgiving.
Photography (Image 2) by Bring to Light Photography and Florals by Little Flower Cottage
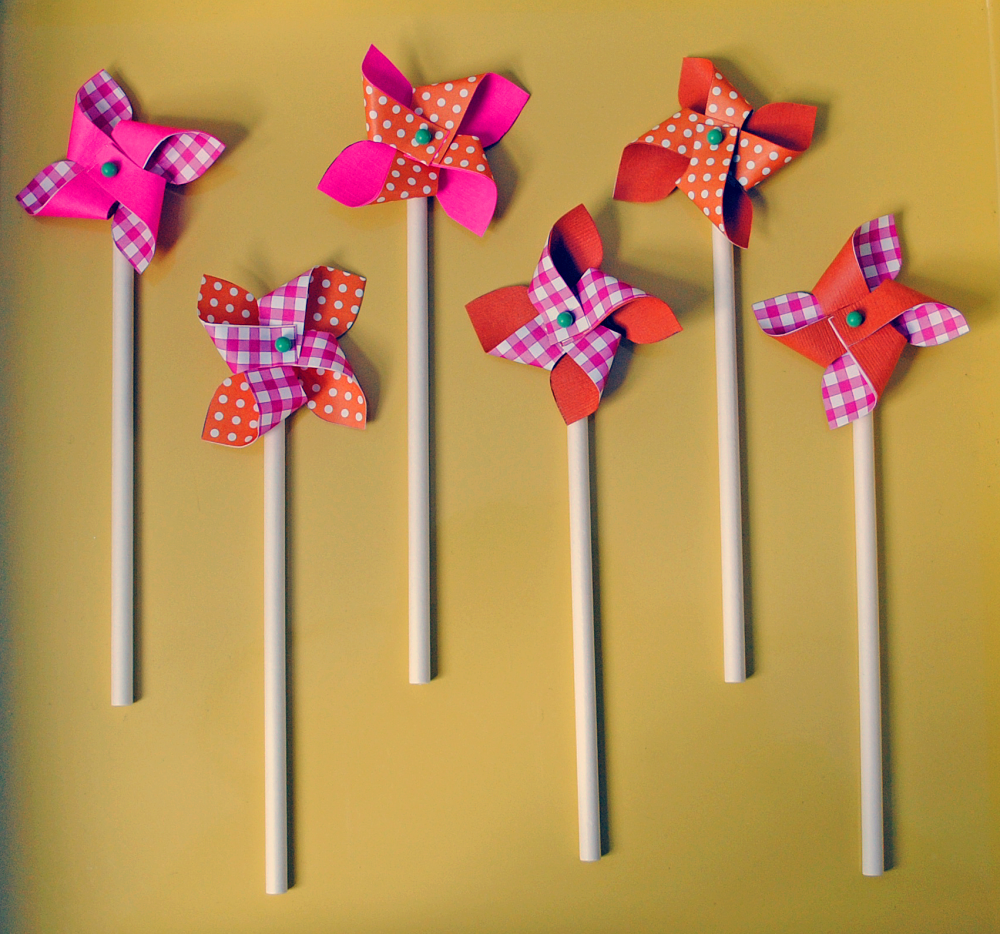
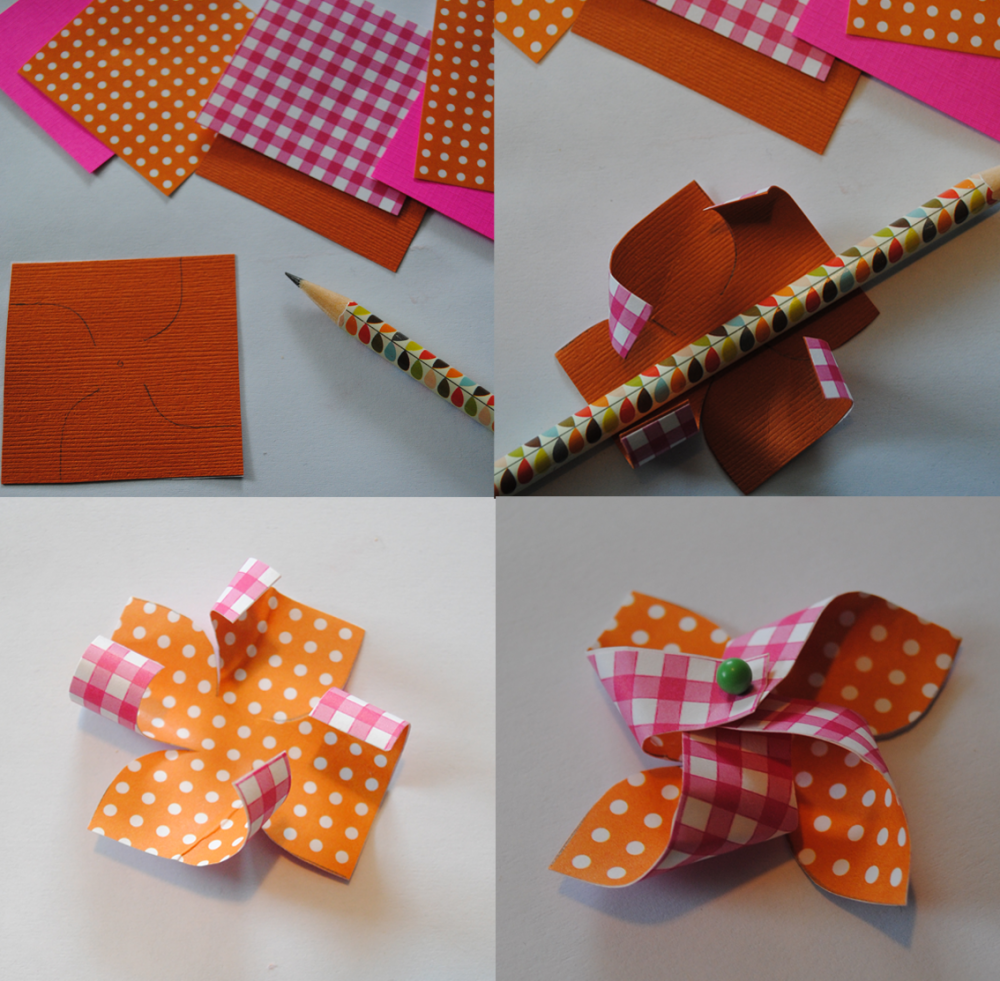
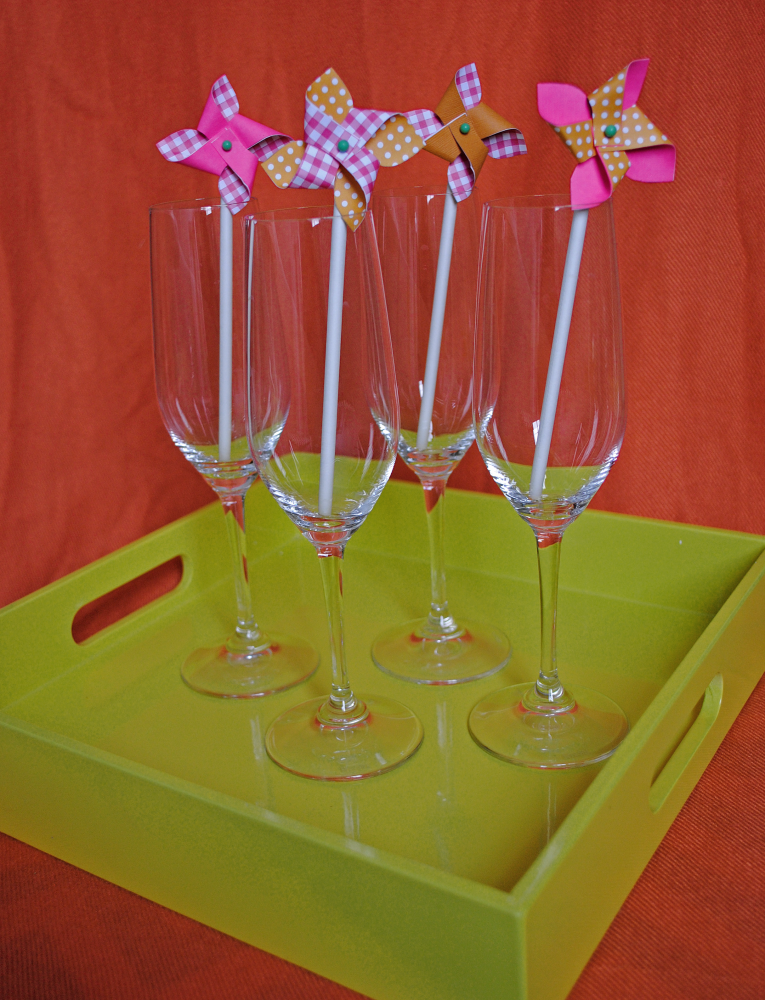
I got such a rush of happiness this evening when I walked outside my office building and it was warm and still light outside! I popped on my sunglasses and might have actually skipped to the subway. Spring is in the air people, so I’m sharing a crafty little DIY to get you in the spirit. No drink is complete without a festive adornment so I whipped up some mini-pinwheel cocktail stirrers to have on hand for my weekend libations. Making them is super easy: first cut decorative paper into 2″ squares; next cut small incisions into the corner of the squares and roll the edges around a pencil. Finally, layer the four points towards the center and pin them (I use map-tacks) and tack the pinwheel onto a small stirrer. Voila! Now you just need to mix yourself a drink and cheers to spring!

