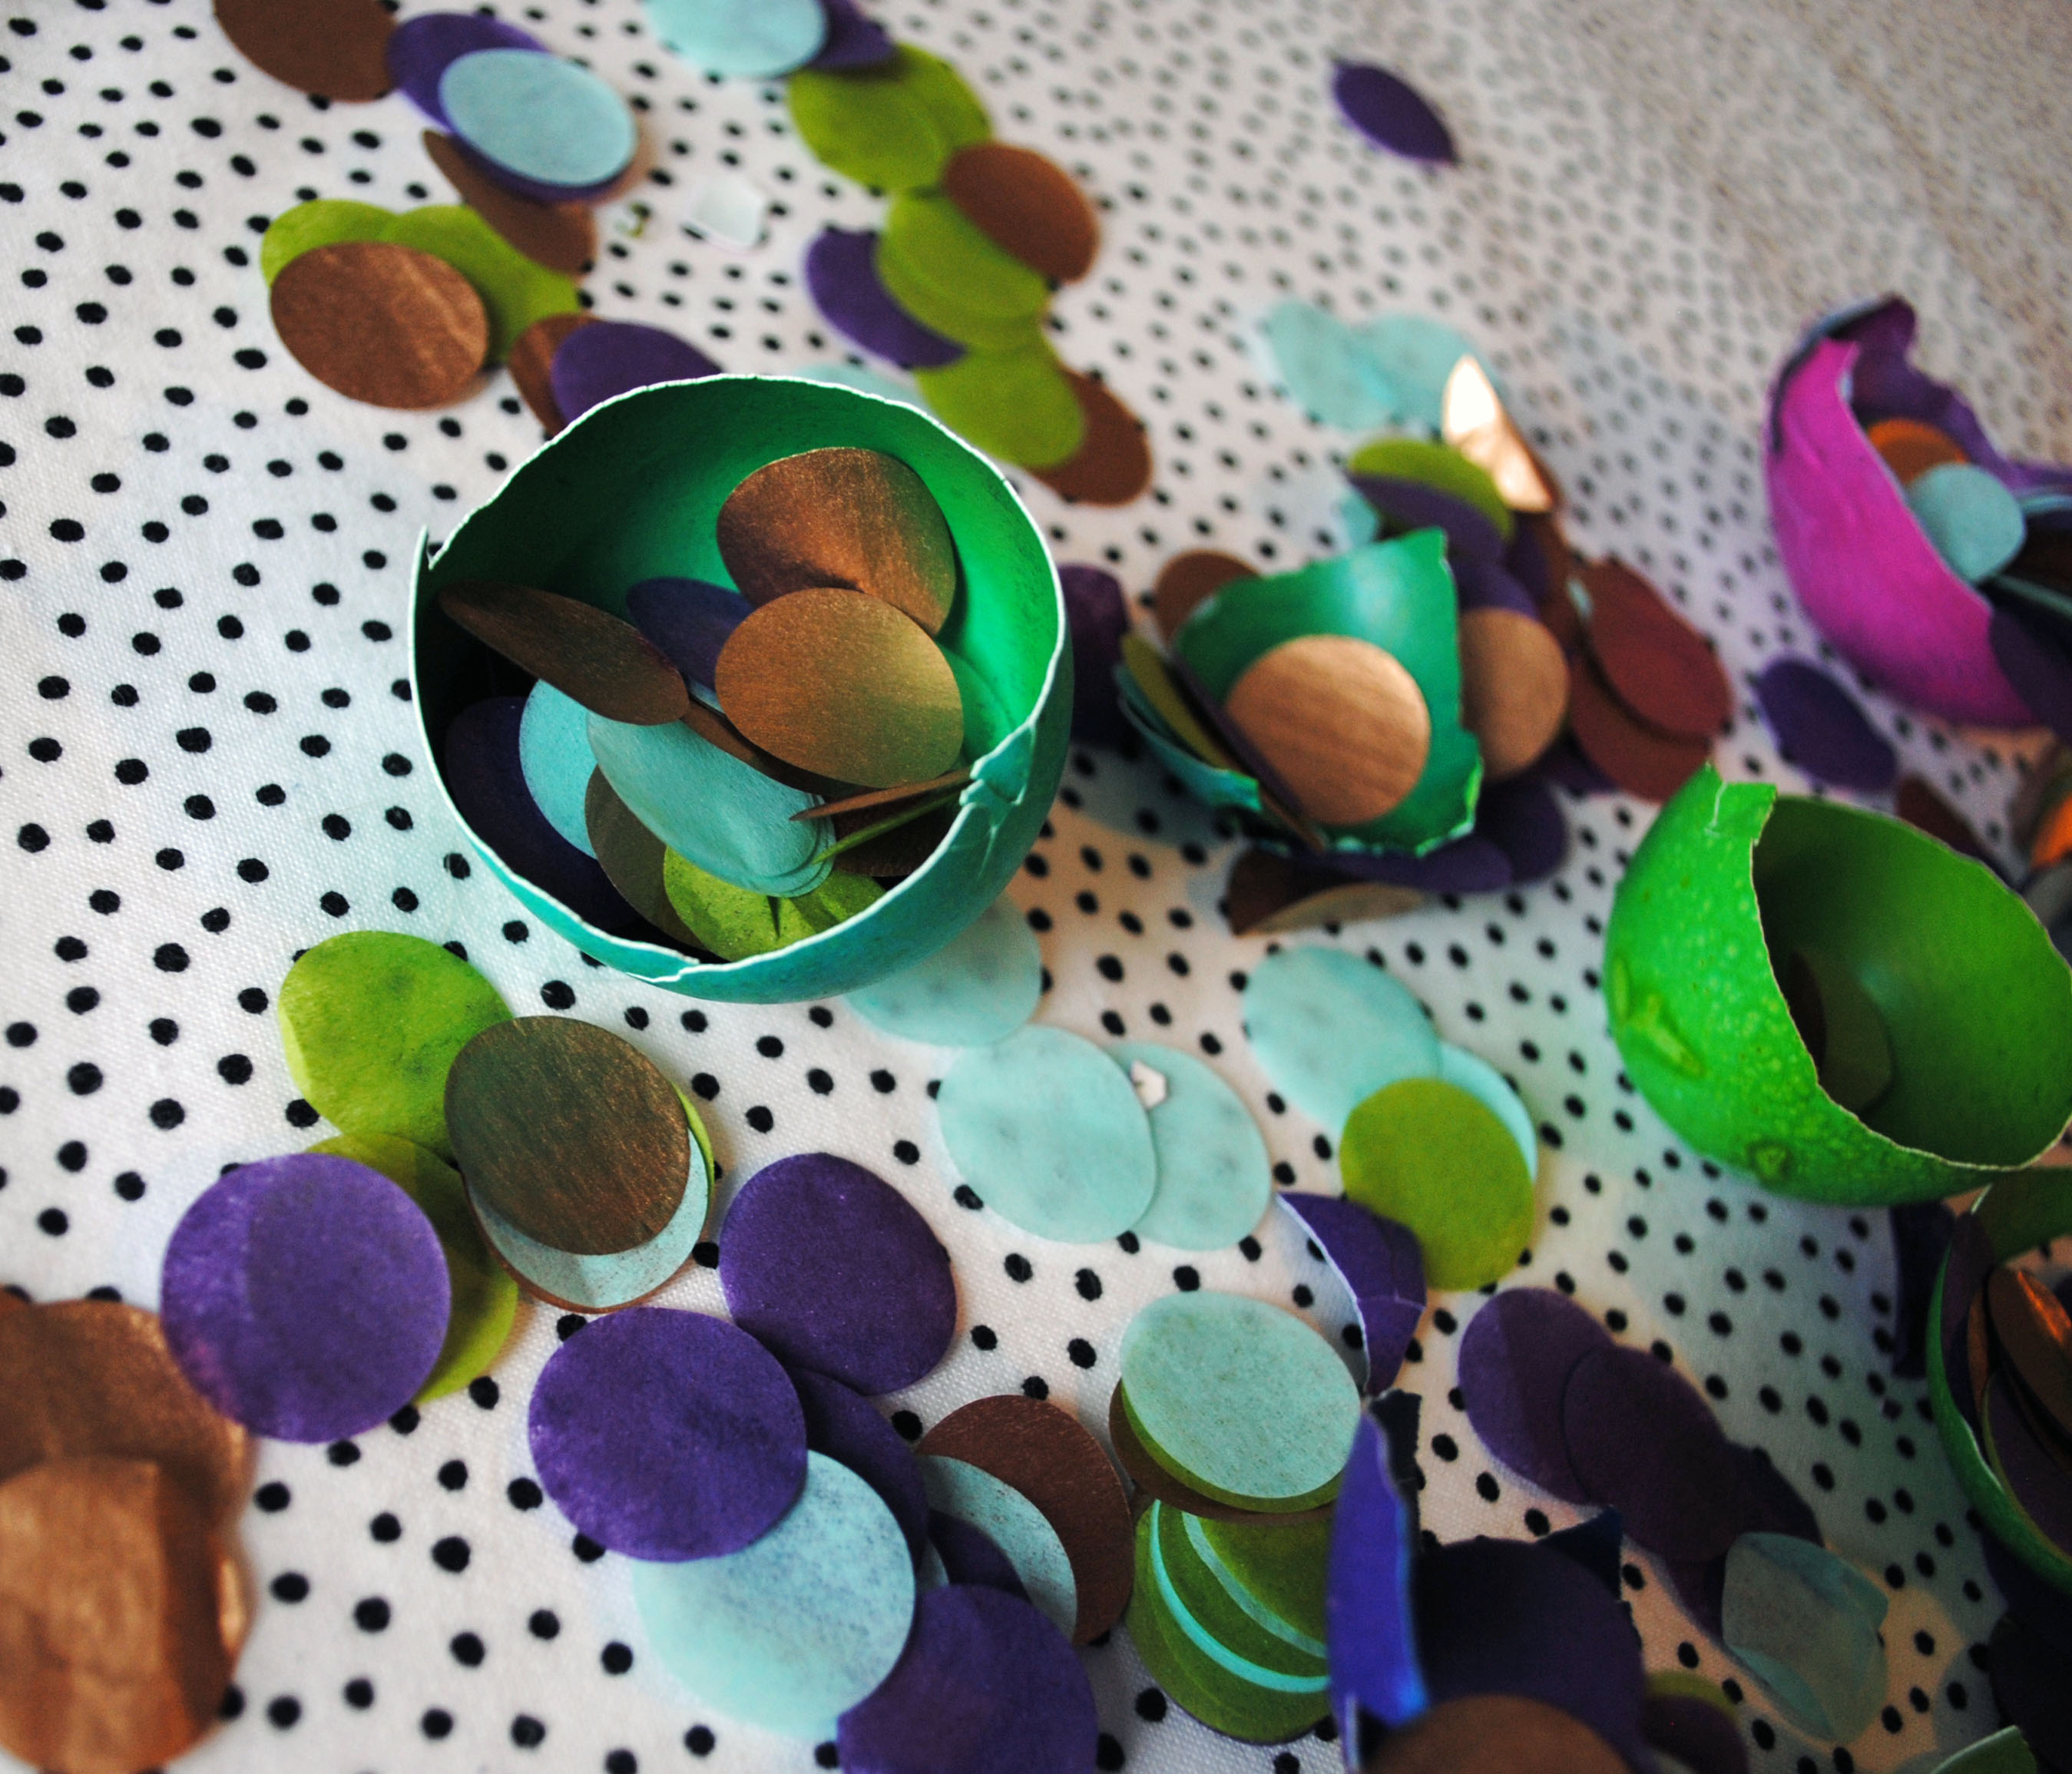
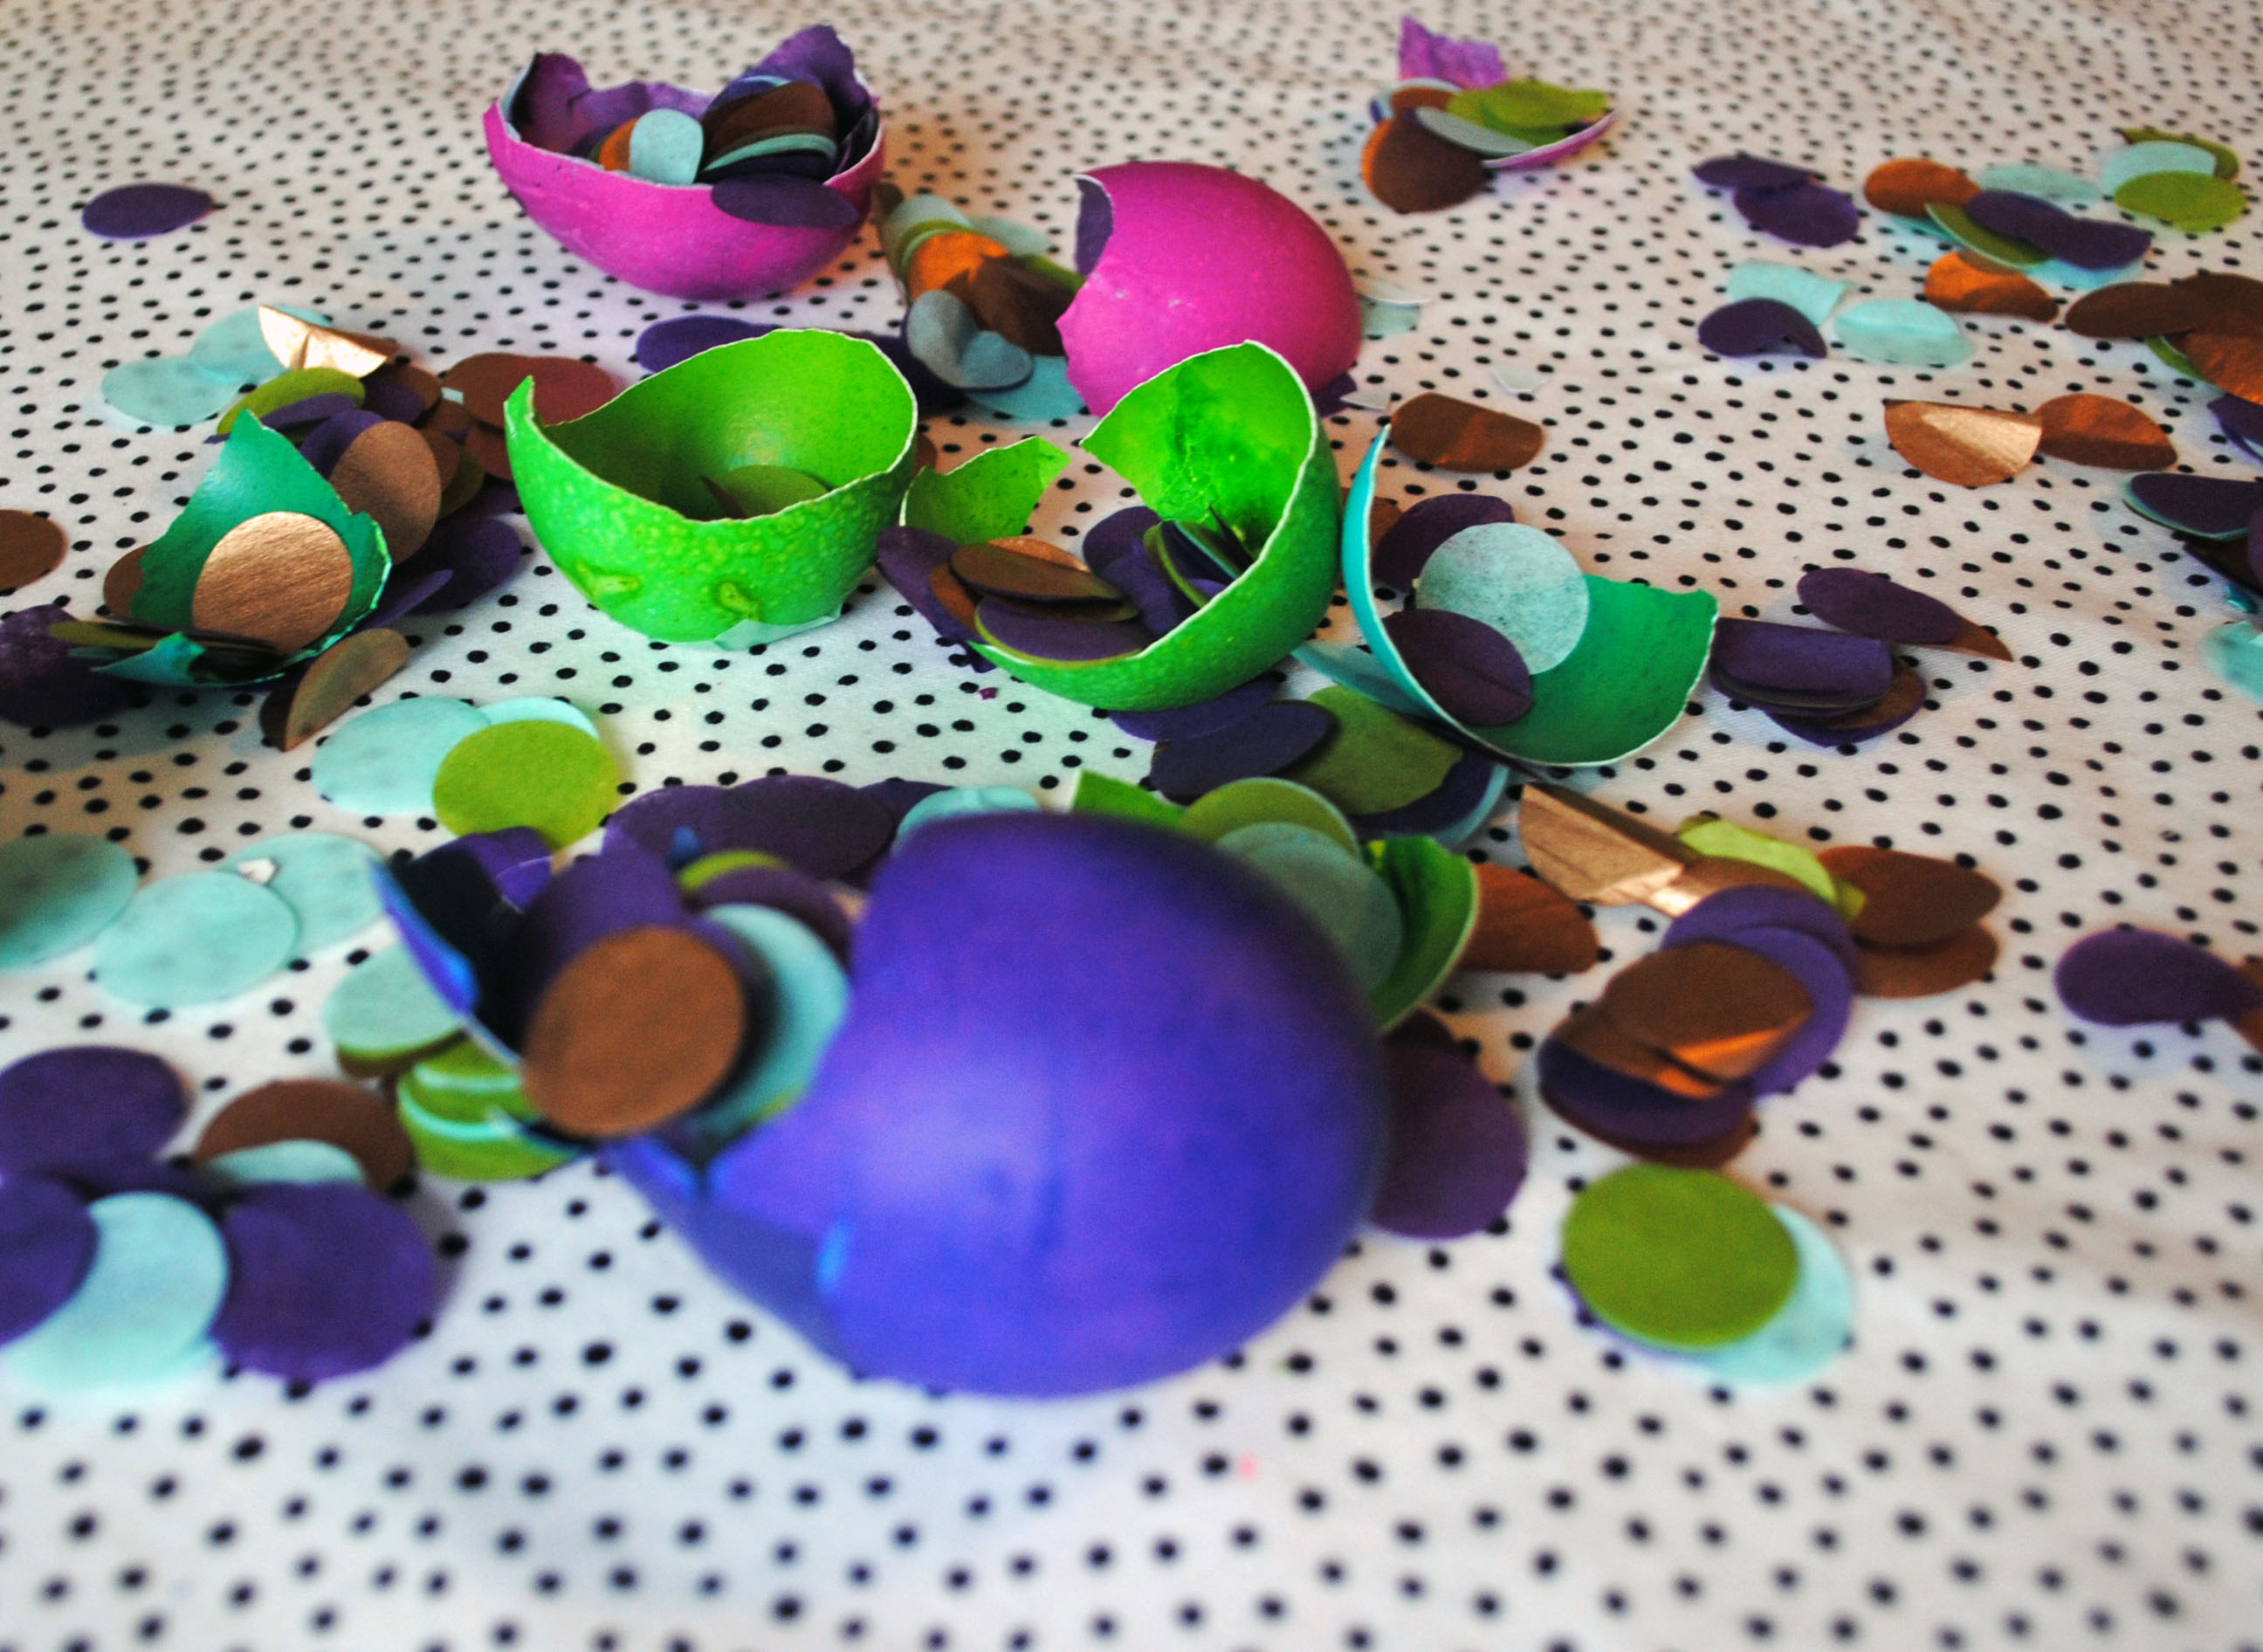
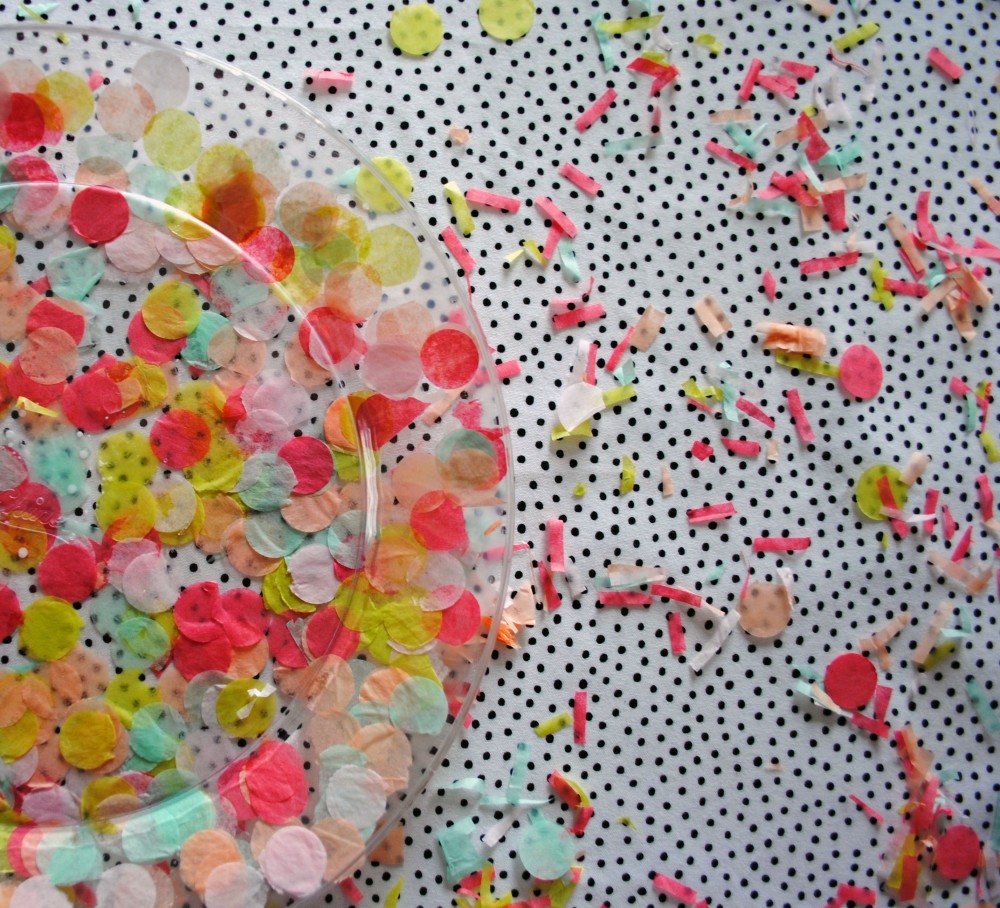
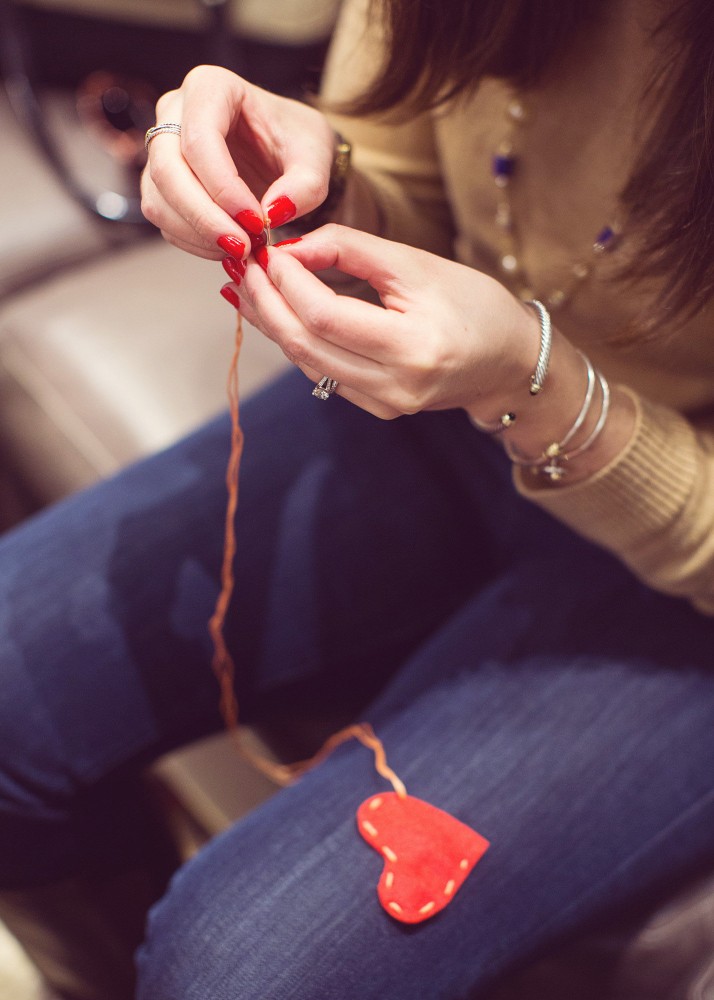
On Monday morning I did my normal check of the calendar to see what I had to look forward to the following weekend, and couldn’t believe Easter is already this Sunday. I can’t pass up an opportunity to get a little seasonal DIY in, and after getting some confetti from The Flair Exchange in the mail last week, I knew just the thing to use it for! I made some confetti-filled Easter eggs that I’m kindly referring to as ‘confetti bombs.’  The idea is to crack them up for a fun little confetti surprise — a good way to amp up your Easter egg hunt!

Confetti Easter Egg 7

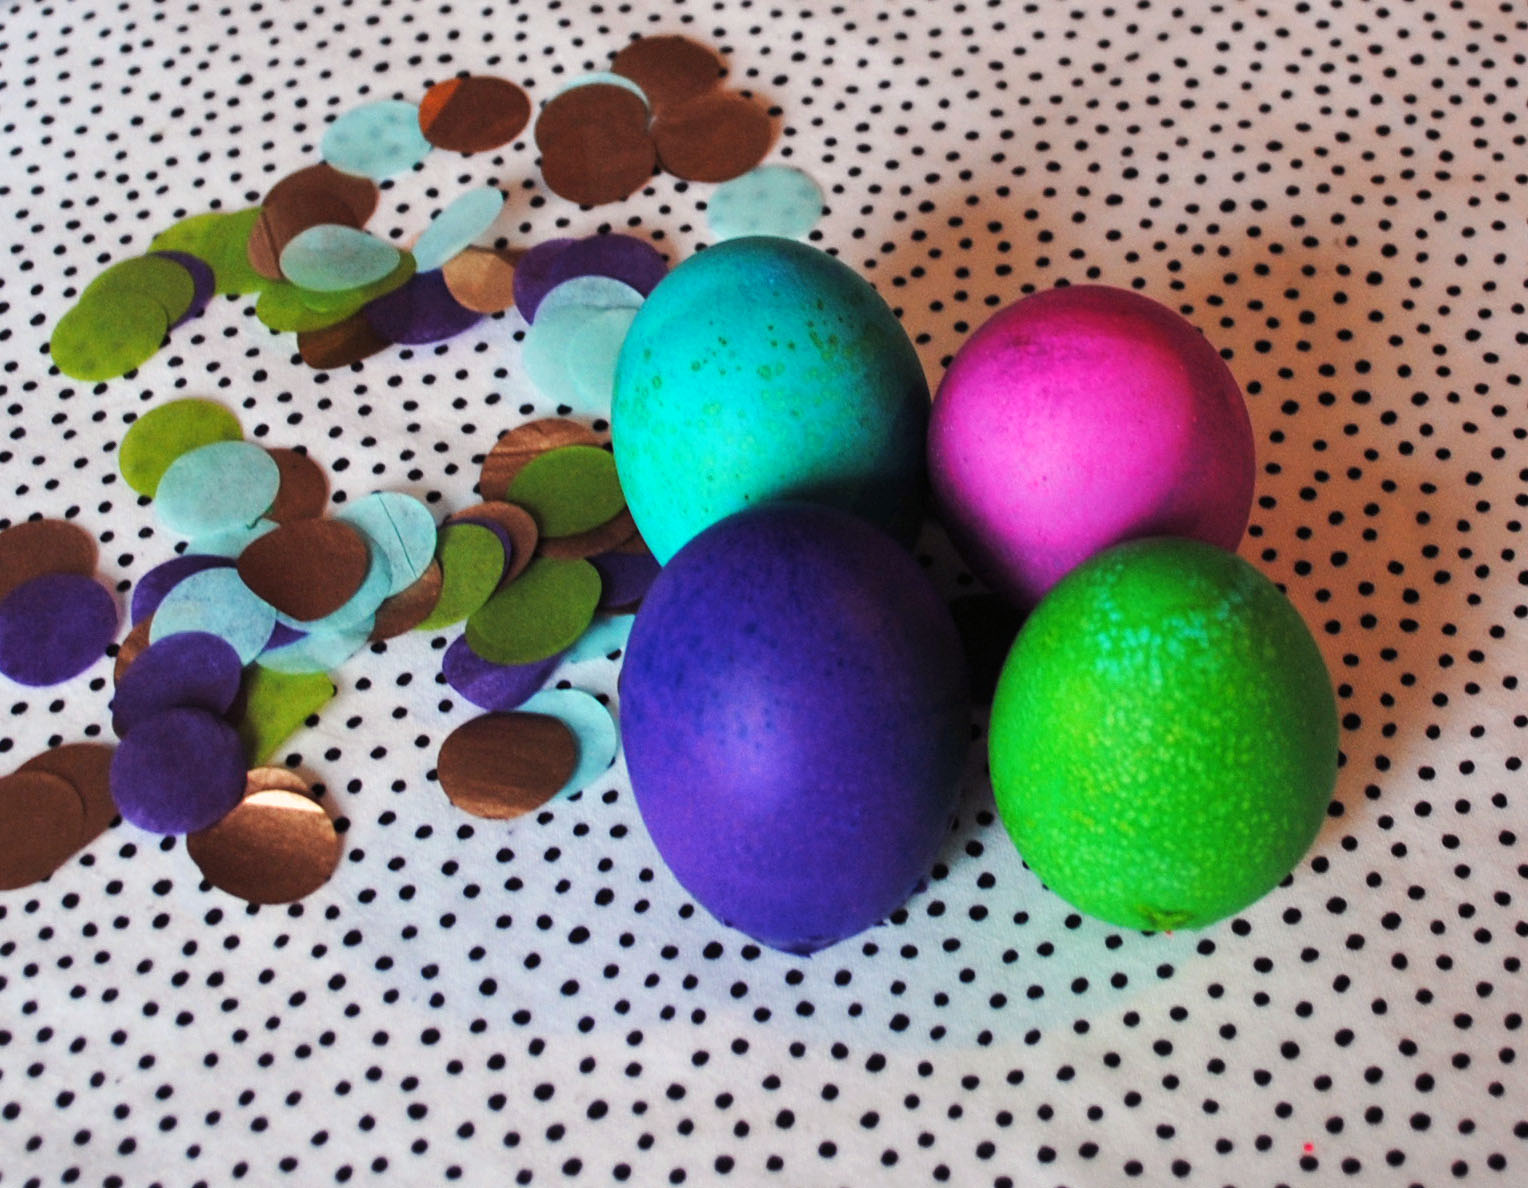
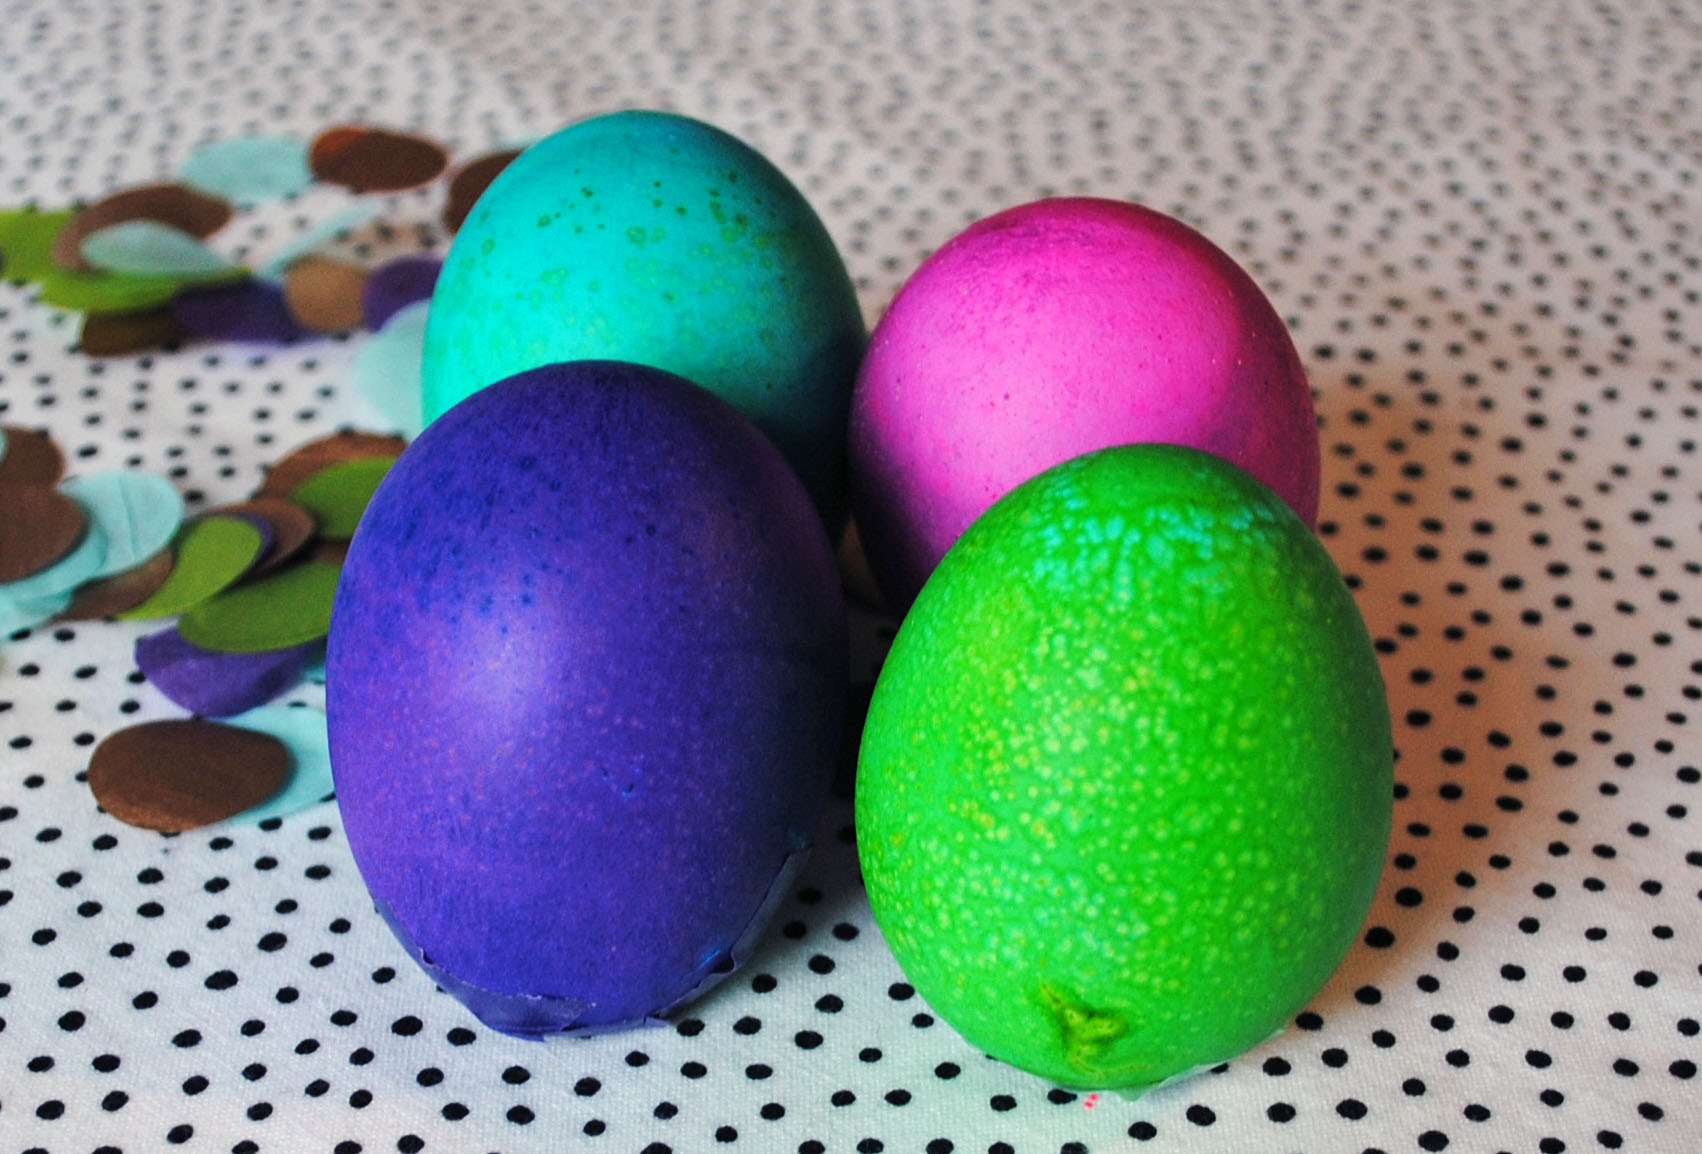
They’re simple to make; I started with eggs and lightly cracked the top of them on the counter, peeling back some of the shell to make a hole just big enough to drain the yolk through. Once they were emptied, I gave the inside a rinse and then popped them into cups of vinegar and food coloring. After the eggs are at your desired color, take them out and let them dry over night.

Confetti Easter Egg 3Confetti Easter Egg 8Confetti Easter Egg 2Confetti Easter Egg 1
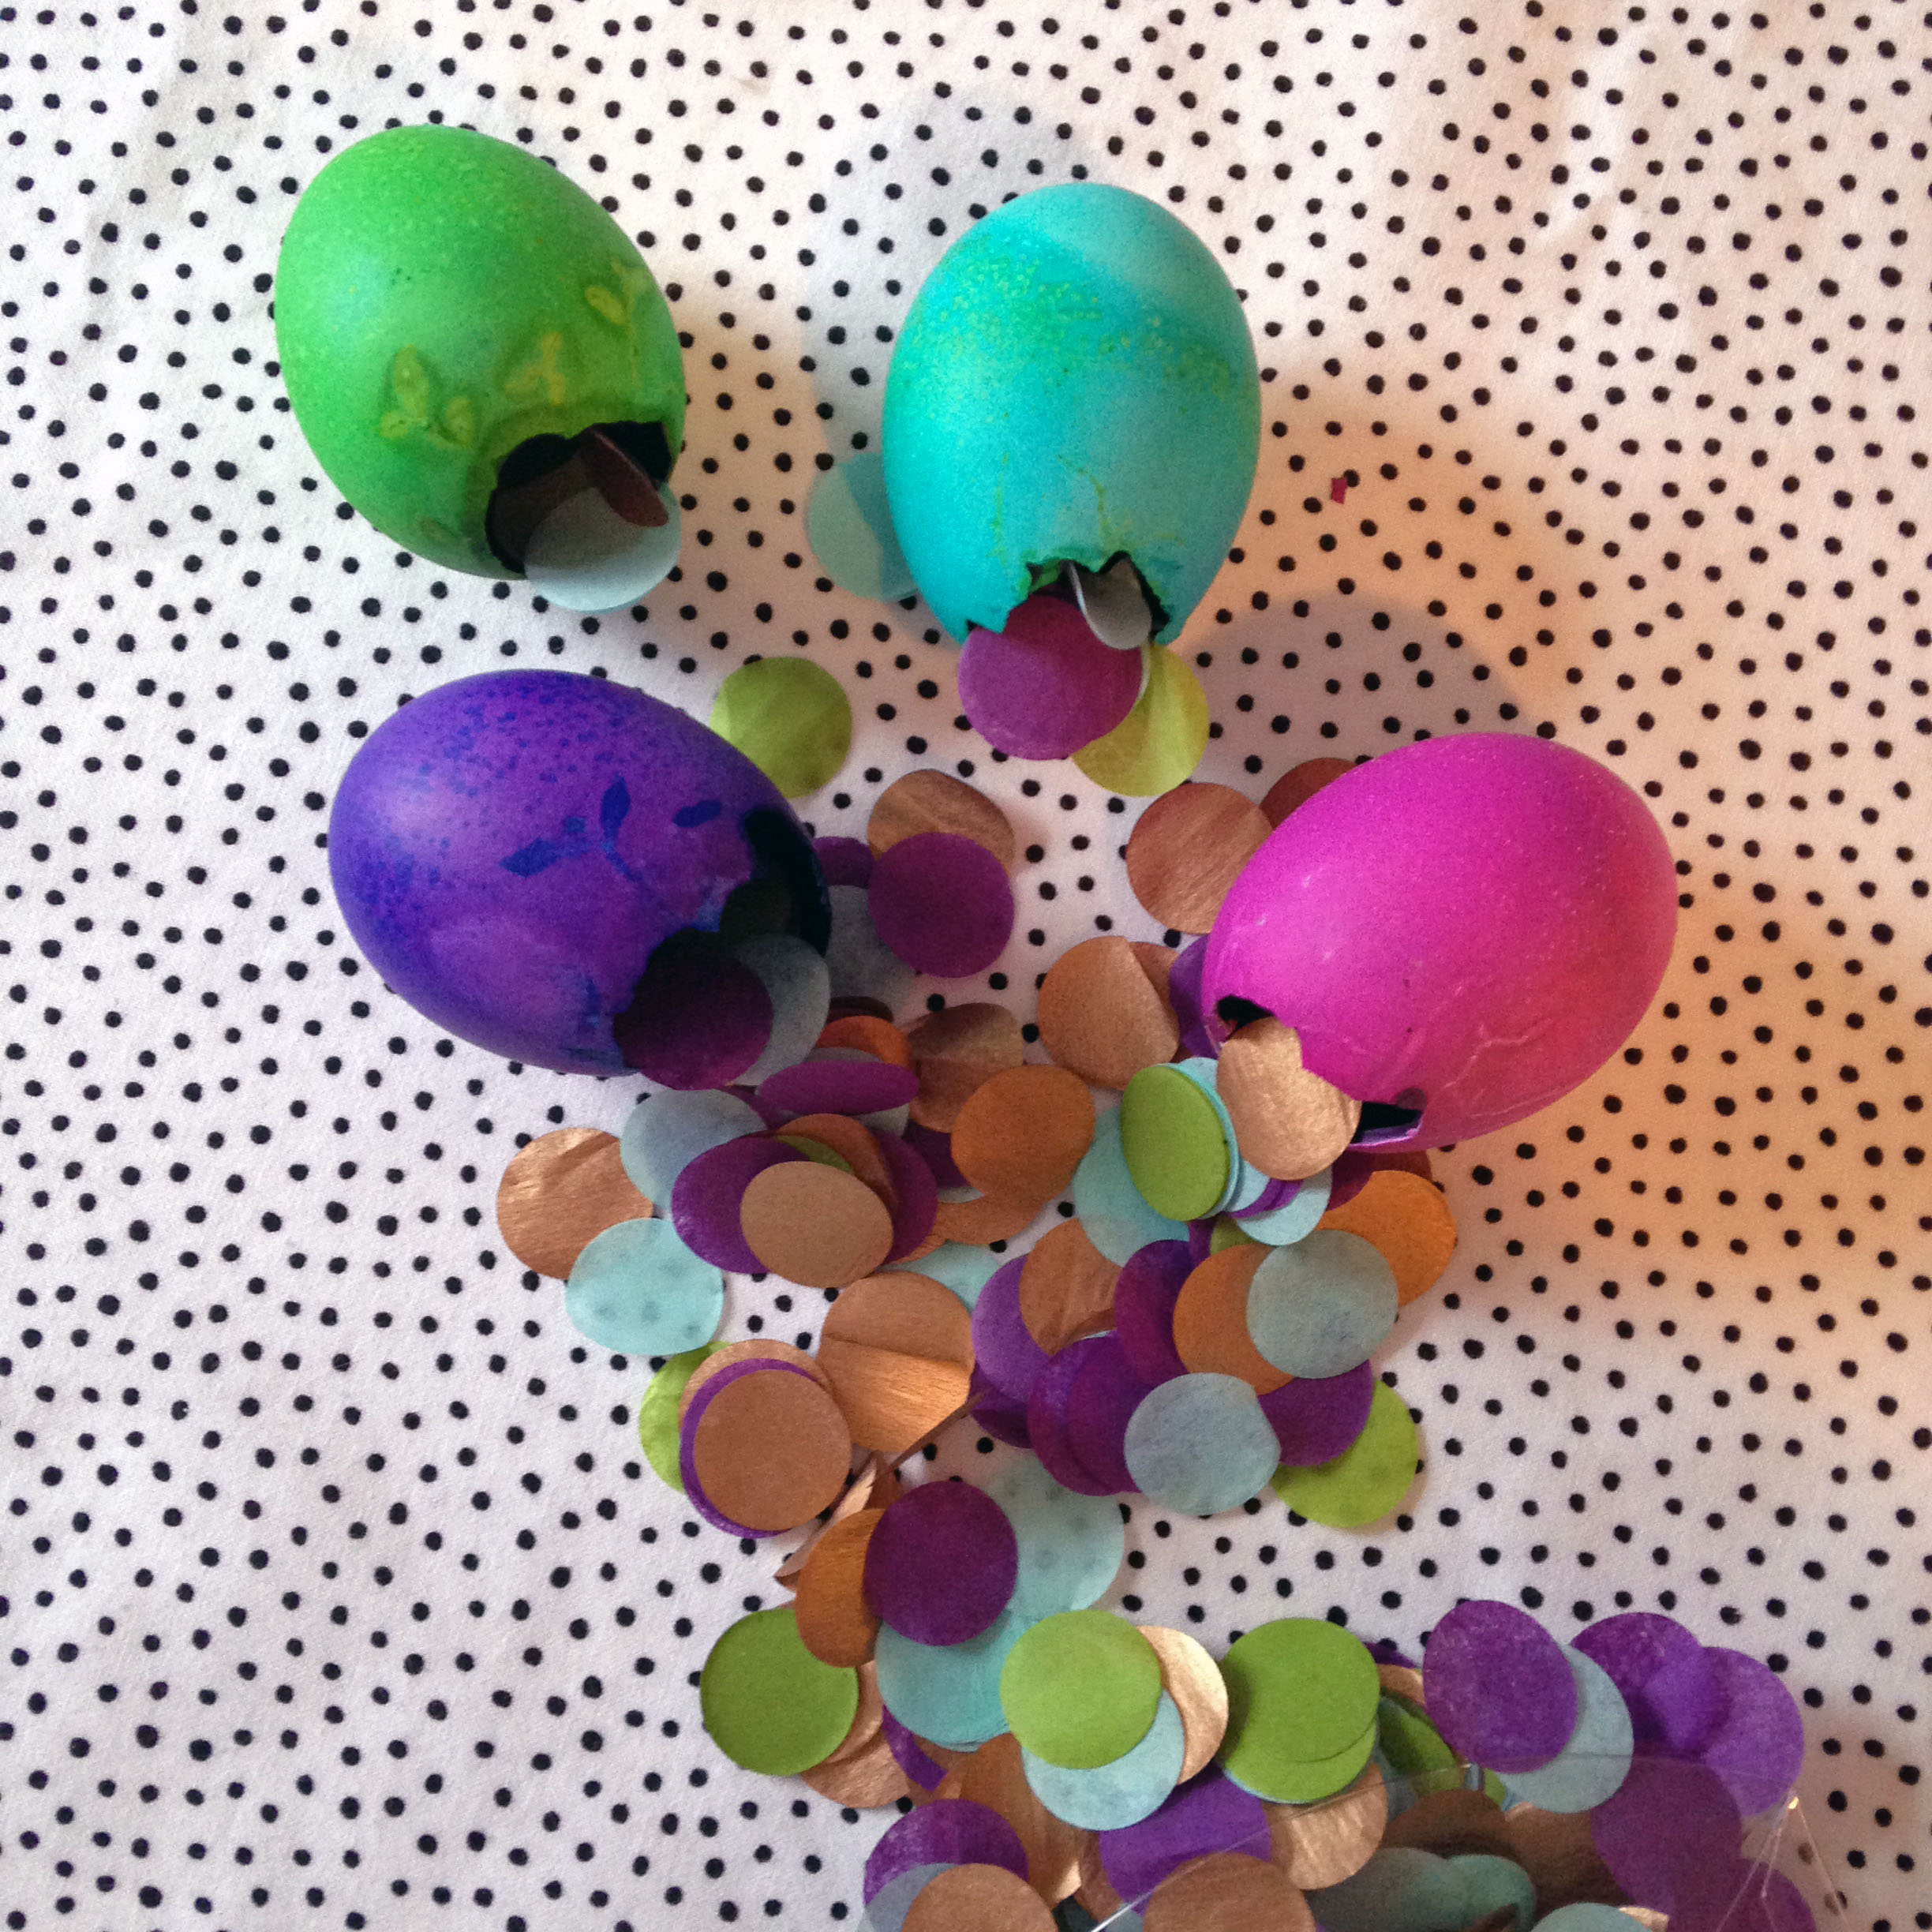
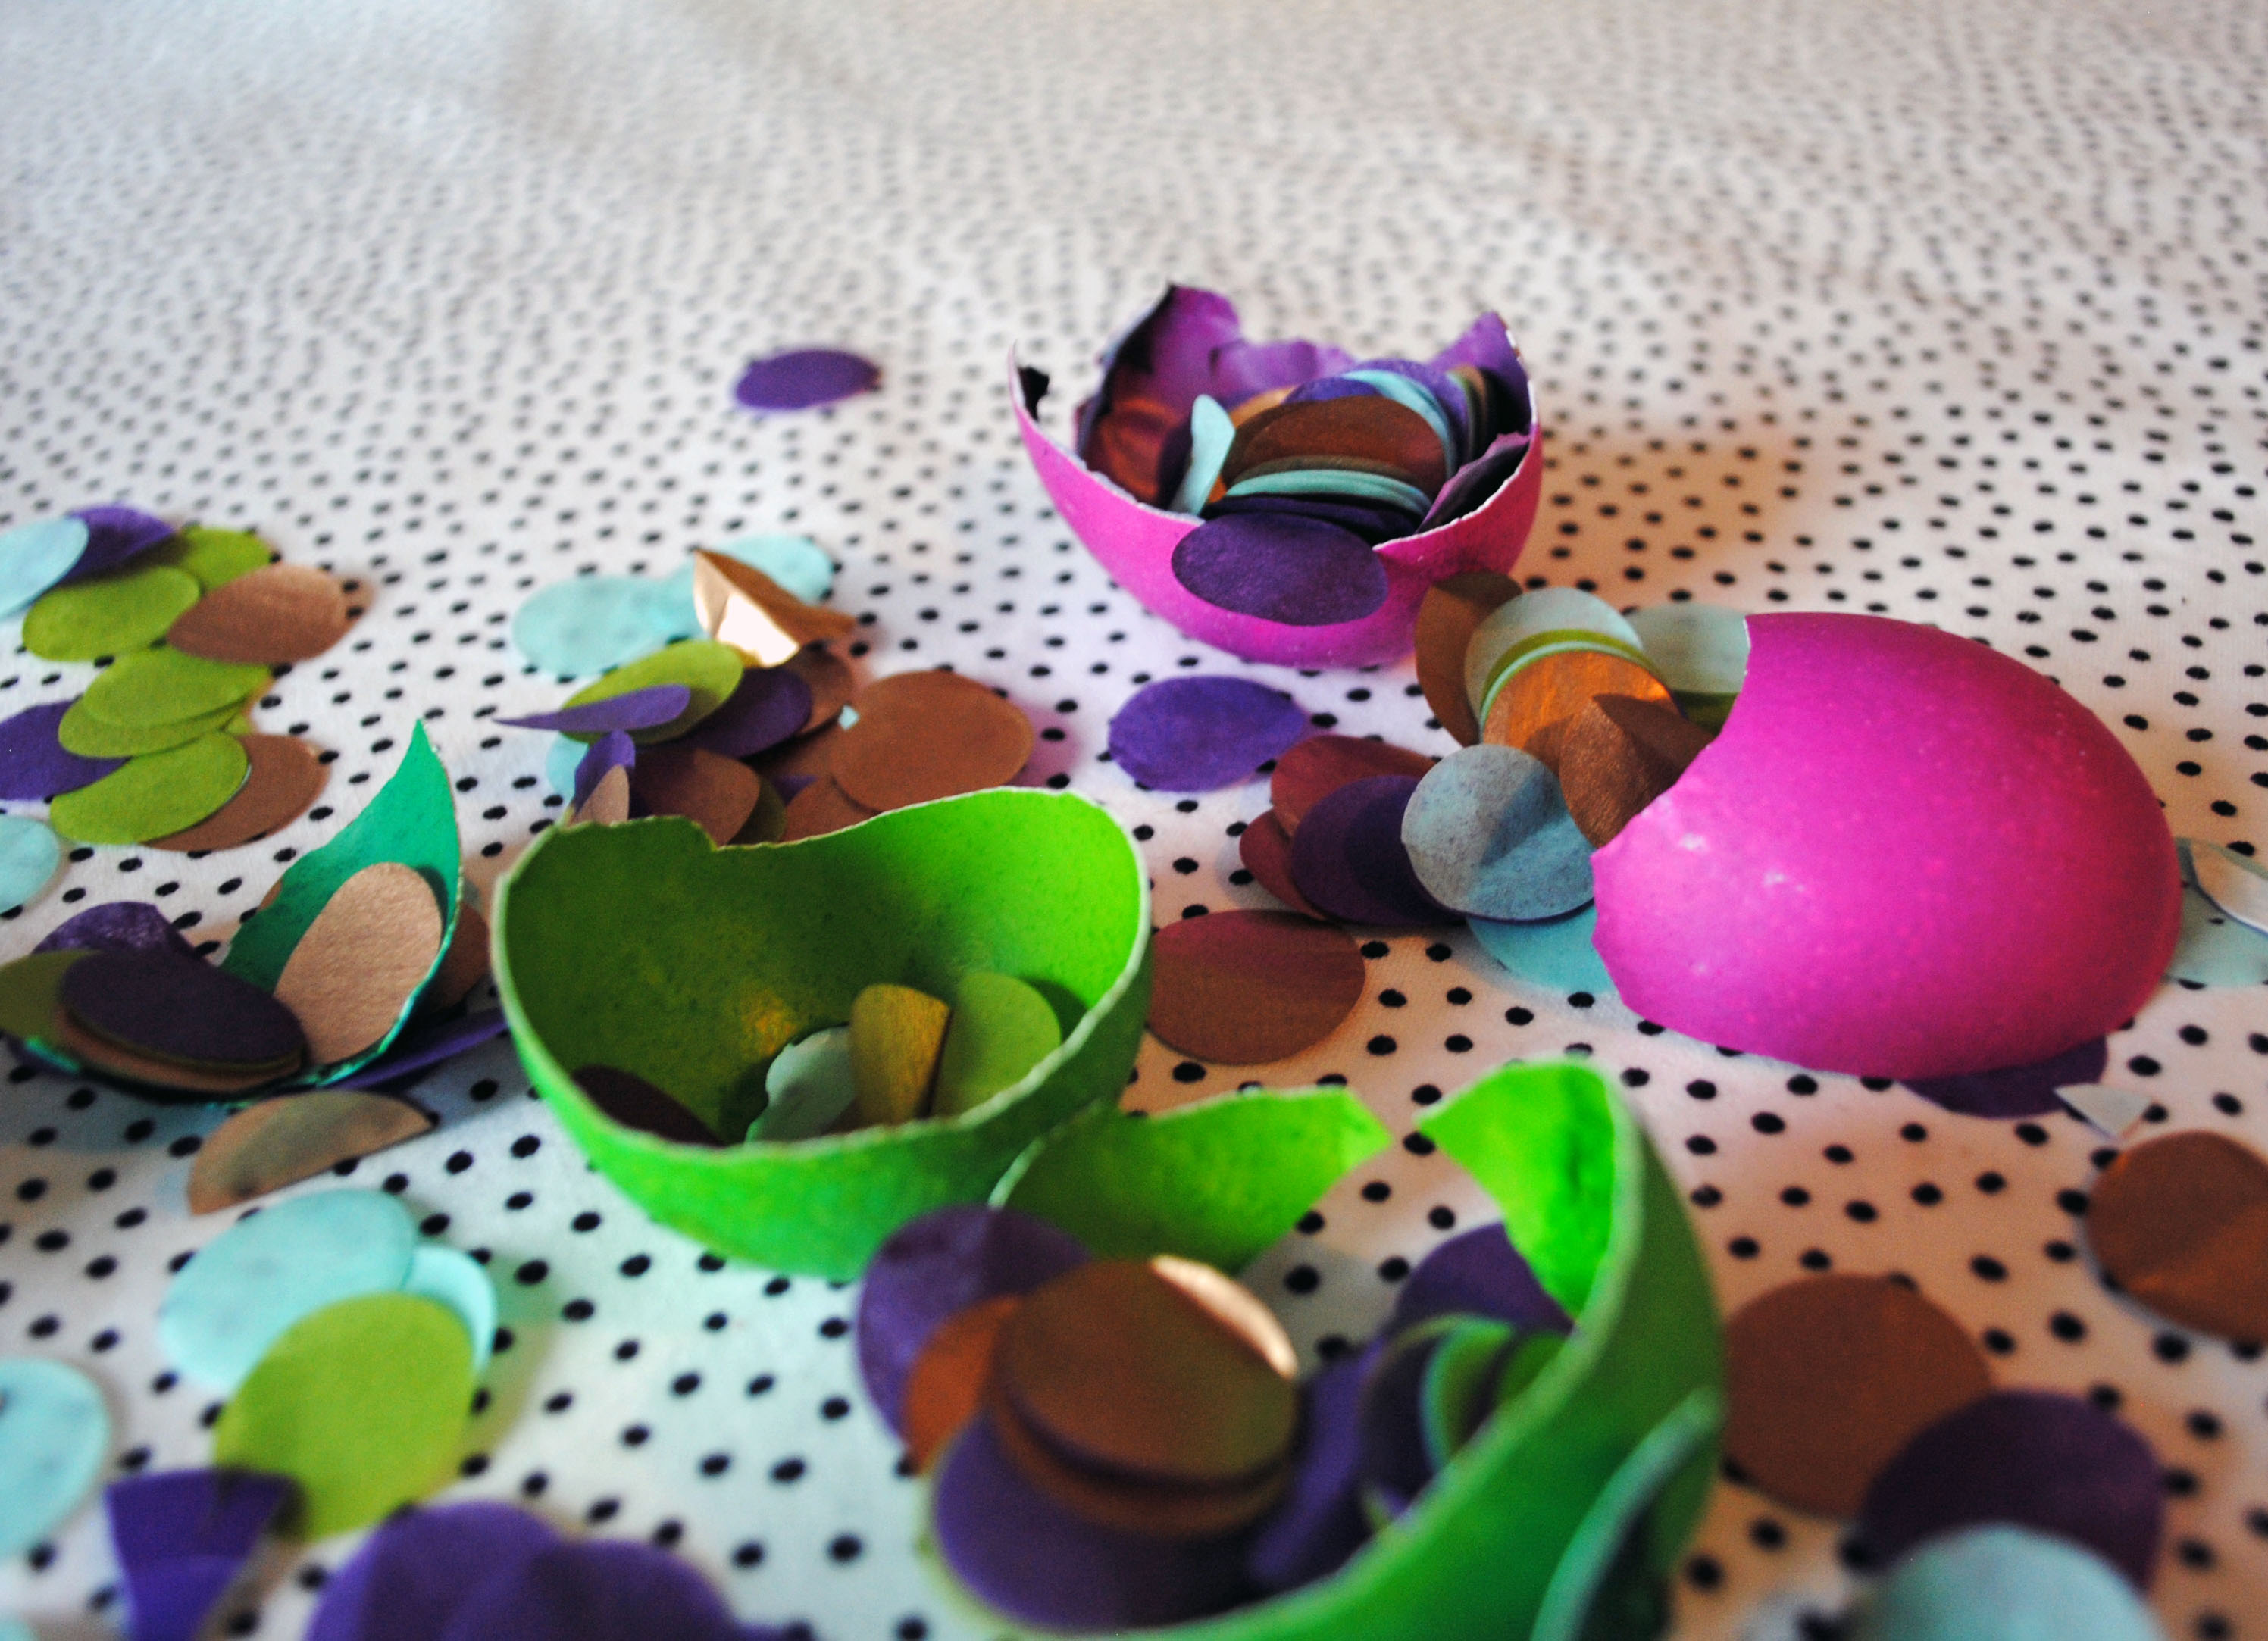
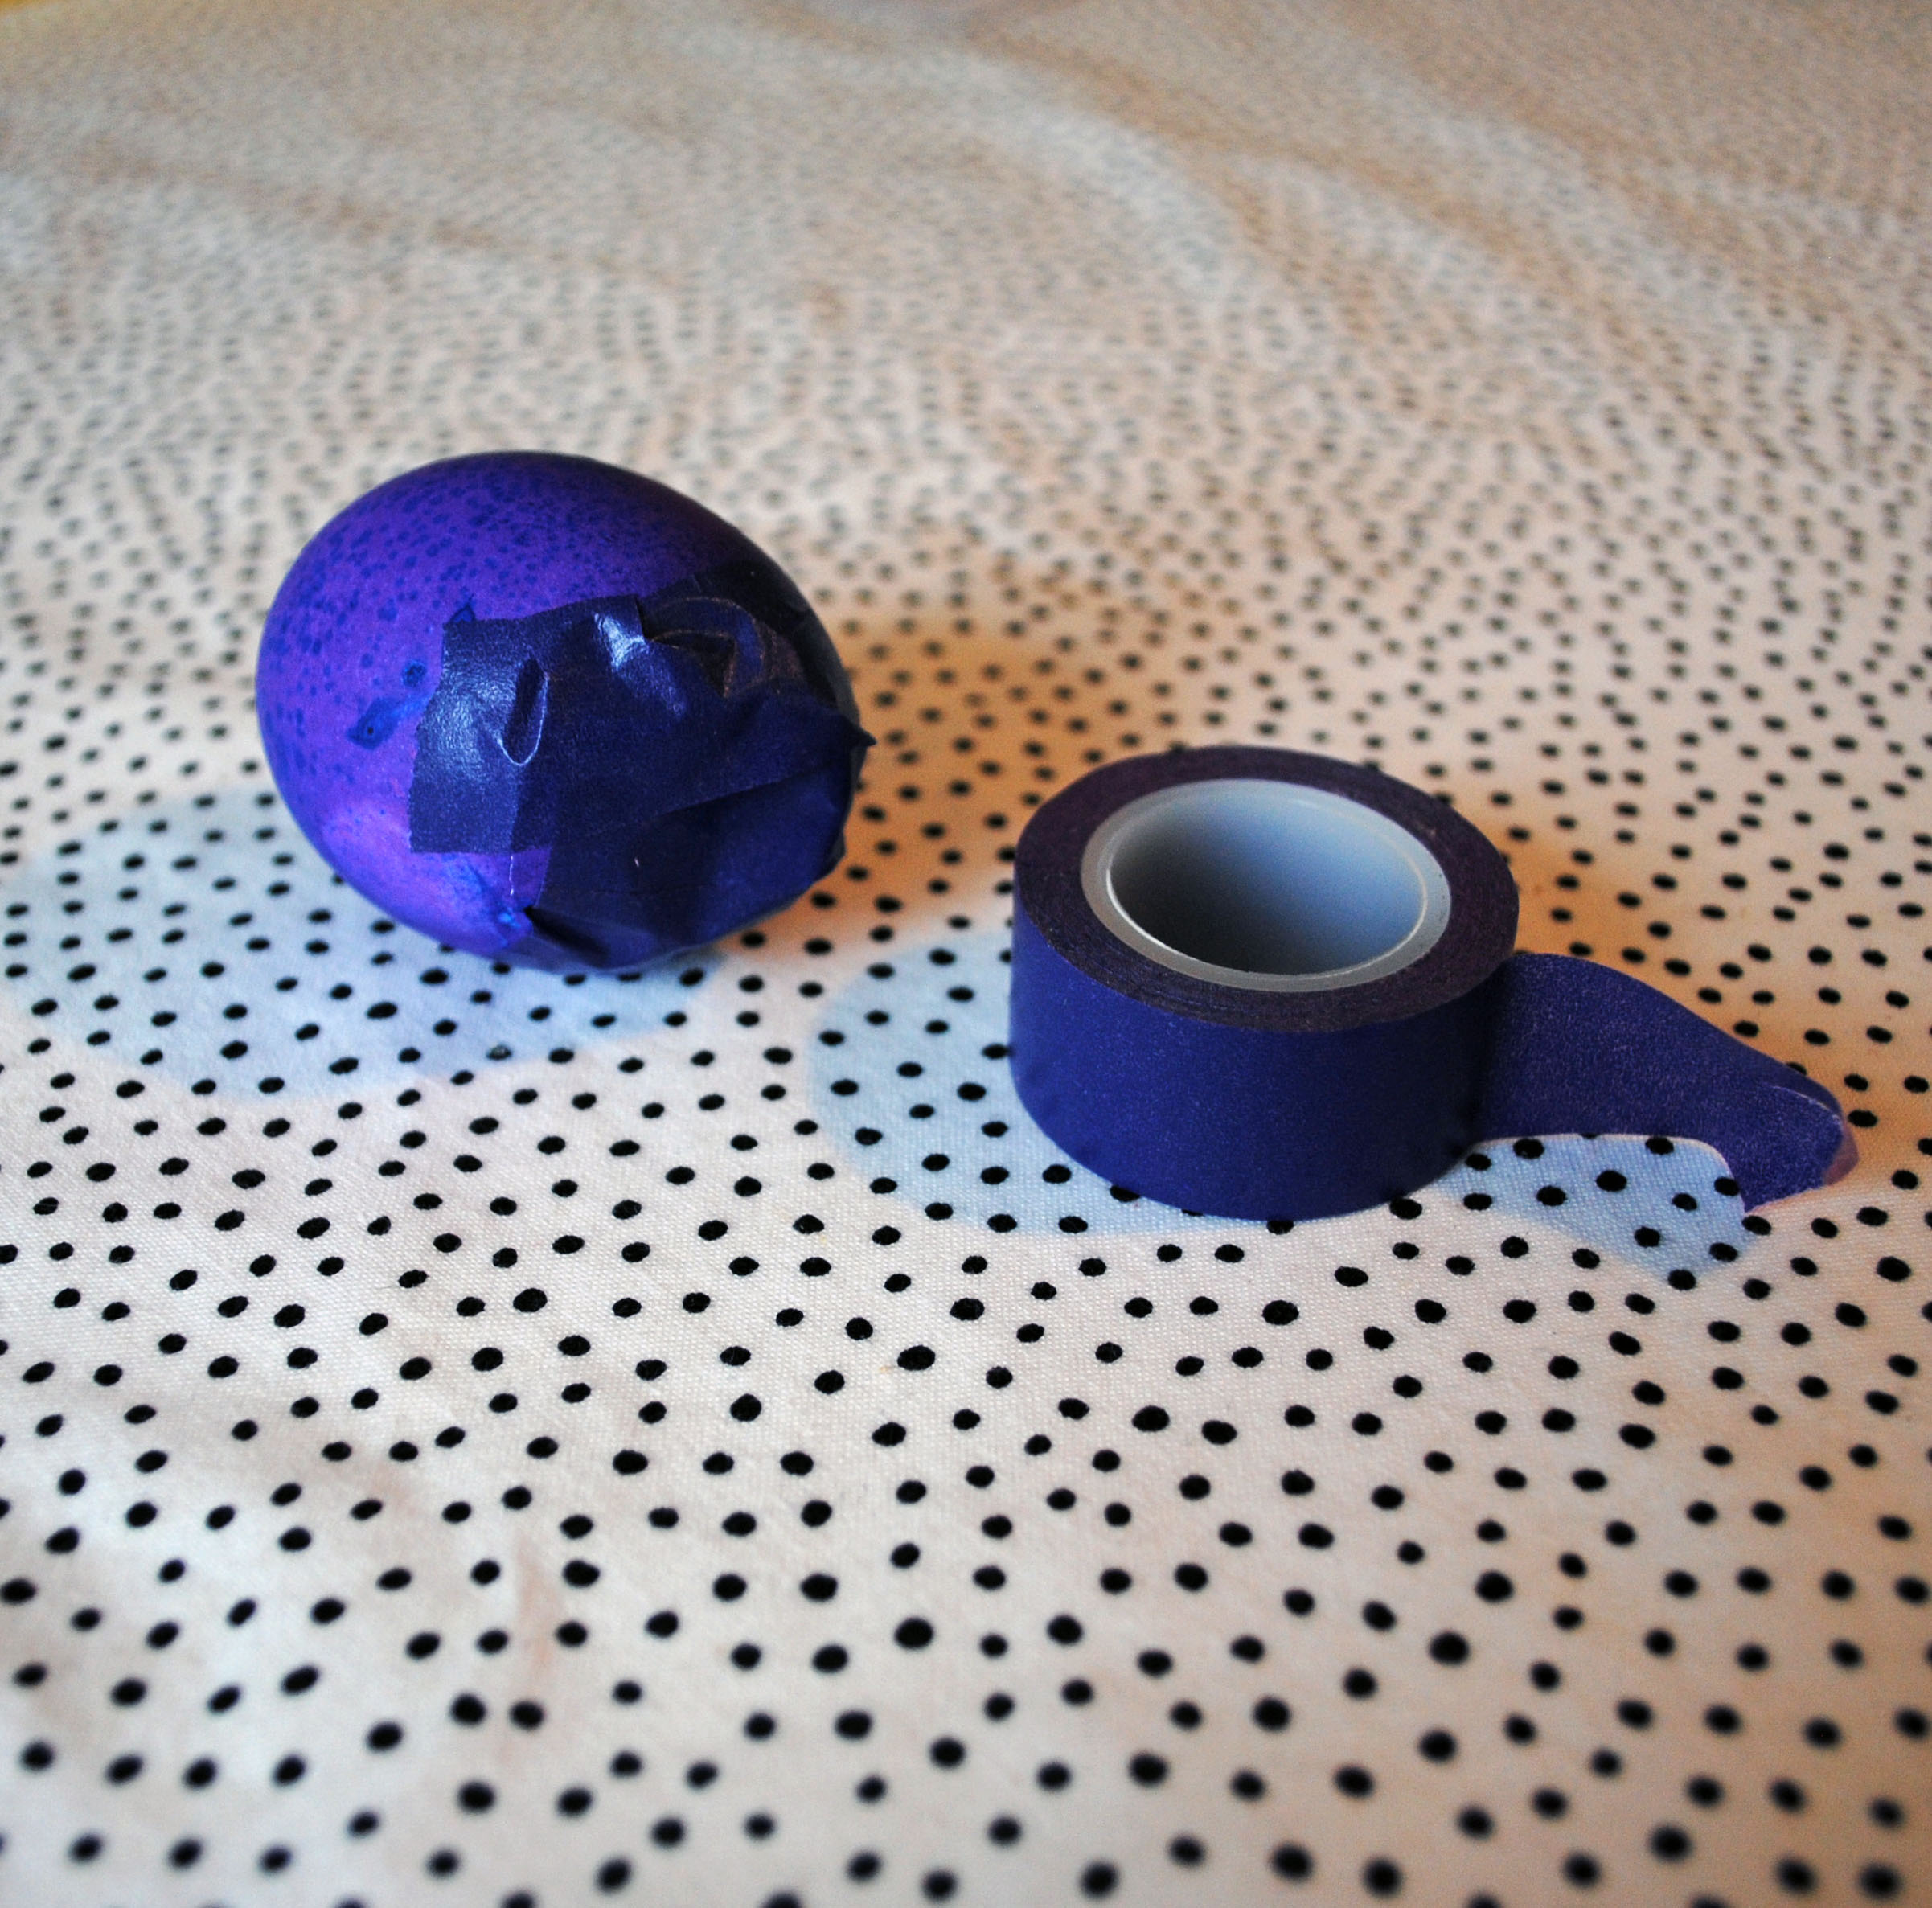
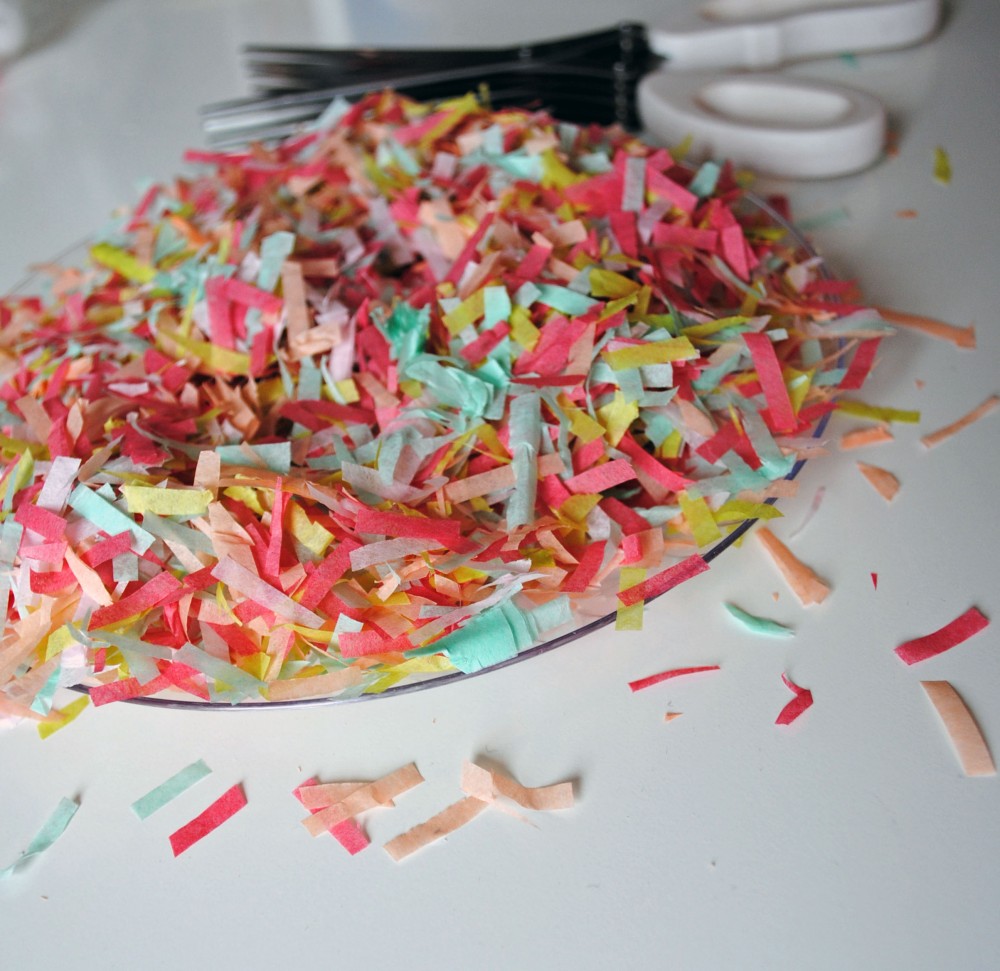
Then comes the fun part — filling them with confetti! I filled mine generously up with the confetti mixture until they’re almost all the way full. Then to close them off, I  cut a small piece of washi tape in a similar color to seal them off (don’t worry if it’s not perfect, the tape will be on the bottom of the egg). From there you can put them on display and then when the moment is right, give those little eggs a smash for a pop of confetti!  I guarantee this would be a hit with kids (given how much fun I had doing it as an adult!).

Confetti Easter Egg 4Confetti Easter Egg 5Confetti Easter Egg 6


Nothing says “it’s time to party!” like a handful of confetti — which is what inspired today’s DIY project! To get that festive look I used Chinet’s Cut Crystal to make confetti plates and cups. To start, I cut my own confetti using several colors of tissue paper. Then I spread a thin layer of clear-drying glue on the plates and for the cups, I painted a think layer about half way up the cup walls. Next comes the fun part — tossing the confetti over the plates, and into the cups. Using a second plate and cup, lightly coated with the glue, I pressed the plate down to seal the confetti in between the two plate layers, and repeated with the cups, stacking them to tightly seal the confetti between the cup walls. Finally, let them dry before using. I paired the cups with my confetti cocktail stirrers and was ready to party!

(Psst! Enter to win a $100 Amex Gift Card and Chinet Cut Crystal Party Pack so you can throw your own party!)

Chinet Confetti 6Chinet Confetti 1Chinet Confetti 18Chinet Confetti 17Chinet Confetti 4Chinet Confetti 10

Please note, this post and giveaway is sponsored by Chinet, and all opinions are my own.

What’s a girl to do when she has some extra confetti lying around? Make some confetti drink stirrers, of course. I was working on a project this weekend and had a little bowl of leftover confetti that I didn’t want to go to waste, so I DIY’ed some festive little drink stirrers that were so simple to make. I pierced a tiny styrofoam ball with a wood skewer and covered the ball with glue. Then I just rolled the styrofoam in the plate of confetti until it was coated, and in any places that looked a little bald, I added on some more glue and dunked them back in for another coating. Then I just let them dry and they’re ready to adorn some tasty cocktails!

ConfettiConfetti Drink Stirrers 1 Confetti Drink Stirrers 2 Confetti Drink Stirrers 3 Confetti Drink Stirrers Confetti Drink Stirrers5

My friend over at Wayfair invited me to participate in a crafting challenge and sent me a plan basket to DIY as I please! I picked a basket that was made of a braided wool, and knew I wanted to try a dip-dye technique. To dye it, I filled up a plastic storage bin with water, vinegar, and fuchsia dye. Then I dunked the basket in and let it sit  for about four hours until I got the color I wanted. Then comes the hardest part, waiting for it to dry! I hung the basket over the bin and let is drip dry for another several hours. After it dried completely, I used the rinsed out bin and refilled it with water to dunk basket in and wash out some of the dye and fully set the color. The result is a really pretty pink color with a touch of ombré fading at the edges. The basket is the perfect size for gathering our ever-growing shoe pile in the bedroom, and I’m so happy with how tidy the corner I placed it in looks now!

Dip Dye Basket DIY 6Dip Dye Basket DIY 7Dip Dye Basket DIY 5Dip Dye Basket DIY 4Dip Dye Basket DIY 3Dip Dye Basket DIY 2Dip Dye Basket DIY 1

Note: I was gifted this basket from Wayfair.com. The DIY, ideas, and opinions are all my own. 


Last week at my West Elm DIY event, I taught a group of crafty ladies to make a festive felt heart garland to celebrate Valentine’s Day. I thought I’d share the instructions here so you can make one at home too! First, using two pieces of felt layered on top of each other, trace and cut out two hearts. Next, using about an arms length of embroidery floss, tie off the end and begin sewing the two layers together (starting at the tip of the heart). When you get to about 3/4 of the way around the heart shape, you want to stop sewing and stuff your heart. We used pillow batting for the garlands and pins, and loose dried lavender to make sachets. Once the heart is stuffed, pinch the layers together with your hands and sew the remaining 1/4 of the open heart closed, tying off the end with a knot. Once you have your stuffed heart, you can sew on a pin to the back, add hook to make it a hanging sachet for your closet, or string multiple hearts together to make a sweet garland for your bar cart or mantle!
1WestElm63 2WestElm83 3WestElm87 4WestElm92 5WestElm89 6WestElm23All photos via the fabulous Bring To Light Photography!


I’m so excited to share a few pictures from my event at West Elm Fenway a few weeks ago! It was such a fun day — I mean, really, is there anything better than hanging out with your girls and making cute things? I’ll post a tutorial this week with step by step instructions so you can make your own felt heart garlands (or pins! or sachets!). Thanks to my bestie Taz from Bring to Light Photography for taking these fabulous pictures, the lovely folks at West Elm Fenway for hosting, Sweet Cupcakes for making sure we had tasty bites to snack on, and for all of the lovely friends, blogging buddies, and new faces that came out to craft with me! Let’s do it again, OK?

WestElm34WestElm03WestElm04WestElm02WestElm19WestElm01 WestElm22WestElm13WestElm30WestElm39WestElm55WestElm71

WestElm72WestElm25WestElm66 WestElm81WestElm67WestElm96WestElm99

Yesterday I shared a quick DIY for upgrading store-bought party horns for the countdown to midnight. I had similar feelings about the poor selection of New Year’s Eve crowns at the party store and decided to whip up a few of my own. Using a store-bought crown as a template, I traced the bottom portion of the paper crown and then drew my own message for each crown. Using a sharp knife, I cut out the message from glitter scrapbook paper. Then I simple attached the cardboard cut-out piece with the two tabs I left and a few staples to the original crown headband! I can’t wait to pass these out to guests at the party!

New Years Eve Party Crowns 1 New Years Eve Party Crowns 2 New Years Eve Party Crowns 3 New Years Eve Party Crowns 4b New Years Eve Party Crowns 5

It’s party-prep time for our annual New Year’s Eve shindig, and I was out this weekend looking for pretty favors but was disappointed in so many of the options at my local party store. So I decided to grab some plain-jane party horns from Target and give them a 5-minute upgrade. Using sparkly gold alphabet stickers from the scrapbook section of the craft store, I customized the part horns with festive messages — a super simple DIY! I’m going to put them in a vase on our bar for decoration and then pass them out at midnight.

New Years Eve Party Horns 1 New Years Eve Party Horns 2 New Years Eve Party Horns 3 New Years Eve Party Horns 4 New Years Eve Party Horns 5

I hate to play favorites, but I think I saved the best handmade holiday gift idea for last this week — painted cork coasters. Using plain cork coasters, I painted stripes and color blocks in pink, teal, and gold, and then finished off the top of them with a matte sealer to keep them waterproof. You could play around with color combinations that match your gift recipients’ home and style to make a customized gift, and pair them with their favorite wine or spirit. Are you trying any homemade gifts this year?

Cork Coaster 1 Cork Coaster 2 Cork Coaster 3

Looking for more DIY present ideas? Check them out here.

This is a DIY gift that I can nearly guarantee anyone would love to receive, homemade simple syrups. Sometimes I wonder, do they call it simple syrup because it’s so simple to make? I think they might!  I used this recipe, and added  apples for my own twist. Then I packaged it up in mini-mason jars and labeled the tops with brown craft paper, bakers twine, and recipe tags. Experiment with flavors and come up with your own mixture (I’ve used this recipe before too) — it’ll make your gift even more unique when you give it your own spin!

Cran-Apple Simple Syrup 1 Cran-Apple Simple Syrup2 Cran-Apple Simple Syrup3 Cran-Apple Simple Syrup4 Cran-Apple Simple Syrup5

Looking for more DIY present ideas? Check them out here.


Verified by MonsterInsights