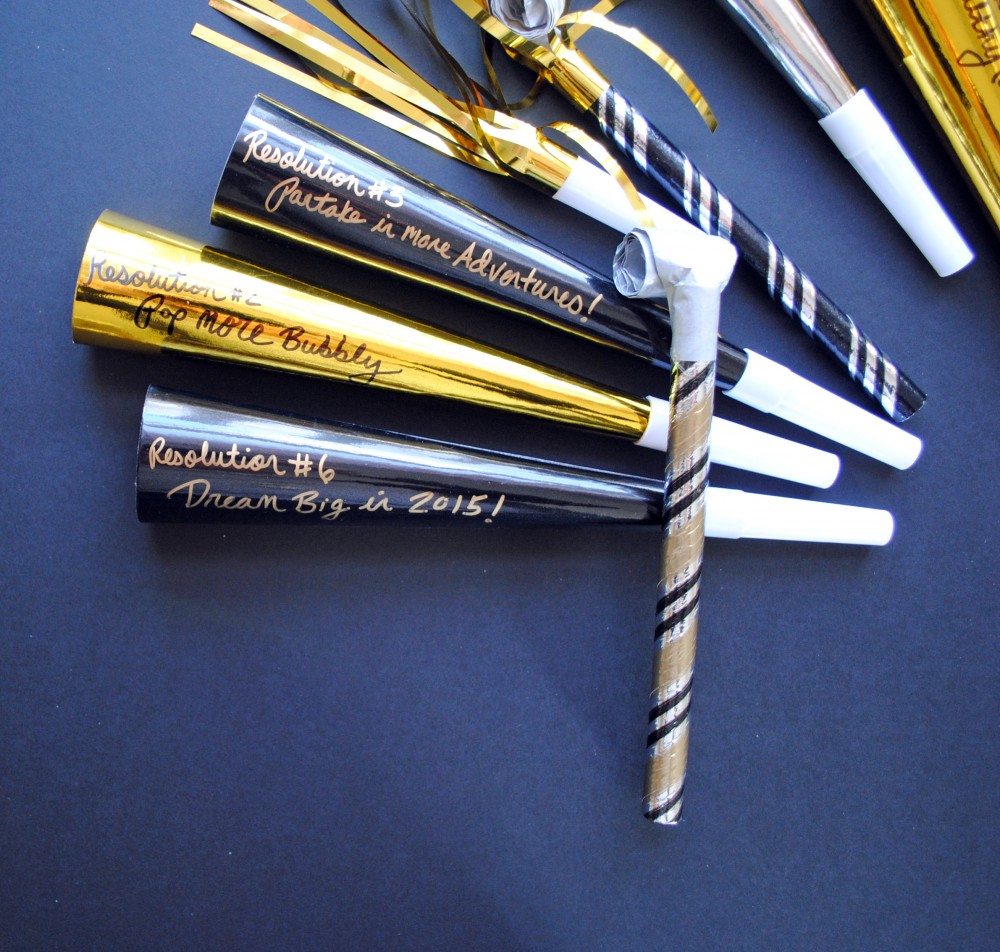
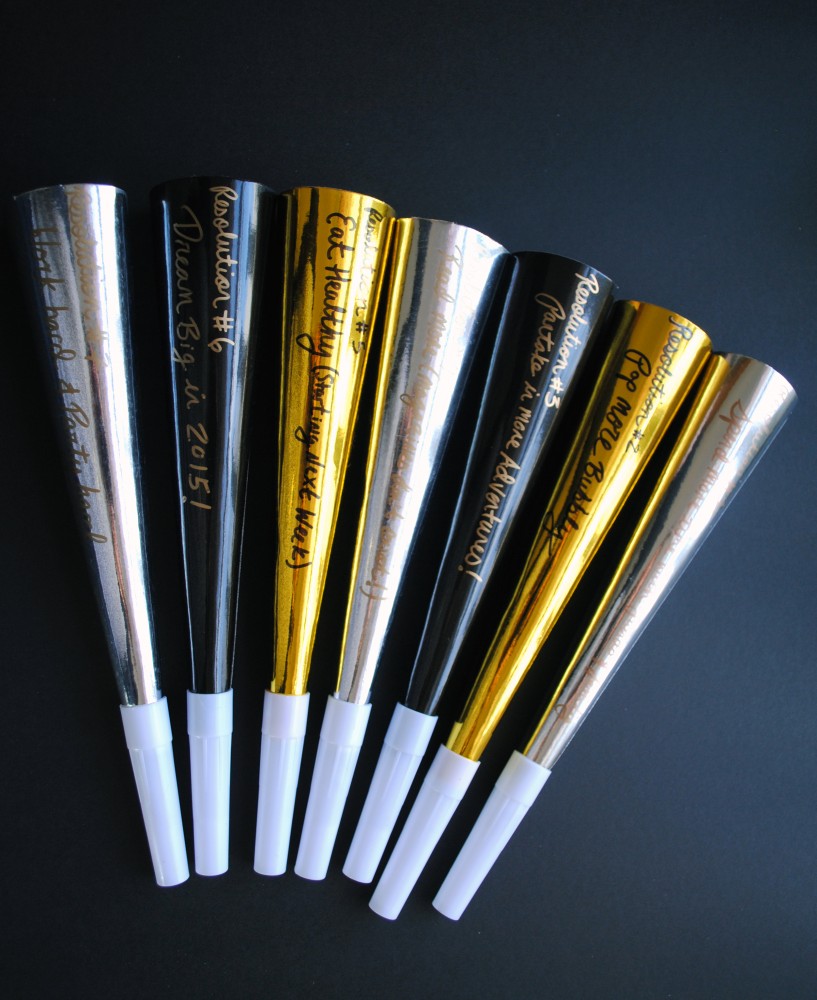
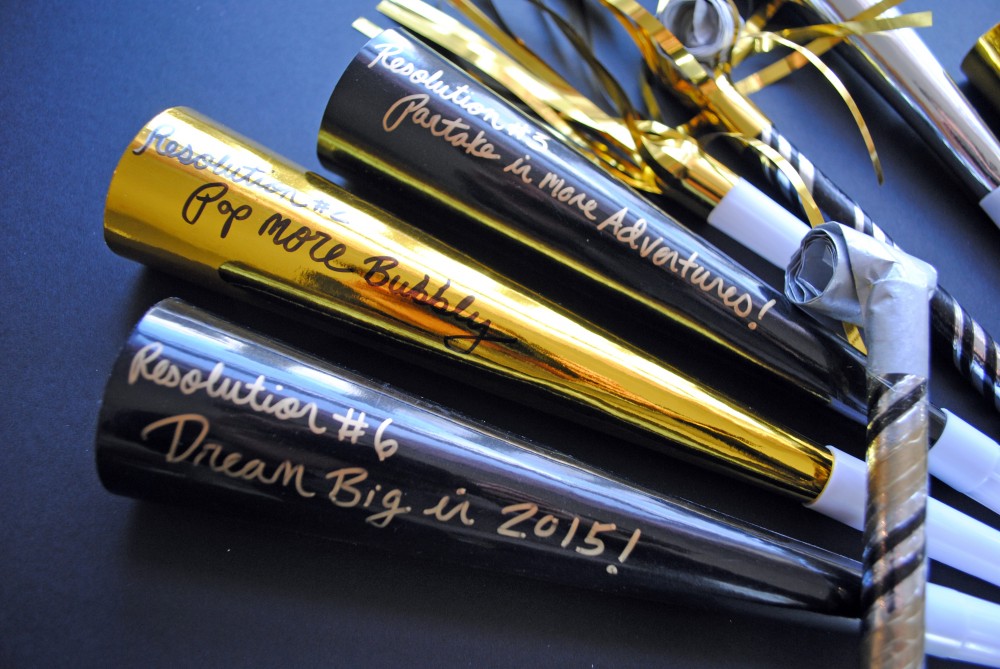
Here’s the thing — those glitzy crowns and party horns that we all buy for New Year’s — they’re super corny, but so very necessary. I like the annual challenge of finding new ways to update these simple party-store finds into something a little bit more special. Last year I used glitter letter stickers to write out messages on simple paper party horns — and this year I took the same concept and revamped it. With some metallic Sharpie markers and a little bit of patience I carefully hand-wrote silly New Year’s resolutions on a set of big party horns. I plan to pop them all in a vase for some table-decor, and let my guests pick a resolution that matches their personality (and sense of humor!).
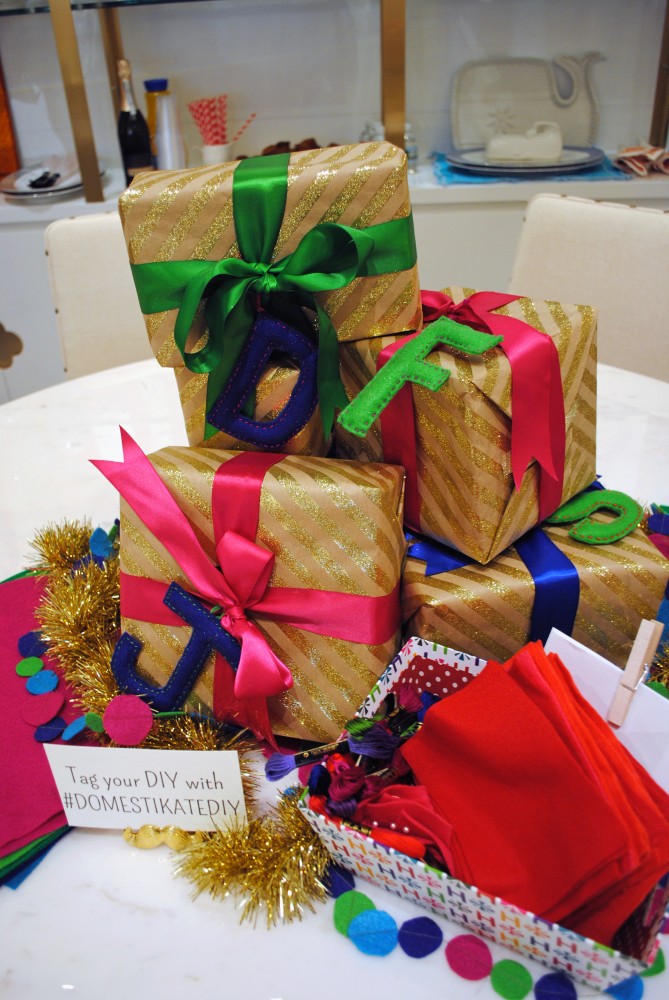
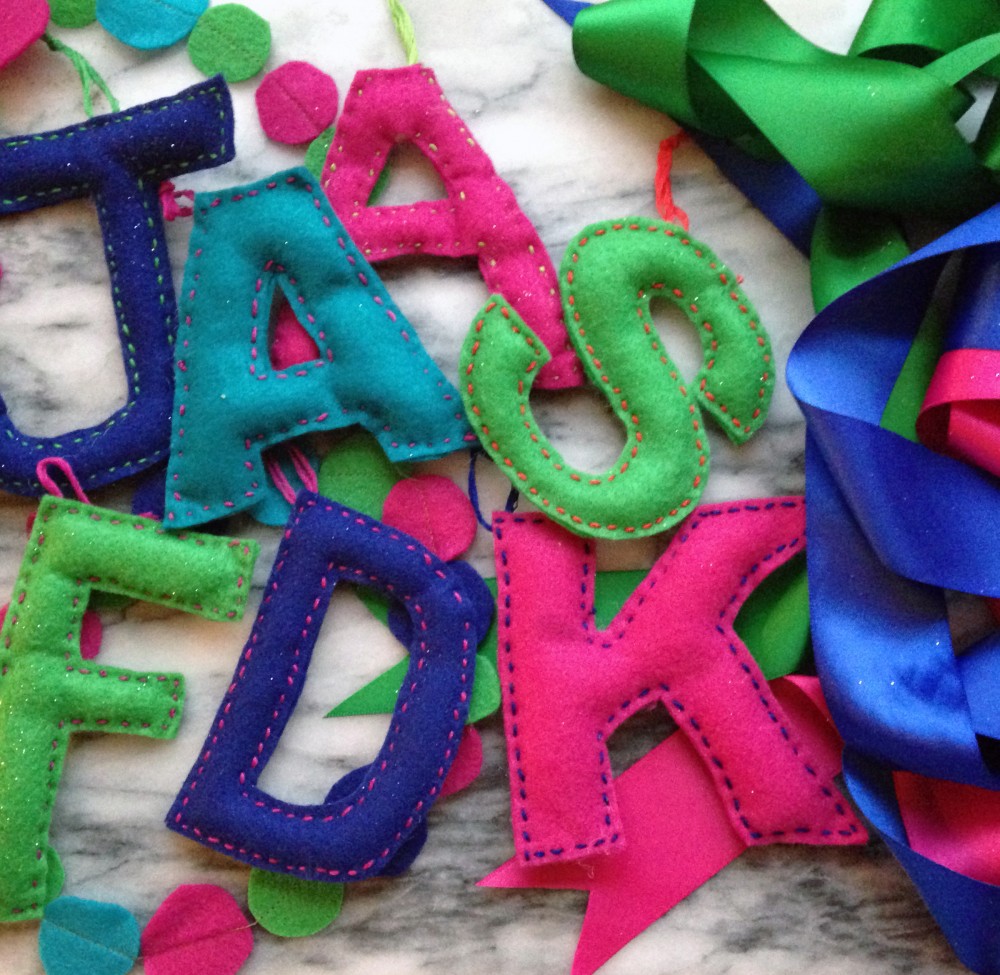
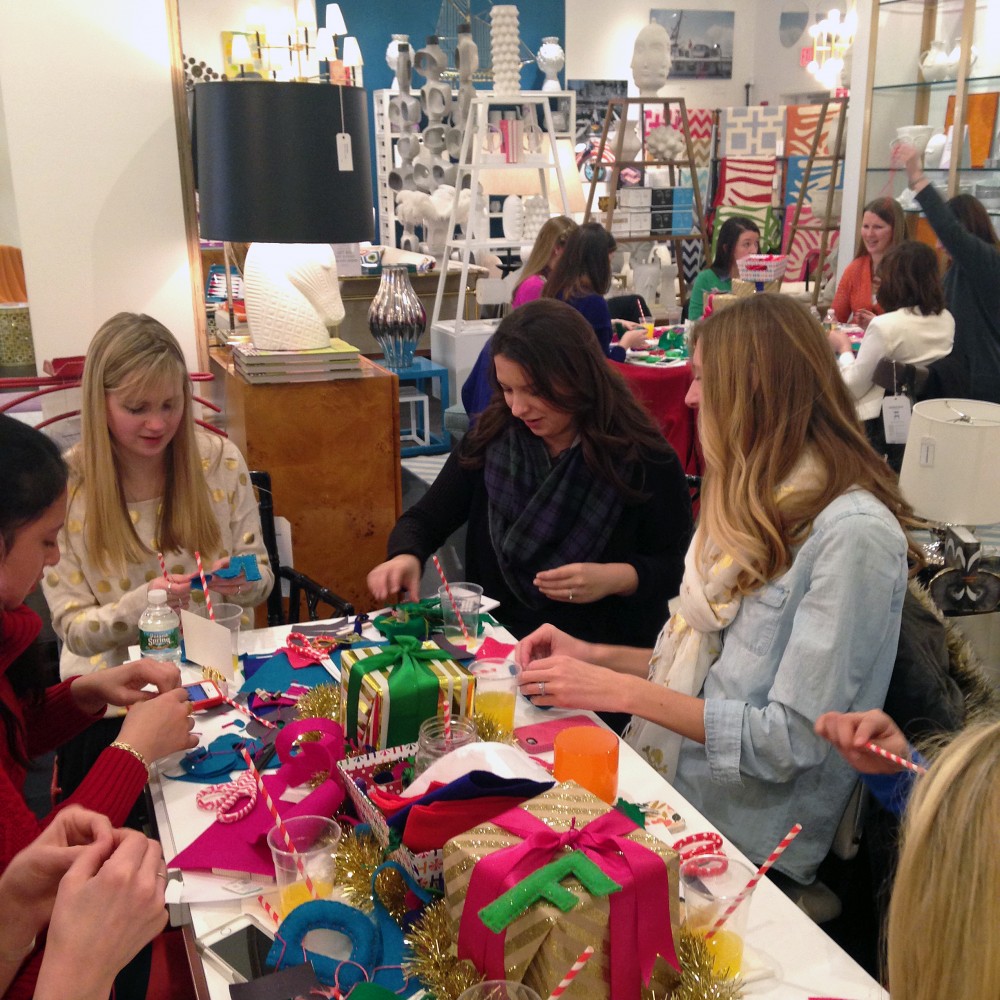
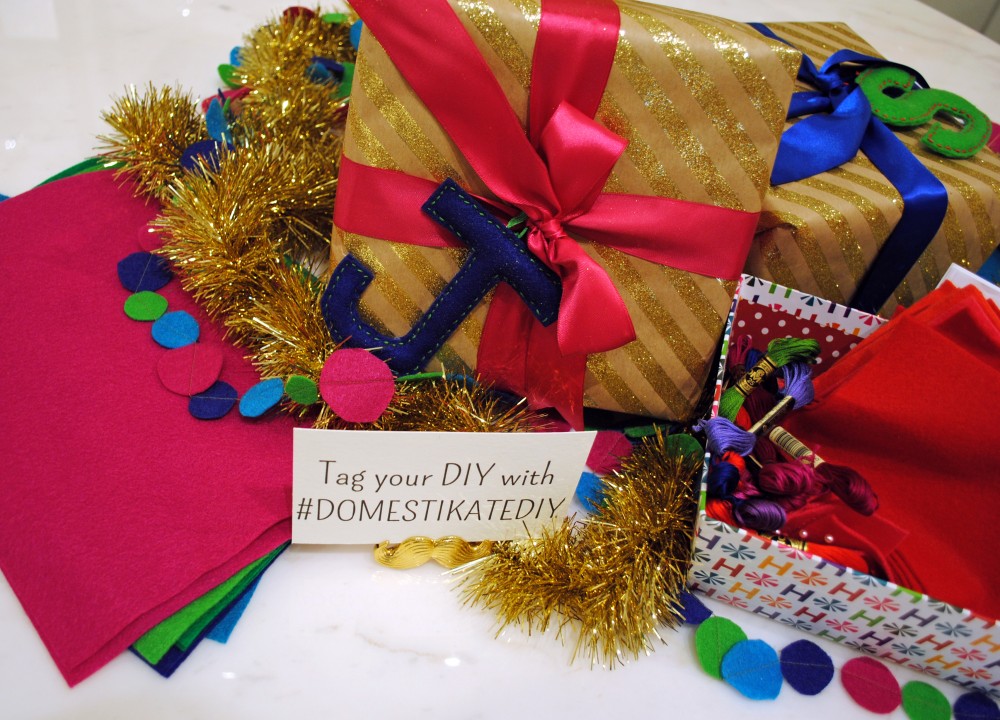
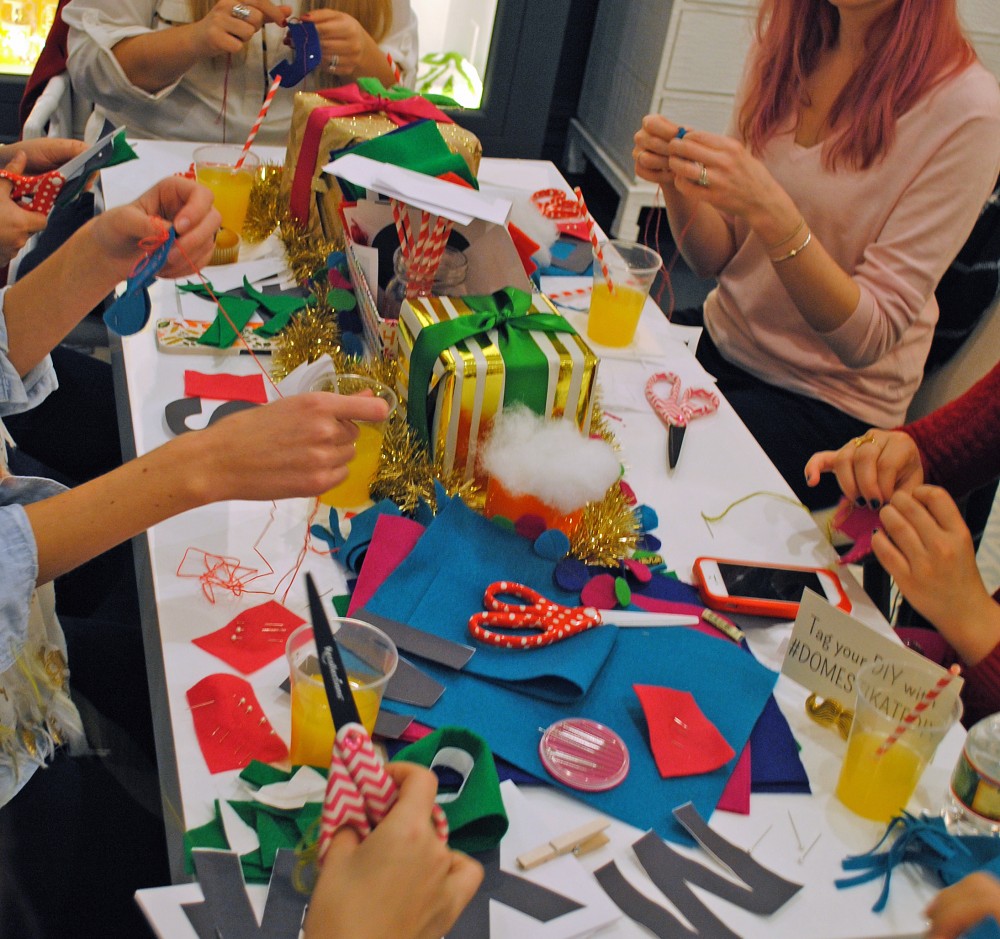
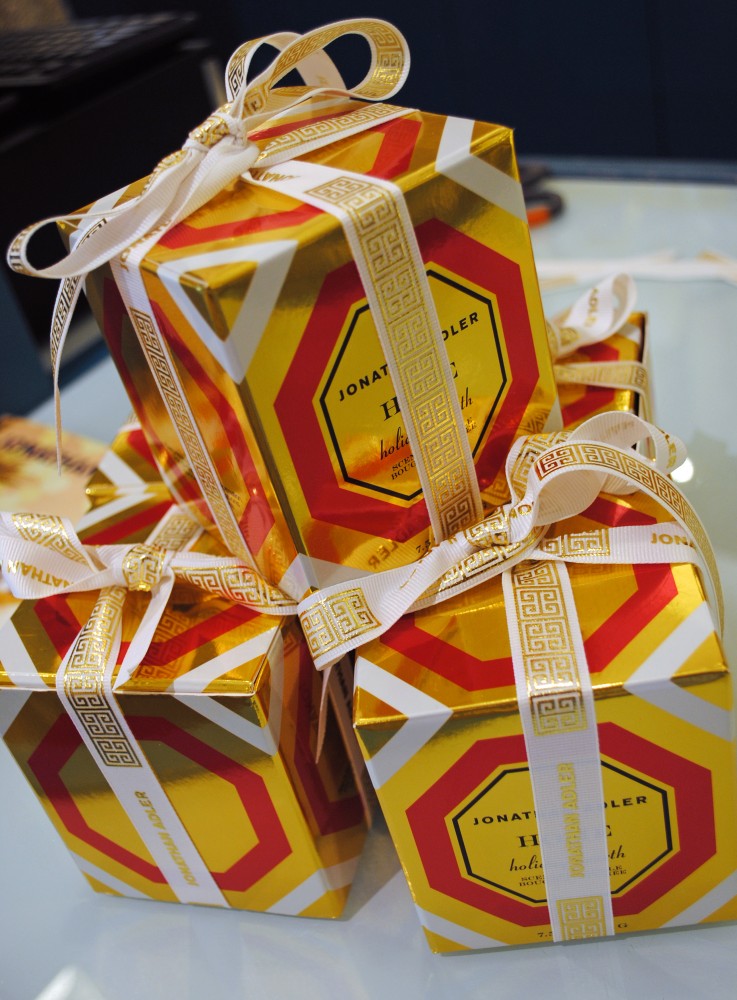
Over the weekend the lovely team at Jonathan Adler invited me to host a little Holi-DIY party for some of my best Boston bloggers buddies in their Chestnut Hill store. Our project for the day was a felt-monogram gift tag that doubles as a keepsake ornament once your friends and family open their gifts! I used a simple tutorial to create the monogrammed felt tags and everyone crafted up a bunch in bright jewel toned (and Jonathan Adler-inspired!) colors. Honestly, what’s better than a chilly winter morning working on holiday crafts with your girlfriends? After popping a little champagne, the JA team sent us home with some festive holiday swag — the perfect ending to a Holi-DIY fete! 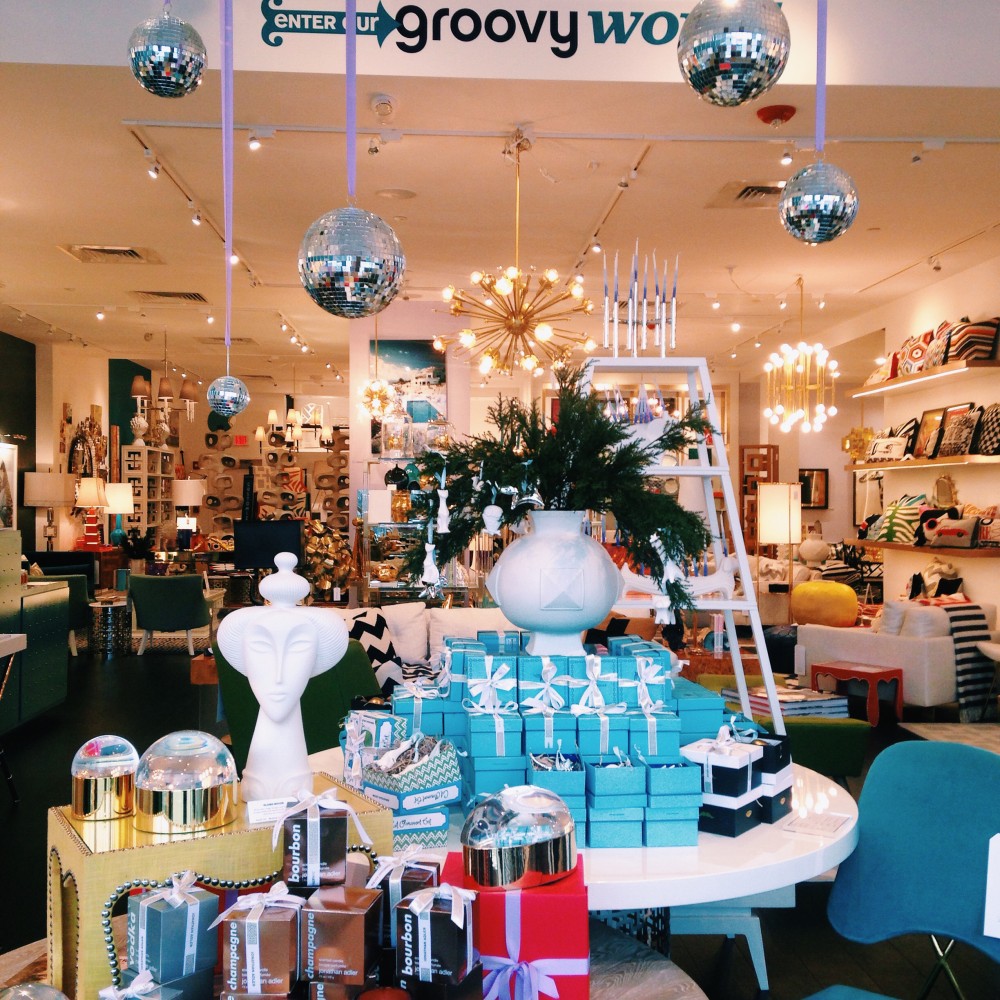
On our holiday dinner table, space can be at a premium — and we would always prioritize food and drink over tons of decorative details, which is where the idea for this simple, multi-use DIY came from. I washed out a rich green colored wine bottle with the intention of serving water in it on the Thanksgiving table, and decided to give it one more purpose: a passable menu detailing all of the great Thanksgiving dishes we’ll be feasting on. With a thick permanent marker, I hand-lettered the main dishes down the center of the bottle and finished it off with a large script ‘menu’ title where the base and neck meet. The best part? It costs nothing to make (well, minus the cost of the wine, but let’s be honest: I was going to drink that anyway!). 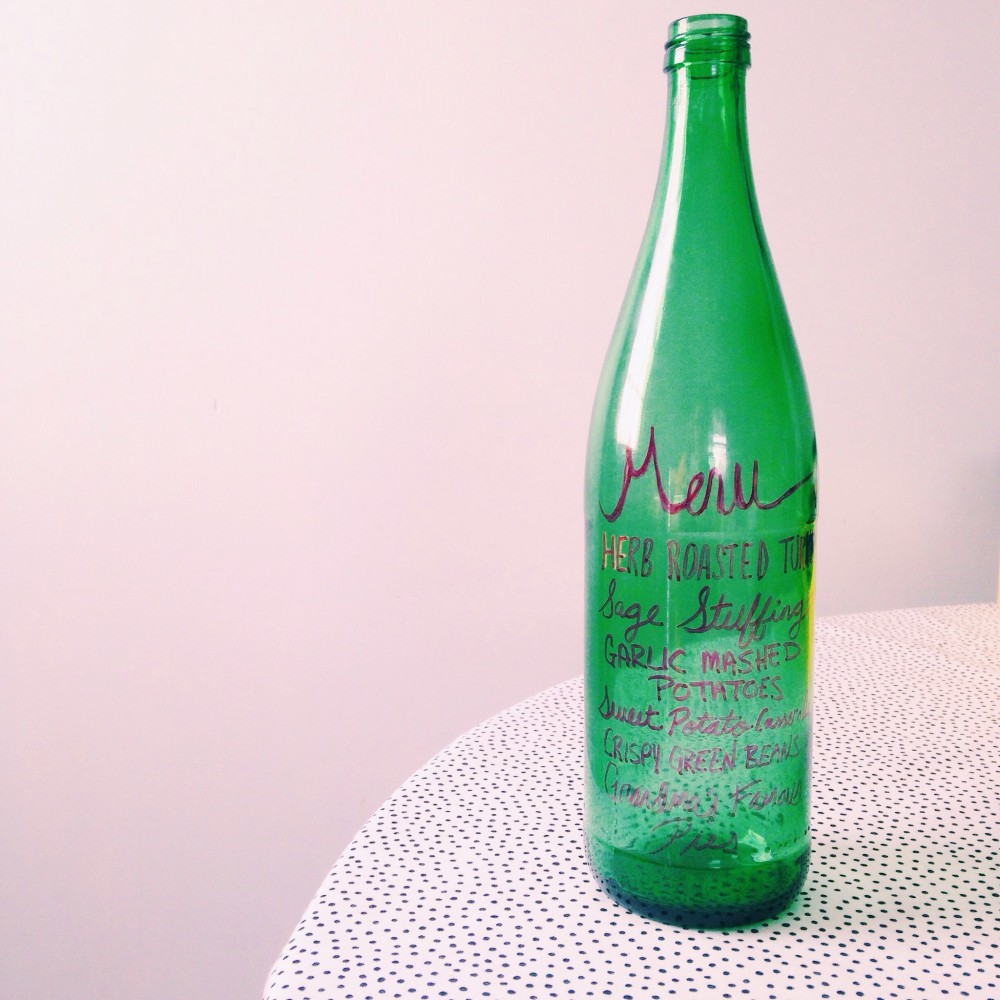
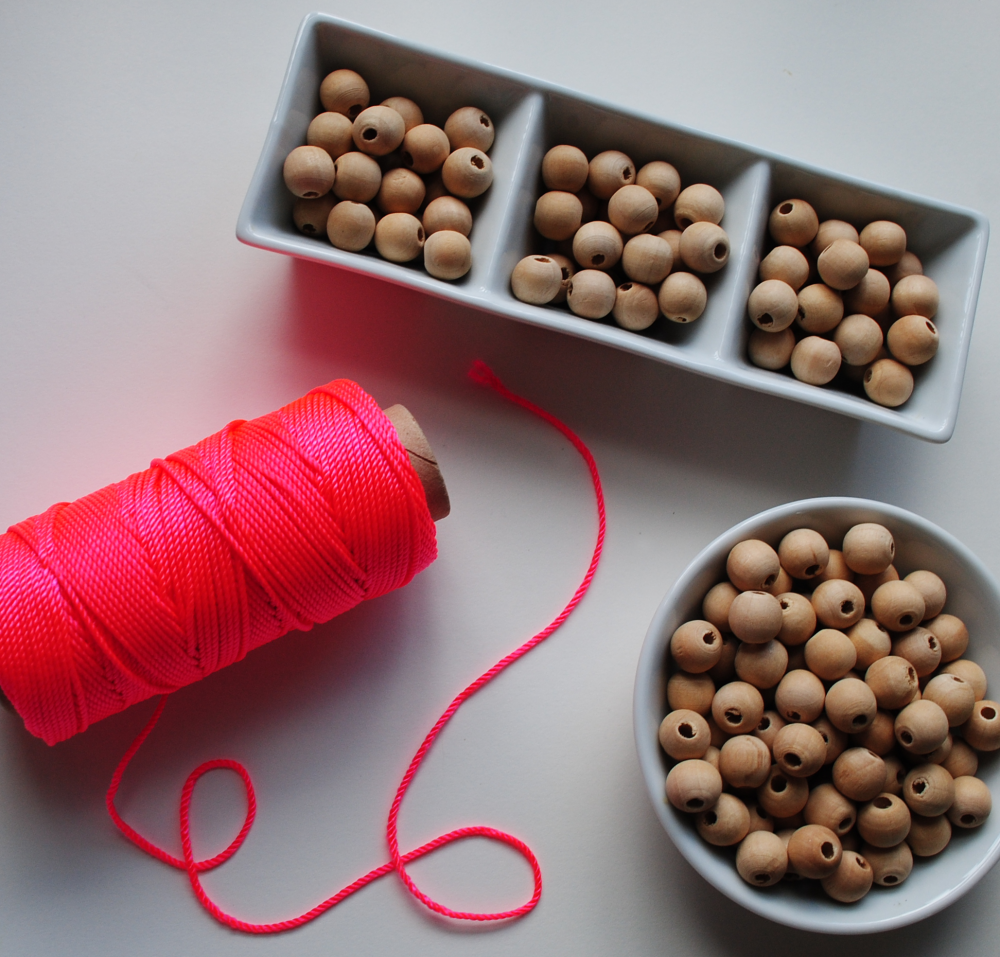
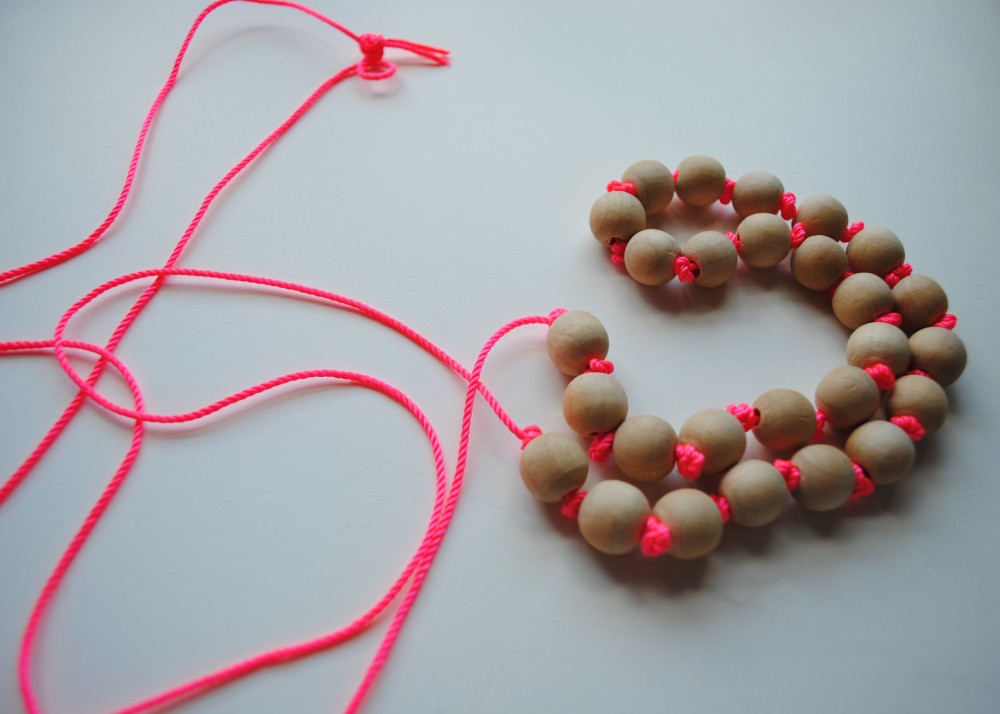
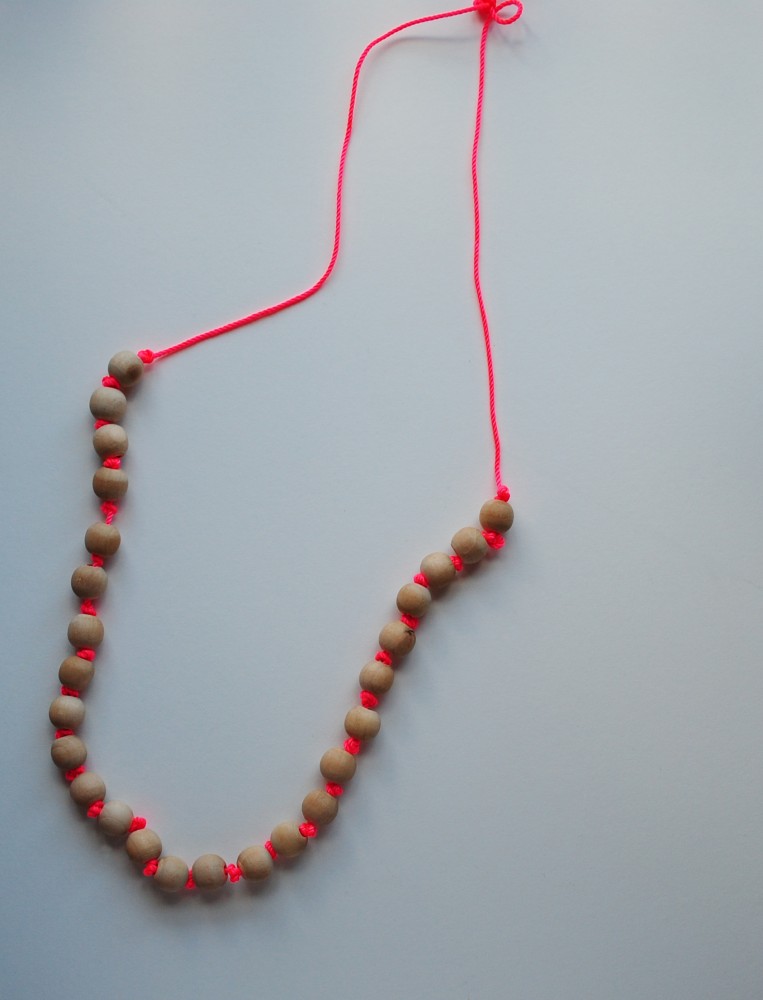
I was in the hardware store a few weeks back and saw this neon cord in a big bin — I picked up and a little light bulb when off over my head — craft project! It’s been awhile since I’ve dabbled in jewelry making, and decided to put this neon cord to good use in my closet by making myself a new necklace. This project is as easy as tying your shoes — if you can make a simple knot, you can make this necklace! I cut a piece of the cord about twice the length I wanted my necklace to be (you lose length as you make knots). Then, starting in the middle, I added a wooden bead and tied a double knot on either end of the bead to hold it in place. Keep working on either side of the center bead, adding on additional beads and knotting just above the bead opening to hold it in place. I found that make a loose knot, and then holding my thumb on top of it while pulling tight helped keep it close to the bead. Repeat until you get to the desired length, and then grab the two ends of the cord and tie them together in a double knot to finish the necklace off! You can add a little bit of clear nail polish to the end pieces after you trim them, as well as a light coat over the top knot to keep it from fraying. Bright, cute and oh so simple, right?
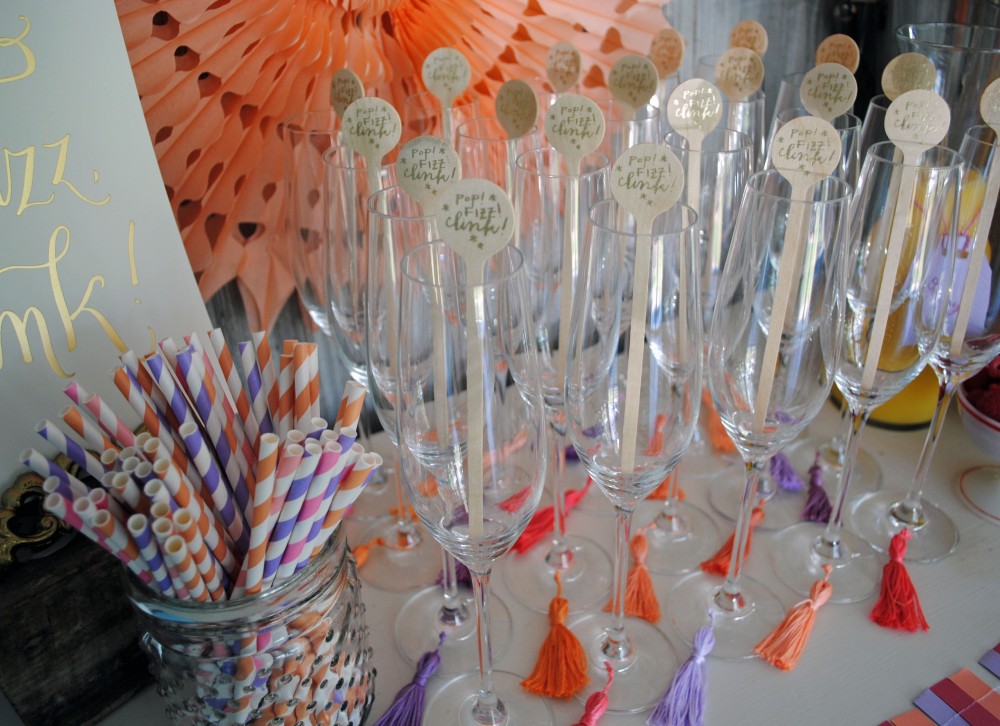
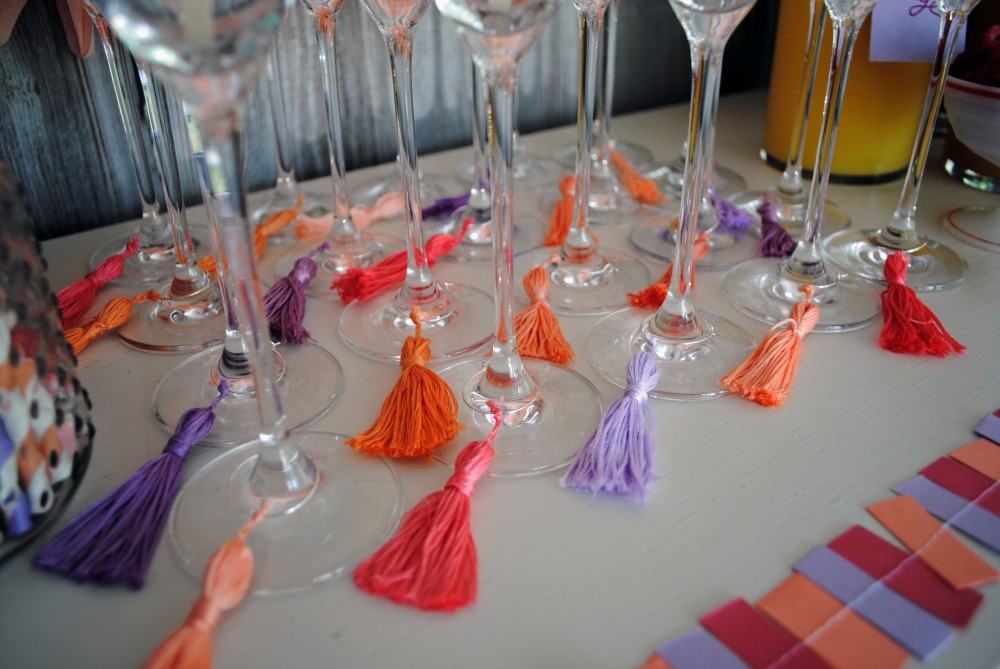
When it comes to planning a bridal shower, it’s the little extra details that make all the difference in creating a special experience. When my fellow bridesmaids landed on a mimosa bar for the shower, I decided it would be fun to jazz up the rented champagne flutes with a little extra flair. Using embroidery floss and an easy-to-find tutorial from Pinterest, I made tassels in coordinating corals, peaches, and lilacs. Using wine charm findings I attached the tassels with an extra piece of embroidery floss. The result was a bright pop of festive color on the champagne flutes, and an easy way for guests to locate their drinks!
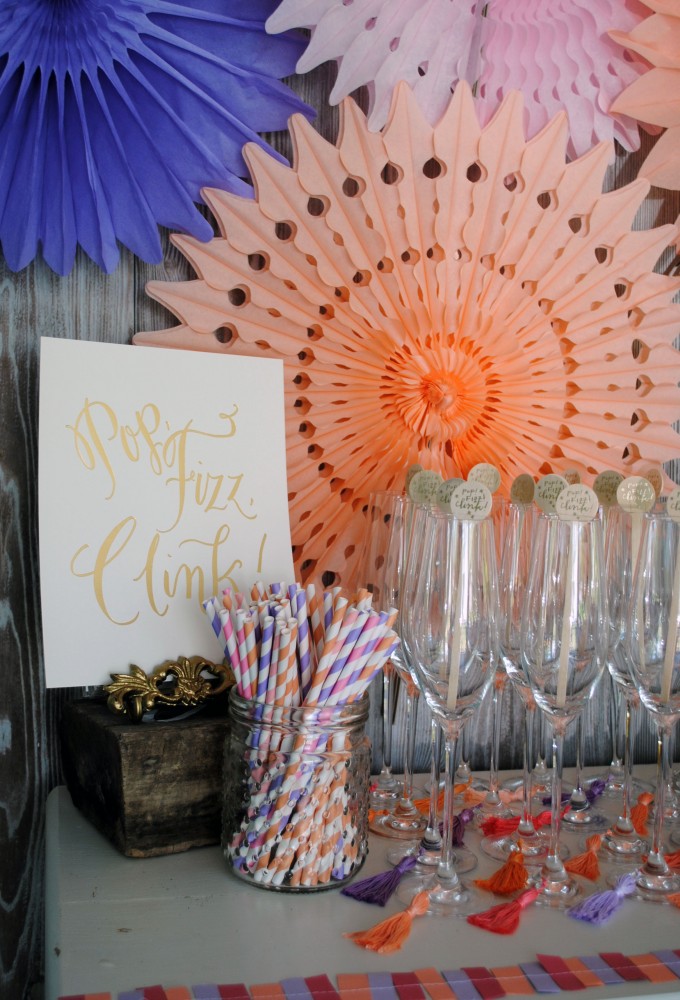
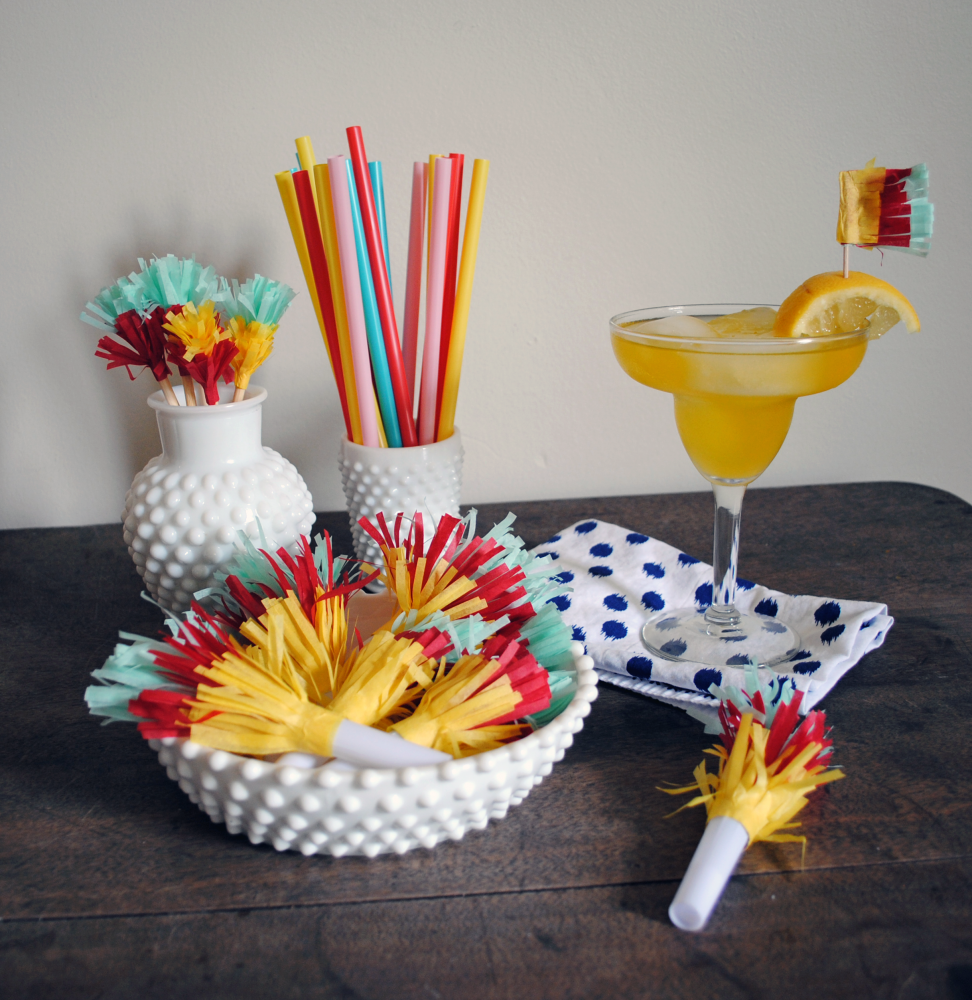
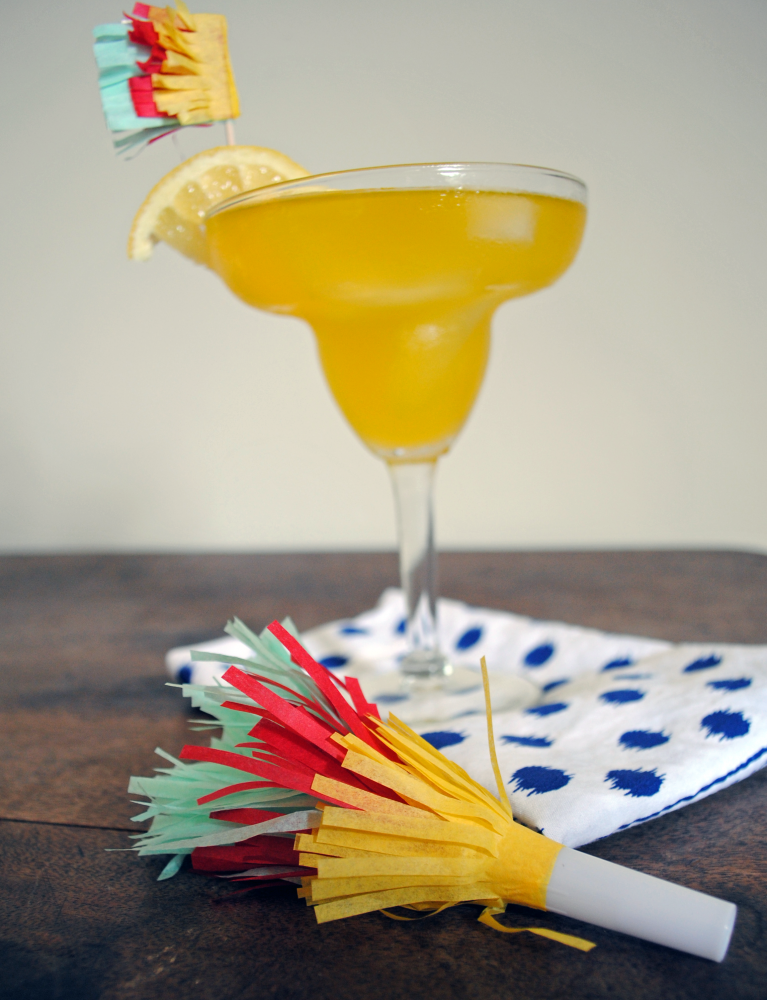
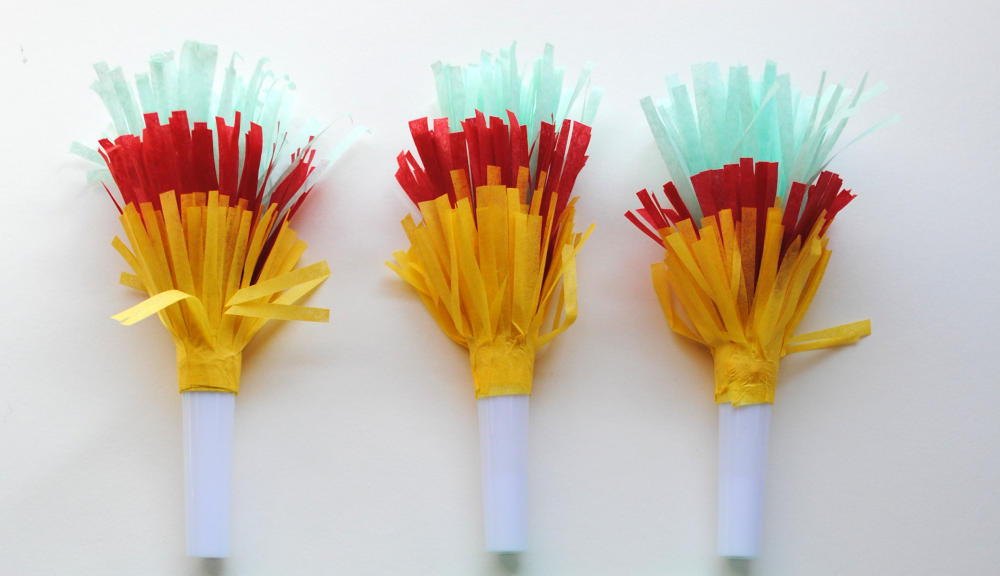
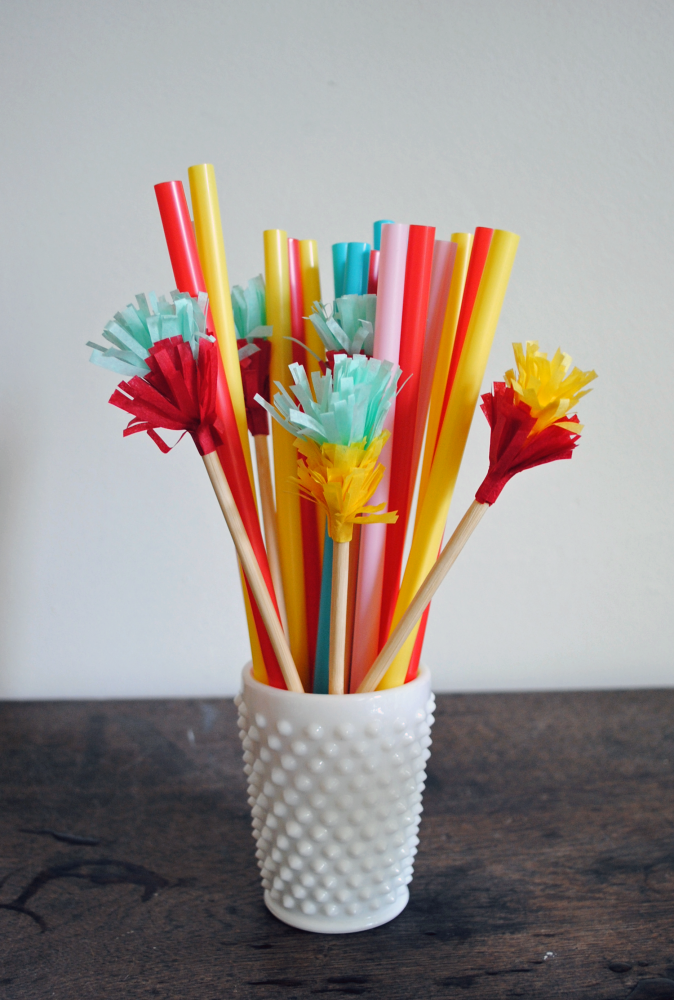
If you follow me on instagram, you may have seen my little brother graduated from high school this week (cue the tears!). He’s the baby in the family, and is lucky to have two big sisters and a mom that L-O-V-E -love throwing parties, so you better believe we’re going to be throwing the biggest and best graduation party for him to celebrate. He requested a taco bar which lead to an obvious theme of fiesta! — so I’ve been busy crafting up piñata-inspired details this week to make sure it’s a fiesta to remember. Using tissue paper, I cut 1.5 inch strips in different colors and used fringe scissors to create the piñata-like texture. Next, I used a glue-stick to coat the non-fringed edge, and began to wrap it around the party horn whistle (I got these at a party store and removed the paper wrappers that came on them). Keep wrapping until you get to the end and add a little extra glue to ensure it’s sealed, then repeat with additional colors layered on top. I replicated the same process for drink stirrers, just wrapping a bit tighter around a small skewer, and used a few extra tiny scraps to make some tooth-pick flags for garnishes; can’t wait to use these at the party this weekend!
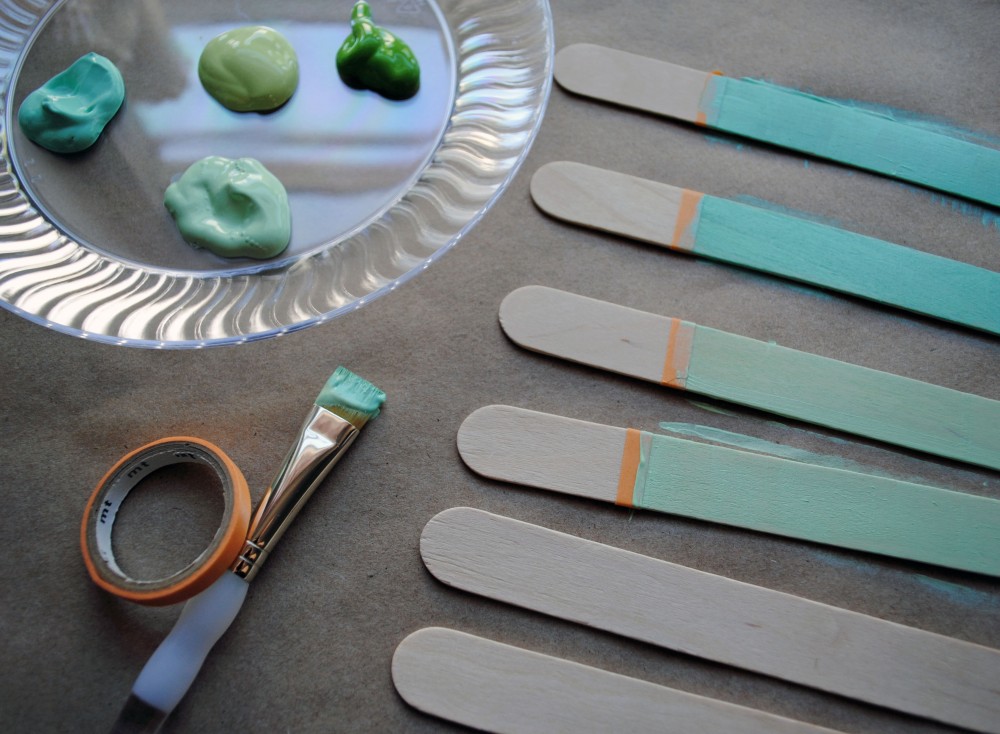
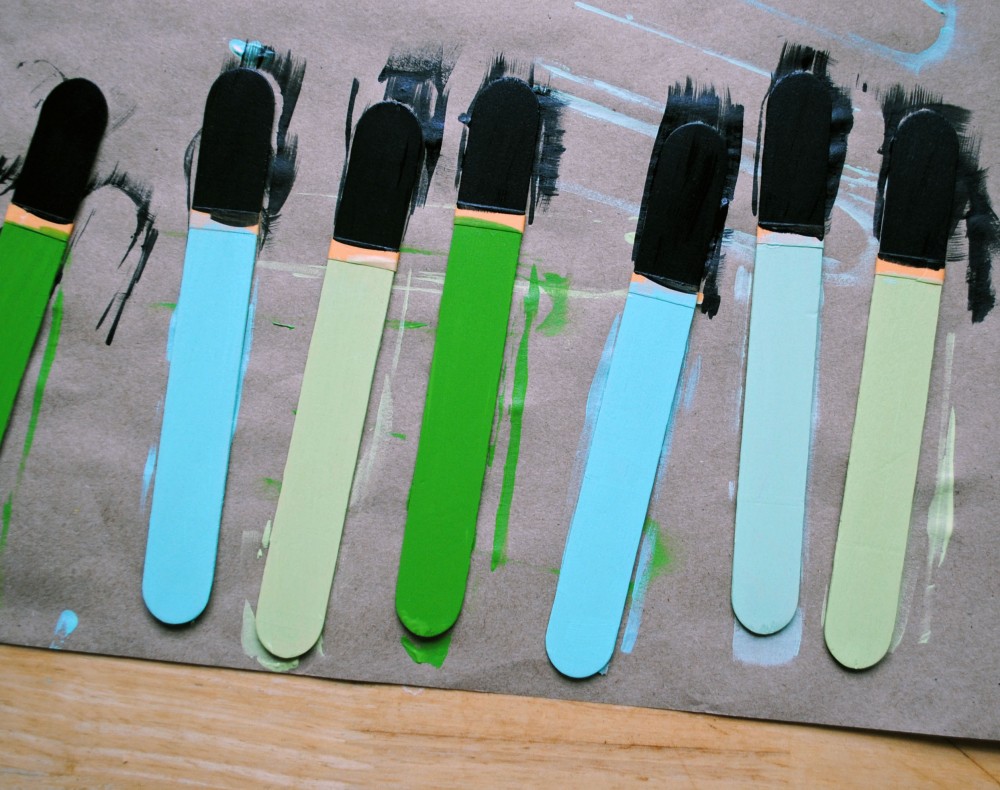
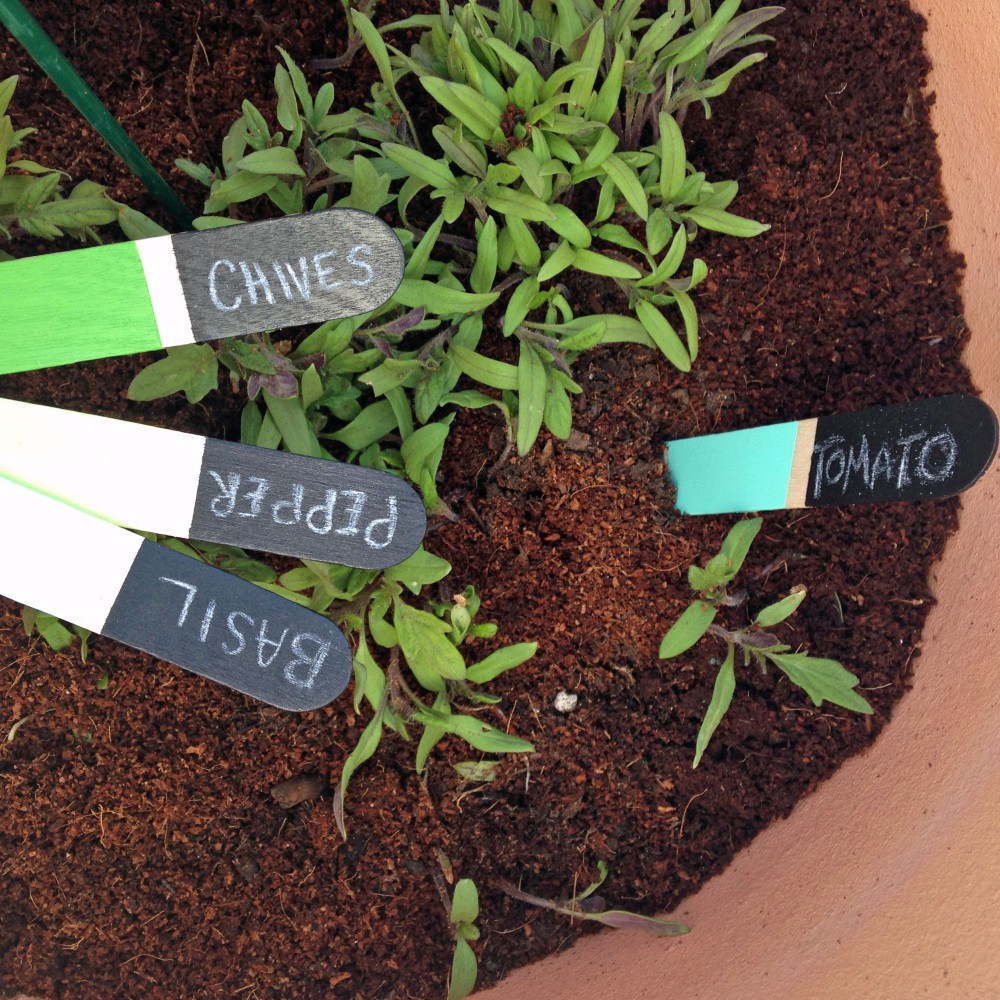
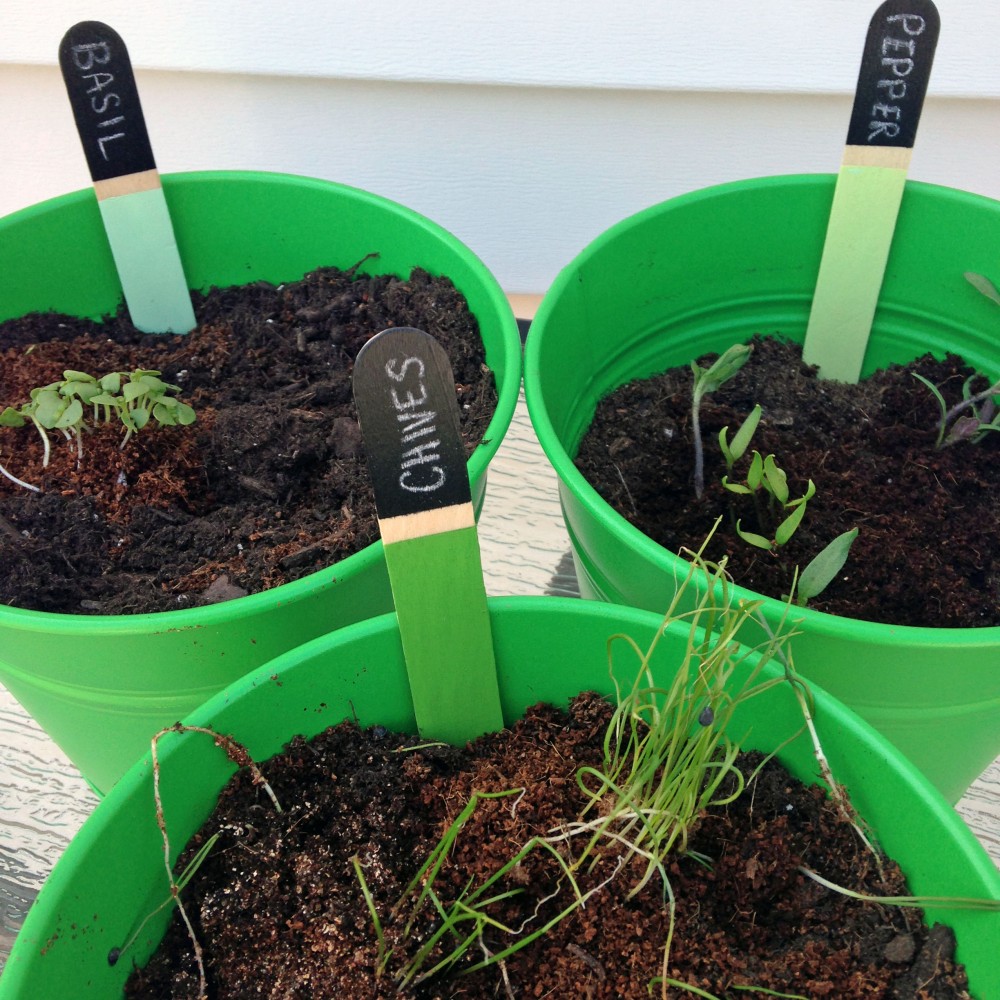
One of my most daunting items on my 30 before 30 list is this: grow something from a seed. That may seem like a fine task for the average human, but for all of my skills in the kitchen and DIY tendencies, I seem to have a black thumb (coupled with some very mischievous city squirrels that like to dig up anything I plant). I am determined this year though to make it happen, and have been growing some herbs and veggies on the porch that were just about ready to be re-potted this weekend into their homes for the summer. I decided to make a few plant markers out of popsicle sticks to keep my seedlings straight! A coat of acrylic paint on the bottom of the sticks gave them a pop of color, and I topped them with some chalkboard paint to make them easy to label — a quick and easy DIY. Now I just need to keep those plants alive! 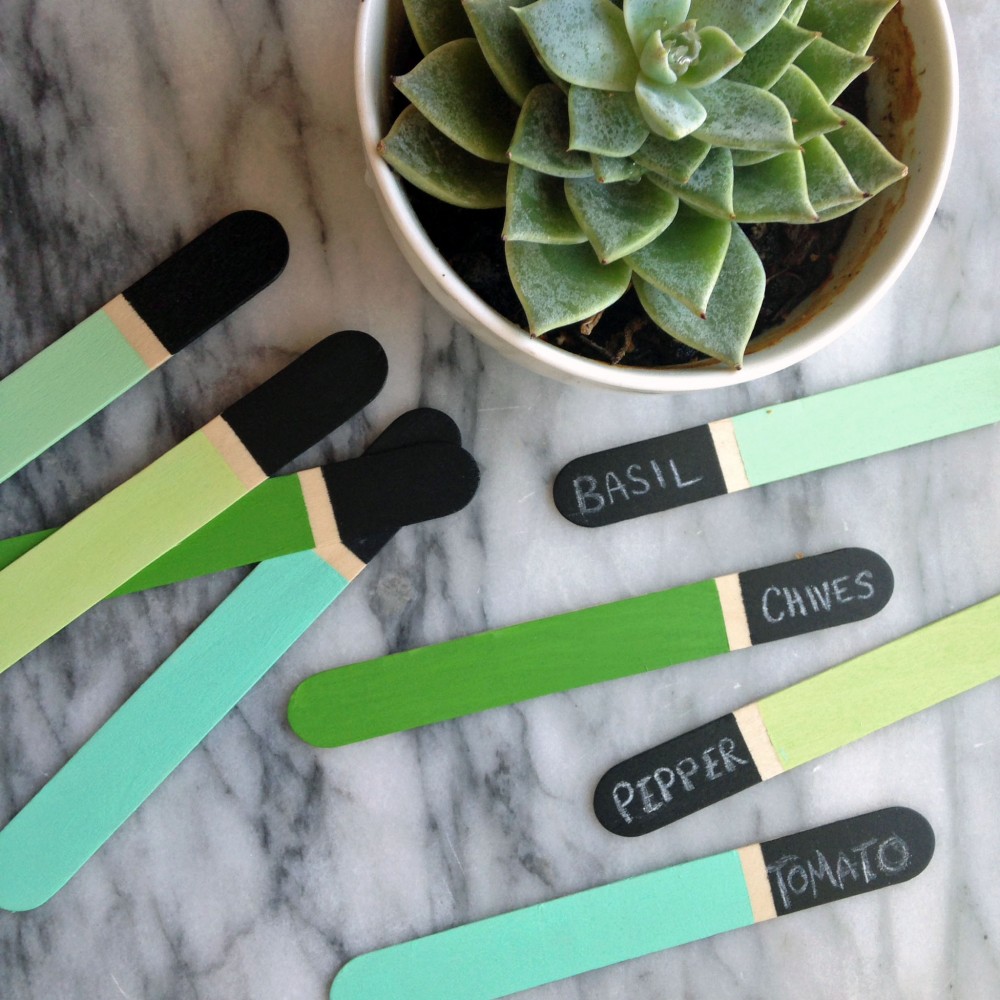
I don’t know about you guys, but this past weekend felt like a summer weekend to me — we had our first warm night out on the porch with friends and sipped on some warm weather beverages. With Memorial Day coming up this weekend, I partnered with Seagram’s Escapes to put together a little DIY to get you in the summer entertaining spirit! I am a fan of all things nautical, and decided to customize some koozies to keep my cocktails cool as the temperature rises. Read on for instructions to create your own nautical drink koozies.
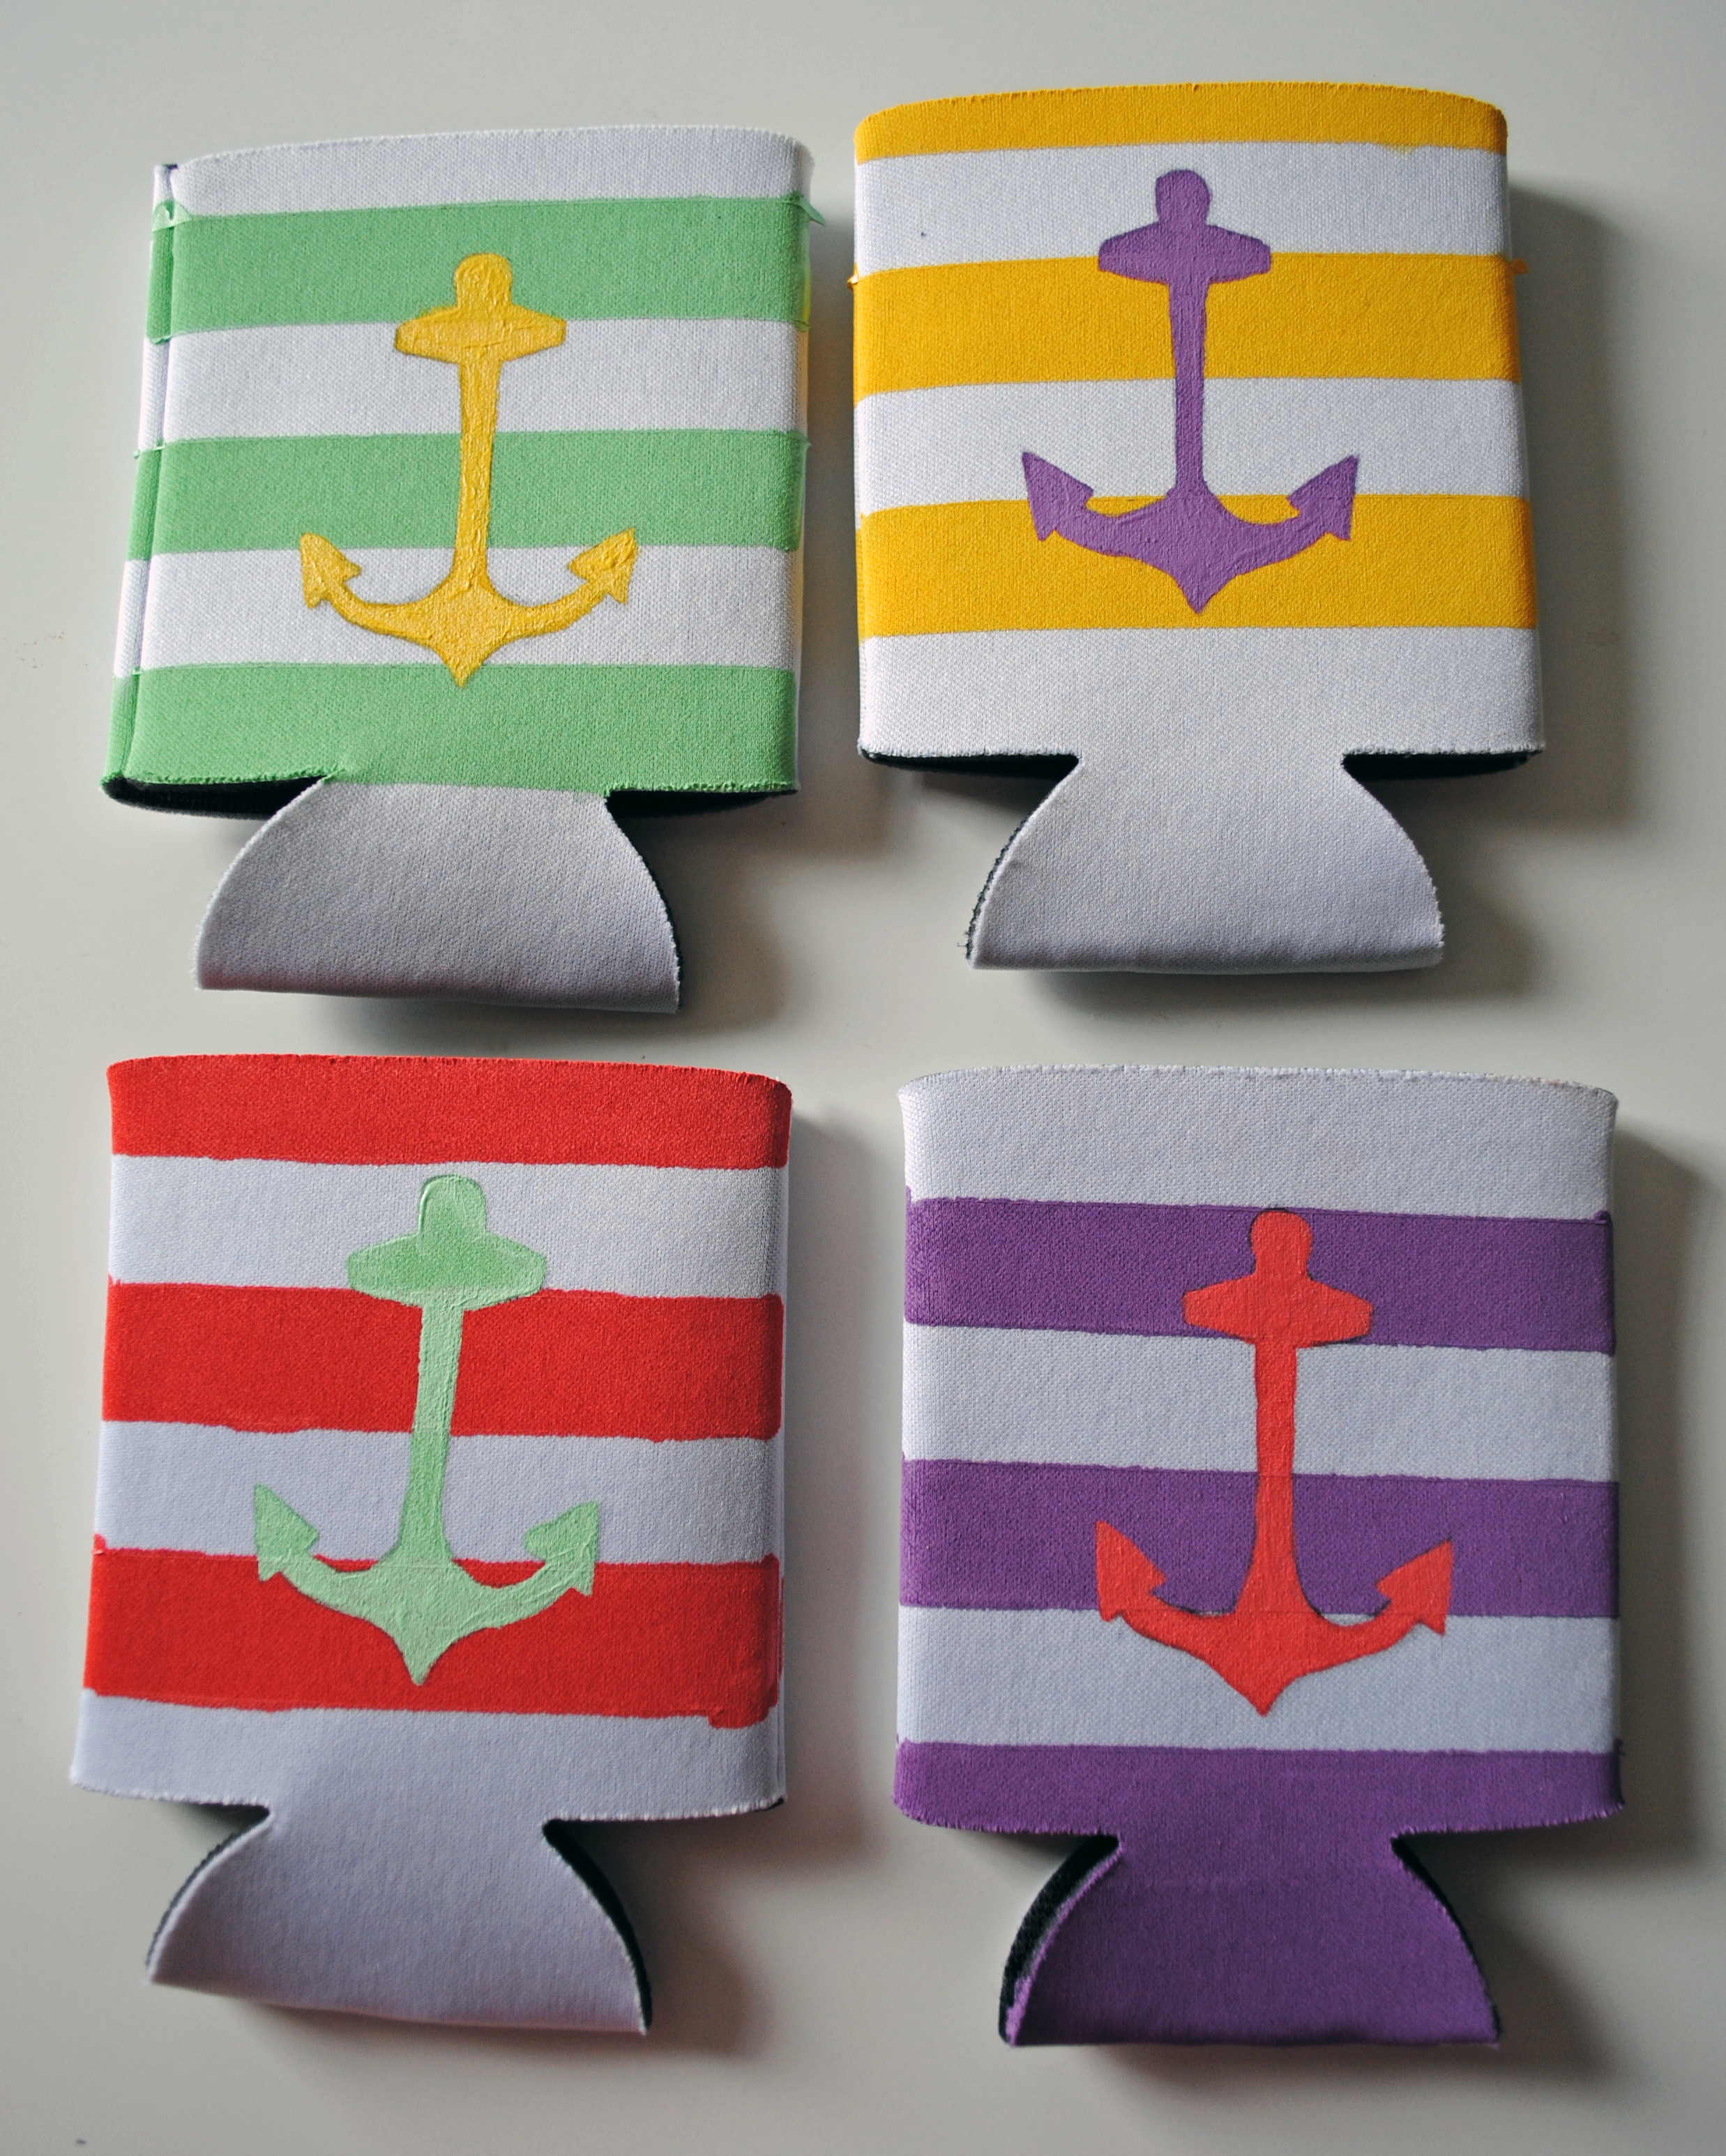
To start, use painters tape to mark off the stripes at consistent intervals on plain white drink koozies (I use the width of the tape to mark off where the next one starts to space them evenly). Once the stripes are taped off, paint the space between the taped lines and let it dry completely before removing the tape. Next, use a pencil to mark off your design — I used a stencil to draw an anchor for a nautical motif — and paint inside the traced shape. You may need to use two coats of paint when using a lighter color over a dark stripe. Be sure to let the koozies dry completely before using!


 If you’re interested in getting into the summer entertaining spirit, head over to the Seagram’s Escapes Facebook page and enter to win a Seagram’s Escapes party kit!
This post was sponsored by Seagram’s Escapes; all opinions and DIY ideas are my own.
To make your own custom koozies visit: Imprinted Koozies

