I threw a mean NYE party, if I do say so myself. So mean in fact, that I didn’t have the energy to post about my crafty decorations until January 2nd, but better late than never!

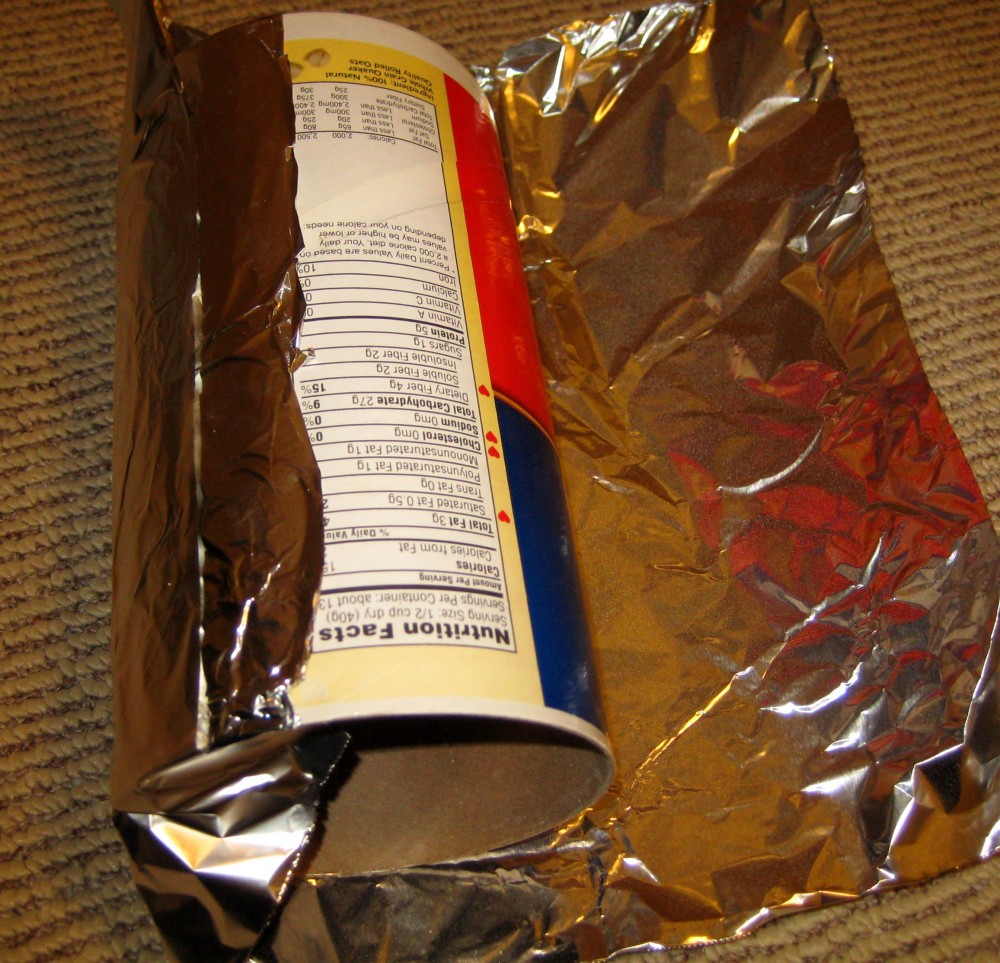
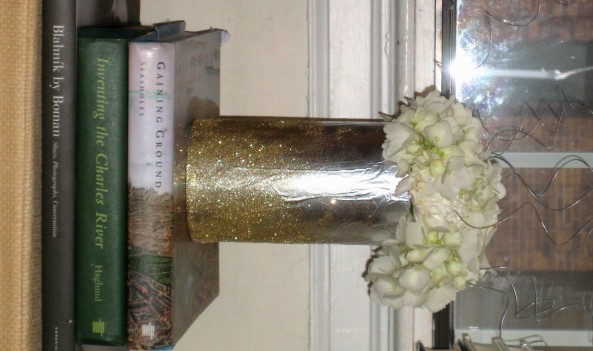
My first DIY decoration was metallic flower vases, and they were so simple. I started by wrapping some old coffee cans and quaker oats containers in foil…

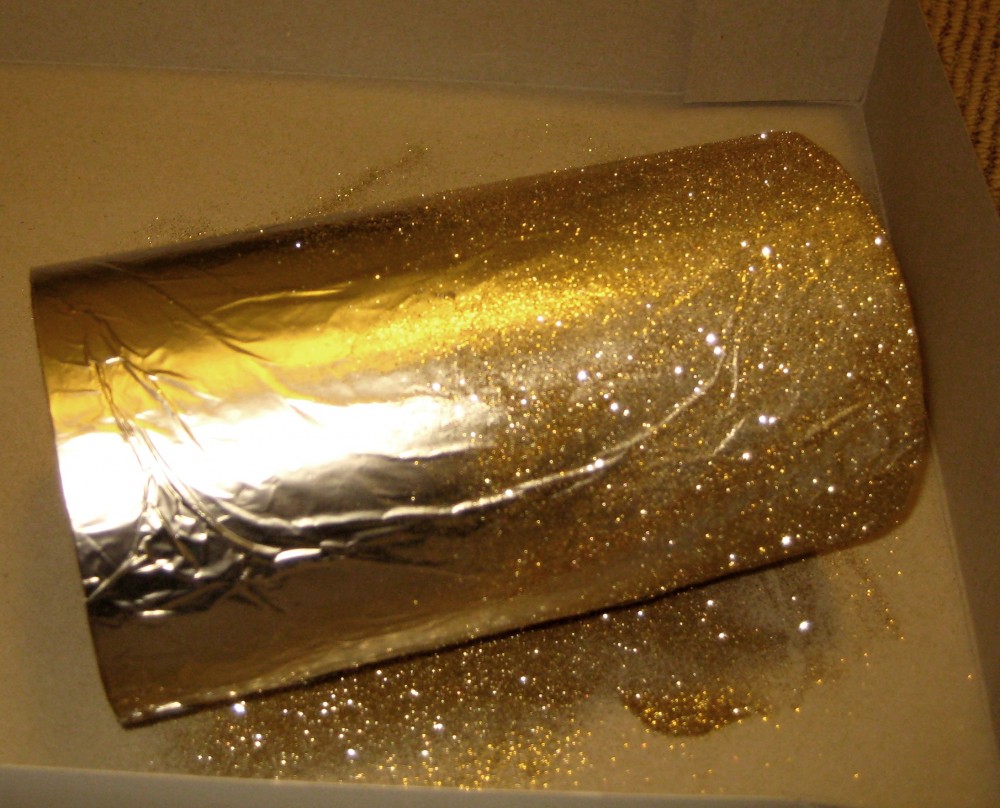
… then I sprayed them with some adhesive and sprinkled glitter around the bases…

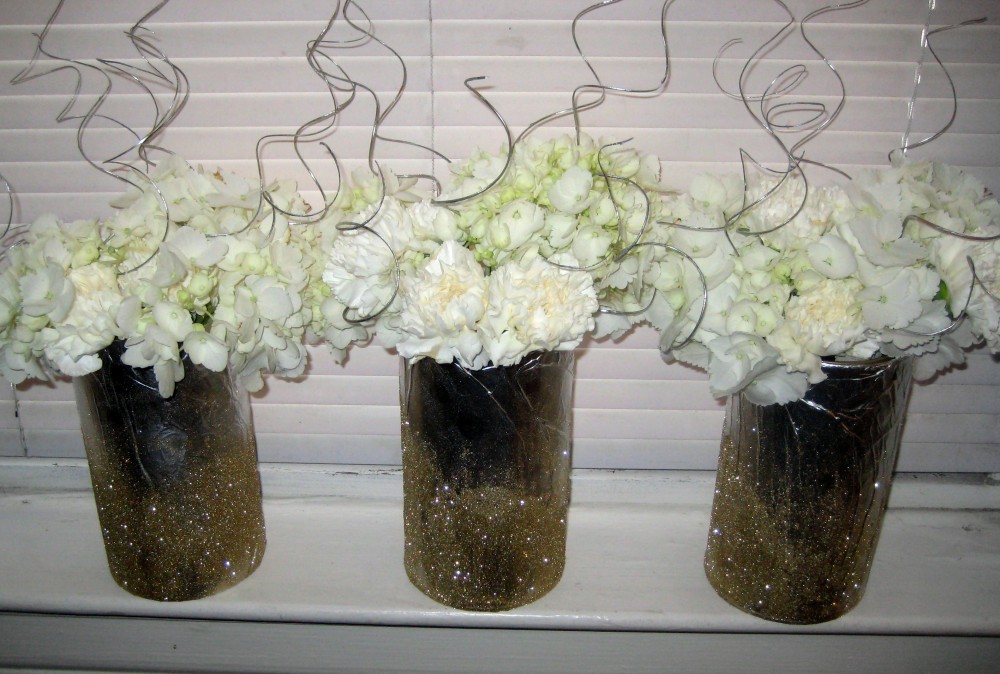
… and voila! Sparkly NYE decorations:

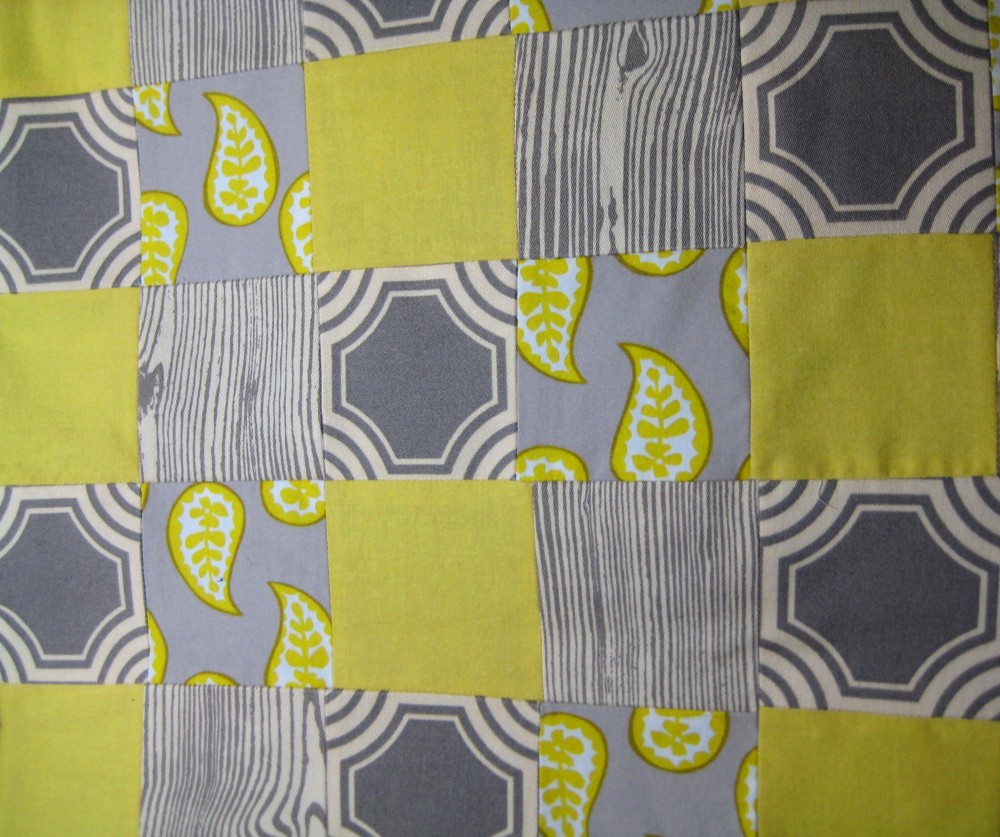
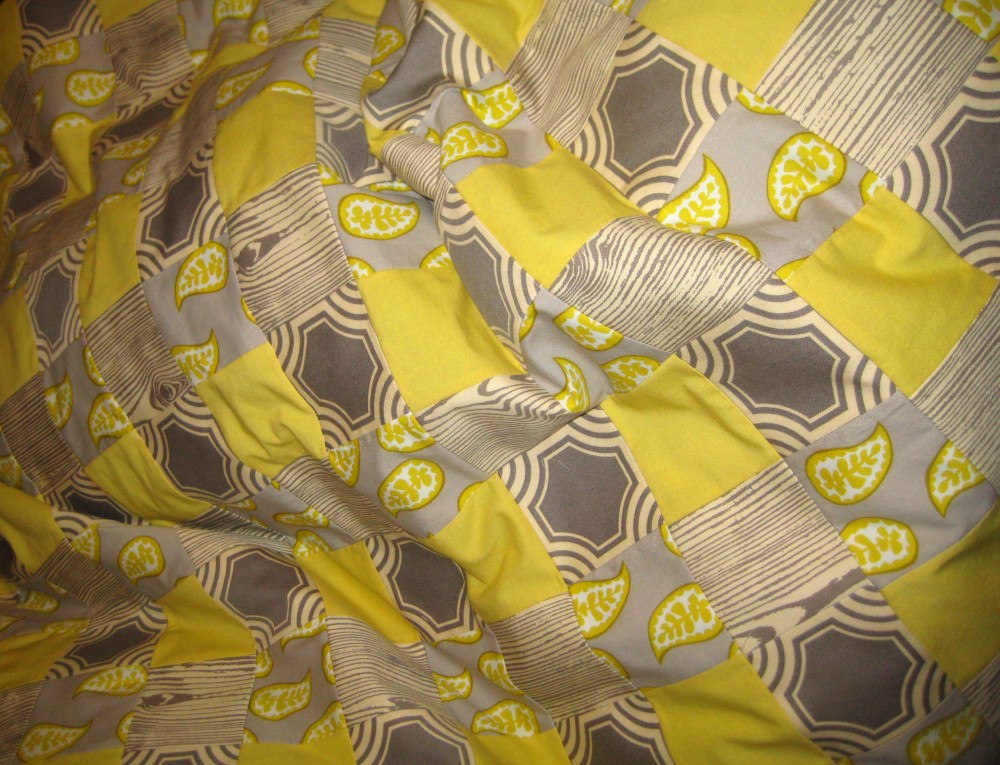
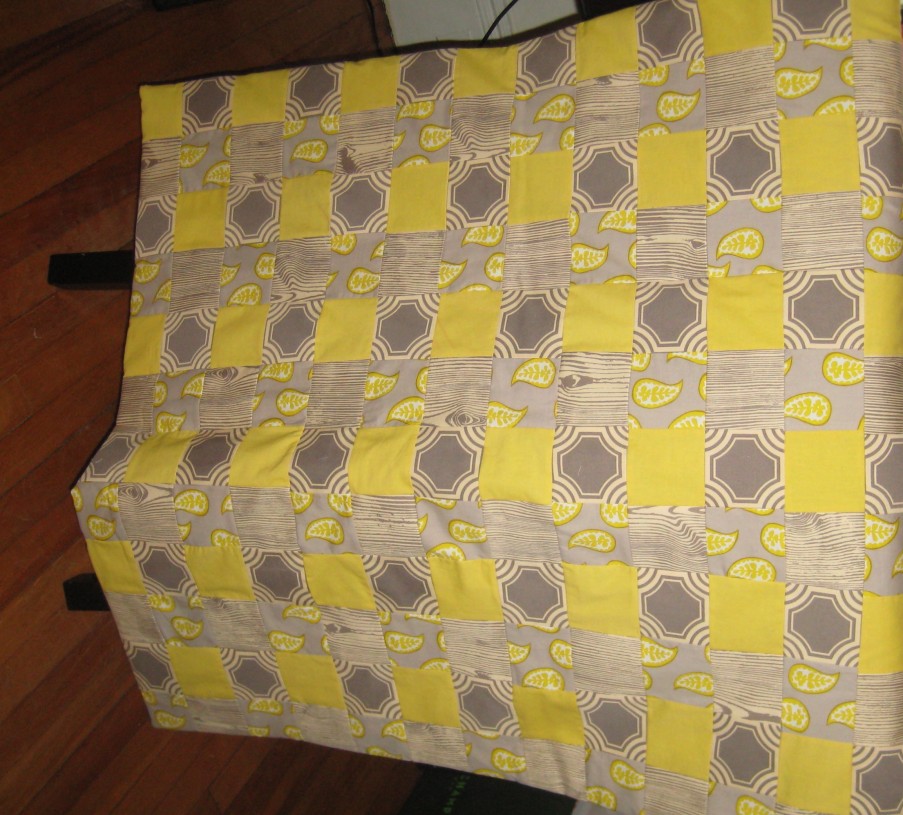
I’m so excited, my cousin just gave birth to her first child, a baby boy named Samuel. And also exciting, I just finished a baby quilt for her… and don’t act surprised, I went with yellow and grey.

I’m jealous of the baby though, I want to keep it for myself. At least I have some fabric leftover, because I’m obsessed with the grey faux bois Joel Dewberry fabric:

My sister and I are freaks, and after Thanksgiving dinner last week, we went to Michael’s to take advantage of their 40% off pre-Black Friday deal (our cousin and aunt came too — at least the crafting freak flag is hereditary).

(Side note: you really don’t want to know what kind of people go to a craft store at 9:00 on Thanksgiving night, it’s a scary breed).

When the two of us get together, it’s usually crafting pandemonium. We’ve been emailing back and forth about the great ideas on P.S. I Made This, and decided we had to make her animal print tote.

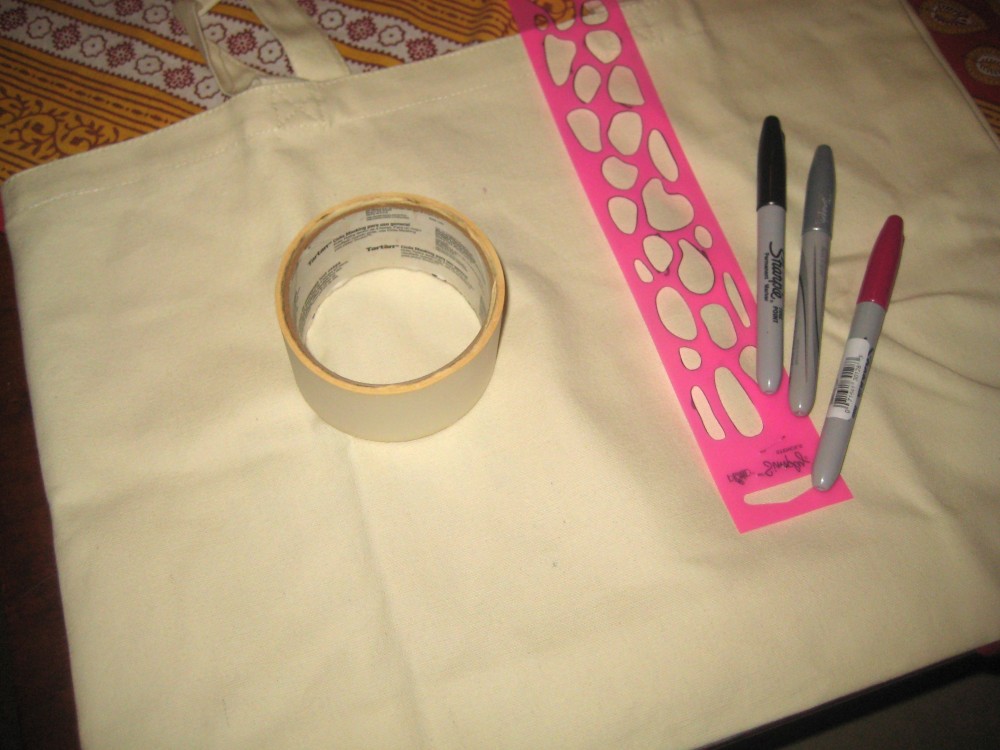
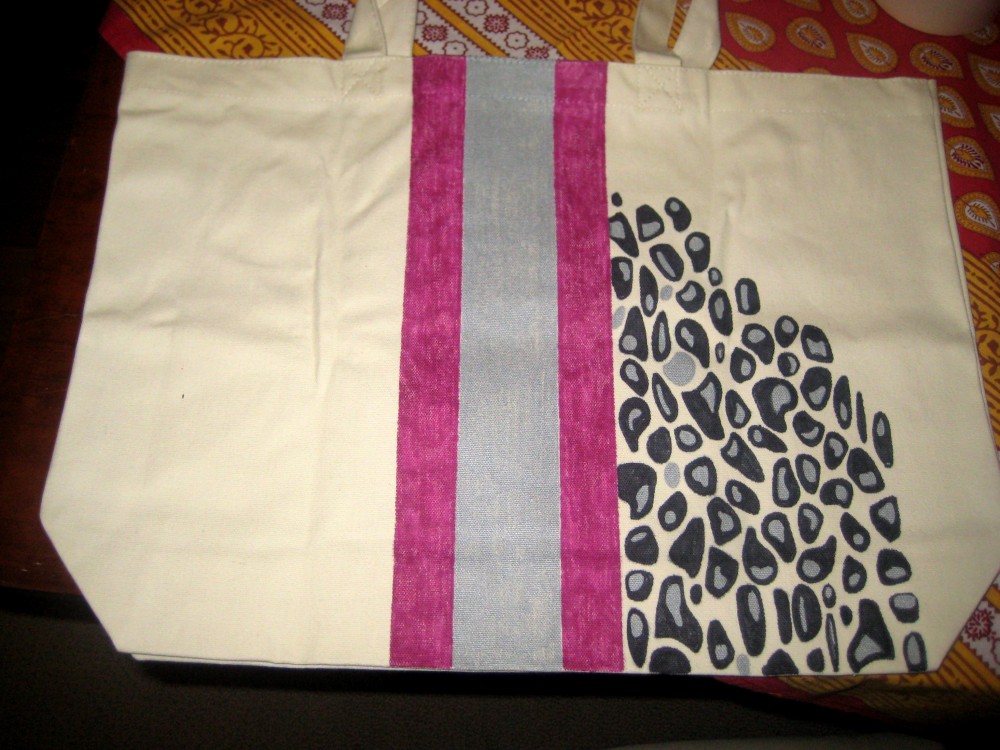
A blank canvas tote… a few stencils… some metallic sharpies… and several hours of permanent marker fumes…

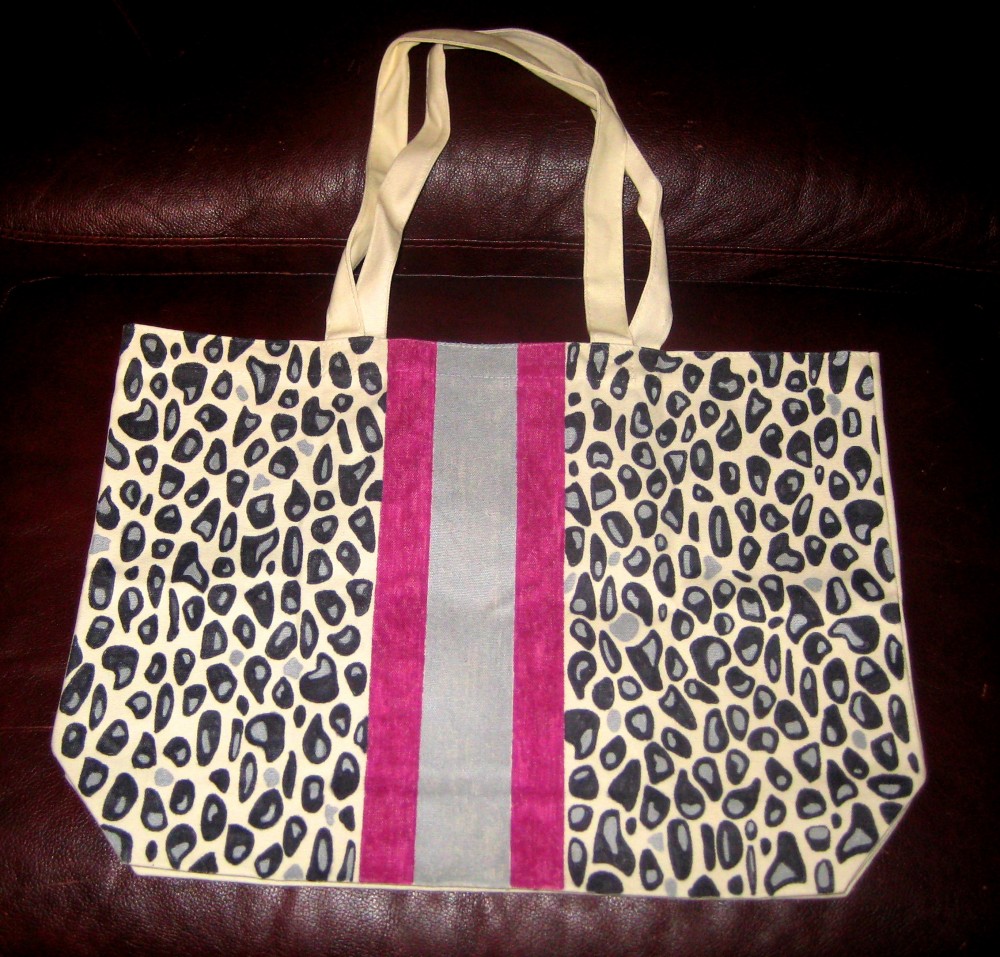
And poof! Animal print tote!

I’m debating whether or not to monogram mine like my sister did, check it out here.

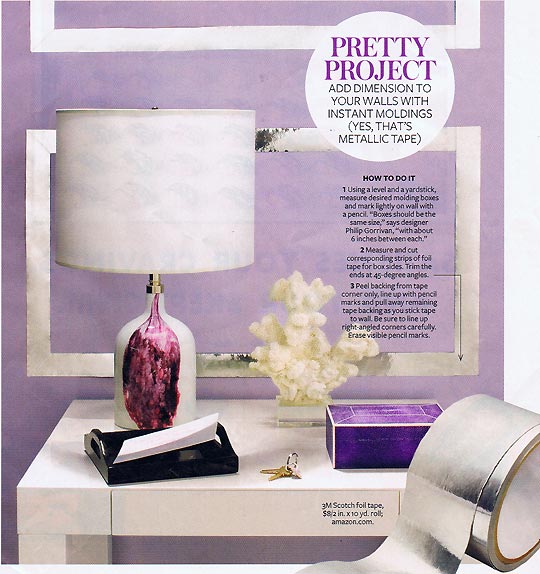
I was impressed by this surprising DIY inspiration in In Style magazine… using metallic tape to frame out some faux architectural detail on a wall.

Scotch Foil Tape via In Style

I’m not sure if I would start taping out designs on my walls, but it could look cute wrapped around the base of a lamp shade, or even applied to some hand made note cards?

Picture1

There are some versions of the tape sold with backing that I found on Amazon.com.  Imagine taking one of these new Martha Stewart edge punches and getting the detail in metallic? Some ideas are brewing…

I’m now bartering for blogposts. I promised my good friend Taz (who you may remember from my back to school series) that I would lend her my sewing skills in exchange for her before and after pictures to post.

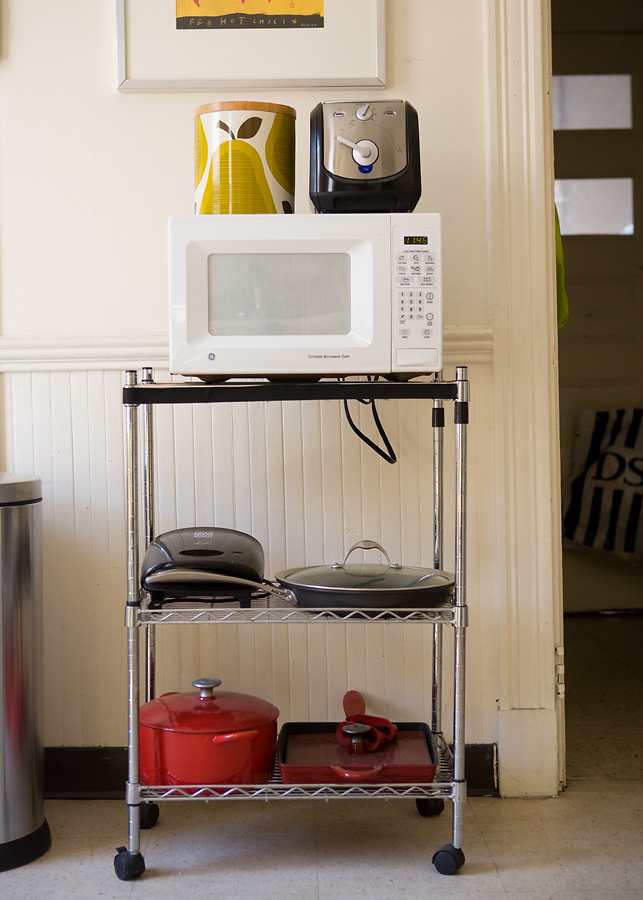
Taz has a challenge that so many of us apartment dwellers face; a severe lack of kitchen cabinetry. So, to store some of her bigger kitchen items like pots and pans, she’s been using a kitchen cart. The problem? Other than exposing her George Forman grill to the world? Dust. She had to wash the tools before she used them each time, and when time is of the essence to get dinner on the table, that’s the last thing anyone wants to do!

sewing

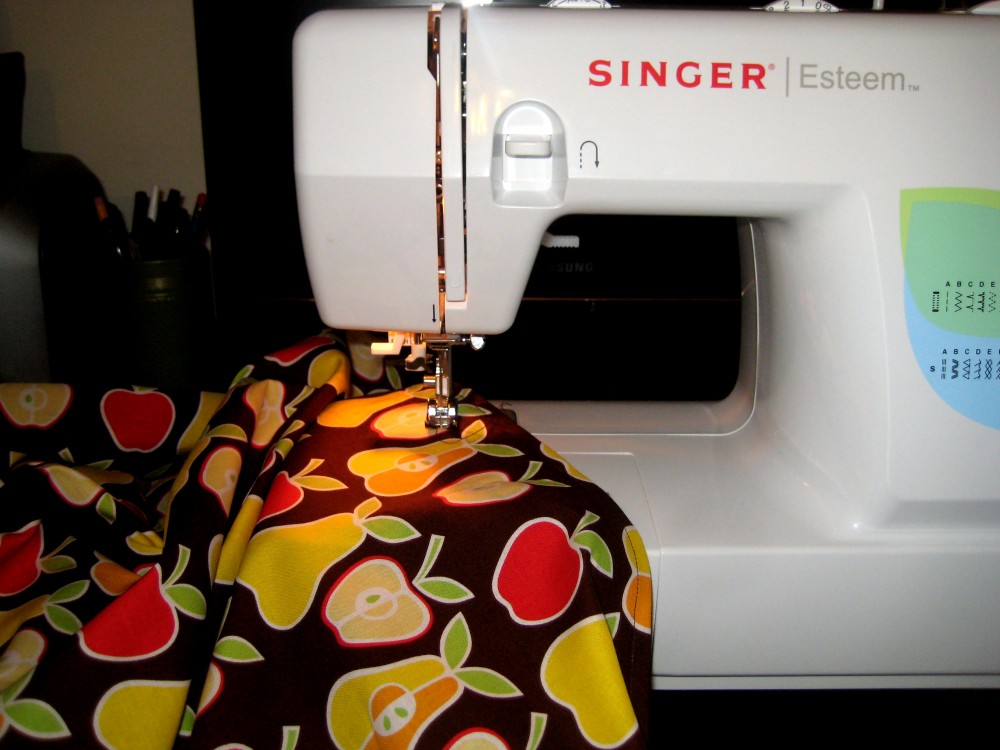
So with armed with some Alexander Henry fabric, the trusty sewing-machine and a dash of Velcro we transformed this:

cartbefore

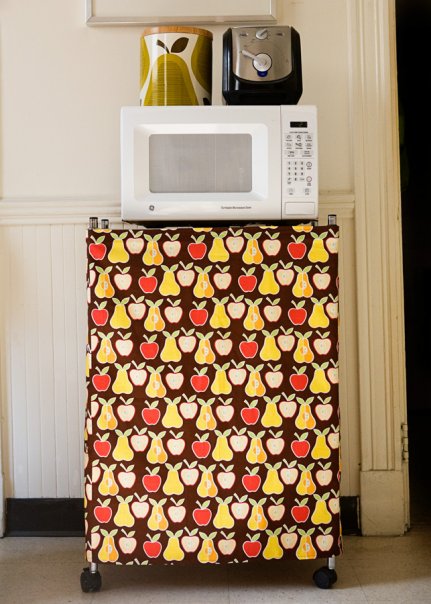
Into this:

cartafter

I love the playful print; I think it looks great with her Orla Kiely accessories and brightens up the room! I’m trying now to persuade her to make some valances out of the scraps… in exchange for some before and after pictures of course.

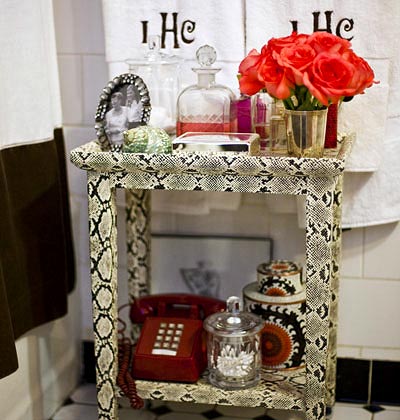
This snakeskin table, featured on Shelter, is to-die-for. It’s a really simple shape, but the texture and pattern make it look so glamorous and luxe.

designer Lindsey Harper via SHELTER

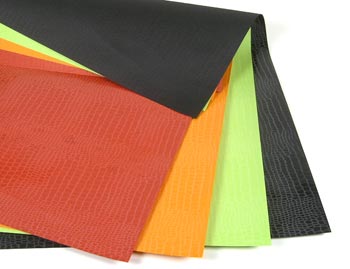
Though it’s been awhile since I’ve decoupaged, I think I could pull of an easy DIY by covering a craigslist find with some inexpensive snakeskin embossed wrapping paper to recreate the look, what do you think?

embossed snakeskin paper1

I finally finished my upholstered headboard project this weekend (with only a few minor speedbumps along the way). At the last minute I changed my mind and switched from the grey ikea fabric to a velvety golden yellow color; I decided that since I haven’t yet fallen in love with a new bedspread that  I would choose an upholstery fabric that would match with both my old and new color schemes.

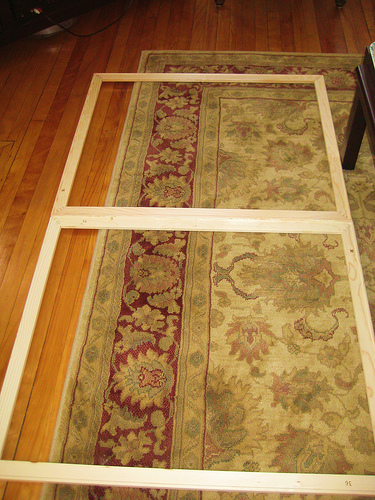
I decided that using a big piece of plywood like I had originally planned was going to be too cumbersome with my 1. lack of car and 2. possible moving at the end of the summer… so I substituted the heavy wood idea with a frame made out of stretcher strips used for stretching canvases:
3476746035_009f2aa752

In another attempt to substitute, instead of using an expensive piece of decorators foam, I bought an egg crate foam pad from target and cut it to fit the frame, which I then attached with staples:

2

3

Then I laid out the fabric and stretched and stapled it just like assembling a canvas:

4

And after attaching some picture hangers to the back of the canvas and nailing it up to the wall, voila! my upholstered headboard is complete:

5

6

Now onto the next project… pillows?

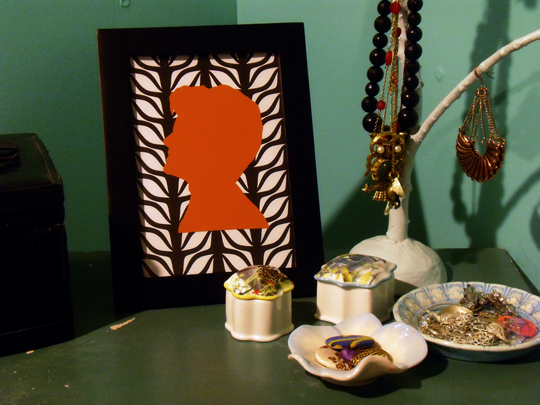
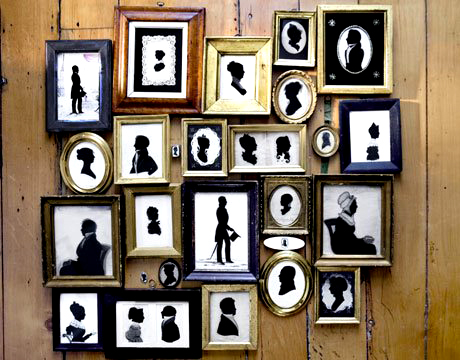
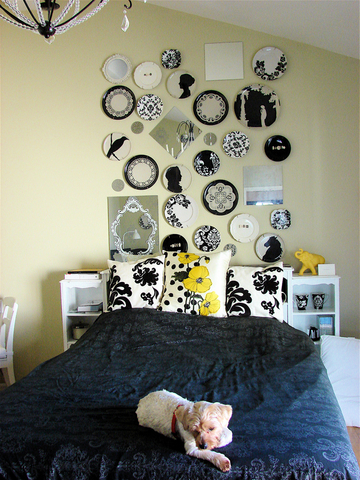
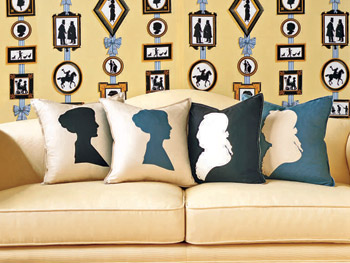
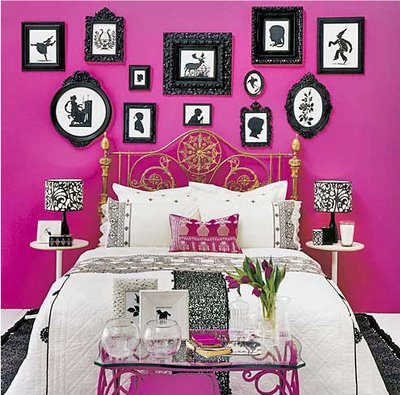
I was holding off on this post because I wanted to finish a little project I’ve been working on, but it seems that silhouettes are the rage and I don’t want to be behind the curve! Apartment Therapy posted  DIY Silhouette instructions last month, and followed up last week with some more black and white inspiration. I’ve seen them popping up all over etsy; showing up on dinnerware, and nestled in gallery-style photo arrangements.

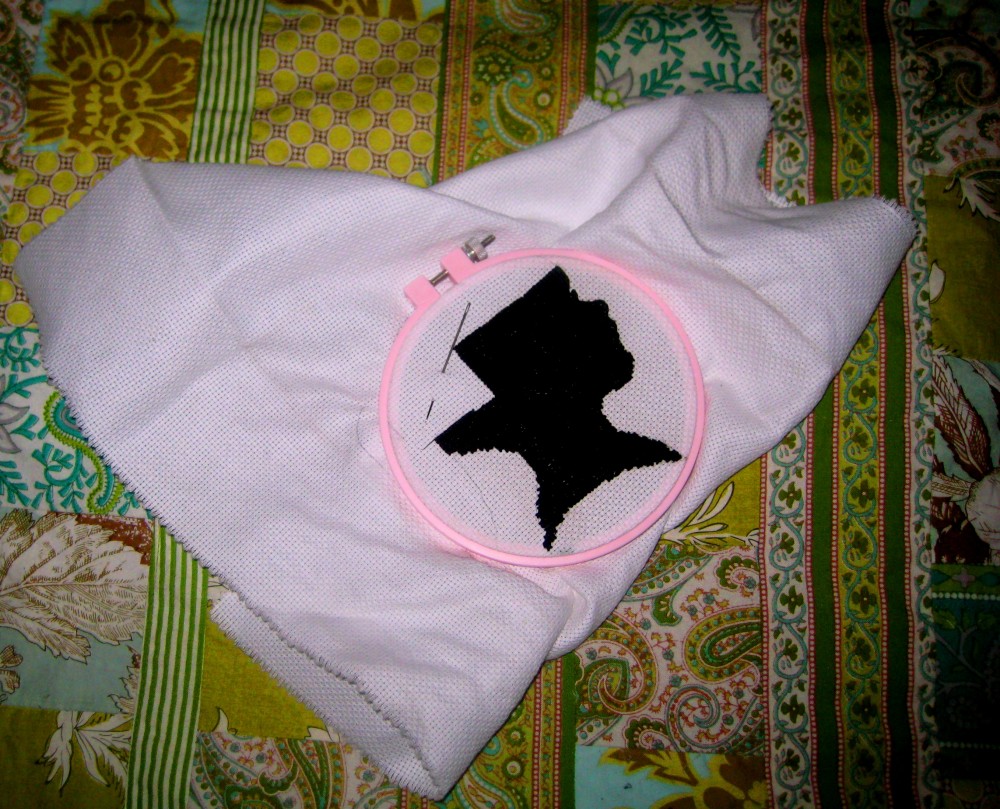
I originally started an embroidery project to create a silhouette pillow, but after seeing them framed for wall display, I may decide to stretch my finished product over a canvas, or use an emroidery hoop as a frame!

Here’s my (seemingly never ending) work in progress:

home-010

And some of my inspiration for the project:

apt-therapy-silhouette

apt-therapy-silhouette2Via Apartment Therapy 

erins-organized-collections-apt-therapy-silhouettes

Via Apartment Therapy

silhouettes-thomas-paul-pillows-oprah-website

Thomas Paul via Oprah

foohqwahs-photostream

Via foohqwah’s flickr


Verified by MonsterInsights