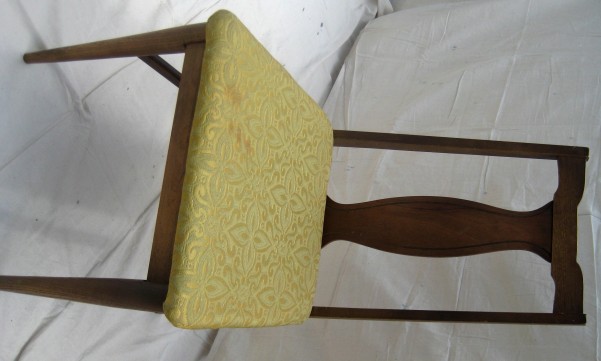
I finally finished my upholstery class and have a brand spankin’ new desk chair to show for it. Here is what the chair looked like before:

And totally stripped down during the class:


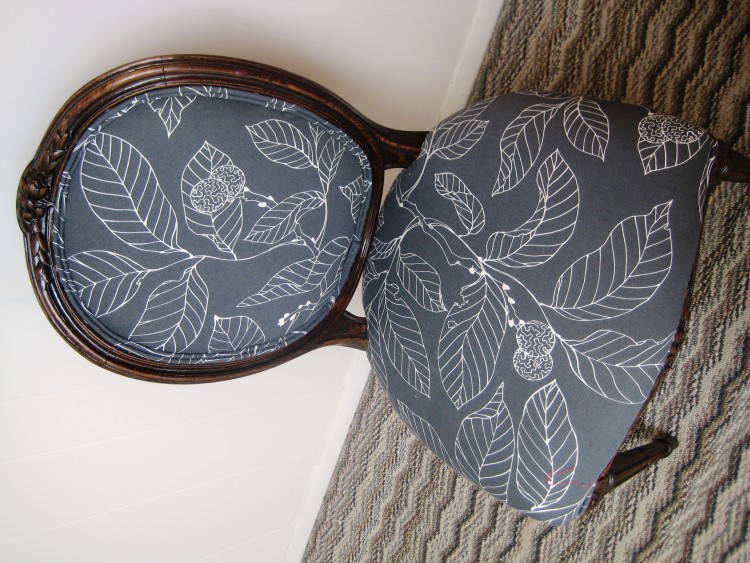
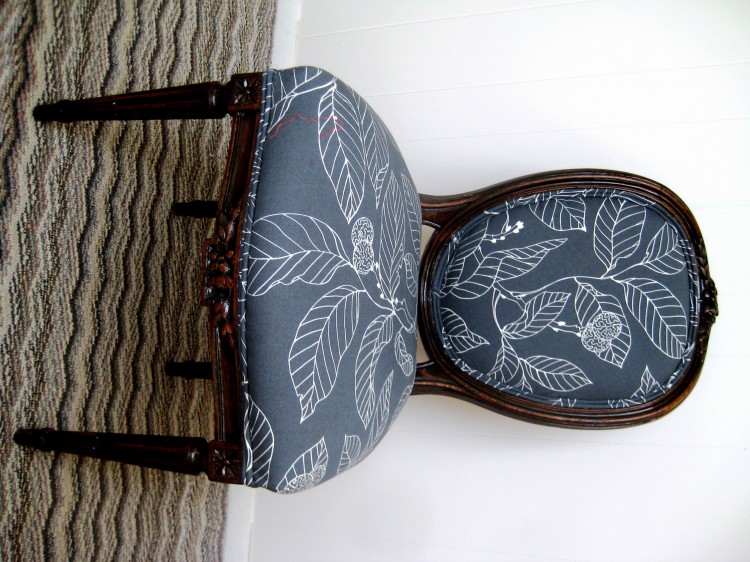
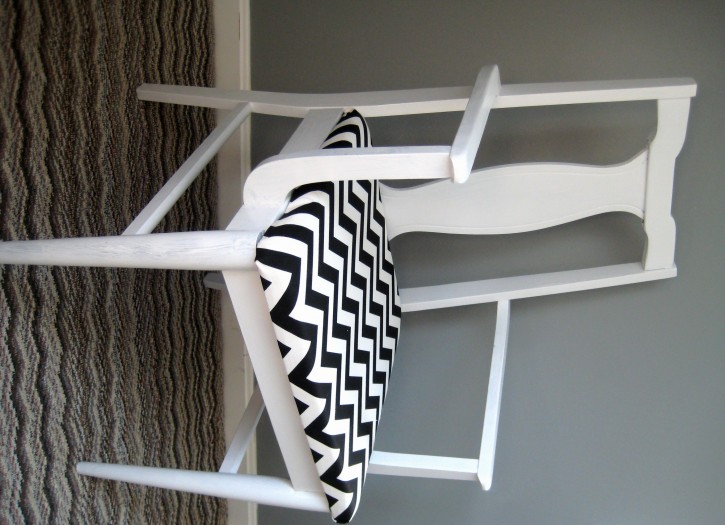
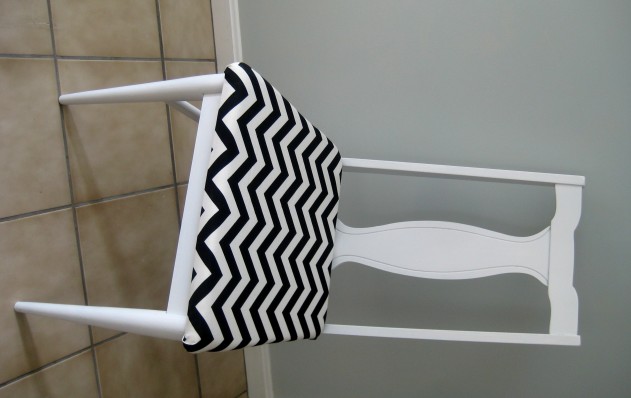
And voila! My finished project:

And just for good measure, a nice before and after shot, side by side:

Now I’m already scheming my next upholstery project, practice makes perfect, right?

My new kitchen is a million times more functional than my old kitchen, cooking is finally fun again. It didn’t start out super functional though, here is what we were working with when we moved in:
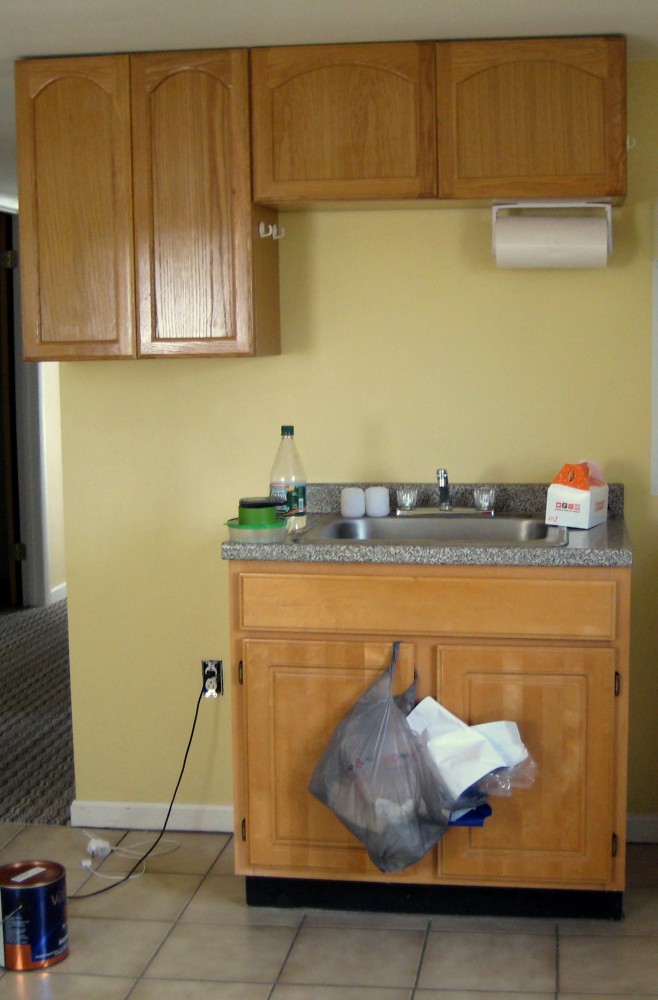
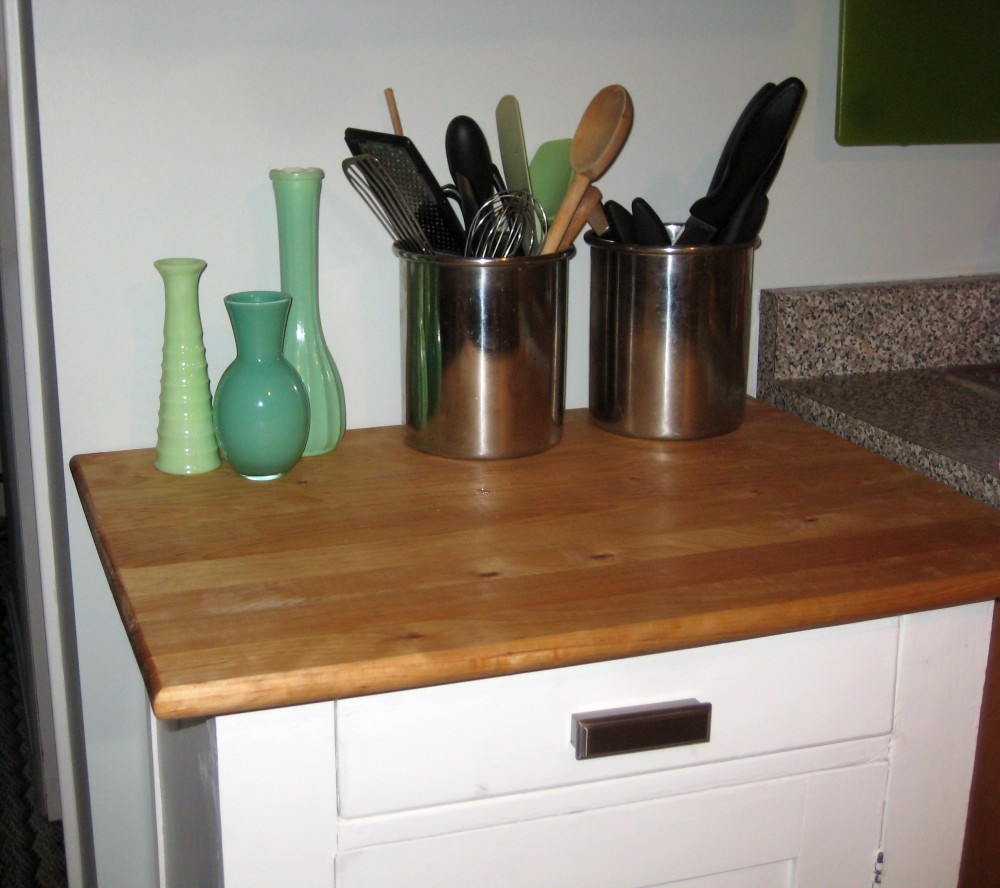
The cabinets you’re seeing in that picture are the extent of them — I guess they just gave up and forgot to put one more cabinet in that space next to the sink. Have no fear, after some extensive craigslisting, the perfect stand-alone cabinet was found to fit into that spot. Here is what it looks like now:

The cabinet did not look like that originally though. Wish I had remembered to take a “before” picture, but trust me —  It was a 20$ mess that needed a fresh coat of paint, new handles, and a new top. My handy boyfriend popped the dingy old linoleum top off of it and replaced it with a removable butcher block cutting board. Good as new!
I also whipped up a quick valance last night — I’ve gotten sick of staring at curtain-less windows, they were making me crazy.

Recognize the fabric? It’s one of the Liberty of London scarves from Target!

Just need to hang up some artwork over the kitchen table and I can check off this room as complete (for now).  I’ll share more soon!

I’m beyond thrilled with the outcome of my kitchen chair makeover! As a reminder, here are the craigslist finds I was working with:

And onto the big reveal:

I’m obsessed with them. Can’t wait to have the kitchen all set up and see how they look with the kitchen table!

I’ve been so busy since I got back from Brooklyn this weekend that I almost forgot to share this adorable chair makeover. In the spring I’m taking an upholstery class and plan to learn the tricks of the trade on this dainty little chair:

Until the class starts, I’m storing it at my parent’s house in New York. My mother, unable to have this eye-sore with stained-fabric ruining her carefully planned decor, decided to give it a temporary makeover with some scraps of fabric and grosgrain that matched her living room. It looks so cute with this little slipcover, I almost don’t want to take it off to work on it for the class! Perhaps this an excuse to sift through craigslist for another chair in need of a new life?

My mom gave me some crafting materials for Christmas, and among the presents was a Martha Stewart Pom-pom kit. I have wanted to use these at a party for-ev-er, and was so excited to hang them from the ceiling for NYE. Unfortunately the ceilings in my ancient apartment must have 30 layers of lead paint on them, because it was impossible to get tacks into the surface to hang them up.

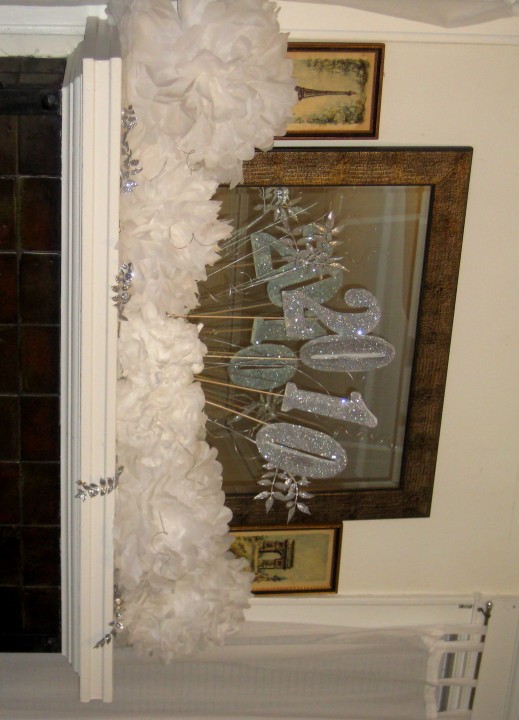
Plan B: decorating the mantle. My boyfriend suggested I use them to make a display above the fireplace with some big glittery numbers.

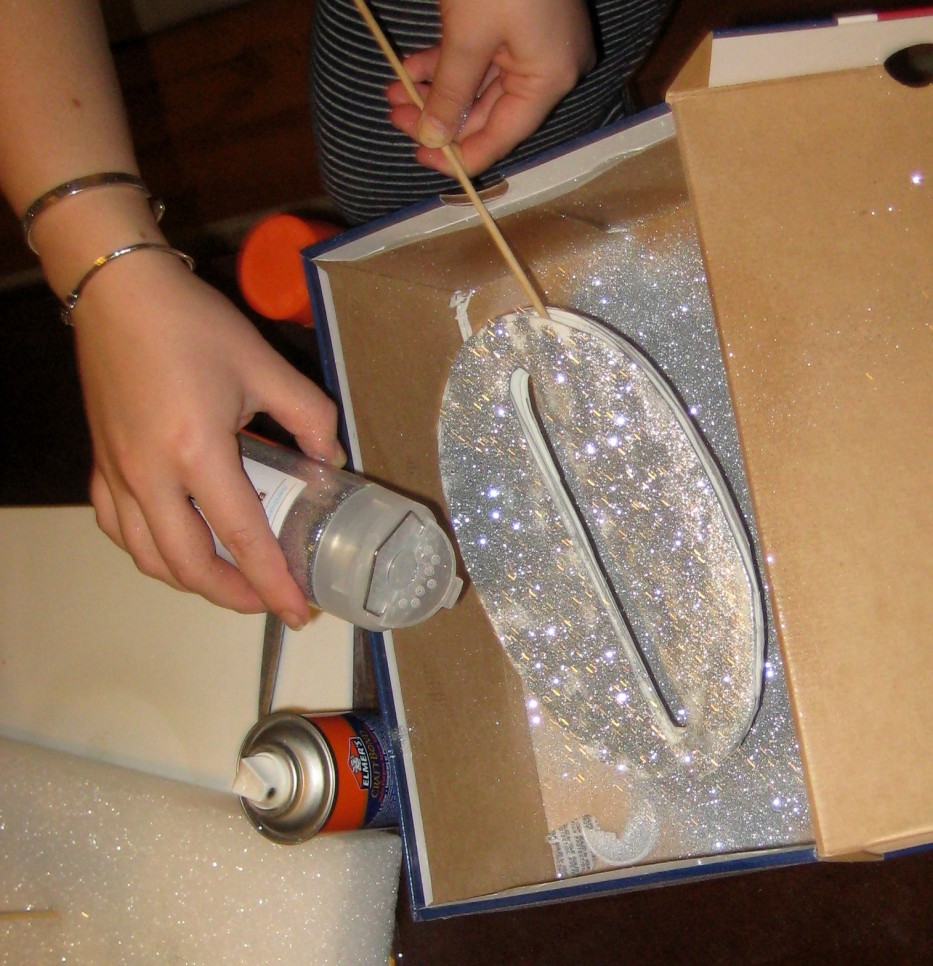
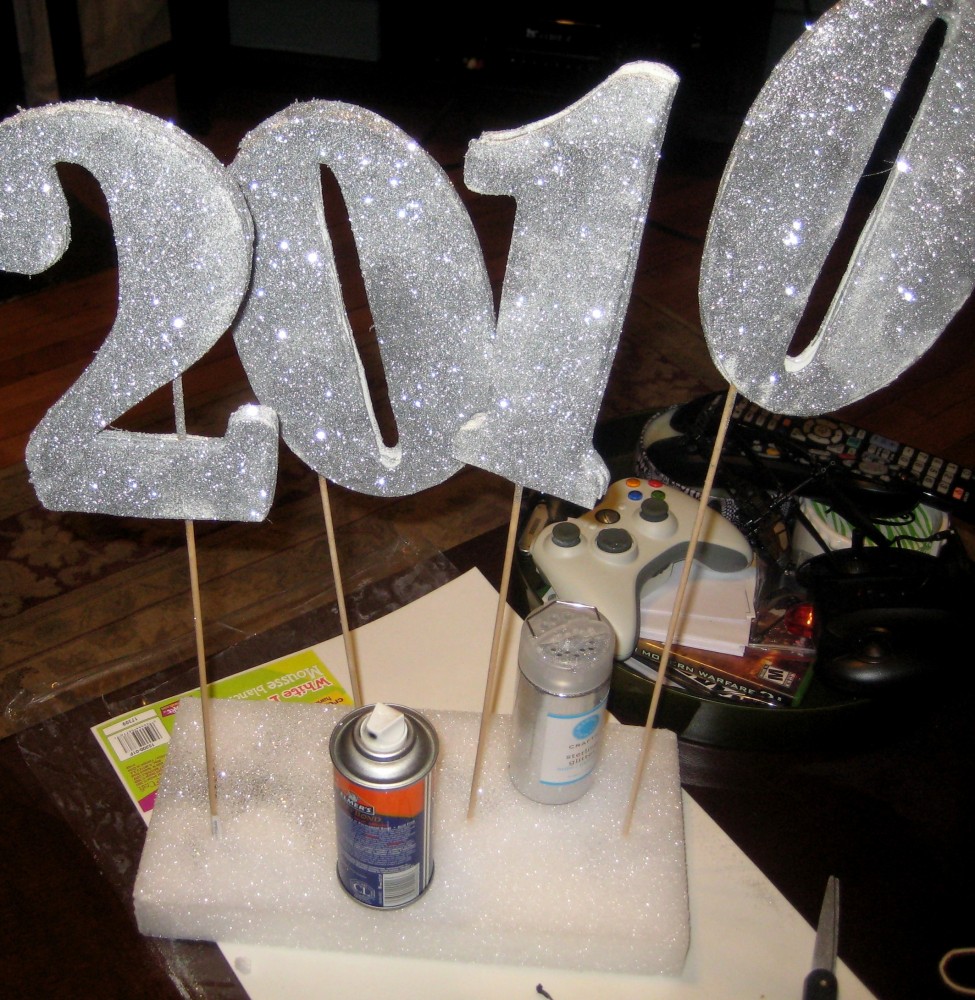
A late night trip to Michael’s and we were on our way… I cut numbers out of foam, slid them on a stick, and glittered-the-heck out of those babies.

The numbers stood up on another block of foam…

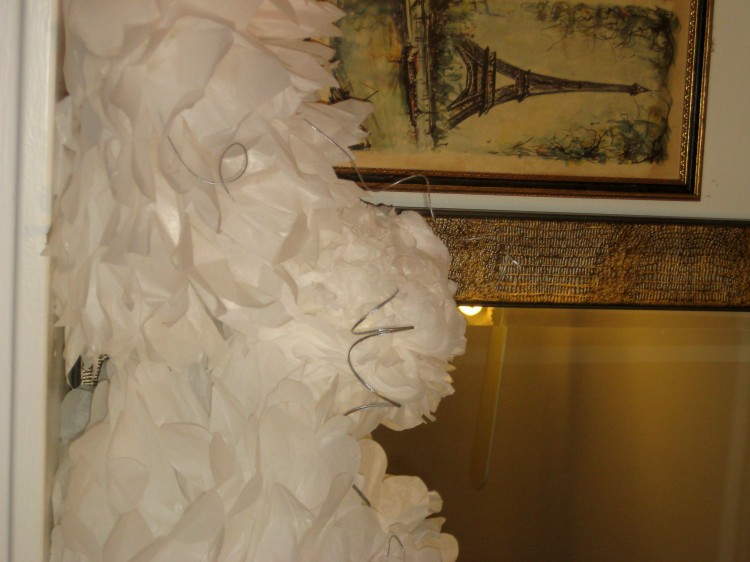
… and then I nestled them behind the pom-poms…

Of course the night ended with drunken guests wearing pom-poms on their heads and tossing them around the room. We’re clearly not ready to be  grown ups yet. At least I got good pictures at the beginning of the night.

I threw a mean NYE party, if I do say so myself. So mean in fact, that I didn’t have the energy to post about my crafty decorations until January 2nd, but better late than never!

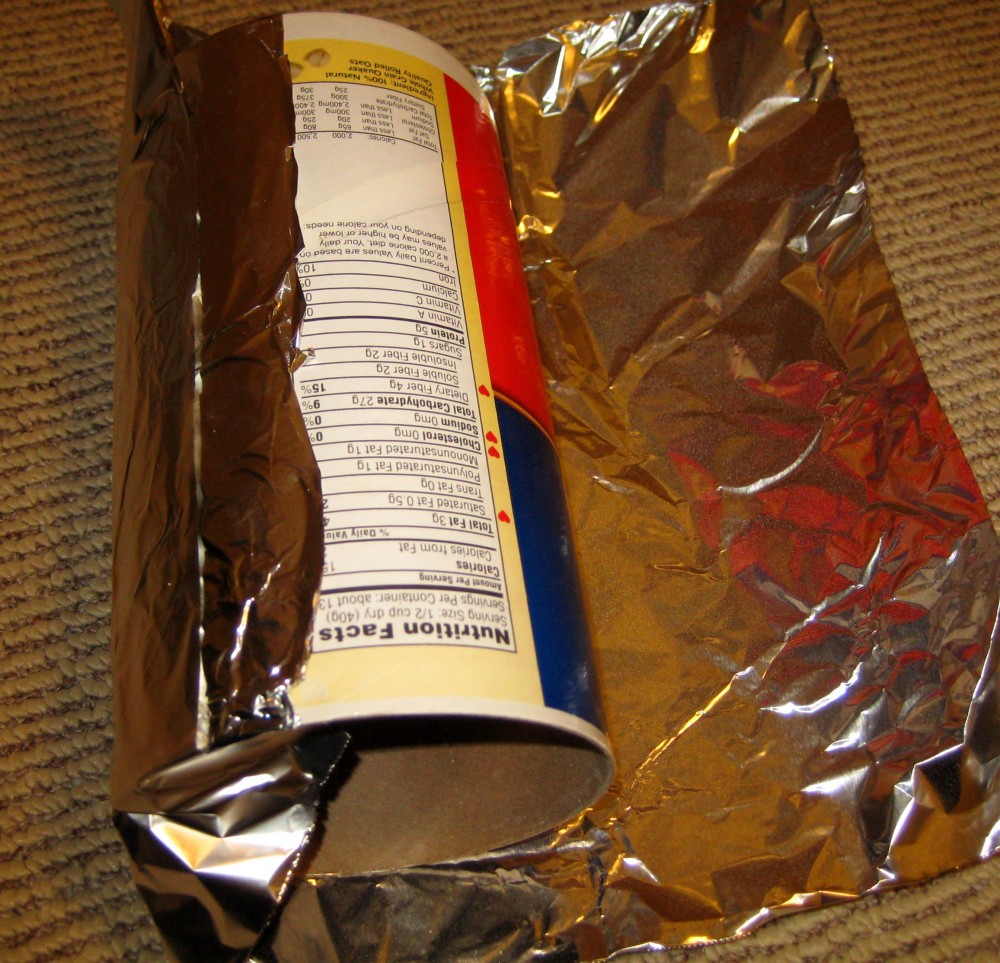
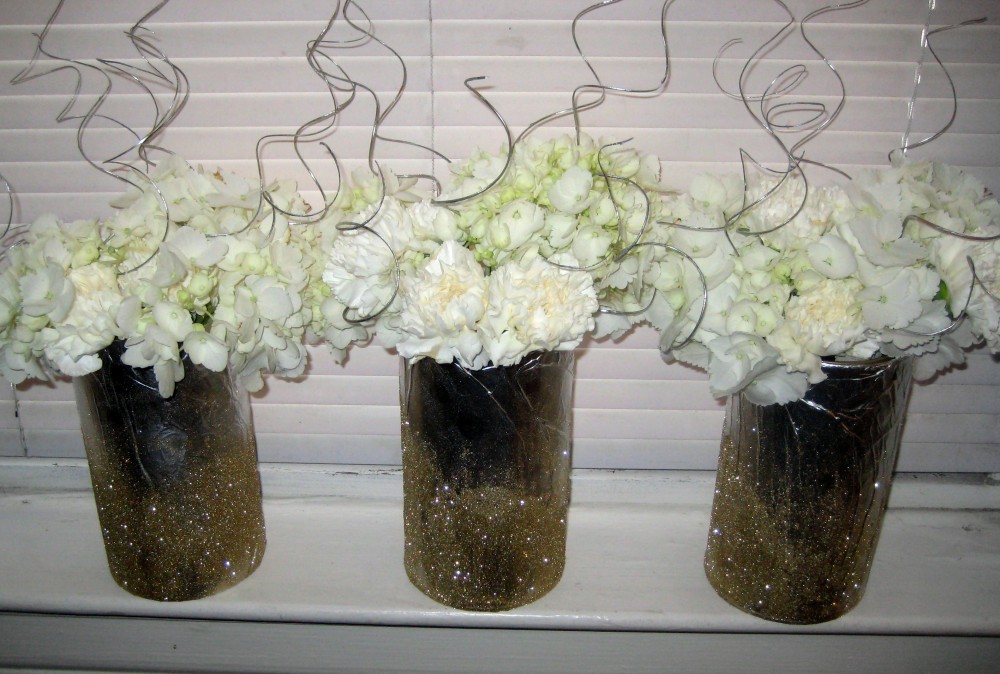
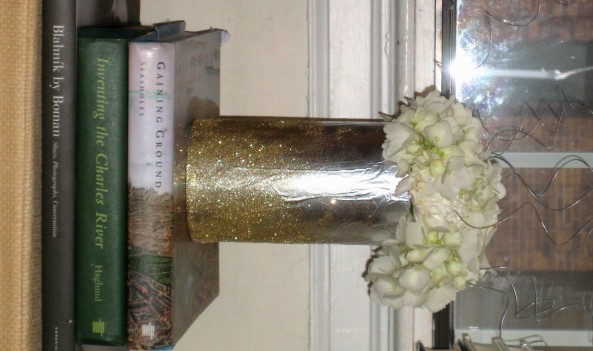
My first DIY decoration was metallic flower vases, and they were so simple. I started by wrapping some old coffee cans and quaker oats containers in foil…

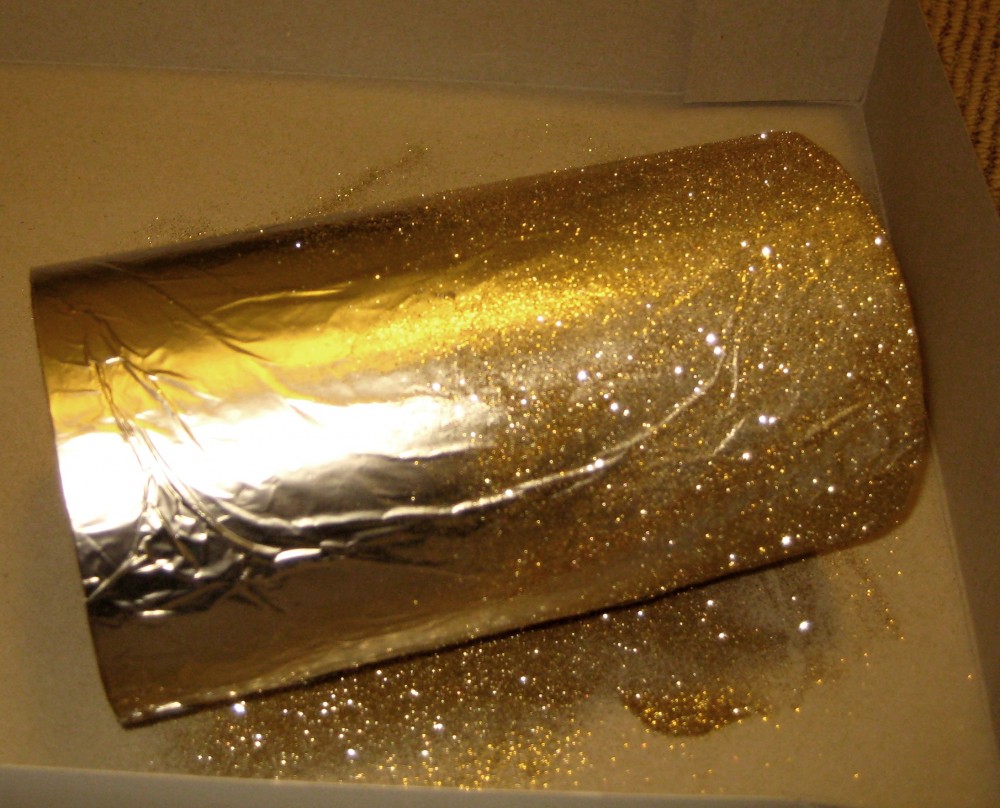
… then I sprayed them with some adhesive and sprinkled glitter around the bases…

… and voila! Sparkly NYE decorations:

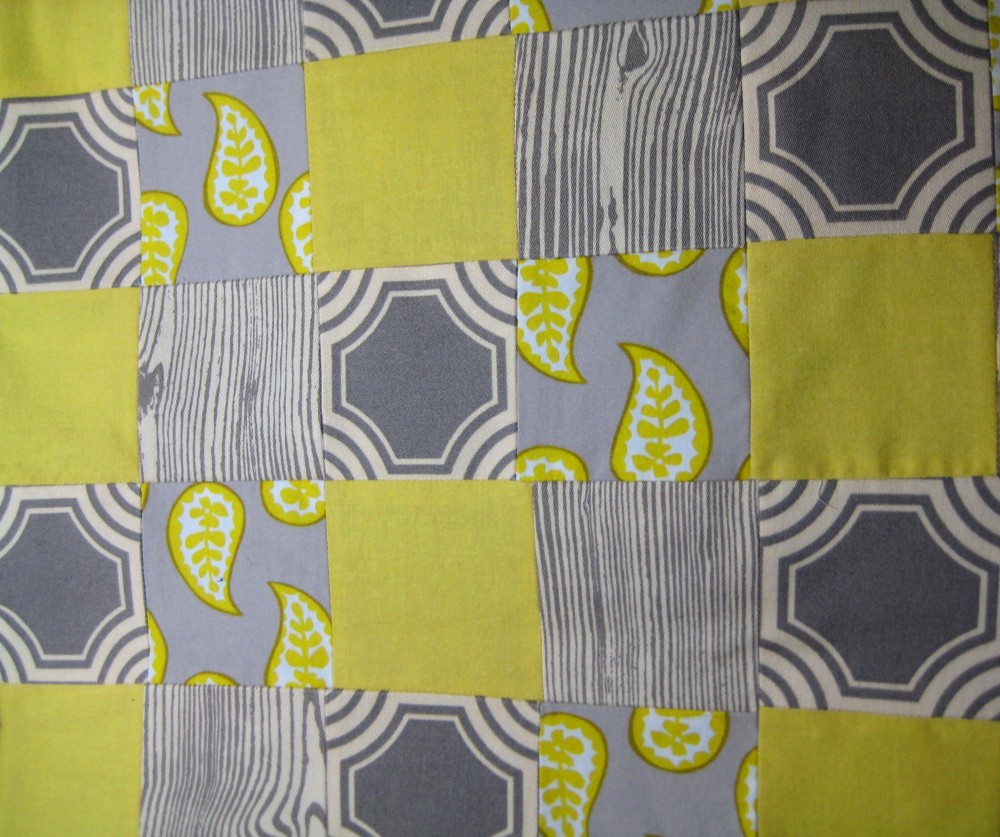
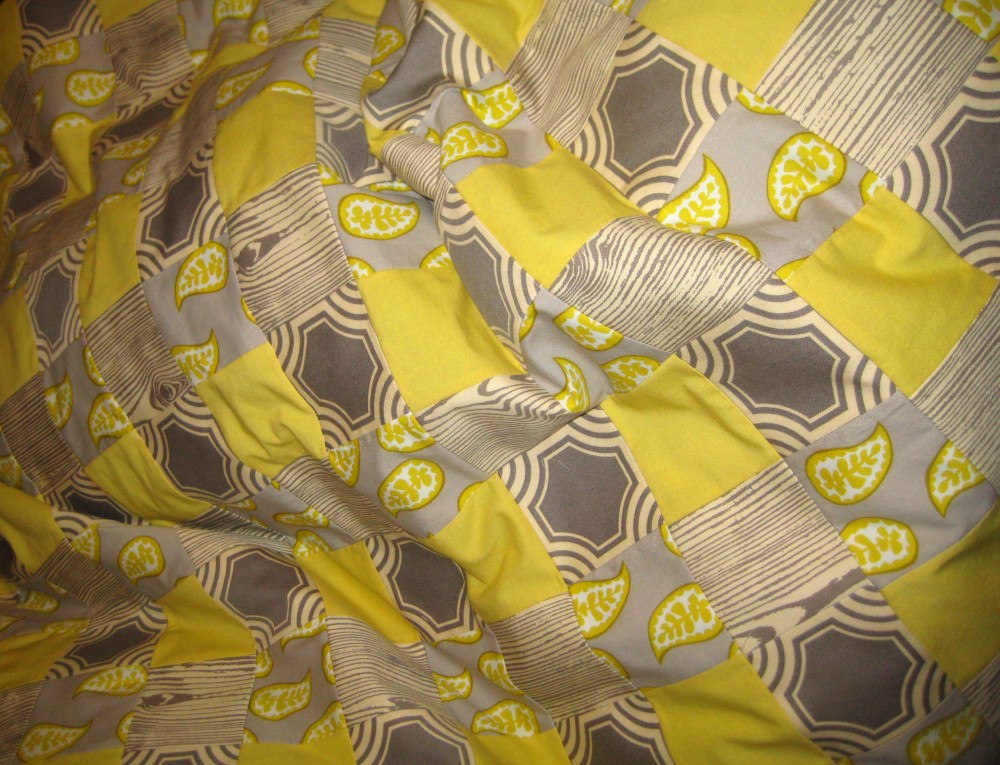
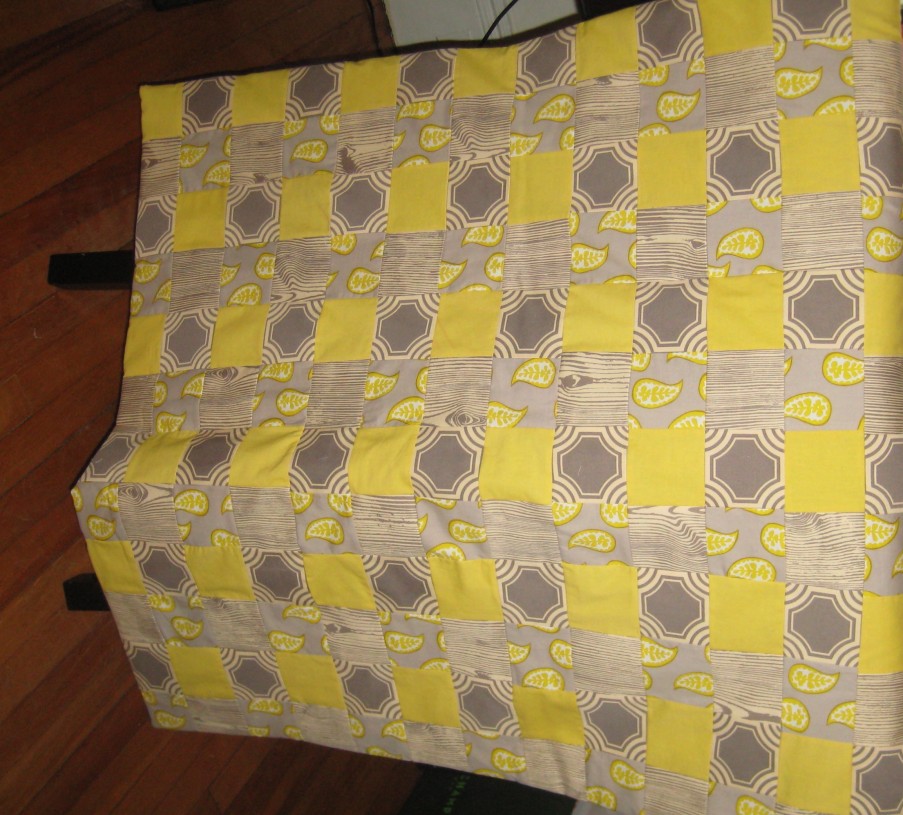
I’m so excited, my cousin just gave birth to her first child, a baby boy named Samuel. And also exciting, I just finished a baby quilt for her… and don’t act surprised, I went with yellow and grey.

I’m jealous of the baby though, I want to keep it for myself. At least I have some fabric leftover, because I’m obsessed with the grey faux bois Joel Dewberry fabric:

My sister and I are freaks, and after Thanksgiving dinner last week, we went to Michael’s to take advantage of their 40% off pre-Black Friday deal (our cousin and aunt came too — at least the crafting freak flag is hereditary).

(Side note: you really don’t want to know what kind of people go to a craft store at 9:00 on Thanksgiving night, it’s a scary breed).

When the two of us get together, it’s usually crafting pandemonium. We’ve been emailing back and forth about the great ideas on P.S. I Made This, and decided we had to make her animal print tote.

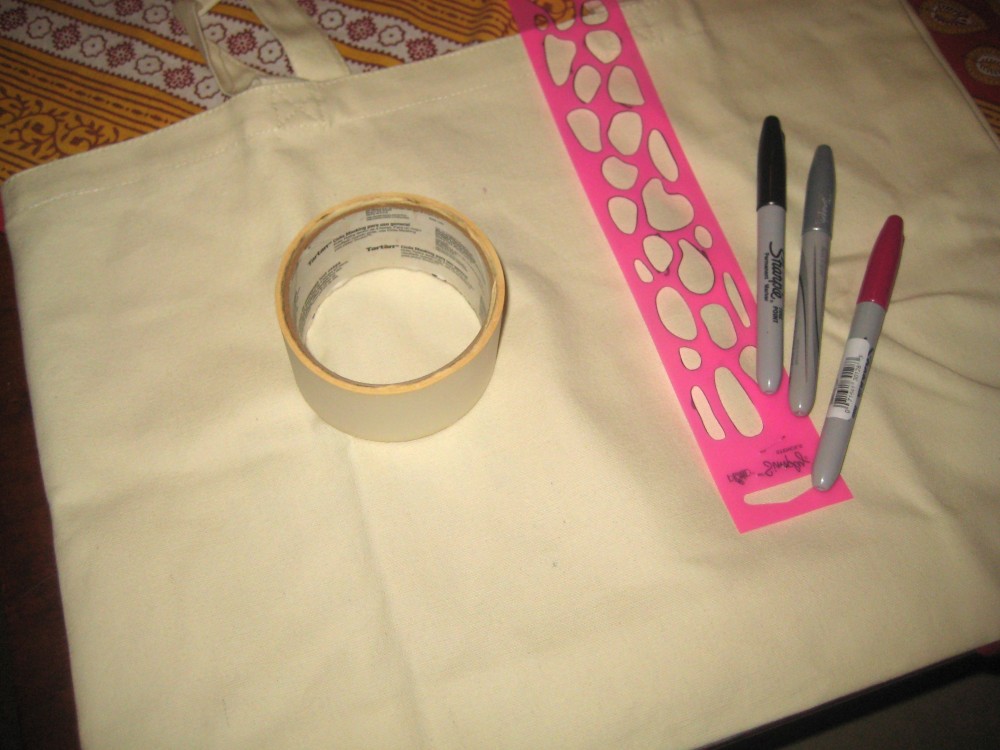
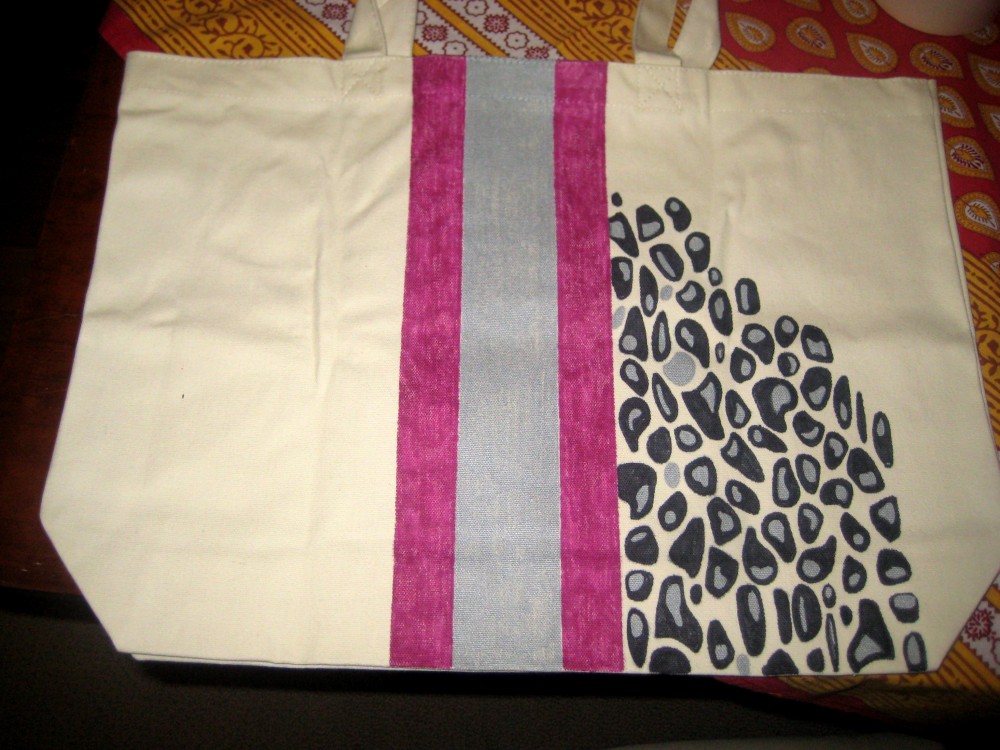
A blank canvas tote… a few stencils… some metallic sharpies… and several hours of permanent marker fumes…

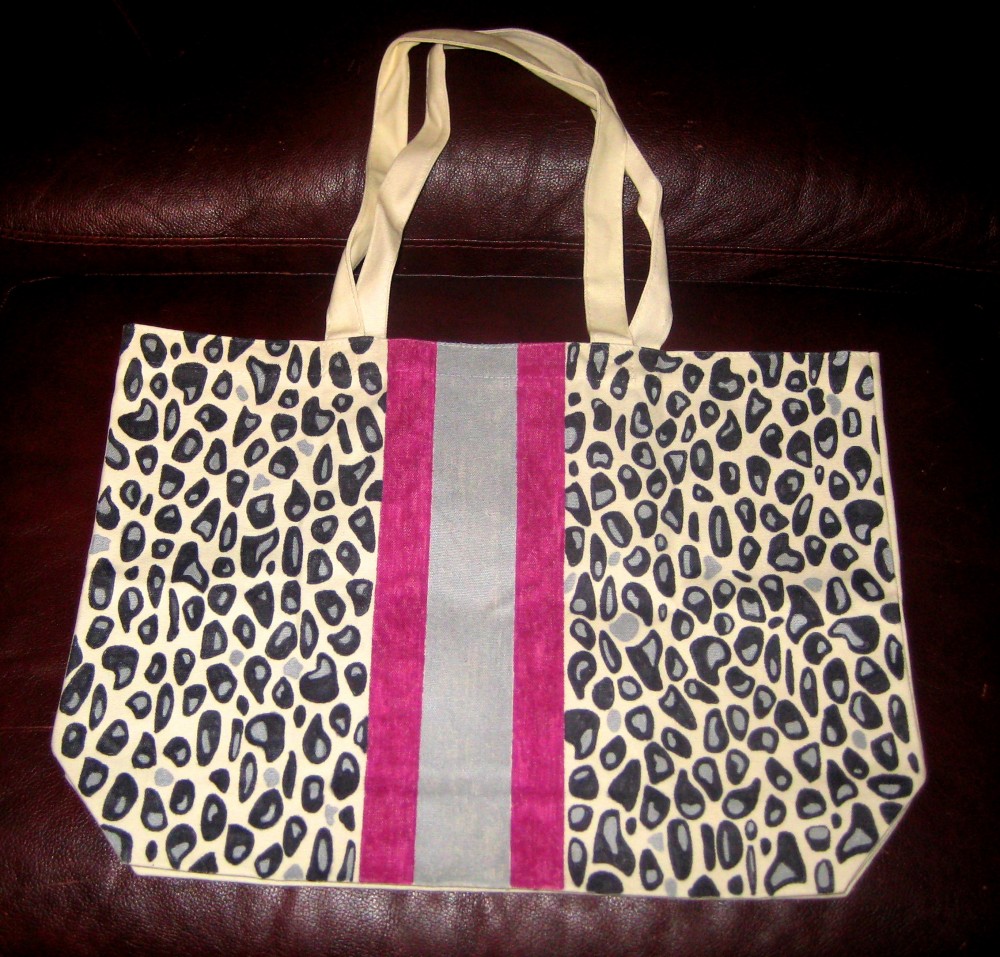
And poof! Animal print tote!

I’m debating whether or not to monogram mine like my sister did, check it out here.

I’m now bartering for blogposts. I promised my good friend Taz (who you may remember from my back to school series) that I would lend her my sewing skills in exchange for her before and after pictures to post.

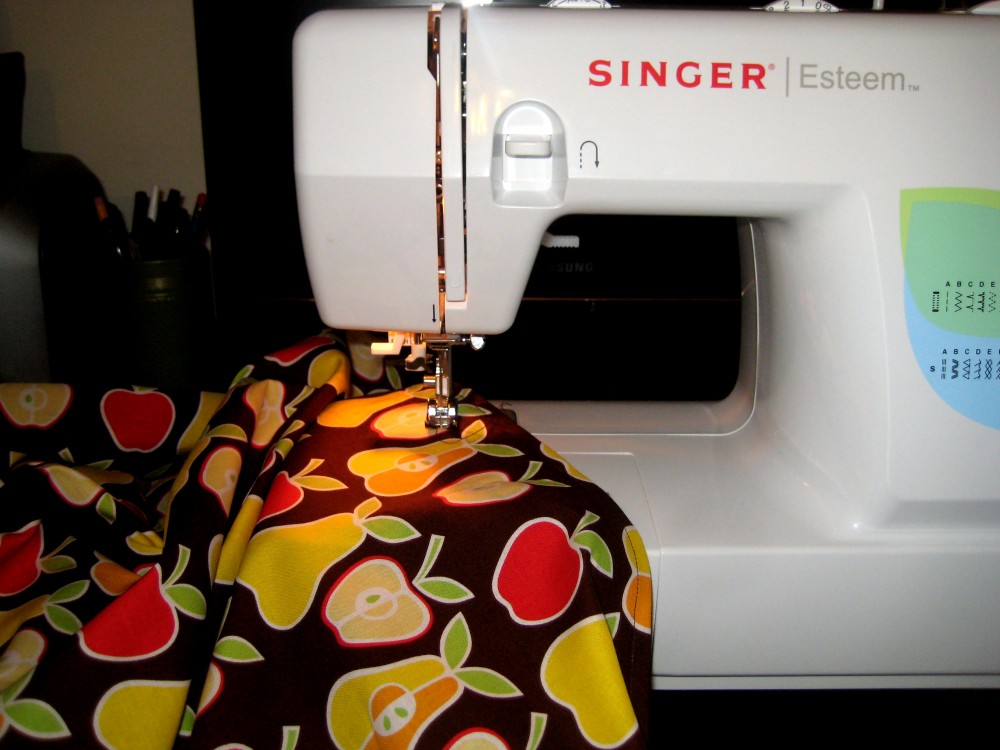
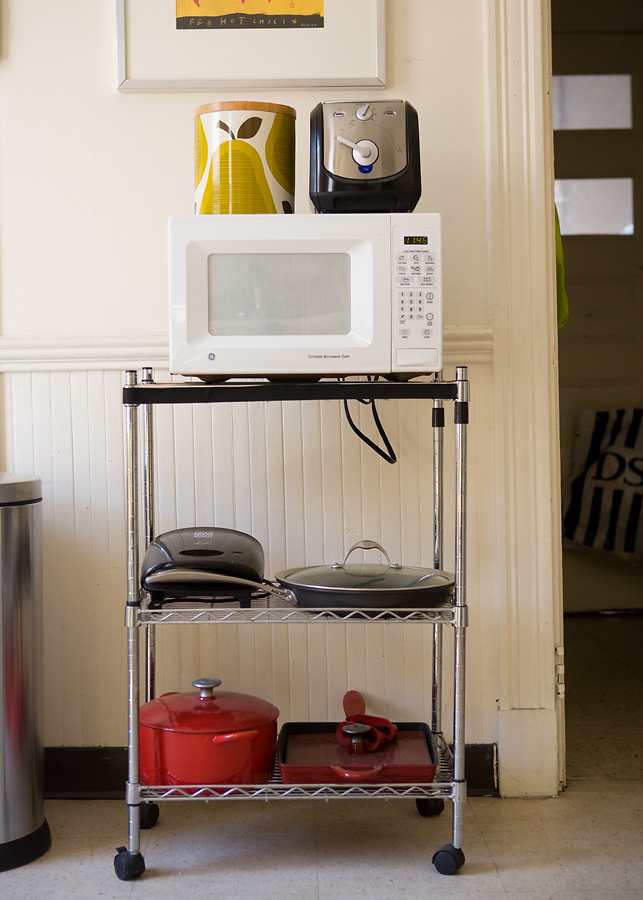
Taz has a challenge that so many of us apartment dwellers face; a severe lack of kitchen cabinetry. So, to store some of her bigger kitchen items like pots and pans, she’s been using a kitchen cart. The problem? Other than exposing her George Forman grill to the world? Dust. She had to wash the tools before she used them each time, and when time is of the essence to get dinner on the table, that’s the last thing anyone wants to do!

sewing

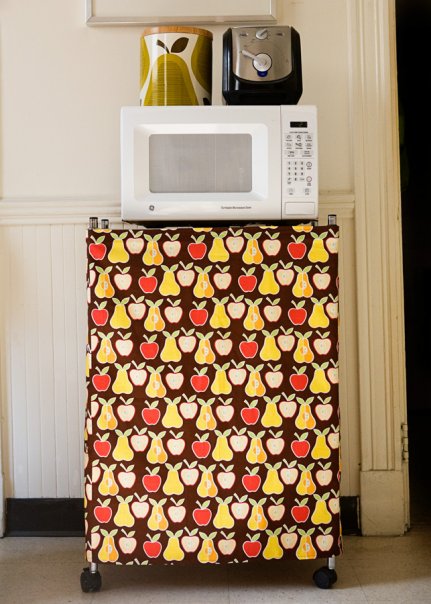
So with armed with some Alexander Henry fabric, the trusty sewing-machine and a dash of Velcro we transformed this:

cartbefore

Into this:

cartafter

I love the playful print; I think it looks great with her Orla Kiely accessories and brightens up the room! I’m trying now to persuade her to make some valances out of the scraps… in exchange for some before and after pictures of course.

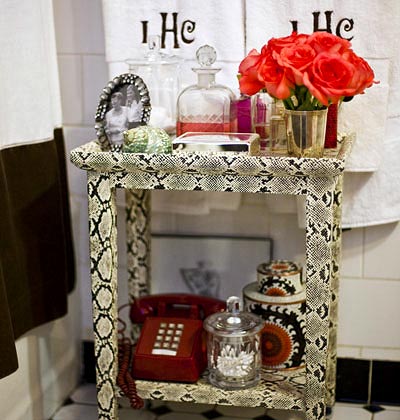
This snakeskin table, featured on Shelter, is to-die-for. It’s a really simple shape, but the texture and pattern make it look so glamorous and luxe.

designer Lindsey Harper via SHELTER

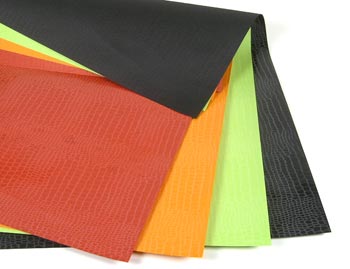
Though it’s been awhile since I’ve decoupaged, I think I could pull of an easy DIY by covering a craigslist find with some inexpensive snakeskin embossed wrapping paper to recreate the look, what do you think?

embossed snakeskin paper1


Verified by MonsterInsights