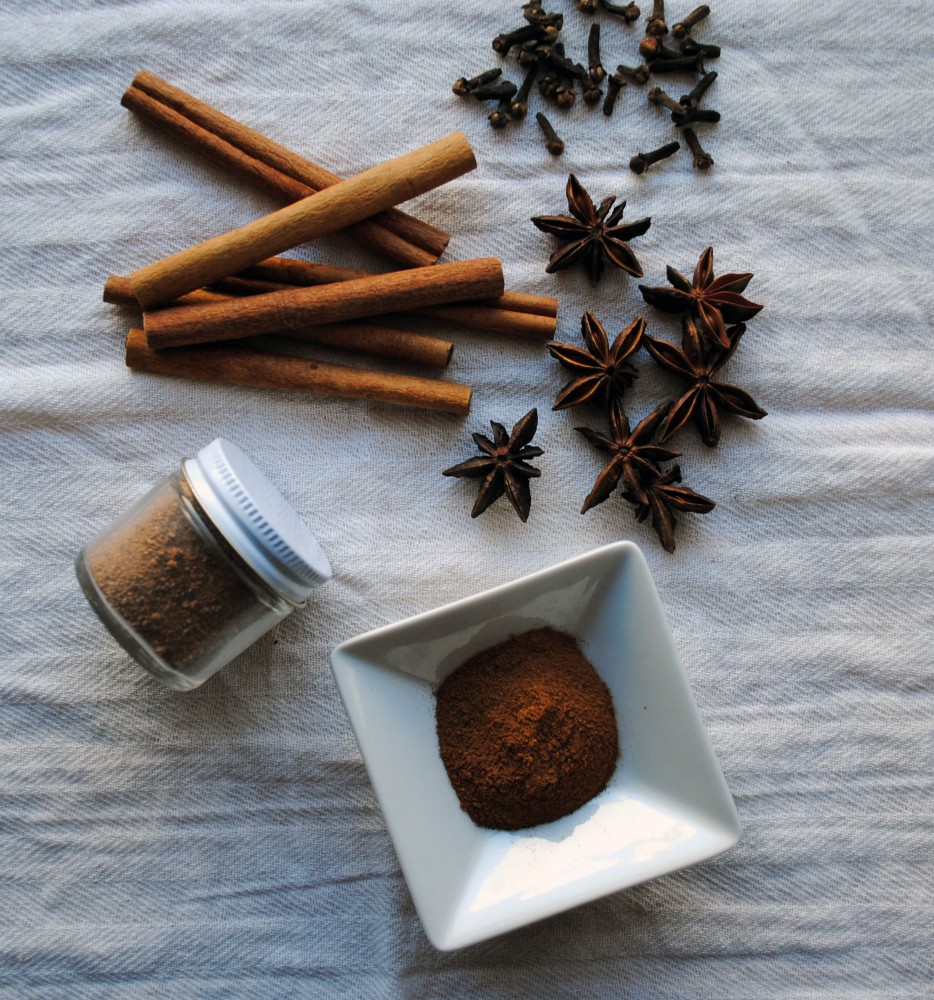
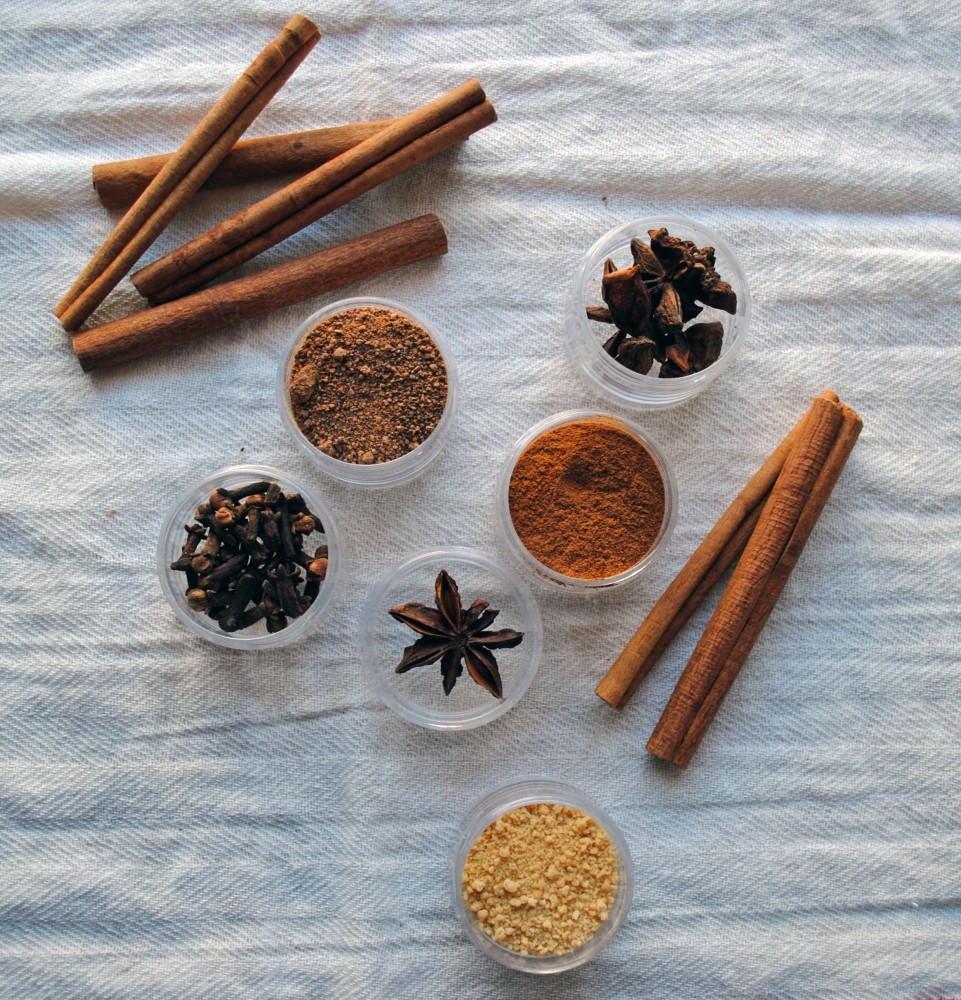
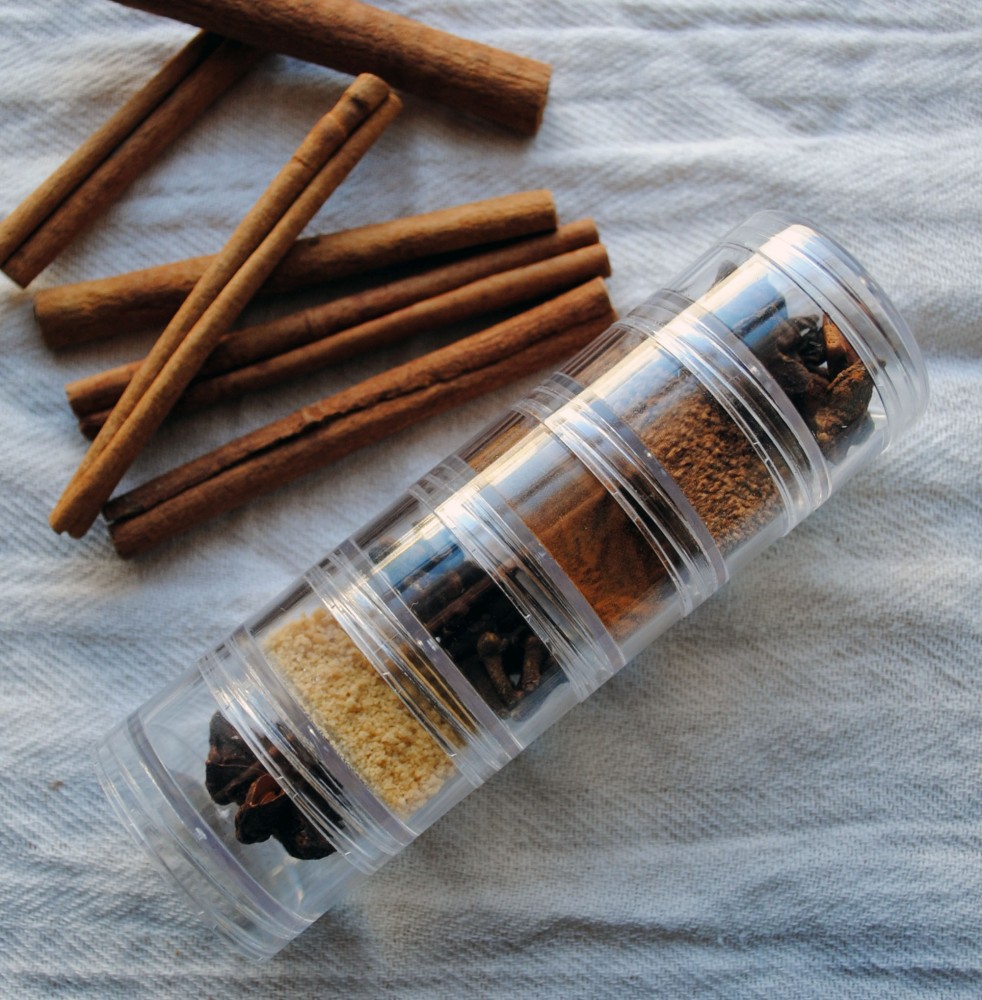
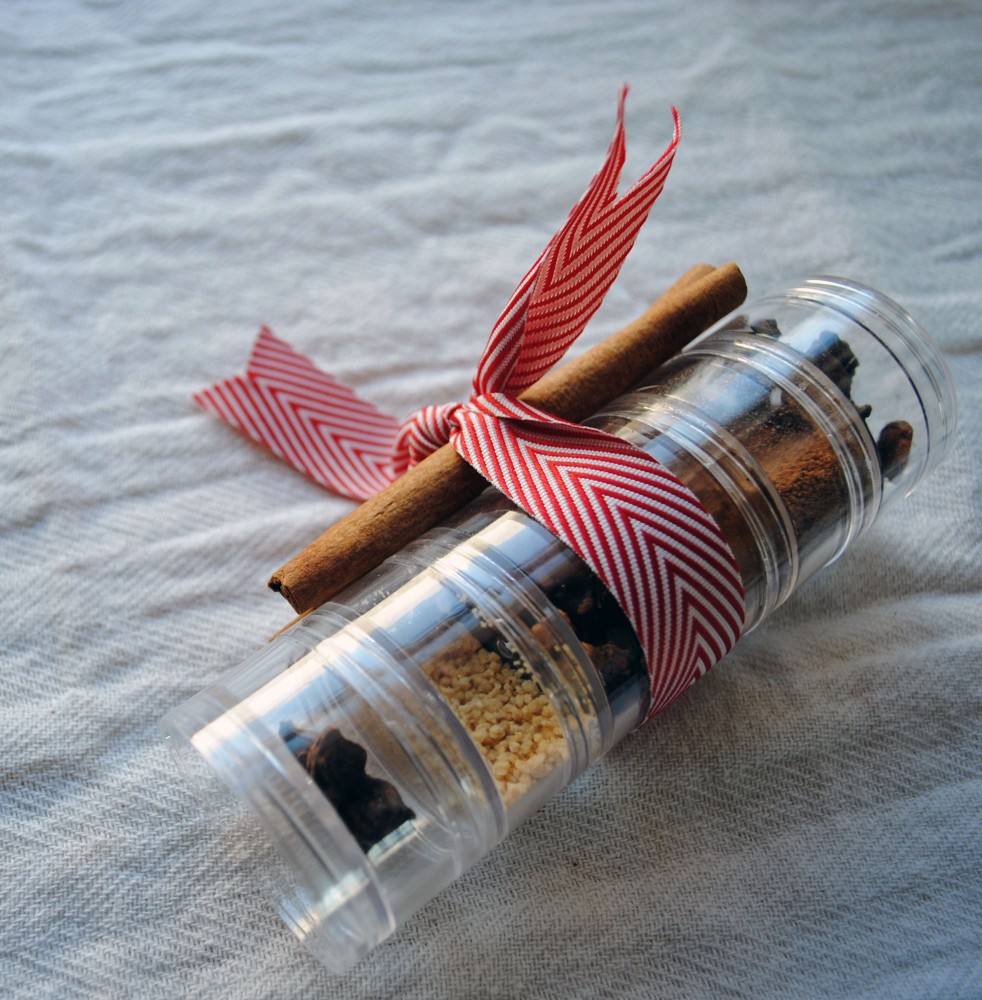
I am slowly recovering from my long weekend of feasting and am ready to kick-off some holiday-talk this week! Last year I had so much fun sharing DIY gift ideas, so I thought I would share a few new ideas this season too. This mulling spice kit is a super simple idea that would be great for hostess or teachers gifts — and it’ll take you only about 5-minutes to put together.  I purchased some stacking organizers from the Container Store and in each layer added in a different spice — cinnamon, nutmeg, cloves, anise, allspice, are all common mulling spices you could use here — pick the ones you like best! After all of the containers were filled, I stacked them back up and tied some whole cinnamon sticks to the container with a festive red ribbon. Consider pairing these with a bottle of red wine, some spice-bags, and a little handwritten note with your favorite mulled-wine recipe!

Mulling Spice Kit 1 Mulling Spice Kit 2 Mulling Spice Kit 3 Mulling Spice Kit 4

Looking for more DIY present ideas? Check them out here.

Ready for the last installment of Handmade Holidays? There is no sweeter gift than homemade treats! 

Remember when I said this was the easiest DIY holiday present? I lied — it gets easier! Grab a package of Tollhouse chocolate chips from the grocery store and using the recipe on the back measure out all of the dry ingredients, layering them one by one in a mason jar. Next, write the recipe out on a pretty piece of paper and stick it on top of the jar, and finally, adorn the front with a personalized message and some ribbon (I printed my message out on Martha Stewart Avery Labels). How easy was that? Don’t forget to check out the rest of the Handmade Holidays Gift ideas here, here, here, and here!

Next up in the Handmade Holidays series is a set of glitter coated hangers, the perfect gift for a stylish friend!

In my opinion, you can’t go wrong when you coat something in glitter — am I right? I started this project with inexpensive wooden hangers, and painted them with a layer of mod podge. Quickly, before the glue dries, sprinkle glitter until you coat the wood.  After this layer dries, go back over with another layer of mod podge to coat the hangers and seal in the glitter — you might need more than one coat depending on the thickness of your application. And there you have it, some sparkly gifts for your favorite clothes horse! (I love these so much that I might save one to hang my wedding dress on this Spring!)


Next up in the Handmade Holidays series has a little bit of glitz — a decorative candle holder with gold polka dots!

I love the idea of using this handmade holiday gift for a little hostess treat when you’re visiting friends for the holidays. To start I used a craft punch to cut out circles on a piece of thick cardstock, then taped the cardstock around the candle holder to create a stencil. From there, it’s as simple as filling in your polka dots with a metallic sharpie — you can add-on an extra layer of metallic marker after the first layer dries if you’d like the color to be a bit more opaque. Then pair it was a pretty scented candle and some fun matches (I love these ones!).


Next up in the Handmade Holidays series is one of the easiest DIYs ever — monogrammed mugs!

I found some plain white oversized latte mugs for this project; you also need sharpie markers, and some fun treats to fill the mugs with. Draw your design on the mug with your Sharpie marker, I practiced free-hand on a piece of paper a couple of times before I started to draw on the mug or you could use a stencil. After you’re happy with your design or lettering, pop the mug in the oven at 350 degrees for 30 minutes to make set the ink. Then fill up the mug with some seasonal sweets — I chose peppermint ribbon candy– and tie it up with a ribbon, voila!

I’m miraculously half-way done with my Christmas shopping already, so now comes my favorite part: the wrapping! This year I plan to forgo my usual grosgrain ribbon and try something a little more three-dimensional. Leftover baker’s twine inspired me with the festive red and white colors, so I decided to whip up some fluffy pom-poms to top my presents. Making them is easy as pie; all you need is some baker’s twine, a fork, and a pair of scissors.

To start, wrap the twine the fork until it starts to look round and full. Then, thread the end of your twine through the center of the fork and tie it around the ball of  twine. Finally, trim the loops and slide the ball of twine off the fork. After a few fluffs and puffs you have a pom-pom for the top of your gift! 


Verified by MonsterInsights