
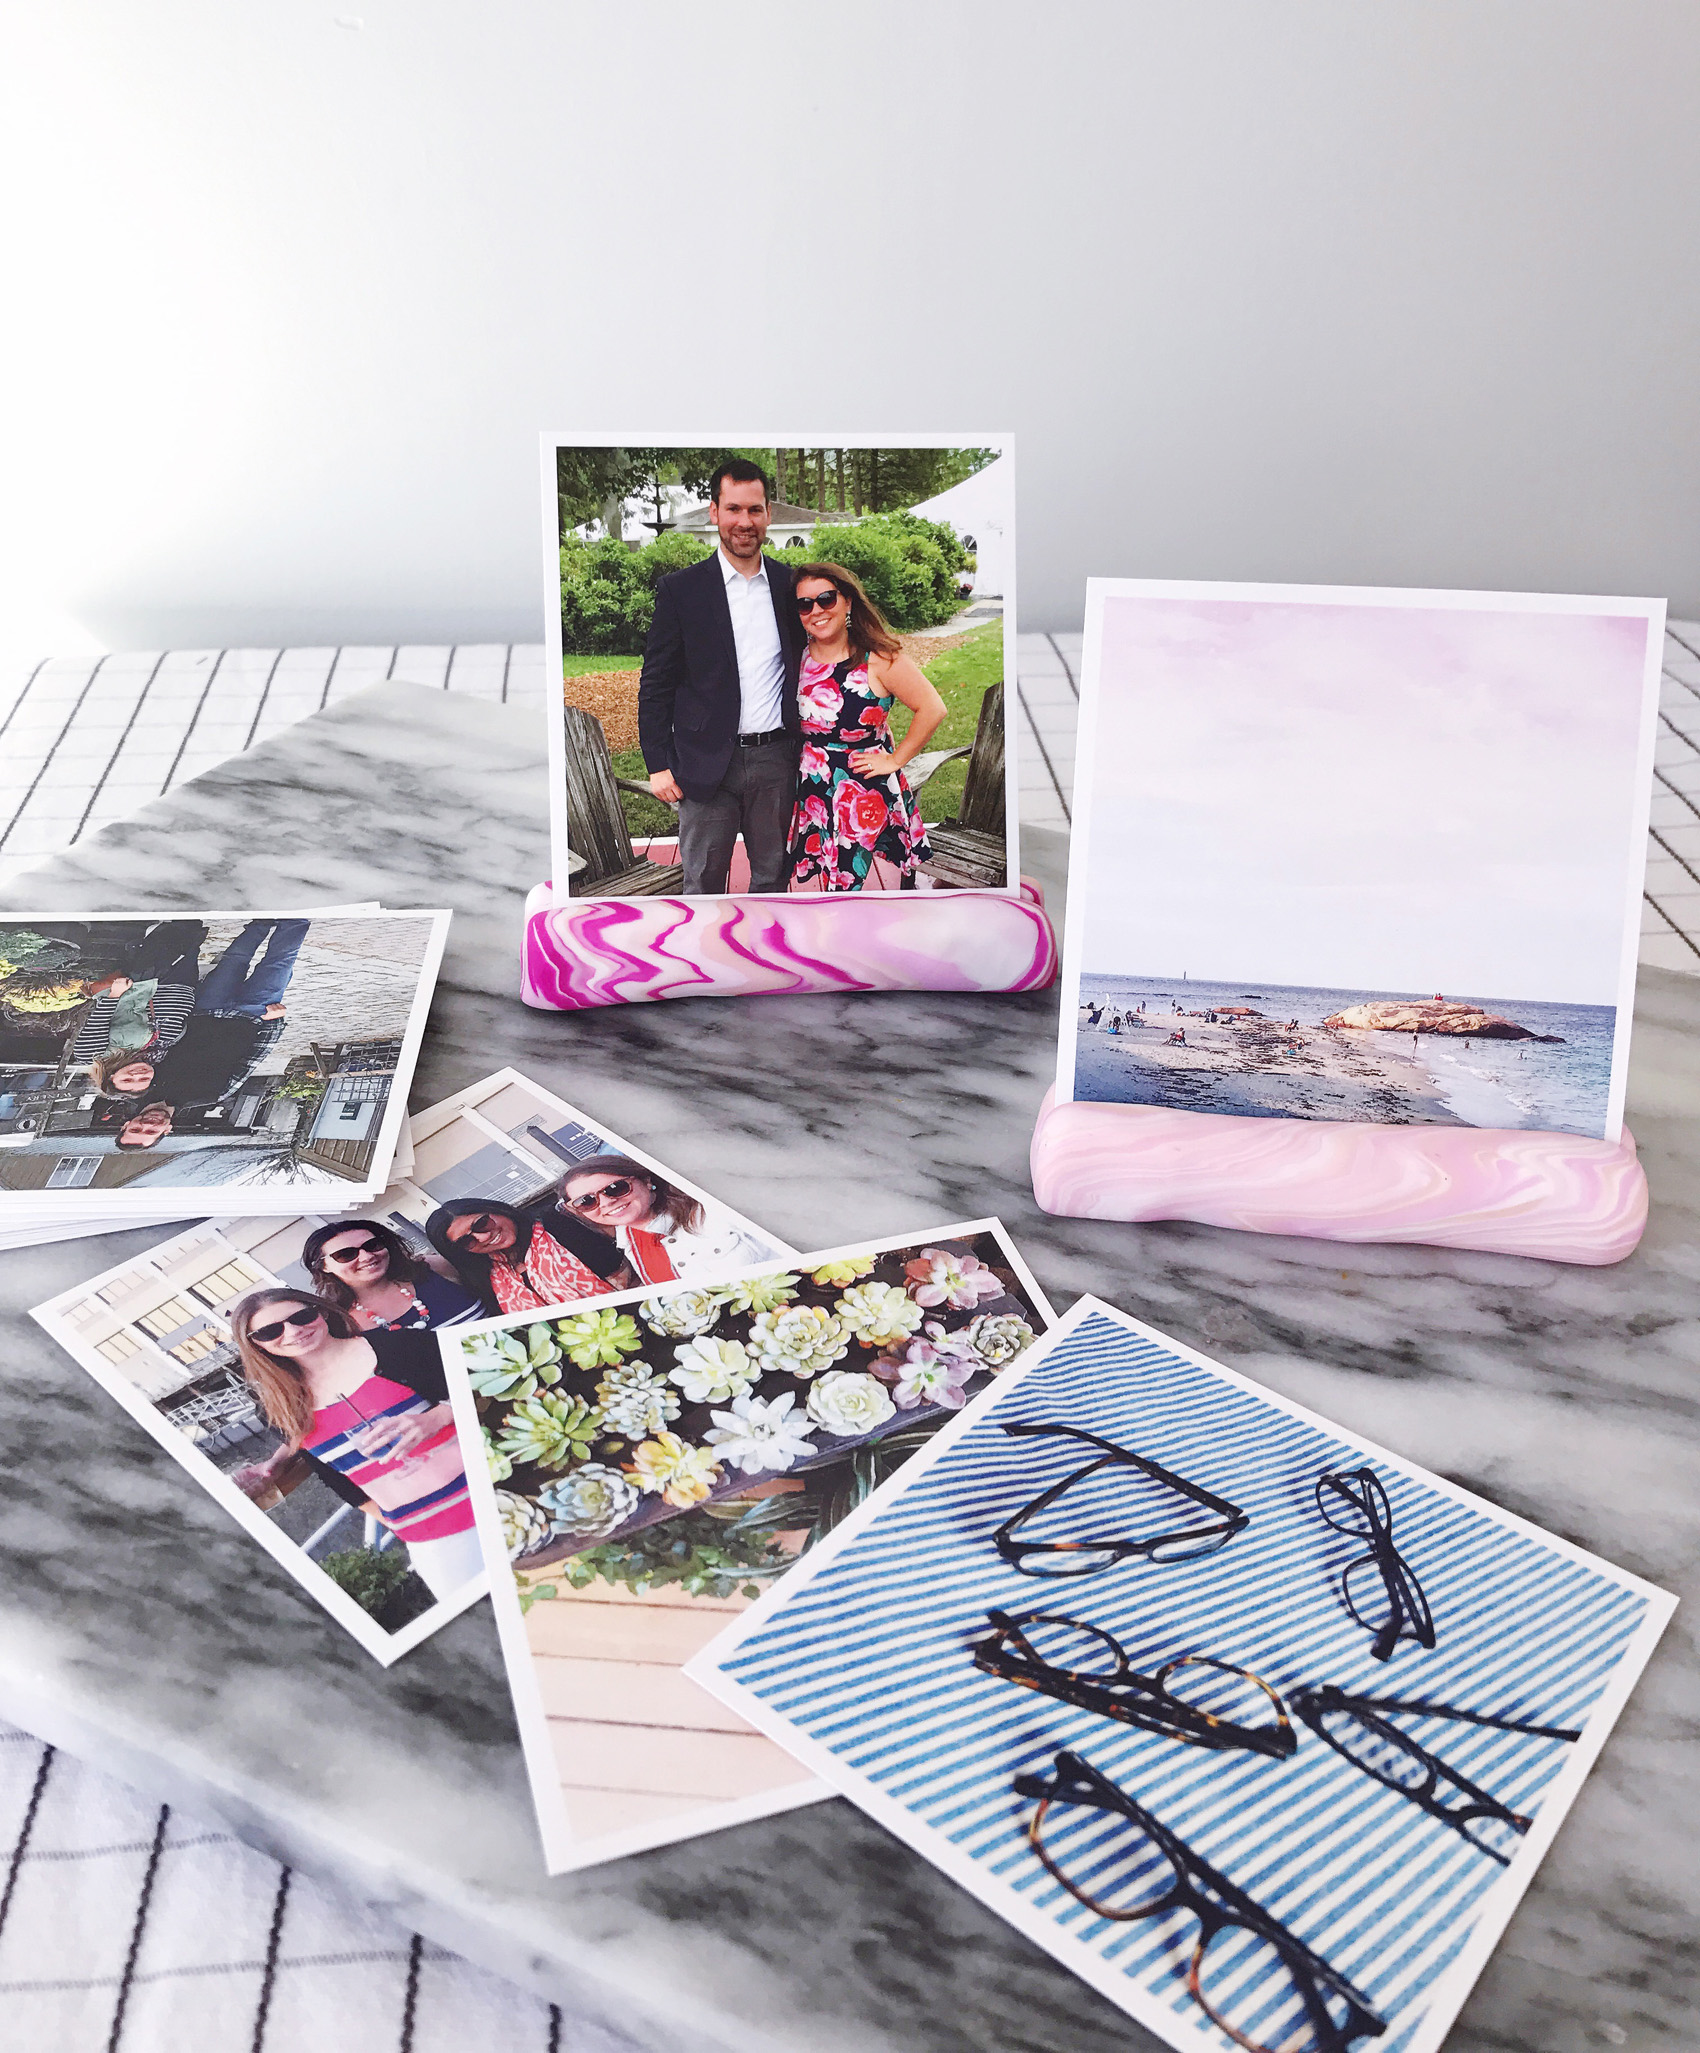
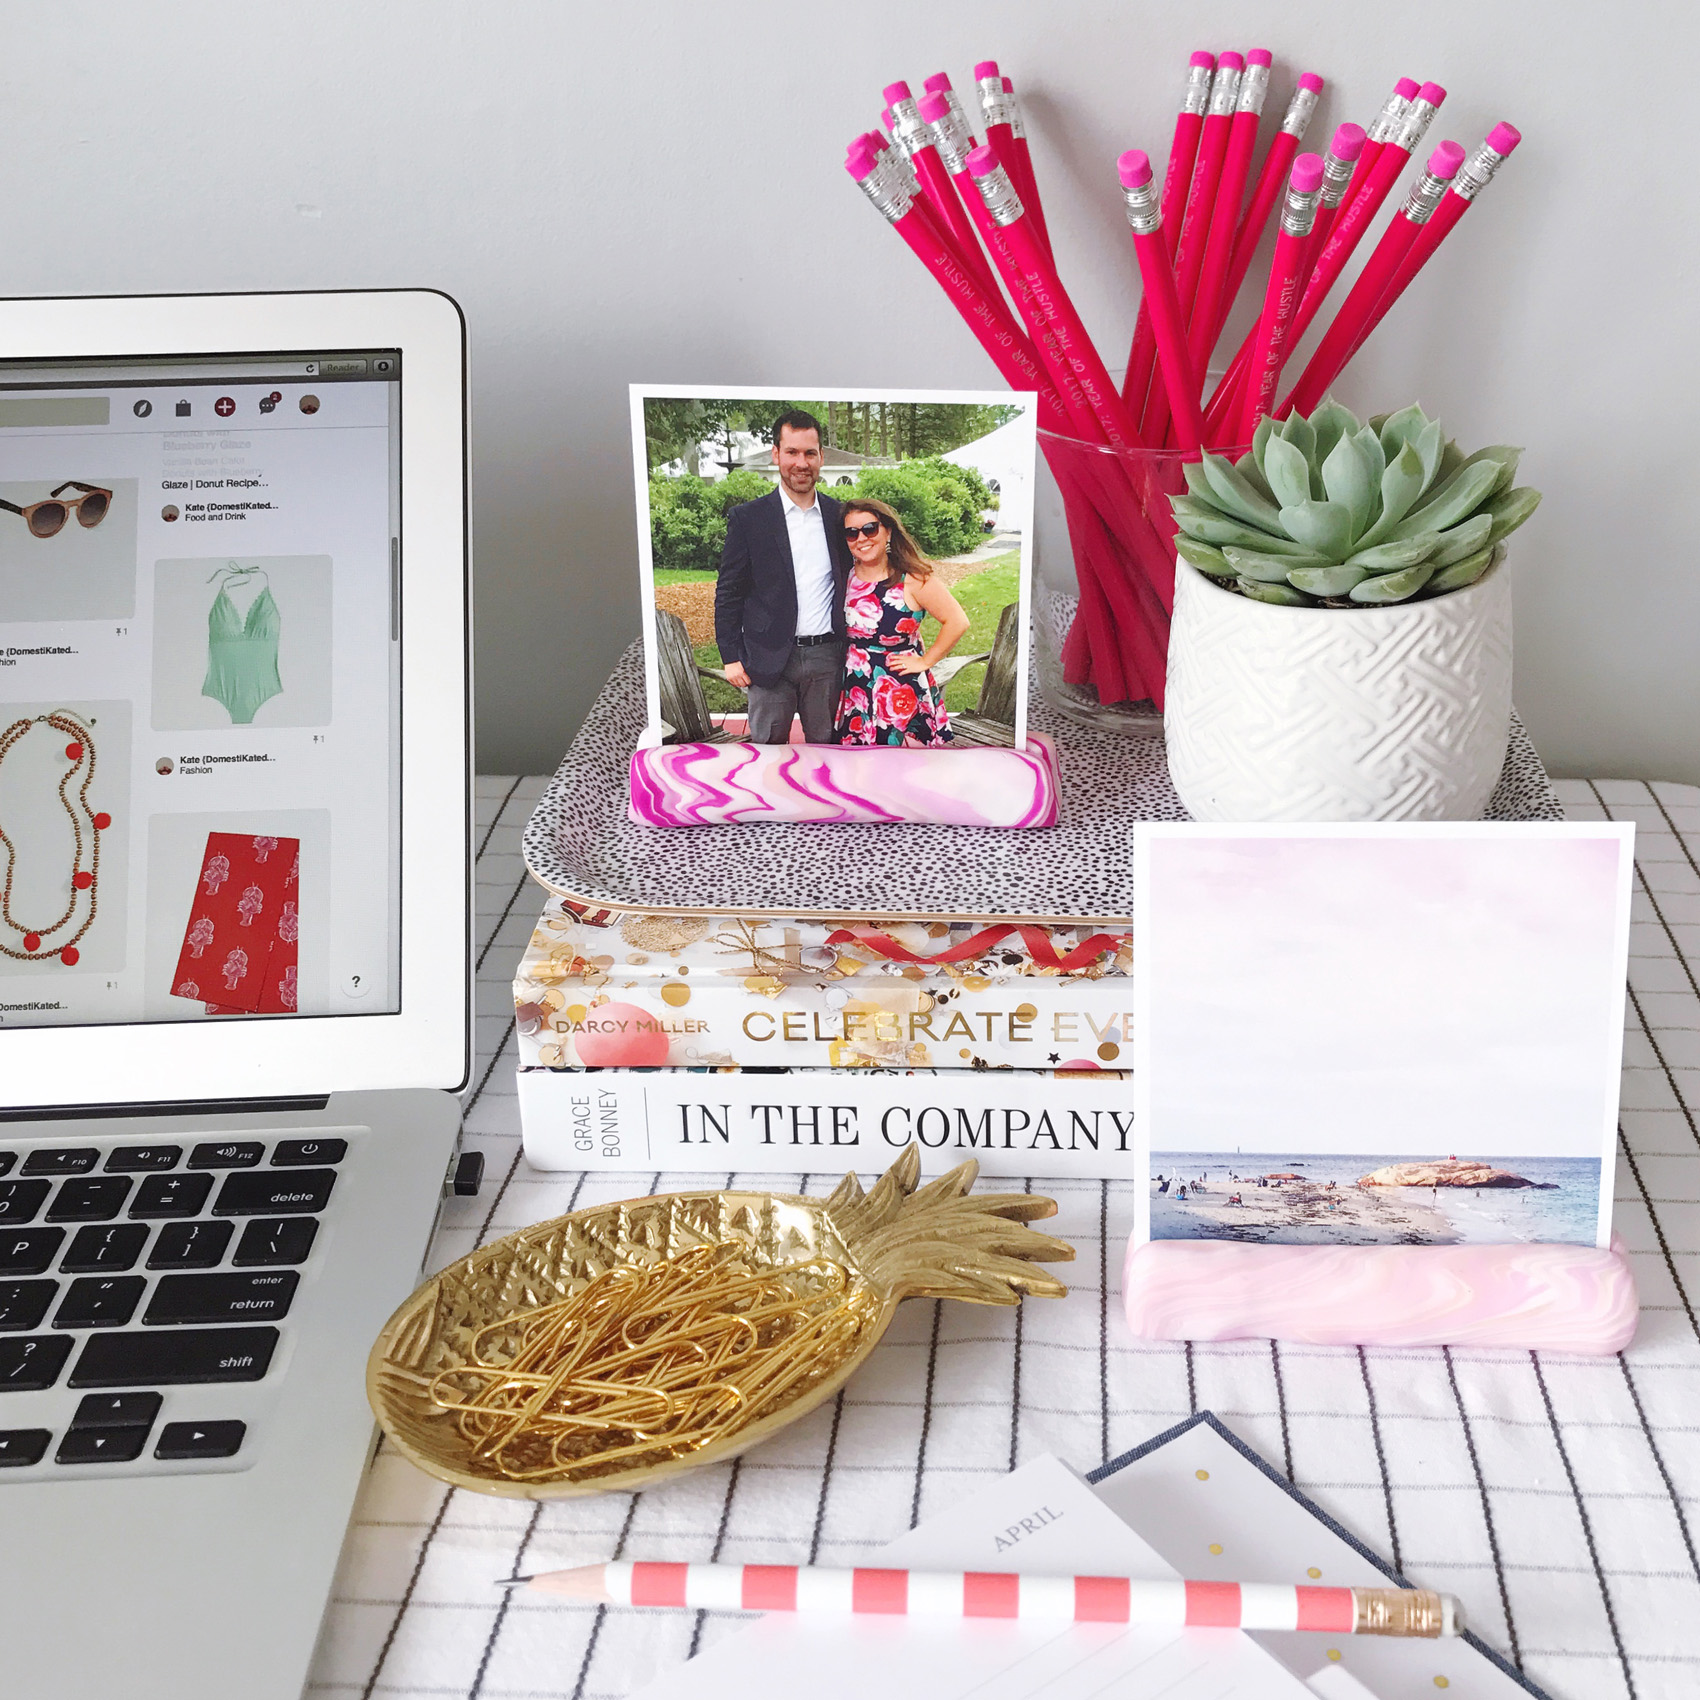
At the beginning of the year I wrote a blog post about some of my quarterly “mini-resolutions” I was going to tackle, and one of them was to print out more of the pictures I take on my phone. I’ve been keeping my word and have printed out a bunch of my favorite photos from instagram (I use Social Print Studio for great square prints!) and have been trying to do a once a month printing of new photos of Jane to send to our parents and grandparents. With all of these new prints on hand, I need a fun way to display and rotate them. I decided to DIY a few photo-stands for these square photos so that I can prop them up on my desk and change them easily as new prints arrive. It’s a super easy DIY, and took me about 30 minutes to complete from start to finish! To make the photo stands, I used modeling clay from the craft store in a few shades of pink and blush. For the marbling effect, I rolled out 3 to 4 long pieces of the clay and twisted them together to make a spiraled rope. Roll that rope into a ball and continue to stretch, twist and roll the clay together until you get your desired marbleized look. Next, mold the clay into a cylindrical shape for the base of the stand. I used the edge of a knife to slightly square off the edges, and then use the same knife to slice an opening along the top. The slice should be at a slight angle and run halfway through the block. I used an actual photo to test the angle and depth to make sure the picture would sit the way I wanted it to! Place the photo stands on a lined baking sheet, and use a small piece of foil in the crack you cut to keep the opening from closing up. Bake at 250 degrees for about 30 minutes to harden the clay, and let them cool before displaying your favorite photos inside!
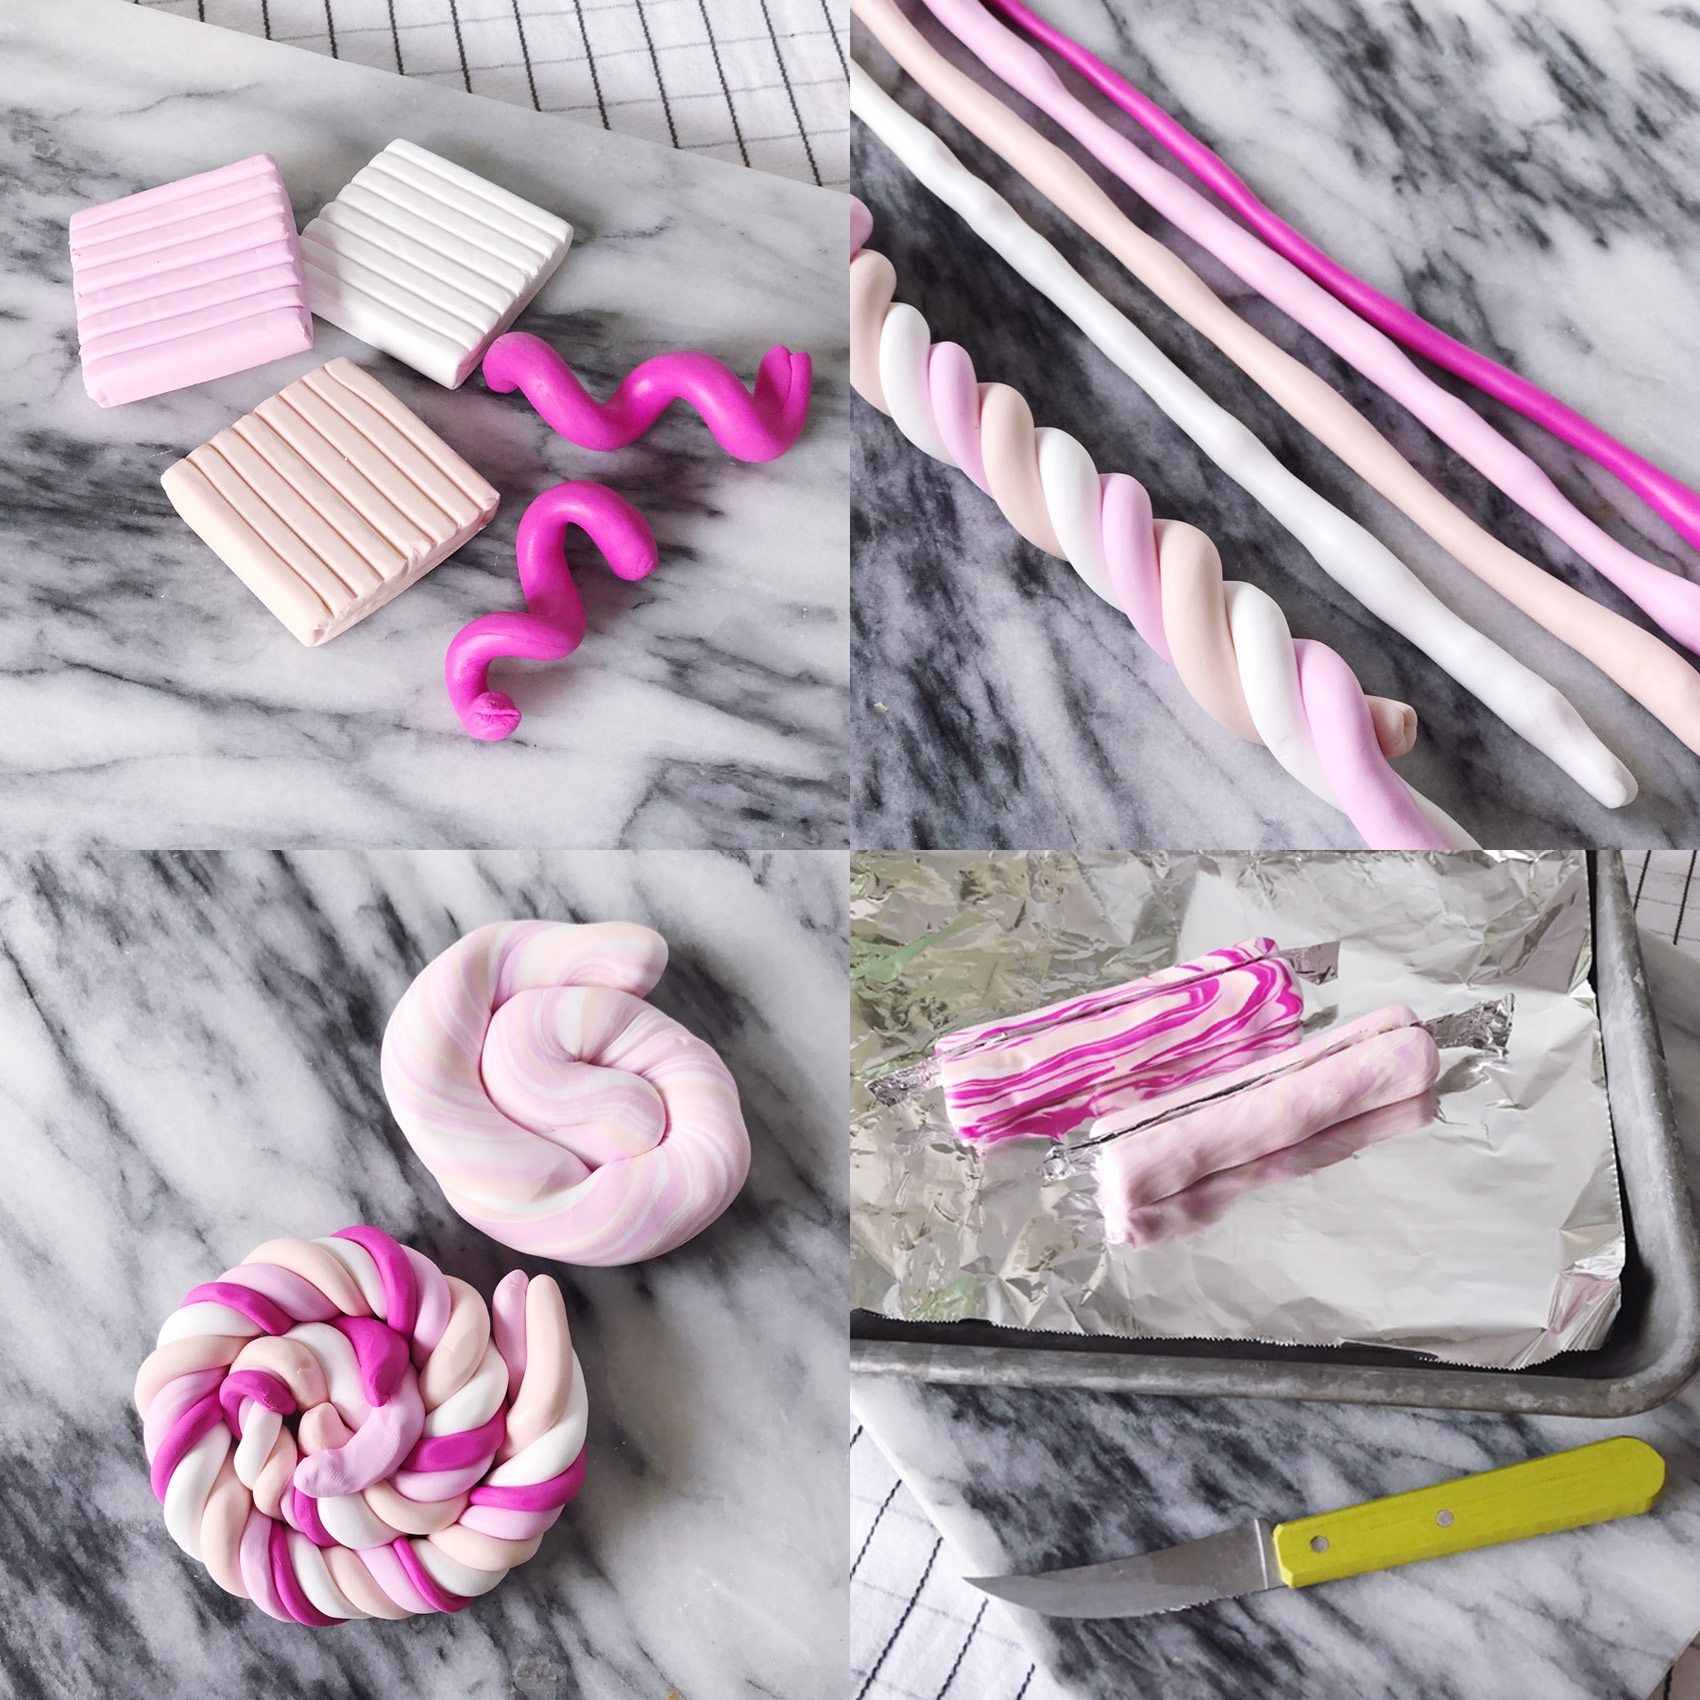

SHOP THE POST


SO cute