Don’t worry Mom, there are no gift spoilers in this blog post, just a simple DIY idea for a gardening-inspired Mother’s Day gift. We’ve been busy updating the yard and patio to get ready for enjoying our first summer at our house. It’s so exciting to have tons of outdoor space after living in the city for a decade. While I have a well-known penchant for killing even the most durable of plants, I have been wandering the outdoor living aisles at some of my favorite stores thinking about having a garden, and that’s exactly where this idea came from: a Mother’s Day gardening kit. I started with a terra-cotta pot as the base, and filled it in with gardening tools, gloves, and herb and flower seeds; some tissue paper and an oversized burlap bow finish it off! I think this would be such a sweet gift to give your mom, grandma, or mother-in law along with a pretty plant or flowers for her garden. It takes about 5 minutes to assemble, and you can grab all of these items at Target or your favorite hardware store. What are you gifting mom this year for Mother’s Day? 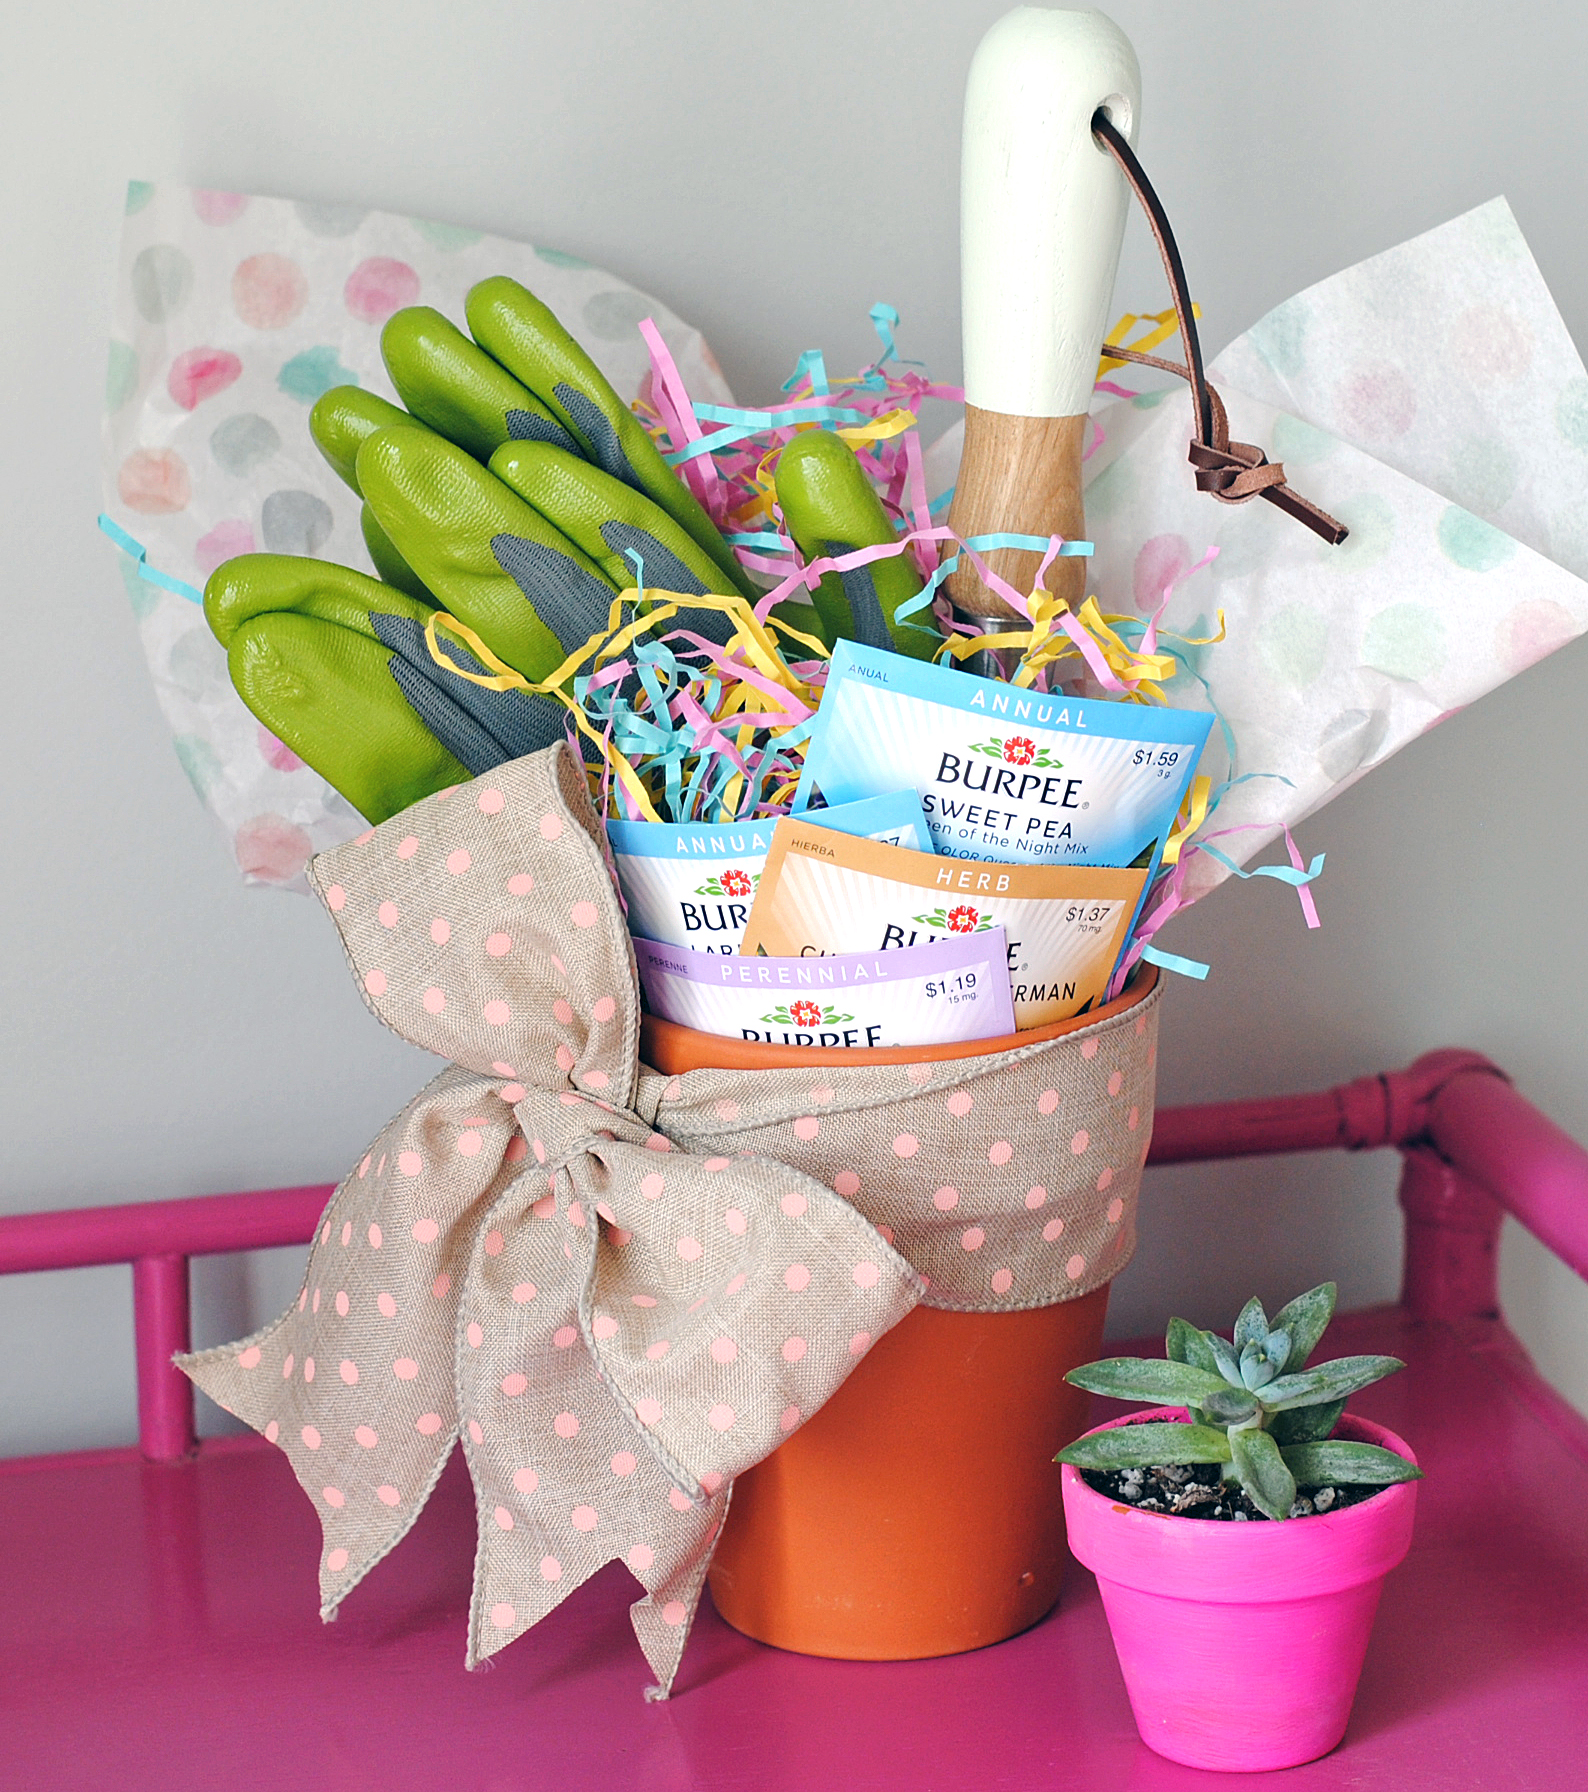 read more
I’ve so been busy writing about Cinco de Mayo celebrations this week that I’ve almost let a few last-minutes Mother’s Day DIYs slip by (Mom, I swear we love you more than margaritas!). I created my own mom-customized wrapping paper for Mother’s Day gifts. Start with a roll of white paper — try the craft store for ‘banner paper‘ or a shipping store for white packaging paper — and start scrolling out the word Mom in various sizes with a thick marker. The fun thing about this project is you can be really loose with it, it looks put together because the patterns repeat, but aren’t too perfect or precious (if you have kids give them a try at practicing their writing!). What worked best for me was using the king-size sharpie marker, and rotating the paper to get the writing at different angles. It can be totally customized — does your mom have a fun nickname, or do you kids call her variations of Grandma? Write those on too! When you’re done, wrap up the present and tie it with neon twine — I grab this hot pink twine at the hardware store (or purchase it on Amazon if you’re a prime-addict like me!).  read more
When Martha Stewart says it’s time to make something better, you listen up! The team at Martha Stewart Living sent me a little care package this month with a challenge to add a few new tricks and treats to my week, and I’ve been digging in to try them all out! The project at hand was a DIY chalkboard menu, and oddly enough, for a girl that has packed decoupage and glitter in her overnight bag before, I’ve never used chalkboard paint! It’s a DIY mystery how I’ve made it this far without chalkboard-ing something in my home so I was eager to try out these Martha Stewart Crafts products. 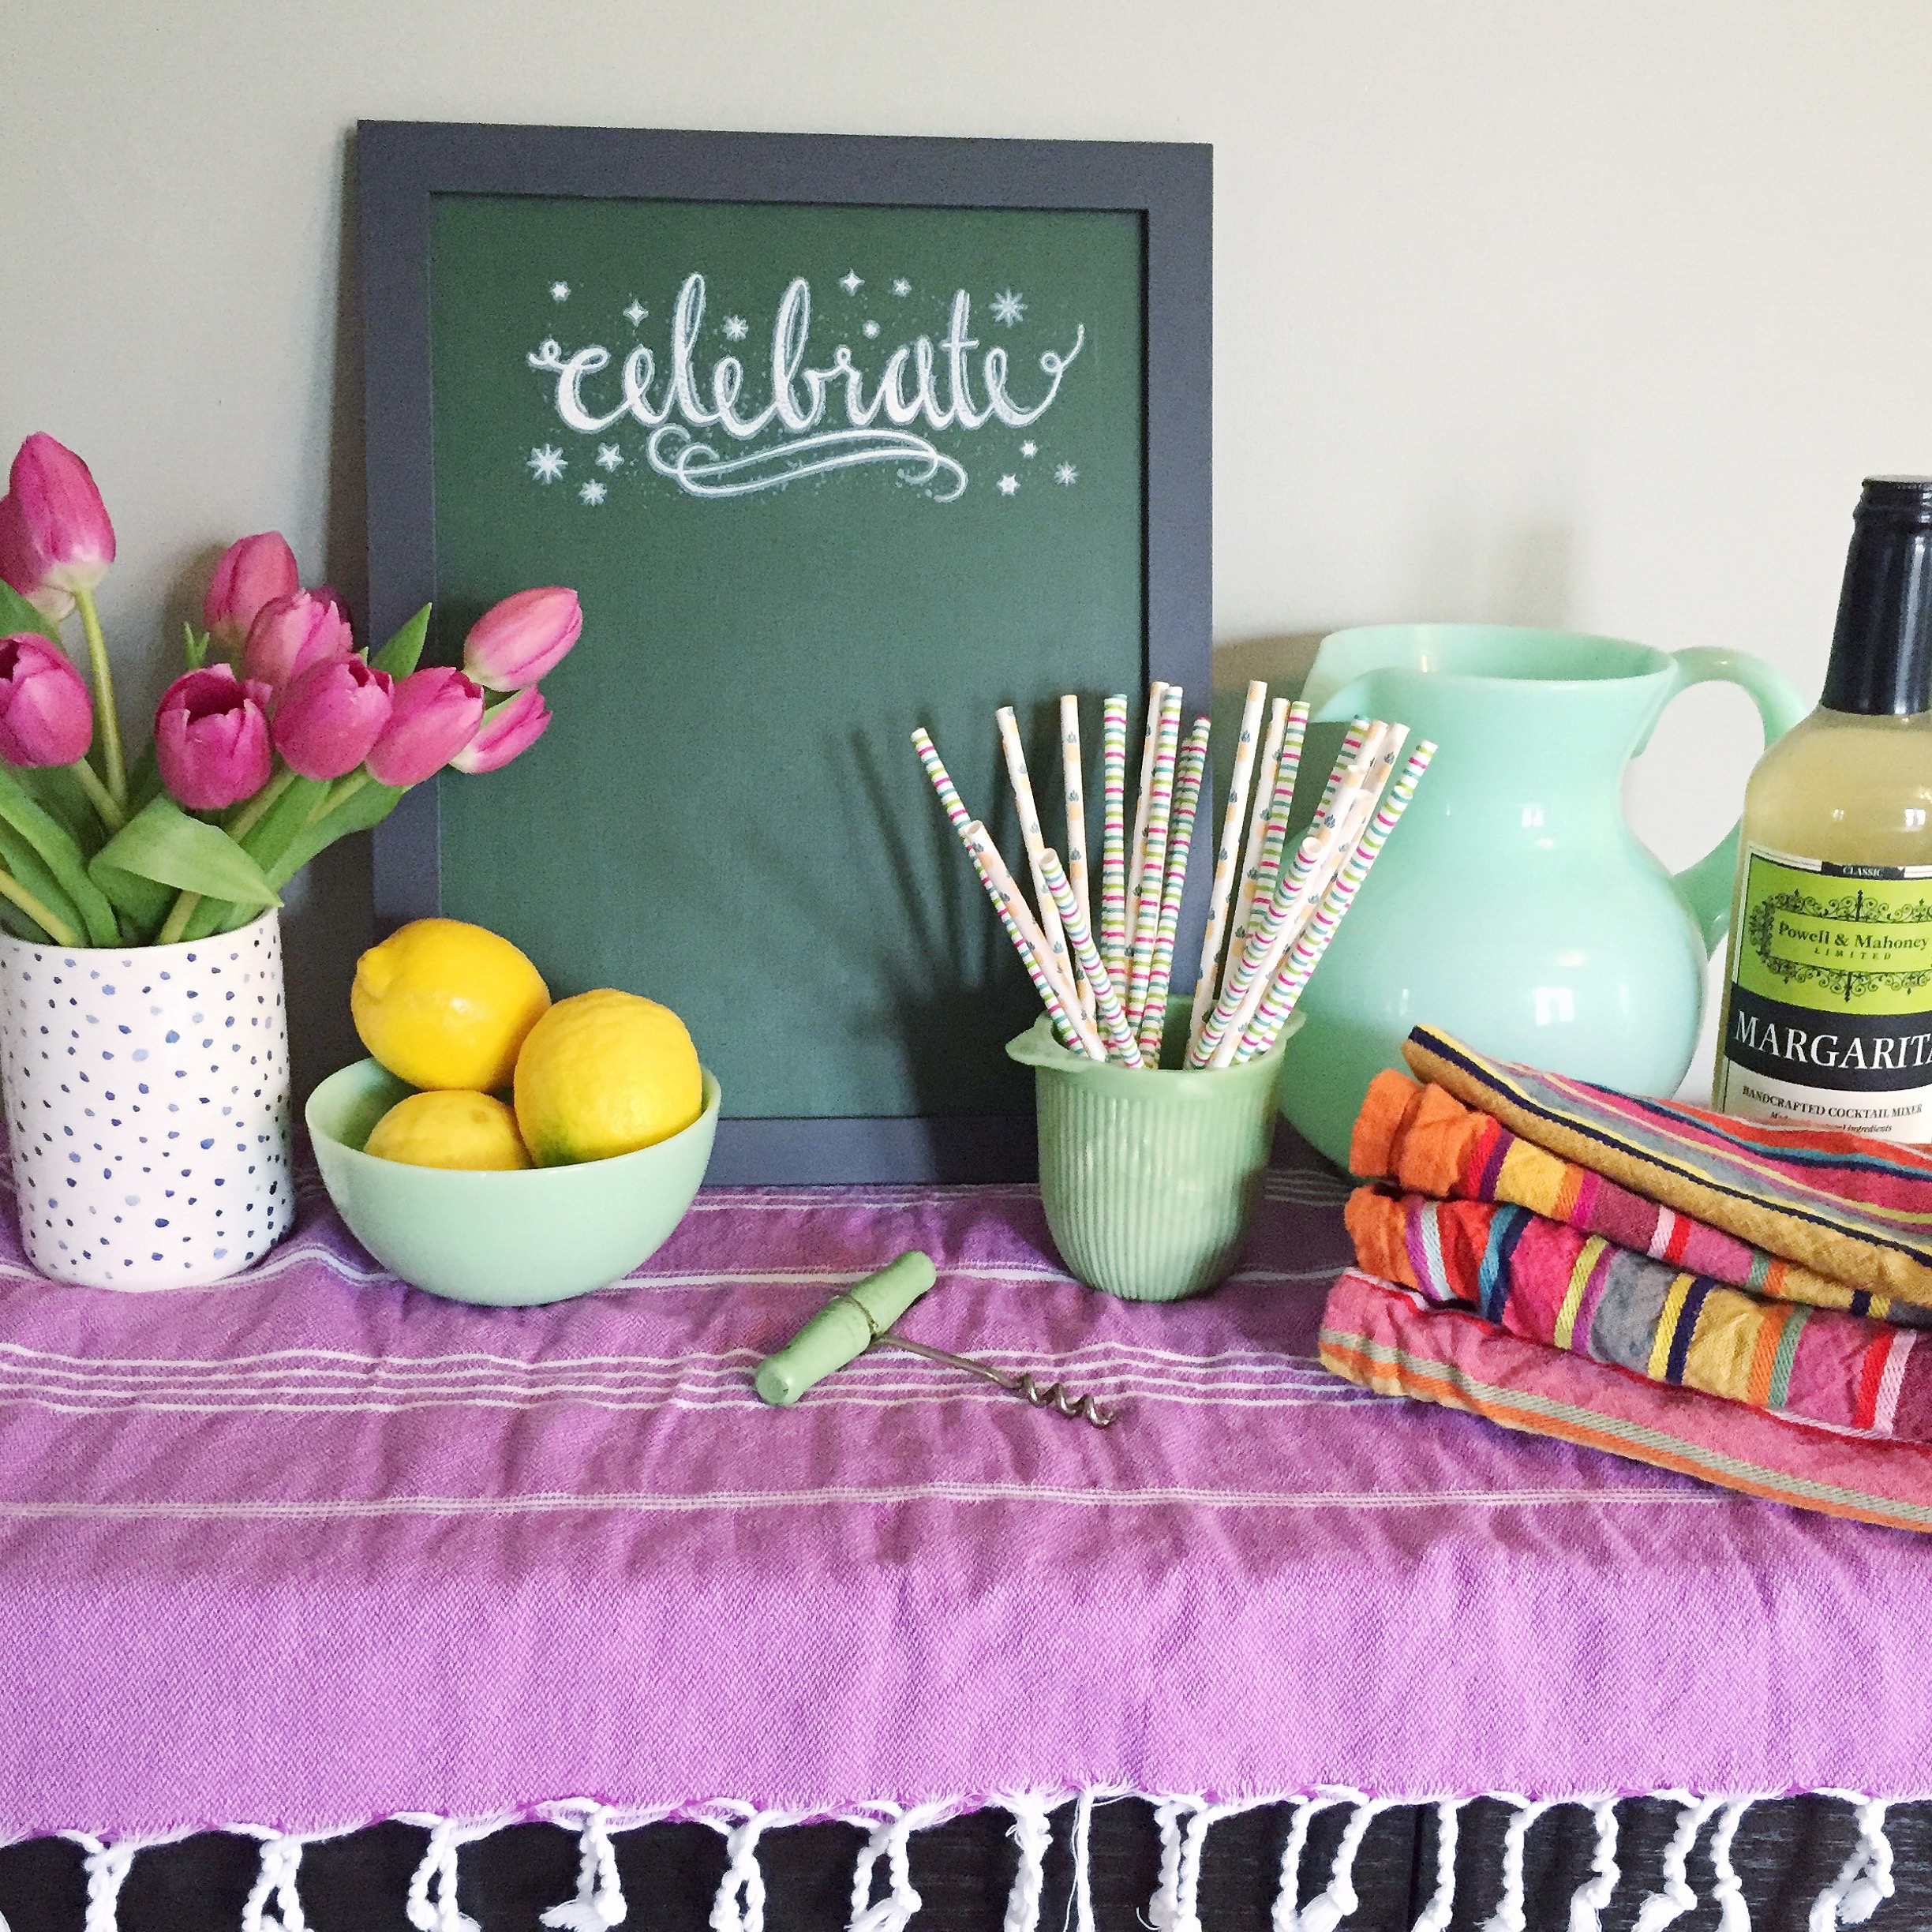 read more
In anticipation of Easter this weekend, I have two easy DIY ideas for bringing a hoppy little addition to your Easter desserts, bunny cupcake toppers! The first is super simple (the only challenge is not eating all of your supplies before your guests arrive!) — I topped cupcakes with a good amount of frosting and nested bunny shaped peeps on top of the cupcake. Try butter cream or cream cheese because they’re a bit thicker and hold up the peeps. My second DIY bunny topper is so cute with a little pom-pom tail! I drew bunny shapes, similar to the shape of peeps, on blush colored scrapbooking paper and cut them out. With a little bit of tape, I attached them to tooth picks and added pink pom-poms for tails with a dot of glue. You could even make a handful of these and string them together for an Easter garland too! Happy crafting!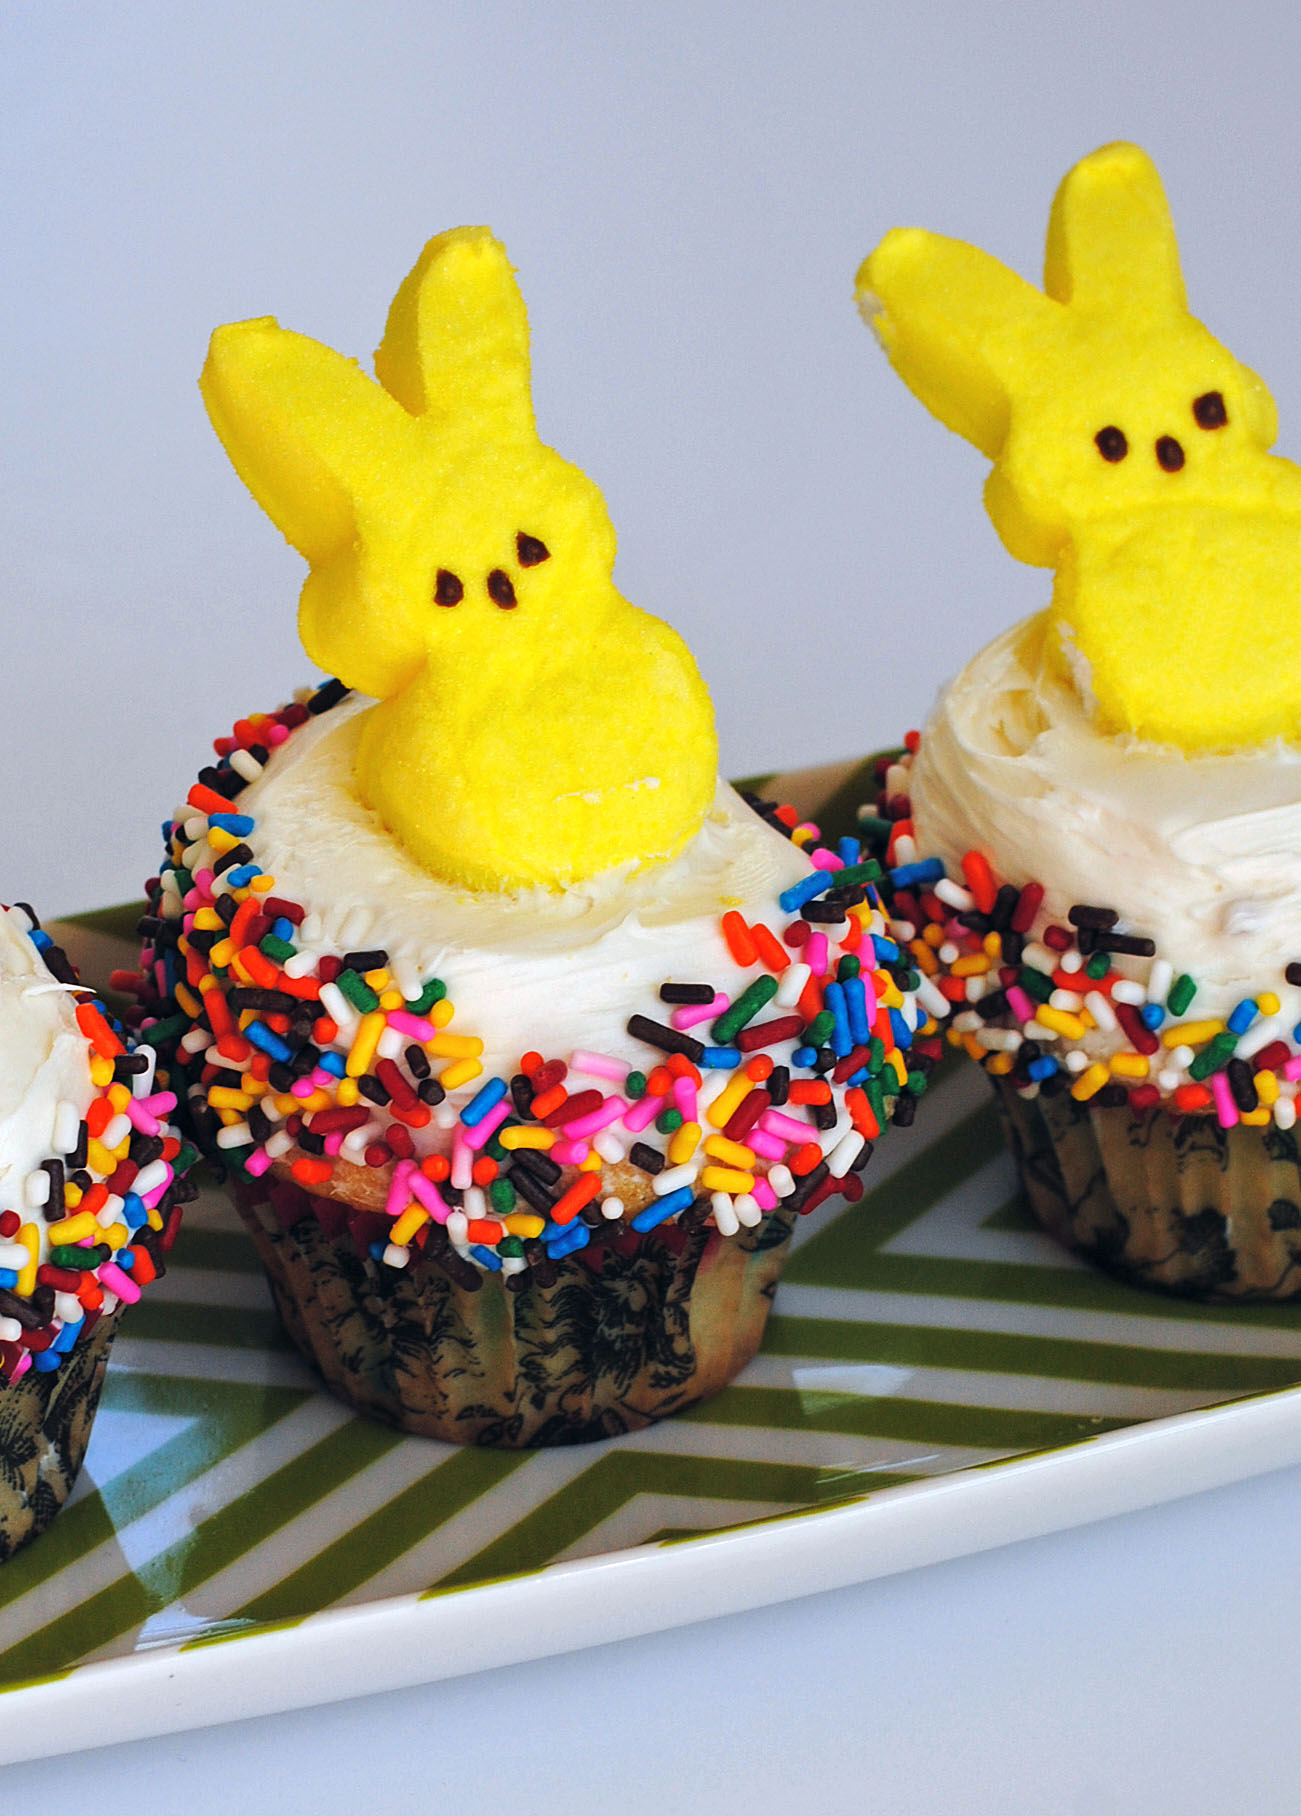 read more
Just one week until Easter, so it’s time to decorate some eggs! I love to try different techniques each year (check out my washi-tape eggs and confetti-filled eggs). This time around I went with brightly dyed eggs and gilded accents, because even our Easter eggs need a little flash, right? I dye my eggs old-school style, with food coloring (try McCormick’s Neon food coloring for some of these super bright colors). And for the touch of sparkle, I hit my local craft store for gilding papers and gilding adhesive and brushed on the faux gold foil in a speckled pattern. I love how they turned out, and now I want to gild everything in sight — more gold please!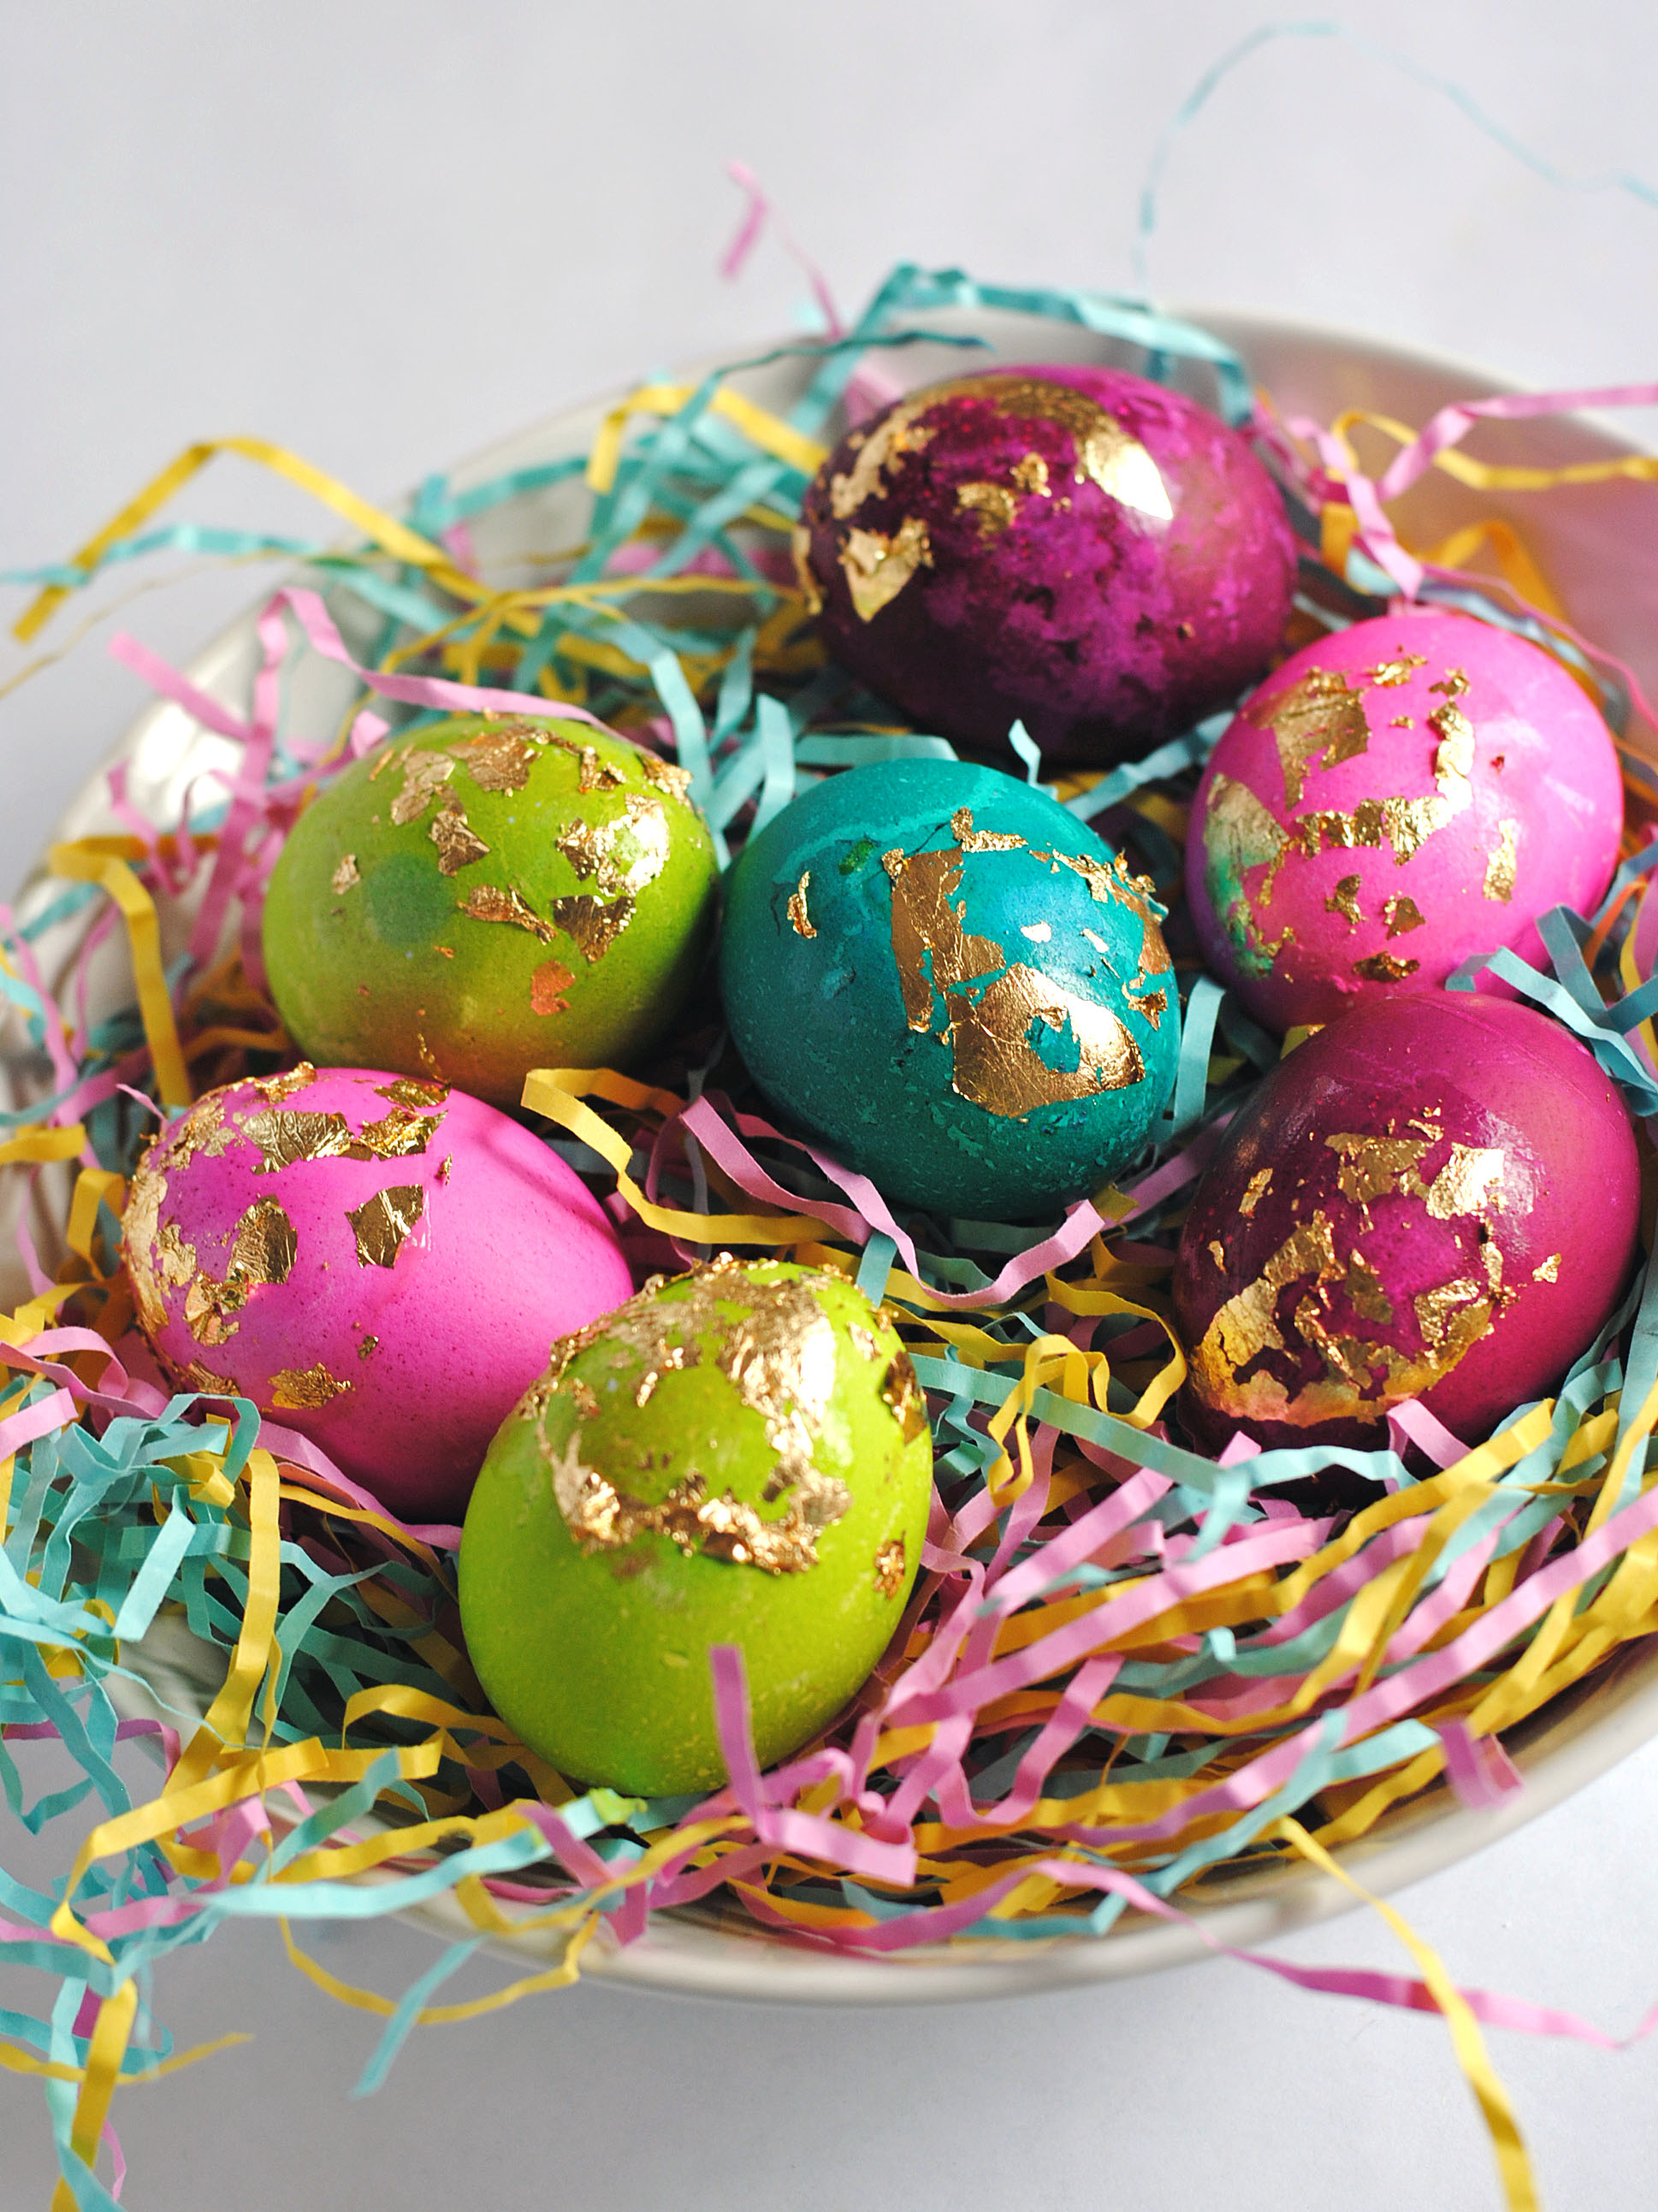 read more
It’s here! It’s here! My favorite holiday of the year! I know people get all grumpy about New Year’s Eve because it usually involves an overly expensive dinner or a crowded bar, but that’s why I decided a long time ago to throw my own New Years bash and give all my friends the perfect plan for sending out the year in style and kicking off the new one just right. Call me a sap, but I love the idea of starting the new year with my best friends, doing what I love most: entertaining. It’s also one of my favorite holidays because it involves all things glitter and sparkle and confetti-filled. So if you’re hosting your own soiree this year, or need to add a little pop of celebration to a night in watching the ball drop, I’ve got a few last minute DIY ideas you can craft up. I worked on these with Julie of Posh and Prep who lent her expert calligraphy skills to make them a little extra special! 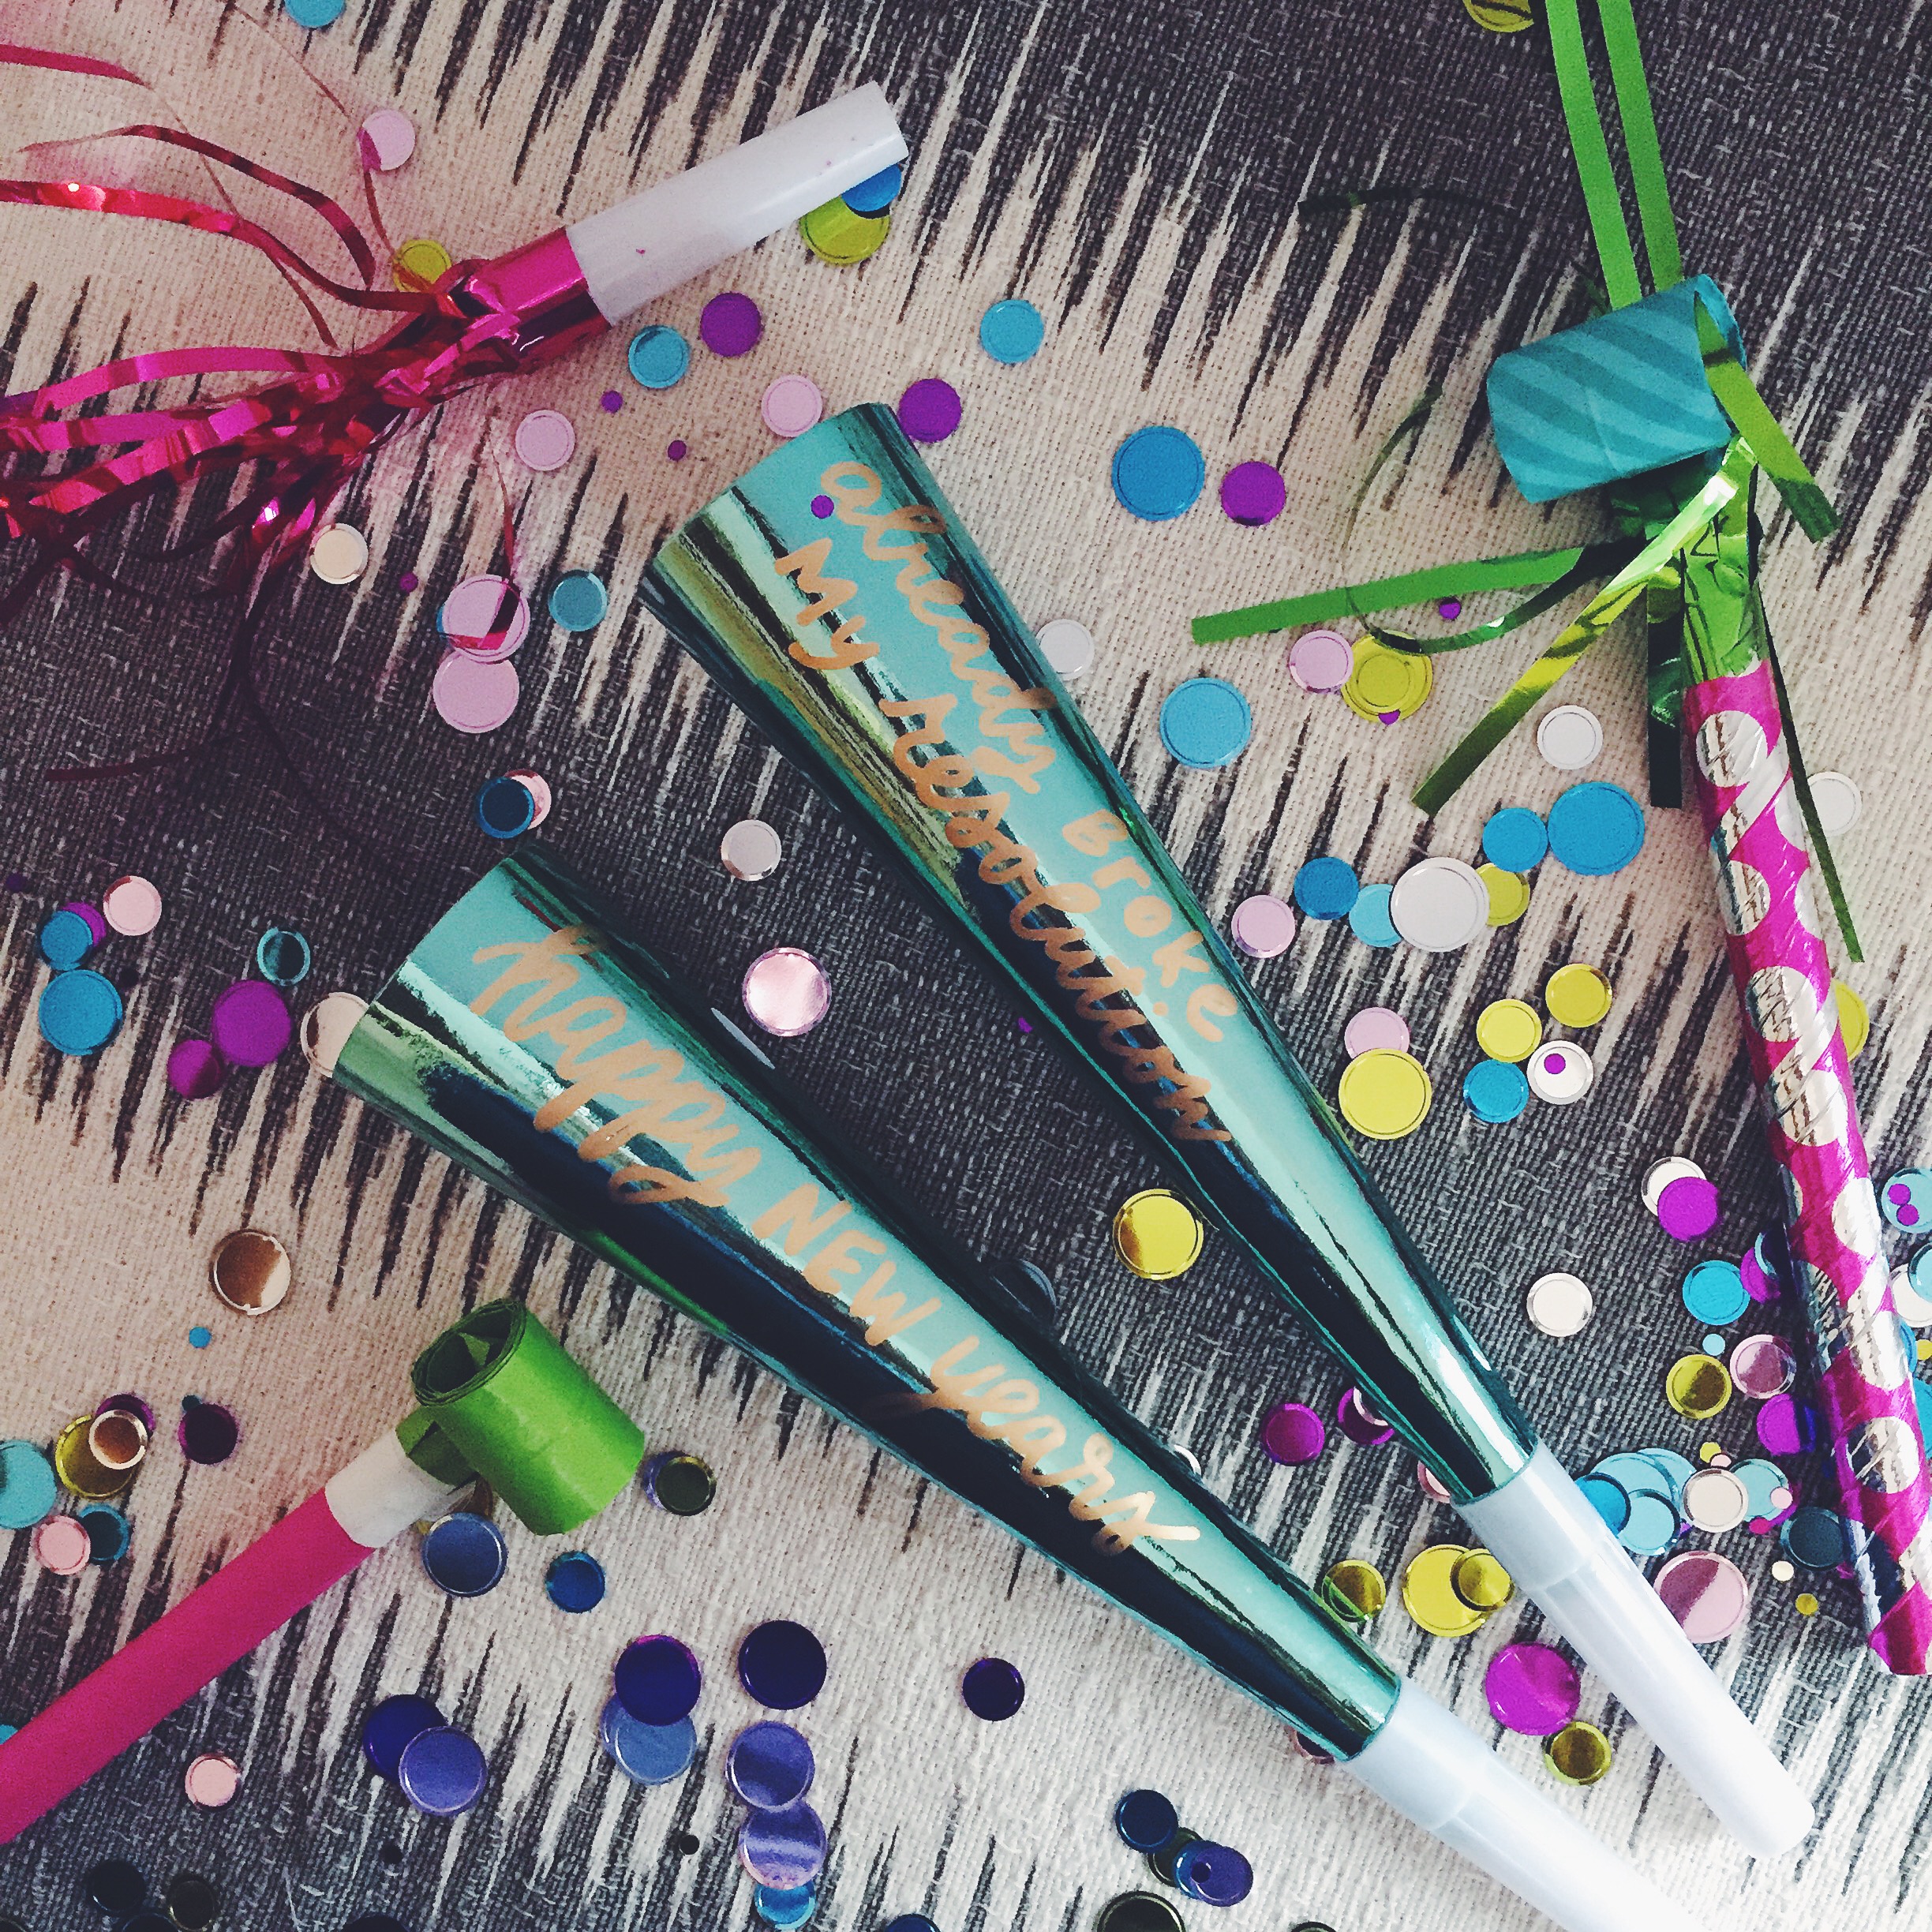 read more
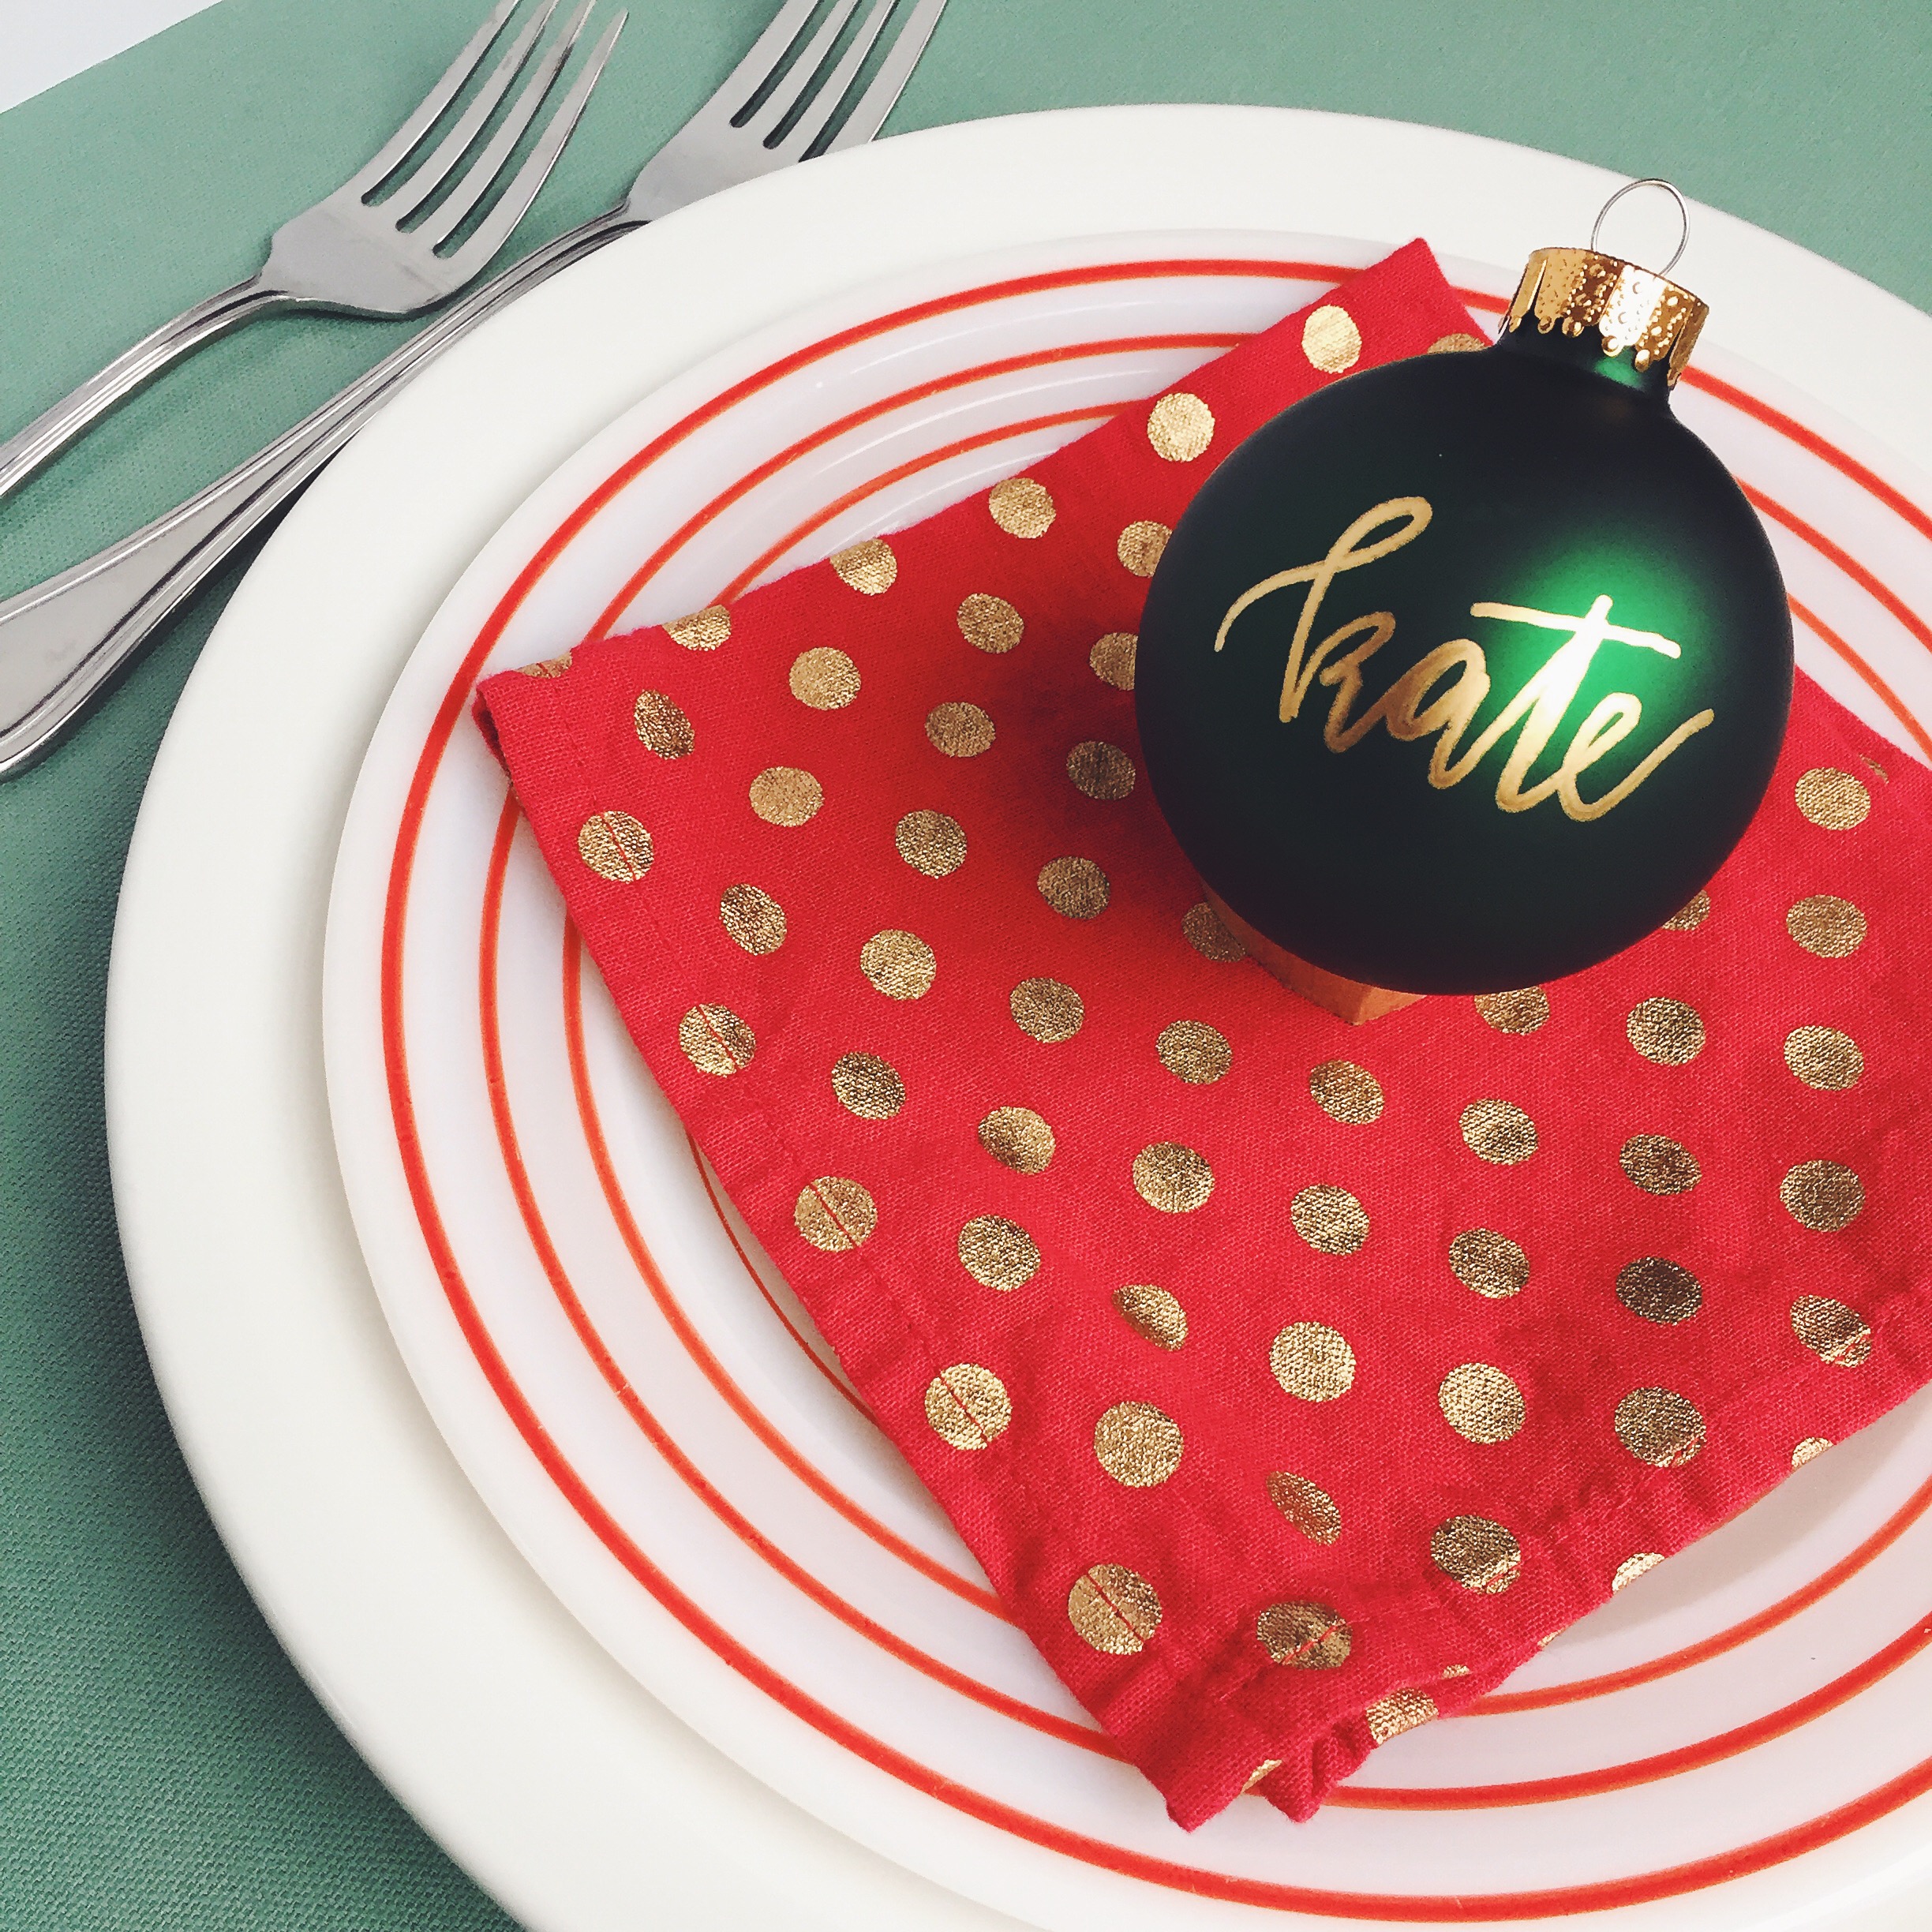
After all of the fun we had putting together some DIY details for Thanksgiving, Julie from Posh & Prep and I got crafty and created a few fun handmade elements to add your Christmas parties and celebrations. Julie lent her fabulous hand-lettering to create the easiest place card favor: a classic christmas ornament personalized with gold ink calligraphy in each guests name.
 read more
This is our very first year with a full-sized Christmas tree! I loved my little apartment-sized bookshelf trees we had in years past, but gosh is it fun to decorate a big tree in our new home — it feels just a little more like the holidays seeing it in our breakfast nook. One challenge with upgrading from a mini-tree to a 7ft tall tree is we never really owned full-sized ornaments. I have been on the hunt for the perfect colored glass balls to fill in the gaps between our smaller, more sentimental ornaments. Of course, I gravitated right to bright-colors and expensive price tags (like these and these), but couldn’t justify breaking the bank when I knew I needed lots of them. So I DIY’ed my own in the simplest way possible! read more
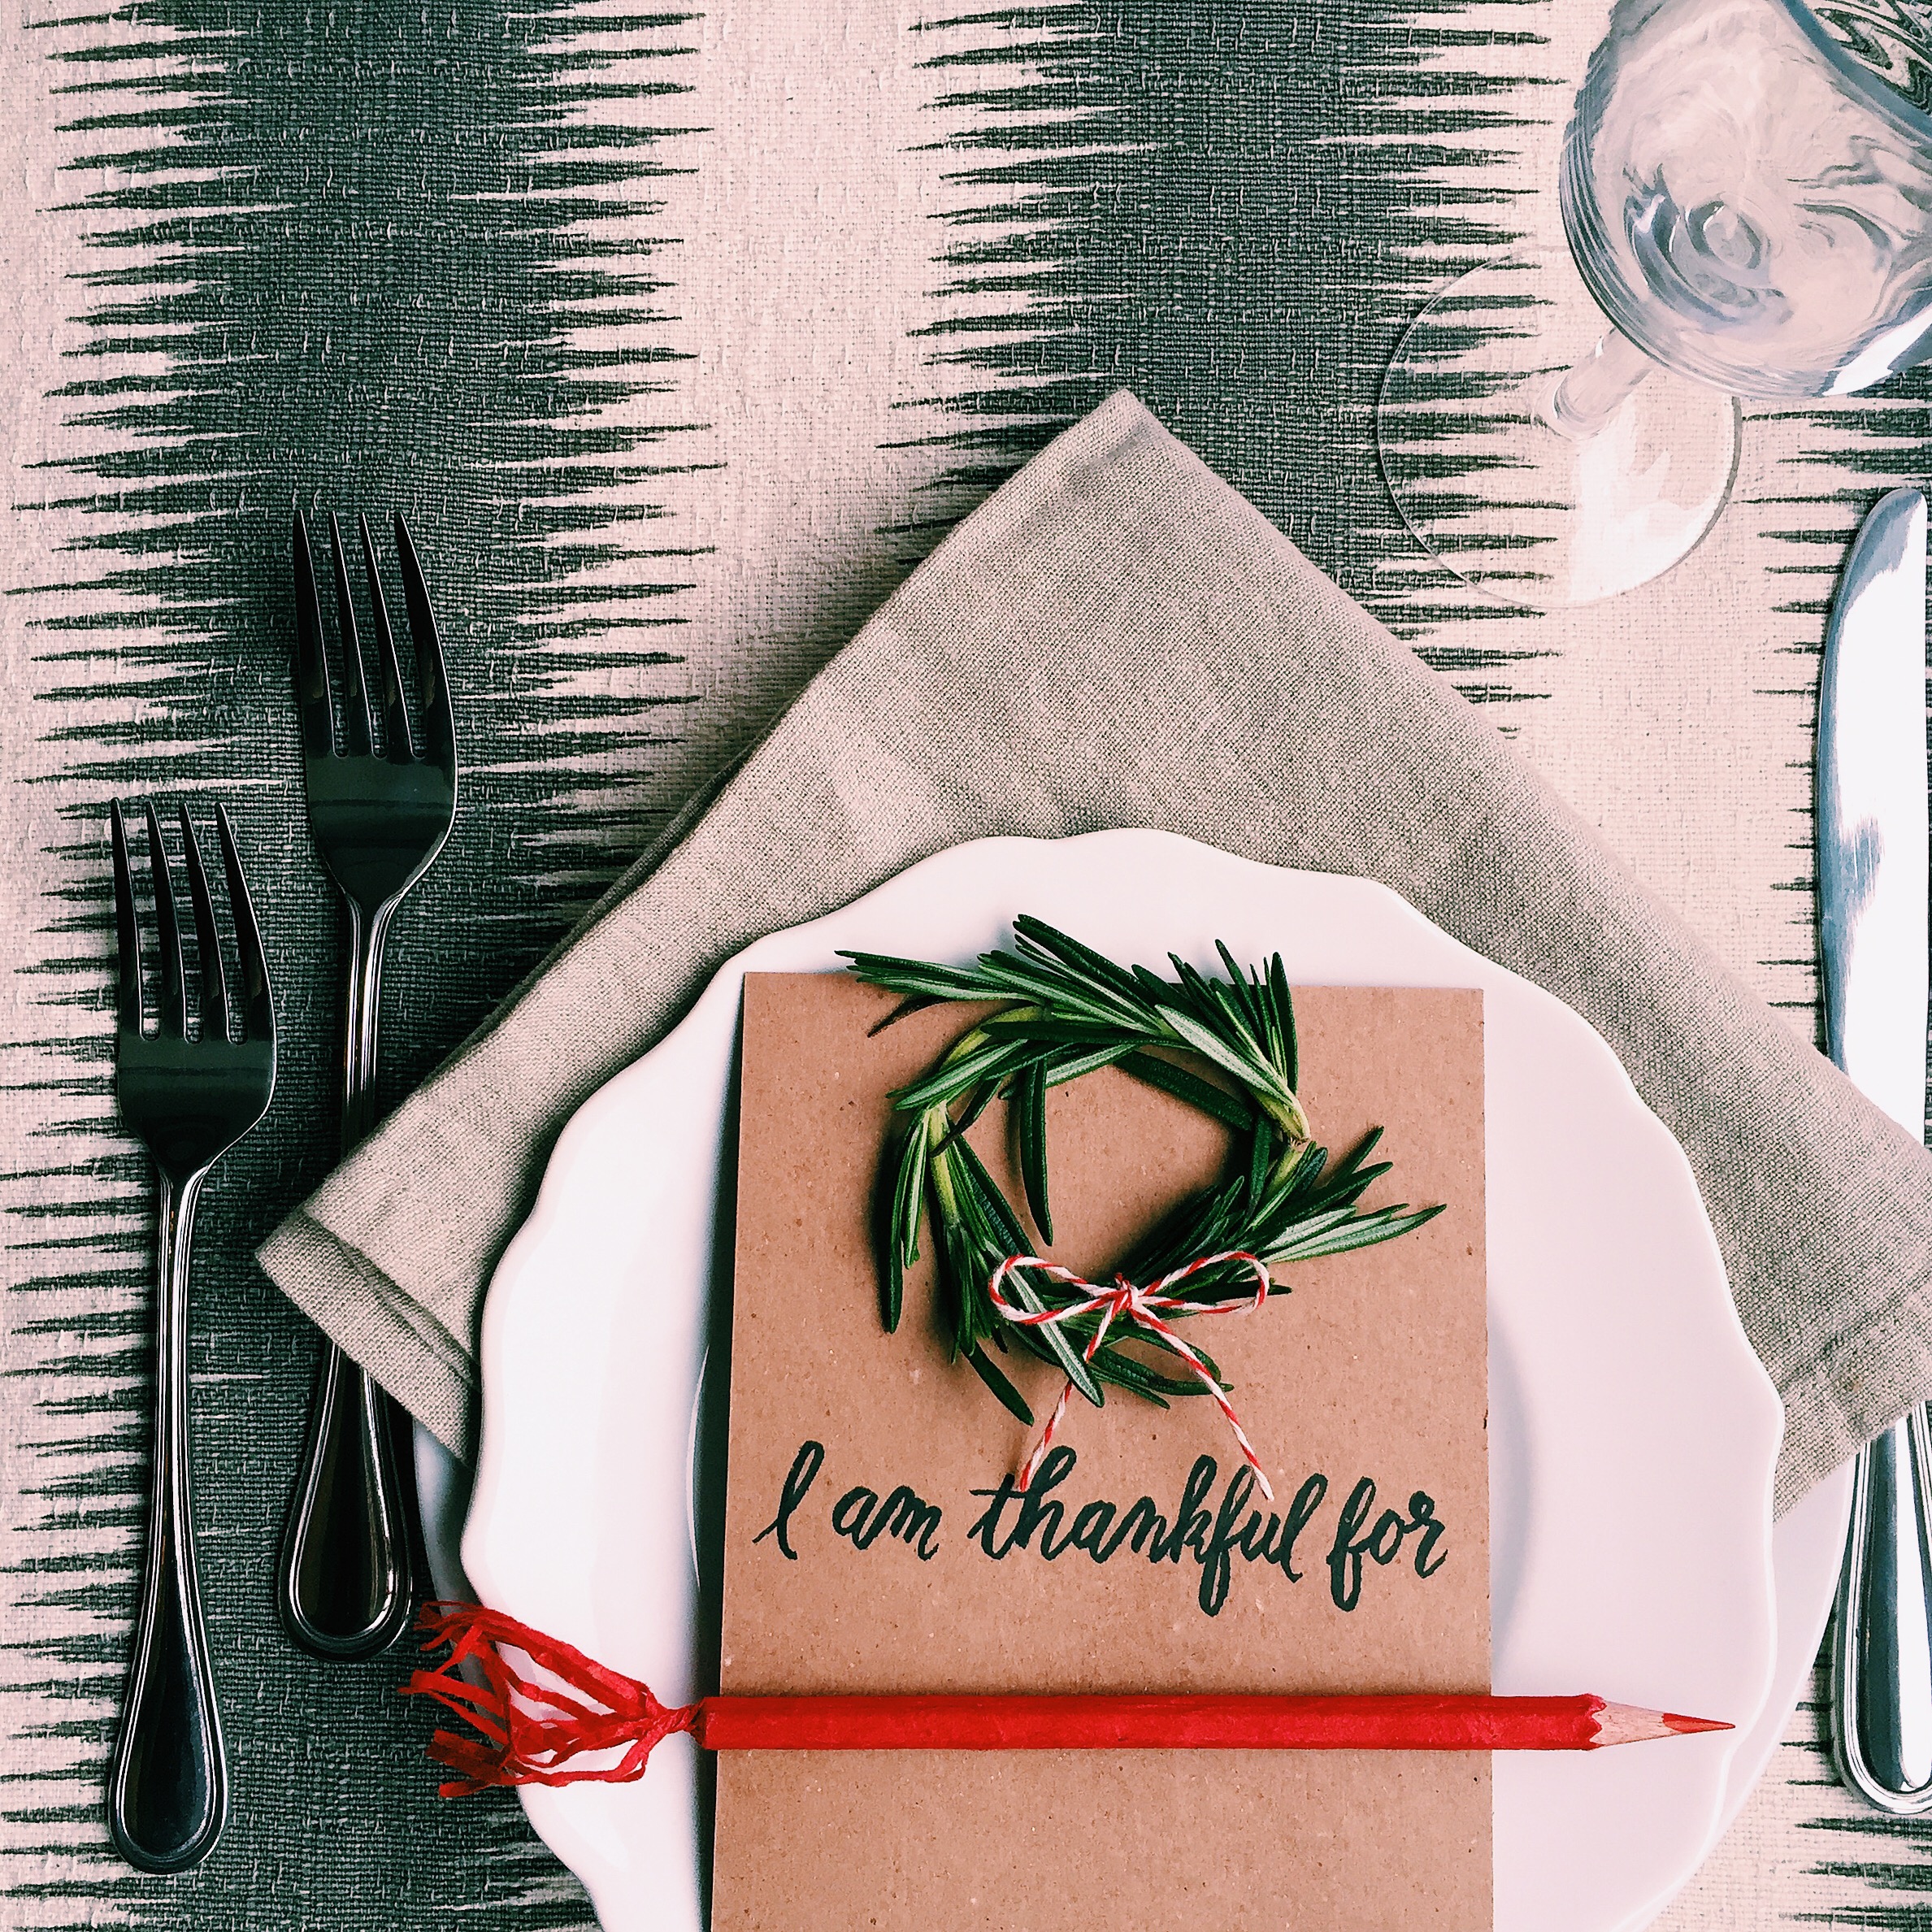
We’ve been in our house for exactly one month now, and are starting to finally feel settled (yay!), but aren’t in a place yet to be hosting a massive Thanksgiving dinner. I dream of this though! Maybe in the next few years we’ll be ready to host on our own, I mean, it’s basically the Super Bowl of entertaining and eating and I think I’d be a pretty strong contender at that game (ladies and gentlemen, the first time a sportsanalogy has ever been used on this site!). Even though I’m not hosting, I still have lots of ideas for a spectacular Thanksgiving tables to share, so I worked with Julie from Posh & Prep Calligraphy to come up with a few special details that are easy to translate to your own turkey day celebrations!
I owe a lot of people a lot of thank you‘s this month. We’ve been preparing to move, and I feel like all of our friends and family have jumped in to help, from packing up boxes (full of my ridiculous amount of craft supplies and kitchen tools), picking up our mail when we’re in between our apartment and new place, and probably most helpful, have been there to listen to me when I’m complaining about being overbooked and a little frazzled!
 With all of those thank you’s in order, I’ve had “little hello gifts” (as my mom calls them) on my mind lately. “Hello gifts” are a little treat to thank a friend for having us over for dinner or helping out with a small errand. This simple DIY combines two of my favorite things into one colorful little hello-gift: washi tape and cocktail fixins’!I grabbed a pack of sparkling IZZEs and used some really fun, bright washi tape to wrap it around the edges of the cardboard container to ‘wrap’ the box. This pattern worked really well because of the variation in the stripes — no need to be exact. Each stripe was slightly layered over the next, until you covered the whole box. For the corners around the handle, I simply folded the edges under the box and tucked them in with the dull side of a table knife to get a clean edge. Then I added in some matching drink stirrers and paper straws, and tied up the whole thing with a bow — and it’s ready to gift!


Please Note: This post was sponsored by Izze; all images, ideas and content are my own.

