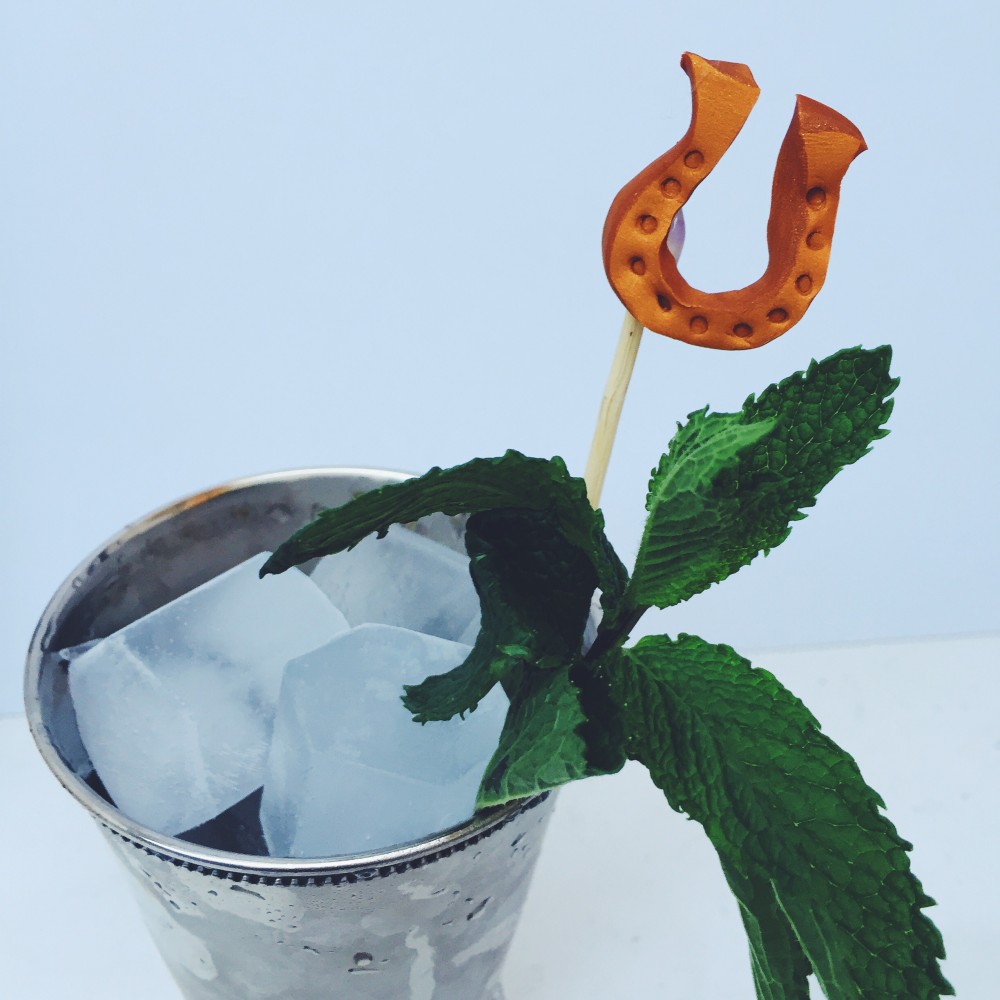
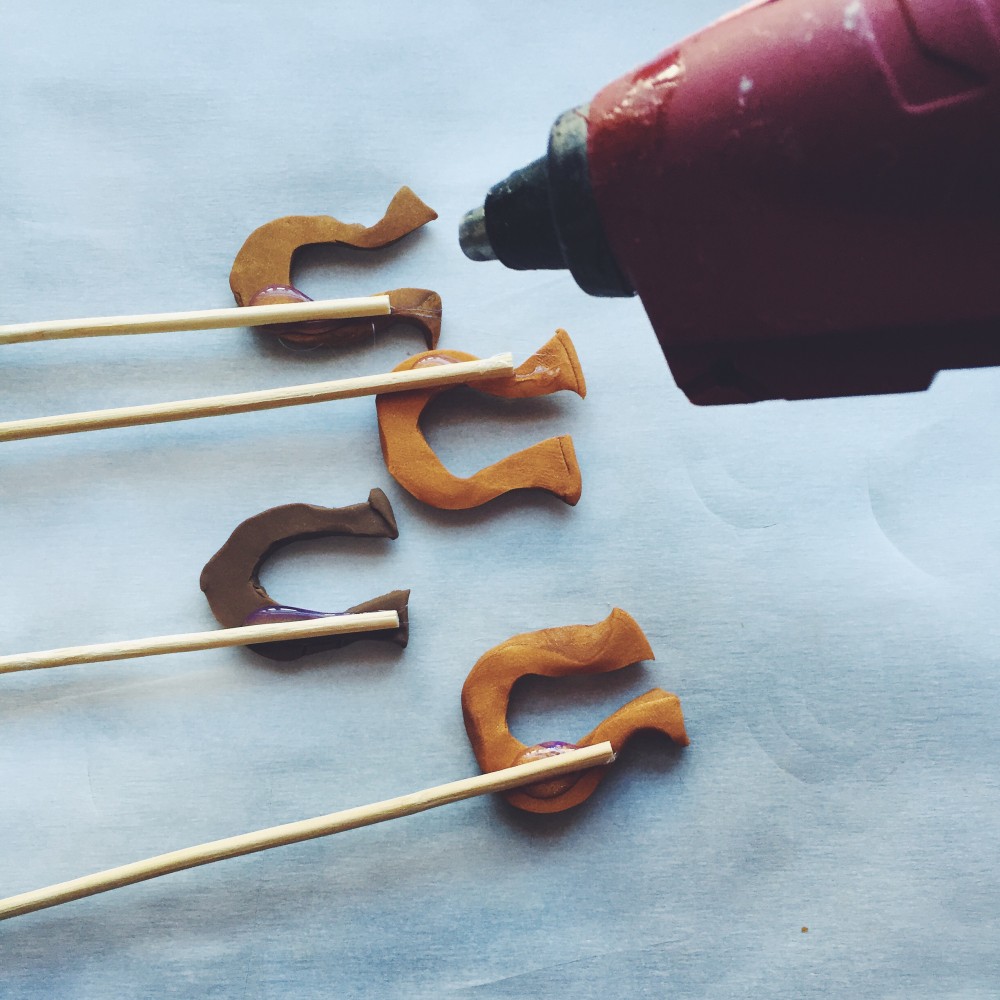
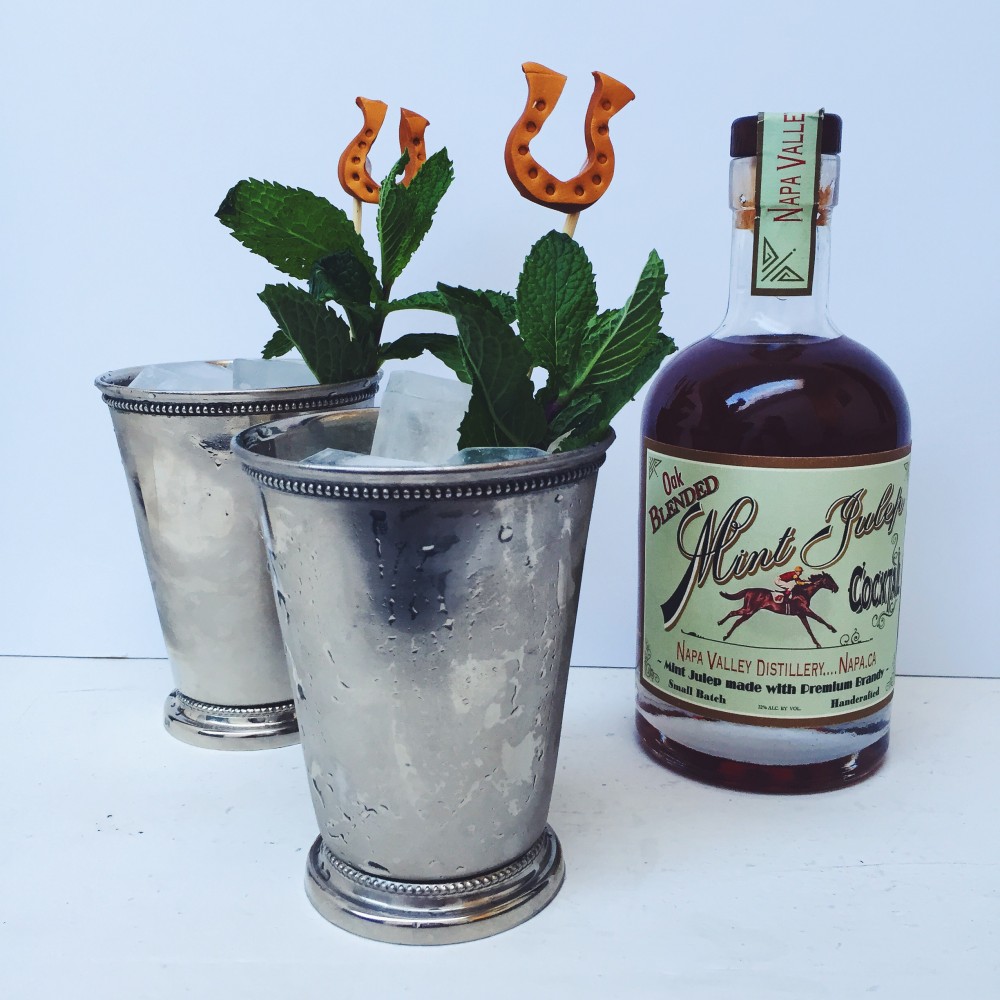
If I was queen of anything, I think I’d probably be the queen of the last-minute DIY. I wish I was one of those bloggers that plans her awesome ideas months in advance so I could just hit publish a week before an event, but my best inspiration always seems to pop up the day before a holiday! Case and point: my derby day DIY epiphany popped into my head earlier this weekend. The good news is that this DIY concept can be used in dozens of different ways for many holidays to come, using gold clay and wooden skewers to make some horseshoe drink stirrers.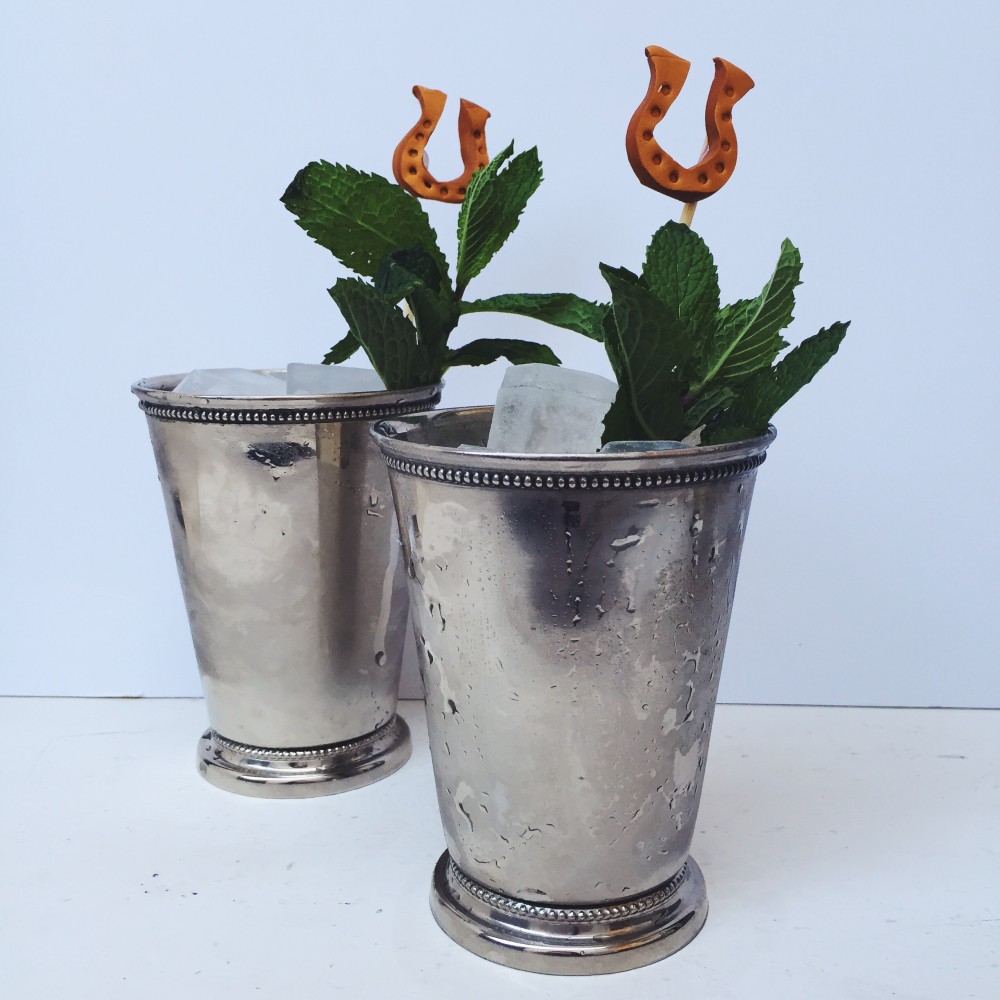
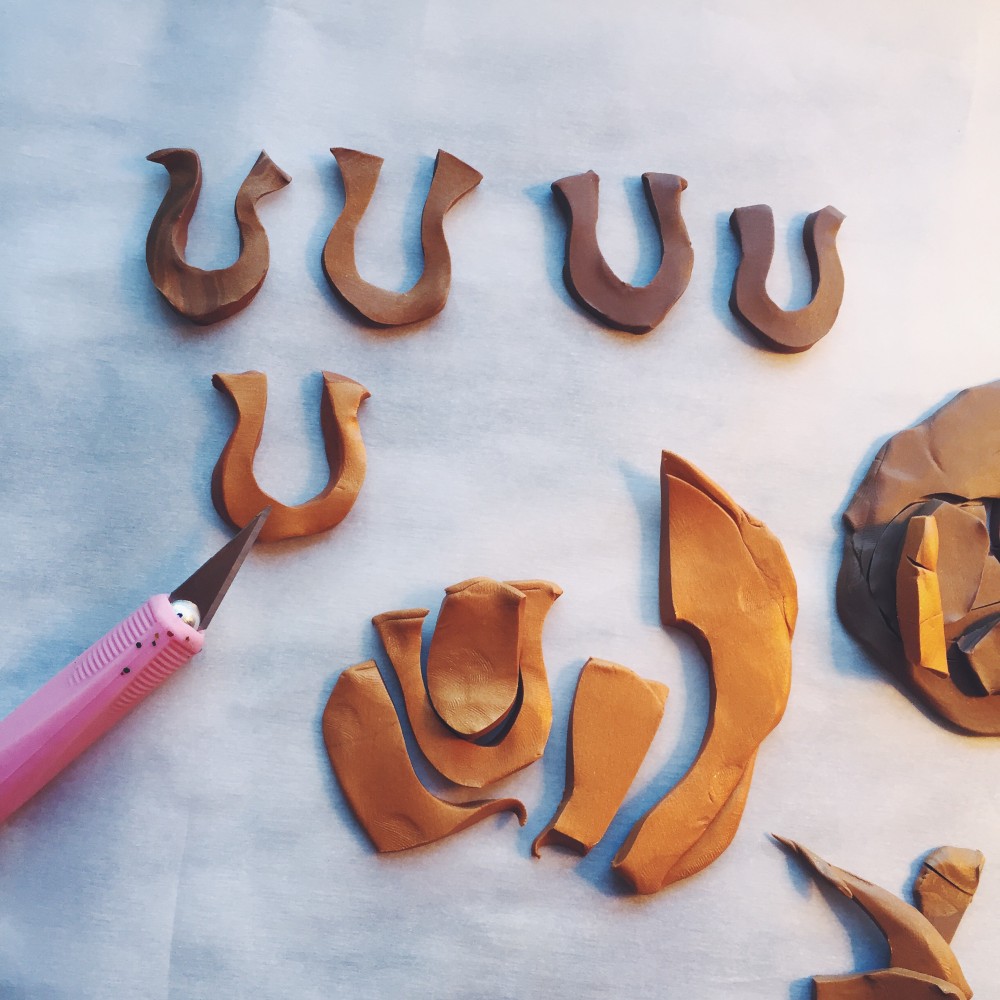
The instructions are simple: roll out modeling clay to about 1/4″ thickness and use an exacto-knife to cut out your shape — in this case, a simple horseshoe. Next, use a small wooden toothpick or dowel to add details before popping the pieces in a 275 degree oven for 15 minutes. Once the pieces have cooked, hardened, and cooled, use a tiny drop of hot glue to affix to a wooden skewer. Let the glue set and you’re ready to pop them into a mint julep or cocktail of your choice!


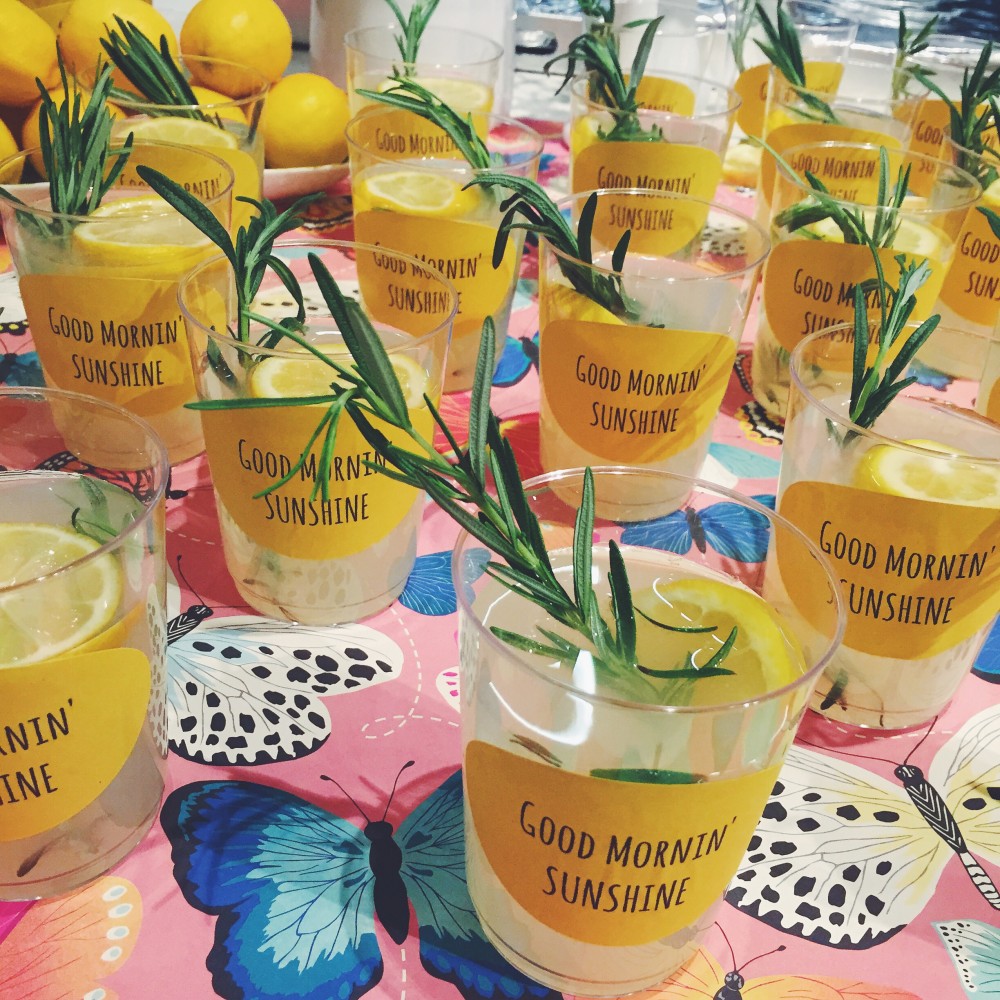
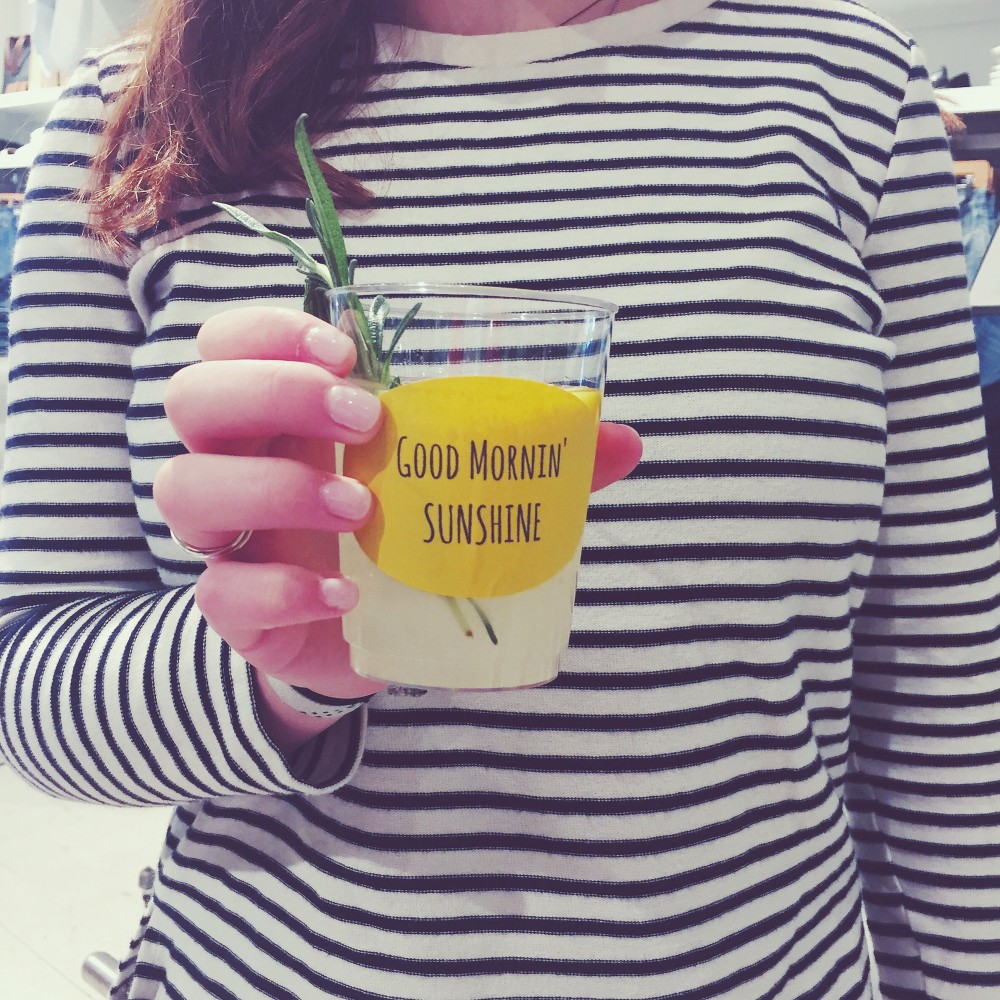
Why is it that of all of the party wares you can buy, that drinkware is always the most plain and boring? I mean, what’s more fun than DRINKS people? I have found it quite tough to find fun, festive options for disposable glasses, so I decided to come up with a way to make them more festive on my own — this is such a simple idea that I’m kind of kicking myself for not coming up with it earlier. I purchased simple clear plastic cups from the party store and then used printable colored labels from Paper Source to write out a fun phrase (since these were for a morning event, I wrote “good mornin’ sunshine” on the stickers). After printing them out at home, I simply adhered the stickers to the cups before serving a tasty rosemary lemonade in them. I’m positive I’ll be replicating this idea for many parties in my future!
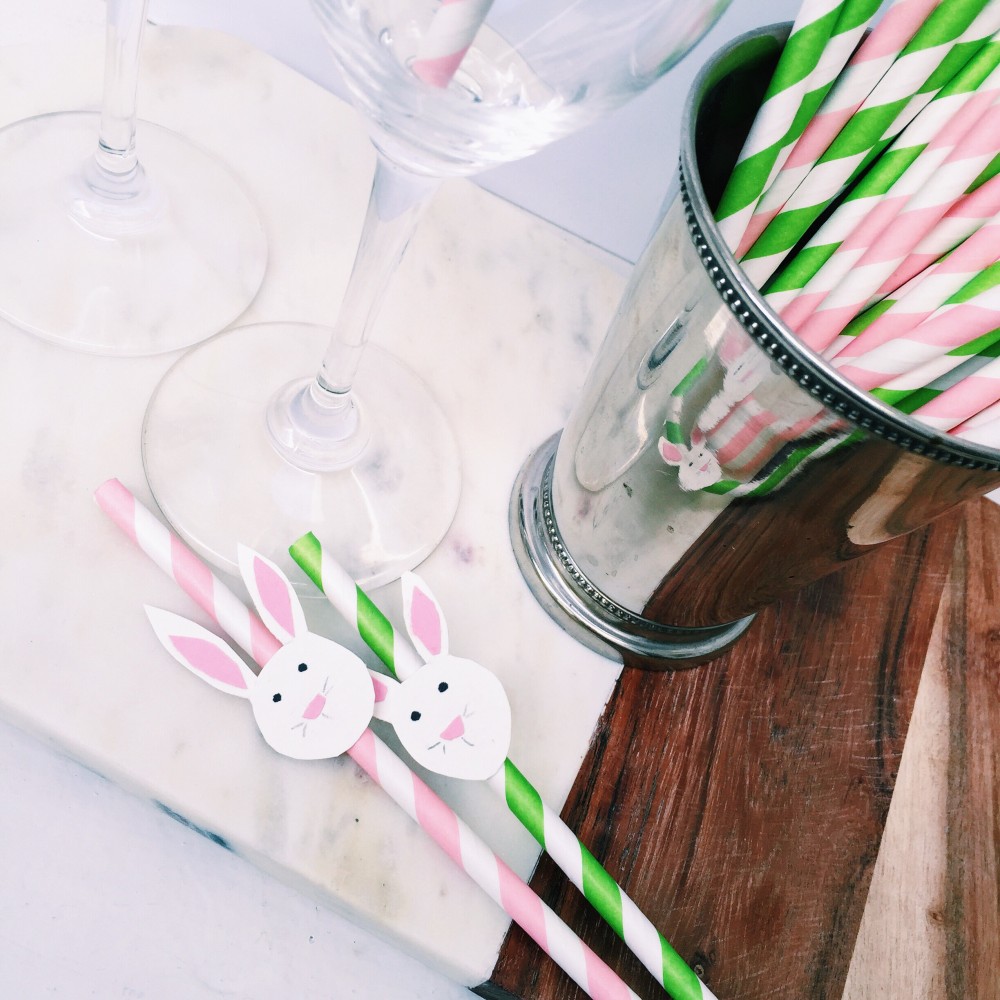
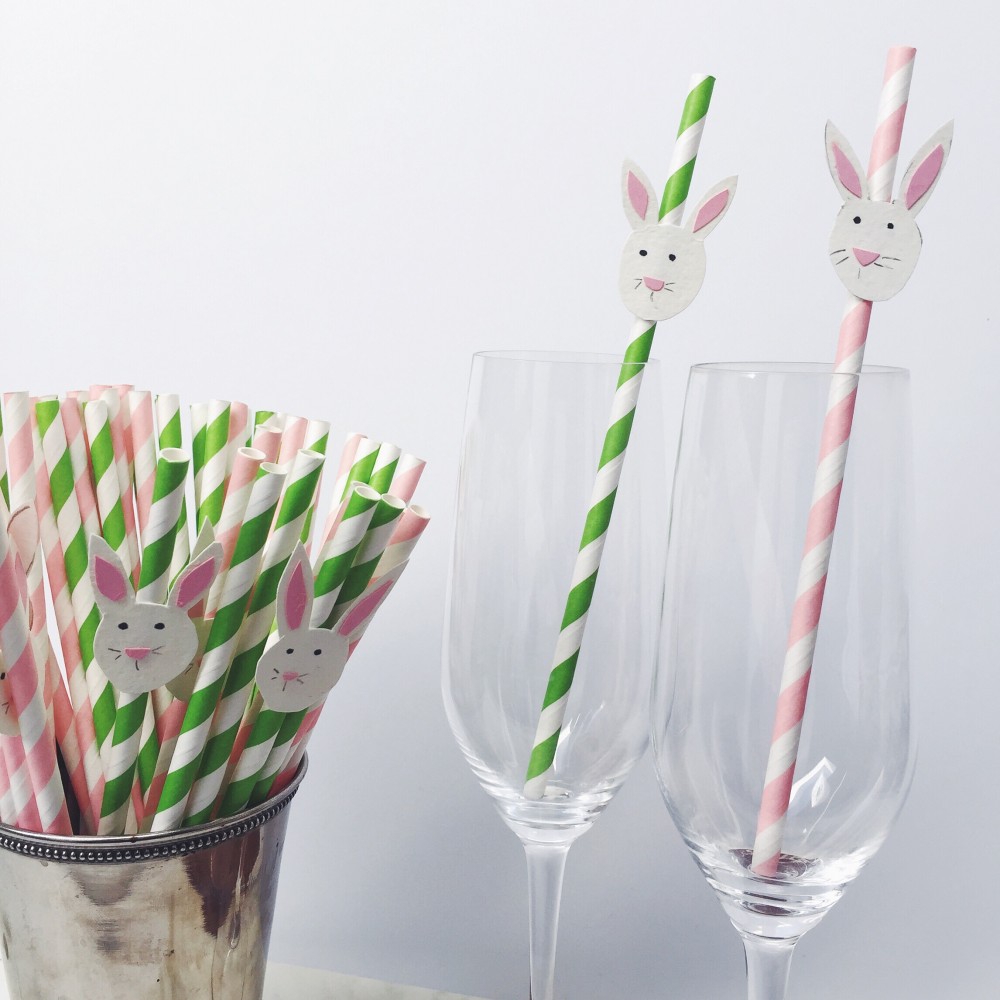
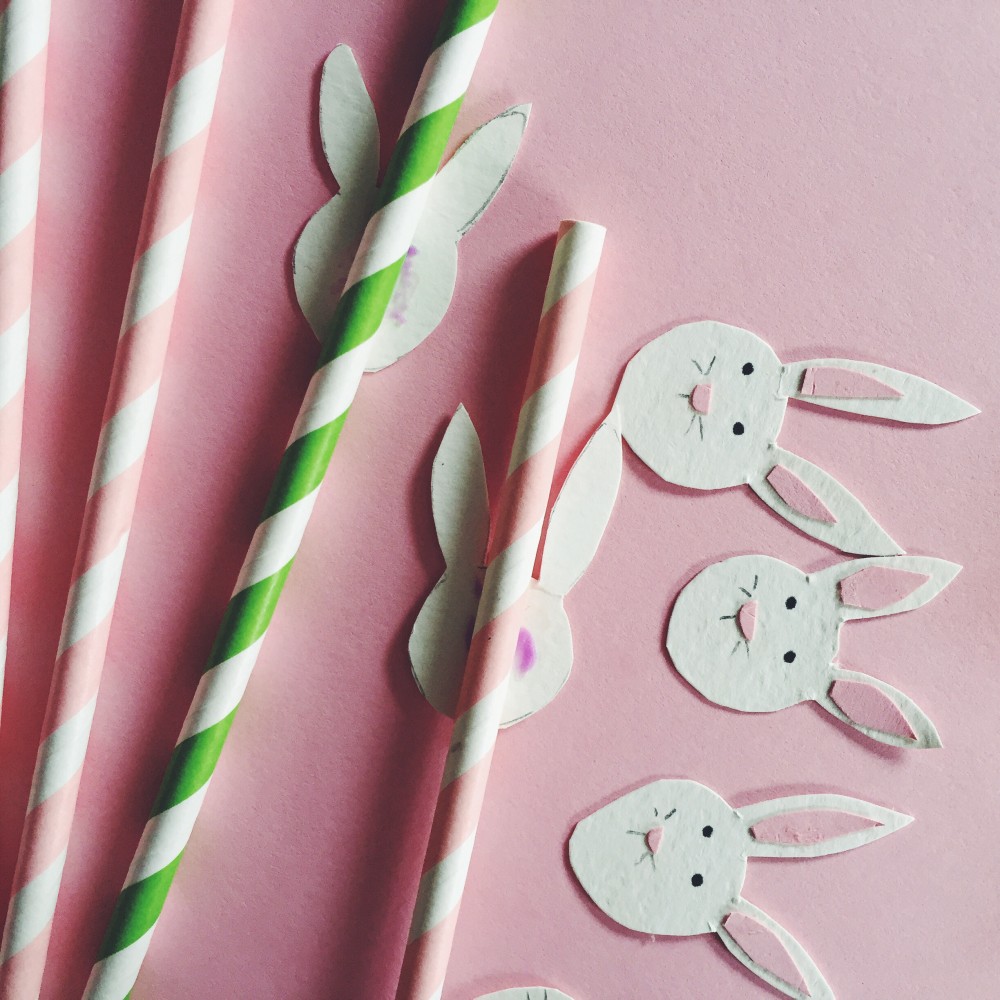
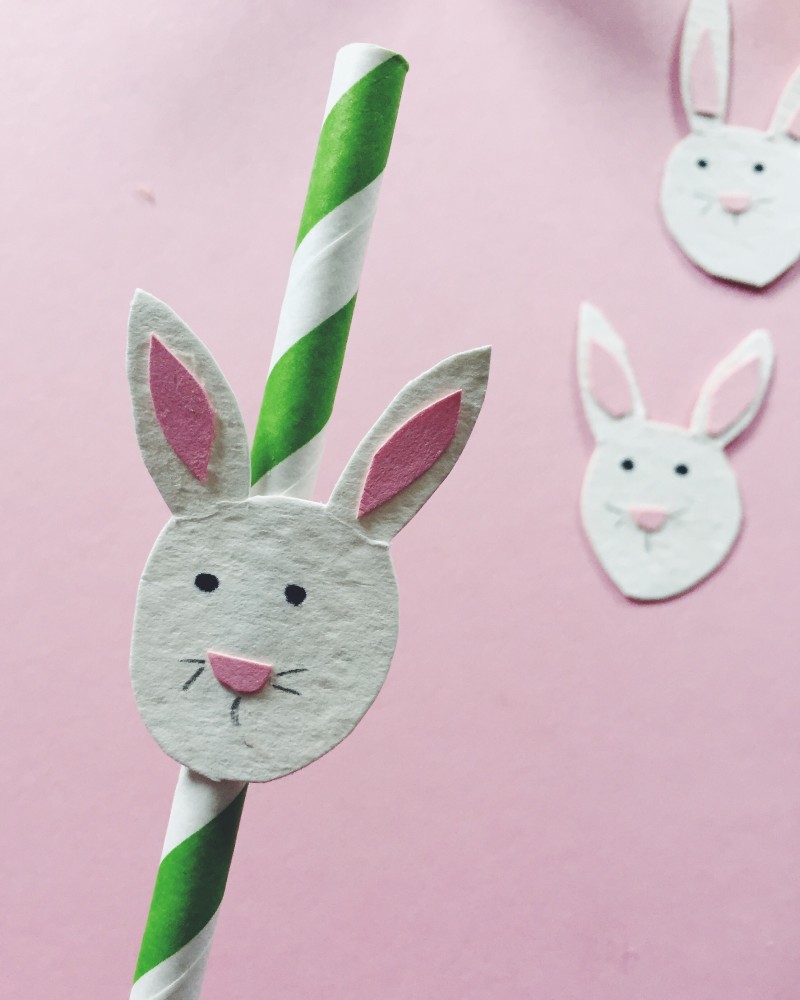
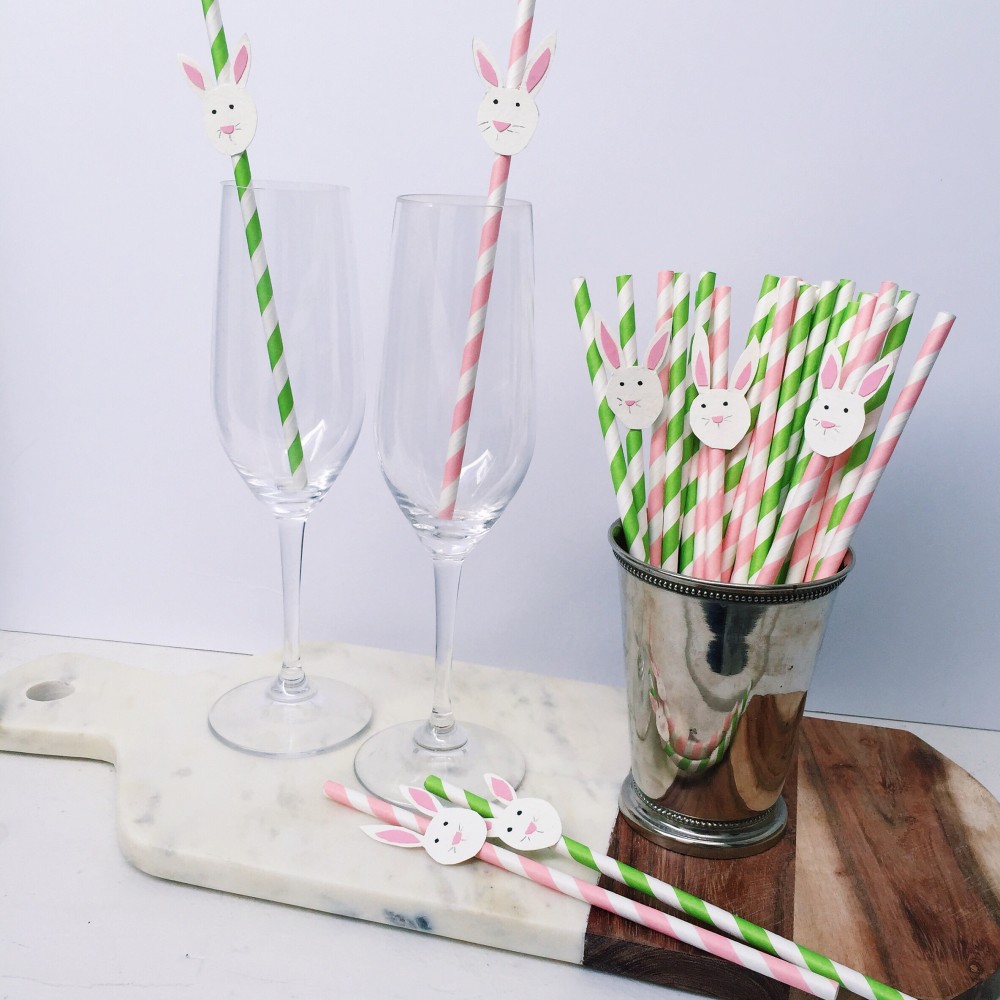
I think we all deserve a little extra perk of Spring-y goodness in our Easter celebrations this weekend after the winter that we’ve had, right? So I thought up a fun party detail: bunny straws! The assembly is simple: cut out a small white outline of a bunny head; using a glue stick add on small nose and pinks of the ears. Finish them off with a hand drawn set of eyes and whiskers. Then glue the bunnies right to the striped straw (I chose pink and green ones!), leaving enough room so that they’ll pop out of the glass, but don’t touch the top of the straw. I can’t wait to pop these cute little guys into a mimosa this weekend!
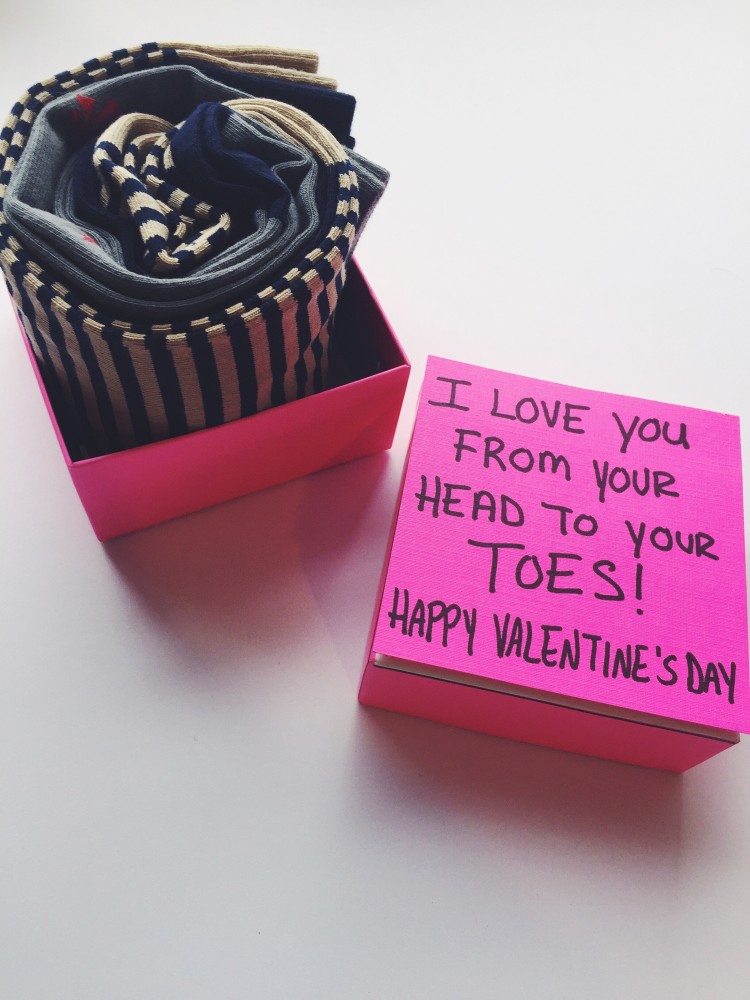
Alright friends, who has trouble thinking of cute Valentine’s Day gifts for the men in your life? Man-presents are tough! When a friend of mine introduced to me the makers of JL The Brand and their stylish(and American-made!) dress socks a little light-bulb went off in my head for a cute Valentine’s Day gift idea for my husband. (And PS: I already gave it to him, so I’m not ruining any surprises here… the life of a blogger-husband, you get your DIY presents a week early because it was part of a blog post!). I found a small square box and rolled up the patterned socks — love those little crowns! — and topped the box with a hand-lettered quip that says “I love you from your head to your TOES!“. Aren’t Valentine’s Day puns the best?
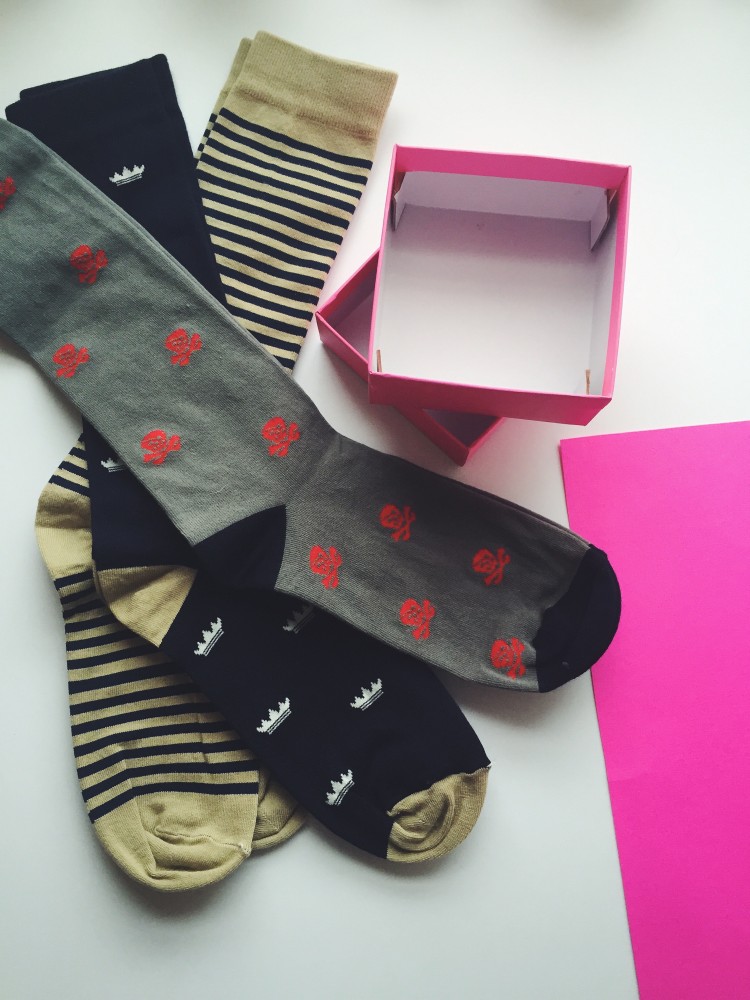
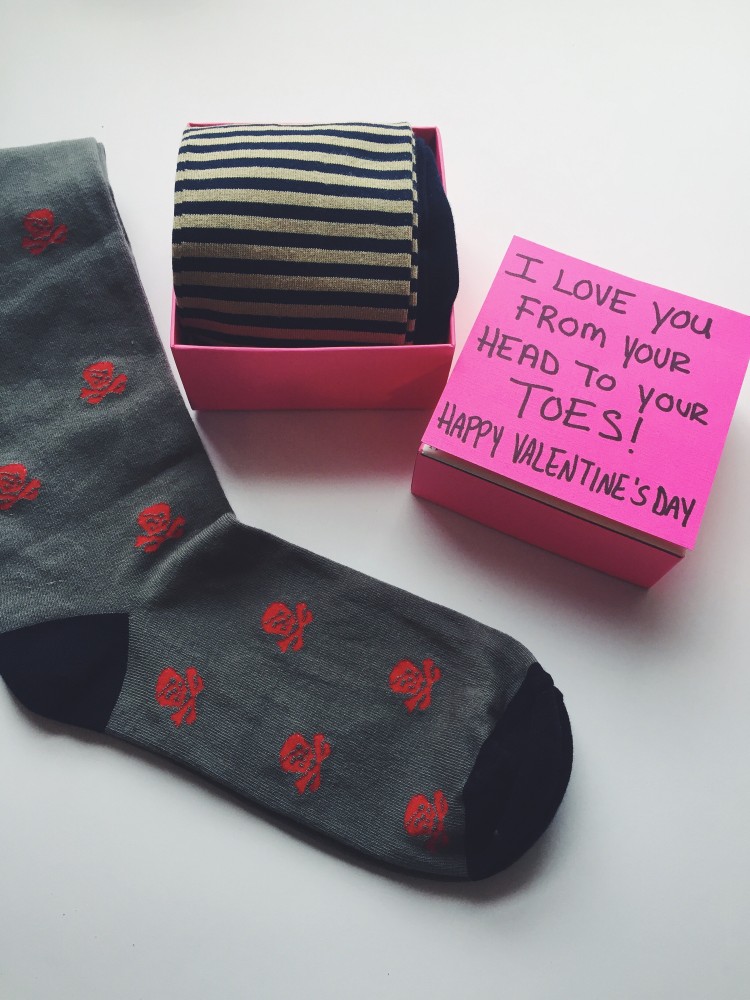 And hey! If you’re looking to treat the guy in your life to some stylish toes too, JL The Brand is offering Domestikatedlife readers 20% your order + free shipping, just use the code SoxAppeal.
 Please note: JL The Brand has provided me with product featured in this post. All opinions, ideas, and DIYs are my own.
Valentine’s Day is just a few days away! I always seem to come up with homemade present ideas a day or two before the actual holiday comes around, leaving me a short window to actually grab supplies and make it come to life. That’s why I’m excited to share this Valentine’s Day DIY concept today — it’s inexpensive, simple to make and a great idea to have in your back-pocket for last-minute gifts because all of the materials can be found at your local grocery store!
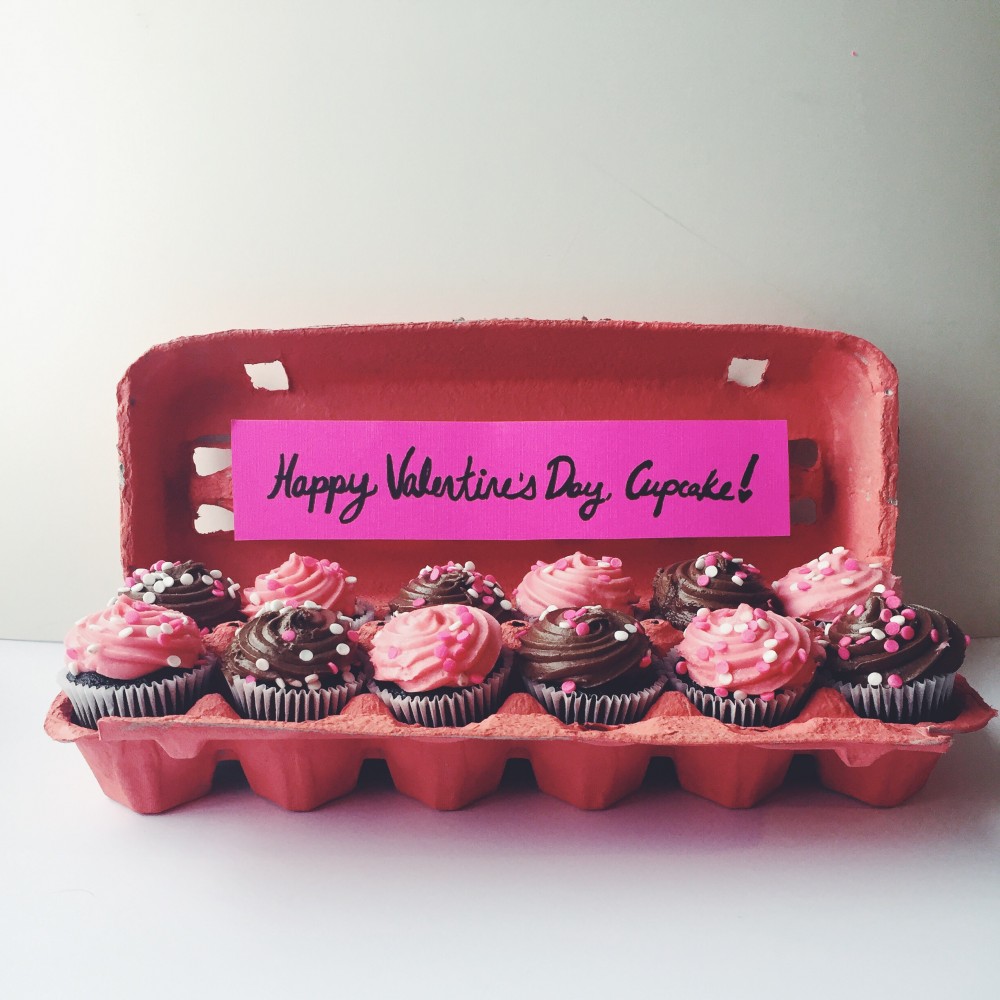
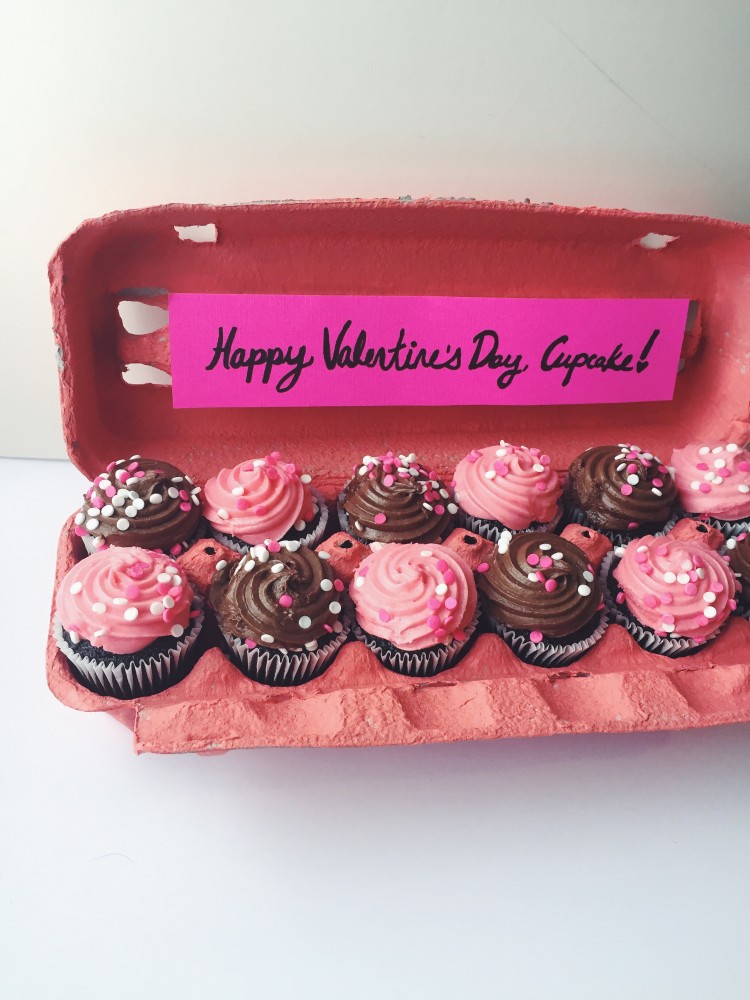
I repurposed a cardboard egg carton and gave it a quick layer of craft paint in a pink tone. Then I popped a dozen mini-cupcakes from the grocery store bakery section into the egg carton once it dried, and glued a hand-lettered message to the inside of the container that says “Happy Valentine’s Day, Cupcake!” It’s a great way to gift sweet treats without having to bake them yourself — repackaging the items makes them feel special.
To help celebrate Valentine’s Day, Rich Products is helping me give away a $50 gift card so you can treat your Valentine (or yourself!) to something special. To enter, follow the instructions below: 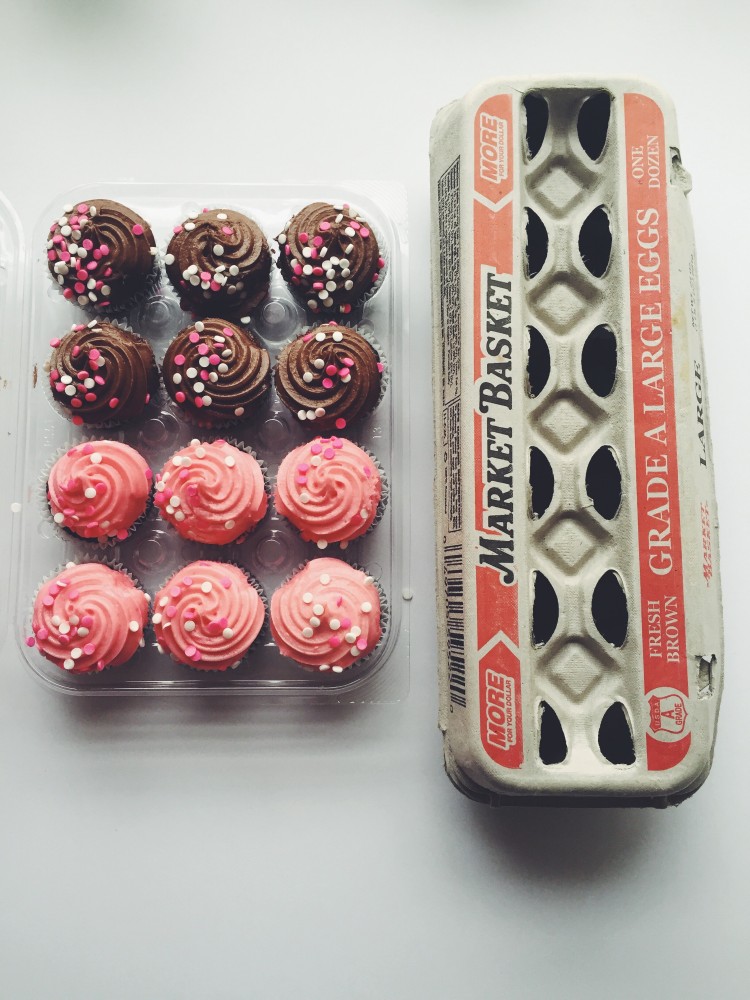
Giveaway Details:
- To enter to win leave a comment below to share how you’d use your $50 gift card to treat your Valentine (or yourself!).
- For an extra entry, LIKE the Domestikatedlife Facebook page and leave another comment below.
- For an extra entry follow @domestikateblog on Instagram and leave another comment below.
- For an extra entry, share a post with your own gifting ideas using the hashtag #givebakery and include a comment below with your post.
- This giveaway will end at 5:00 PM EST on Friday, February 13th and is open to US residents only.
Please note: This post was sponsored by Rich Products Corporation, all opinions, ideas, and DIYs are my own.
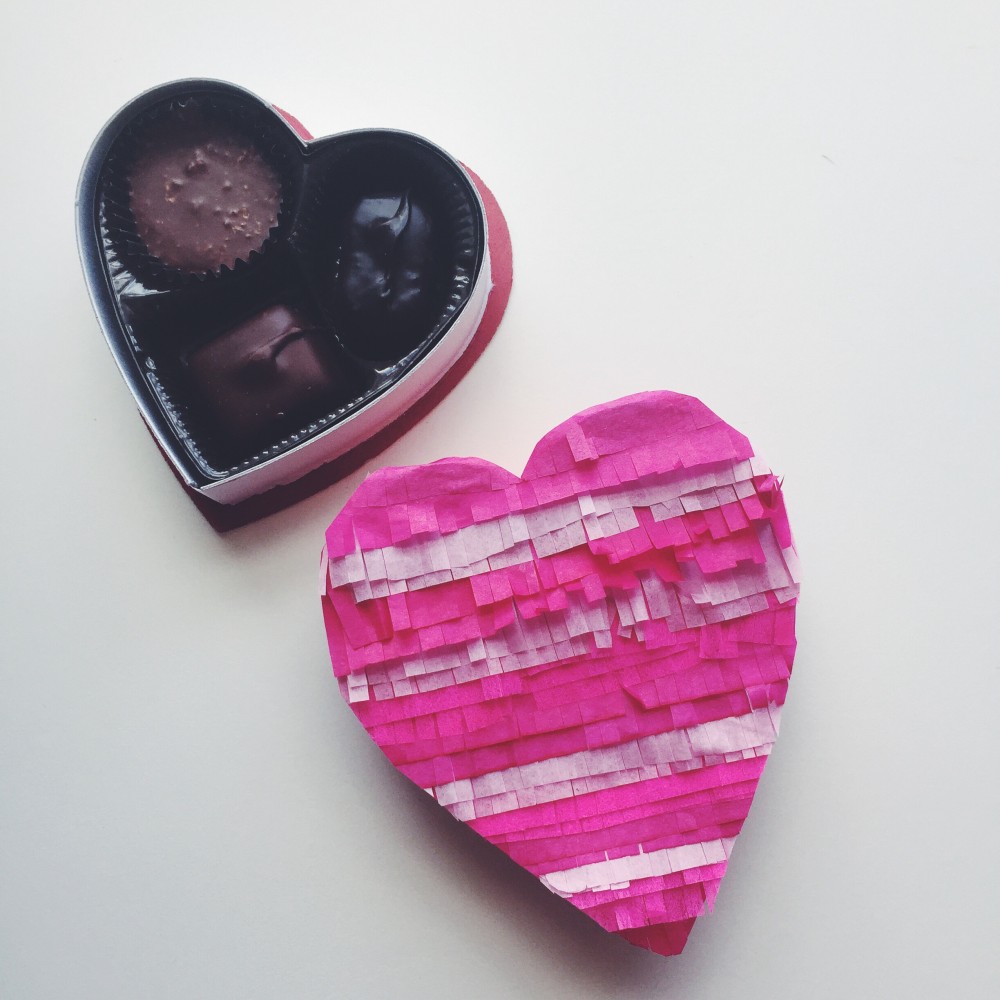
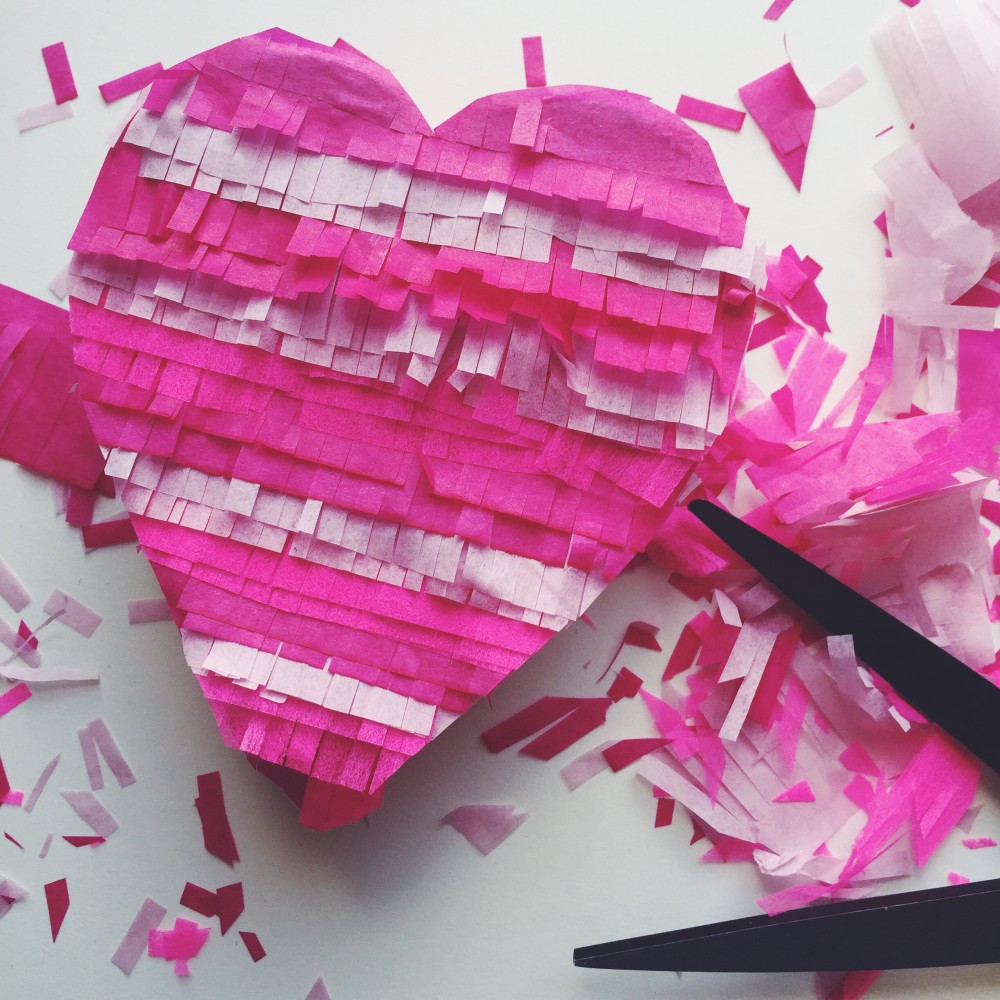
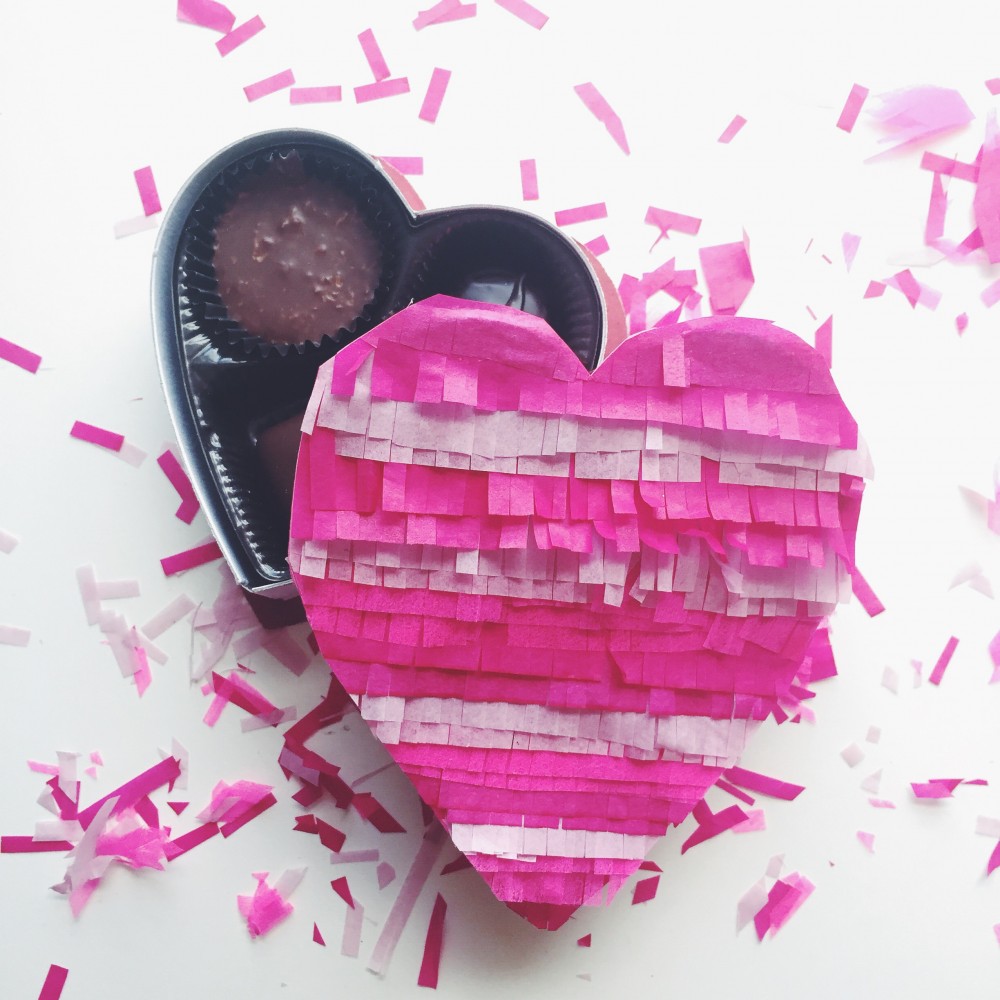
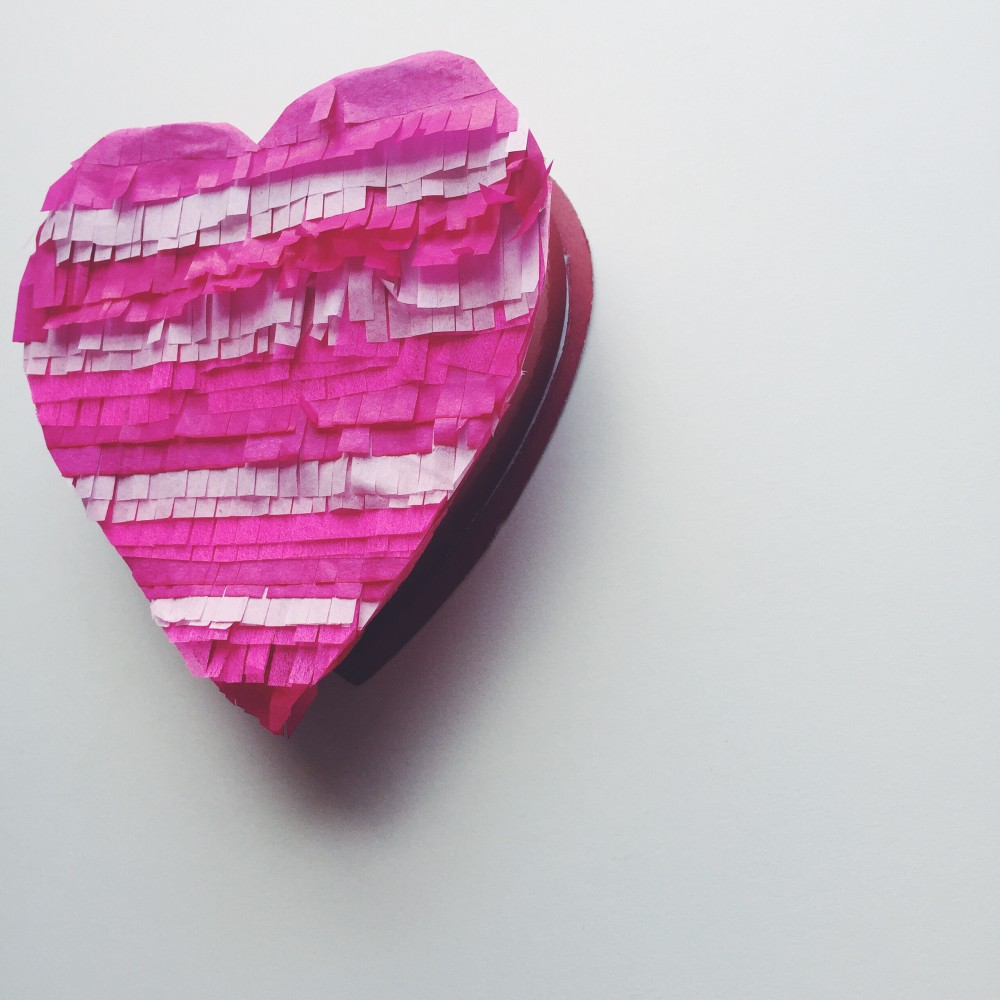
With all these blustery snow storms blowing around the Northeast, there’s been plenty of cozy afternoons stuck inside for some Valentine’s Day crafting. During a recent snow-in I got to work updating a store-bought box of chocolates with a piñata-inspired look. It’s a simple DIY that took about 20 minutes, and took a blah-looking grocery-store find to the next level! Here’s how to make your own:
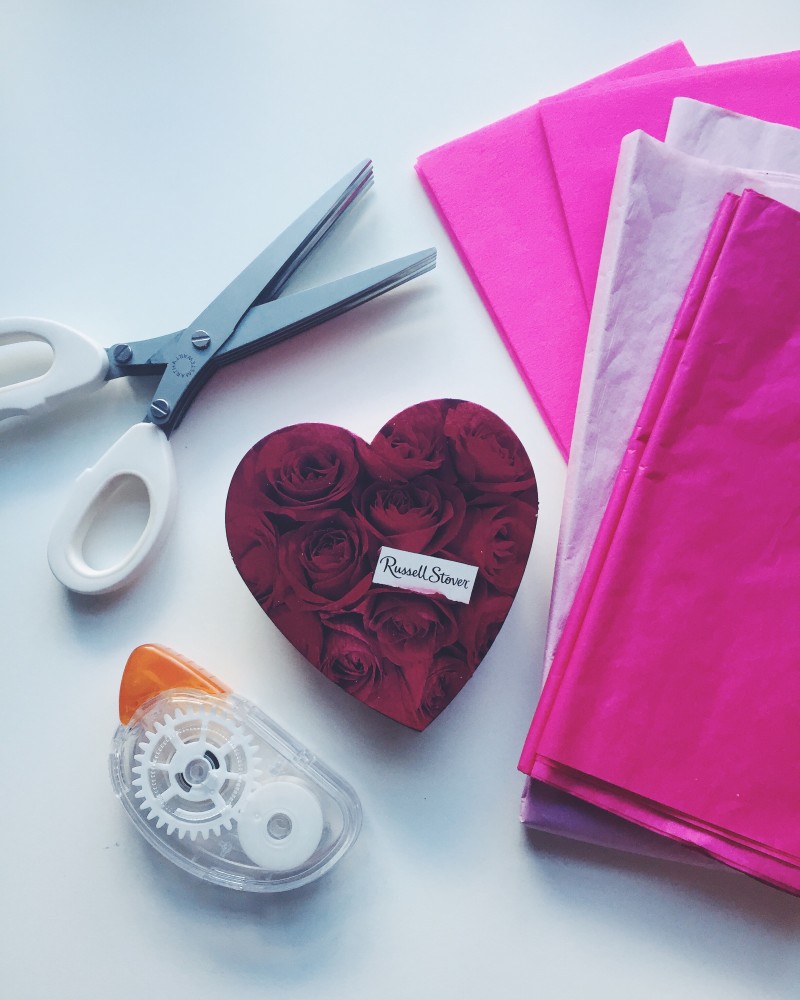
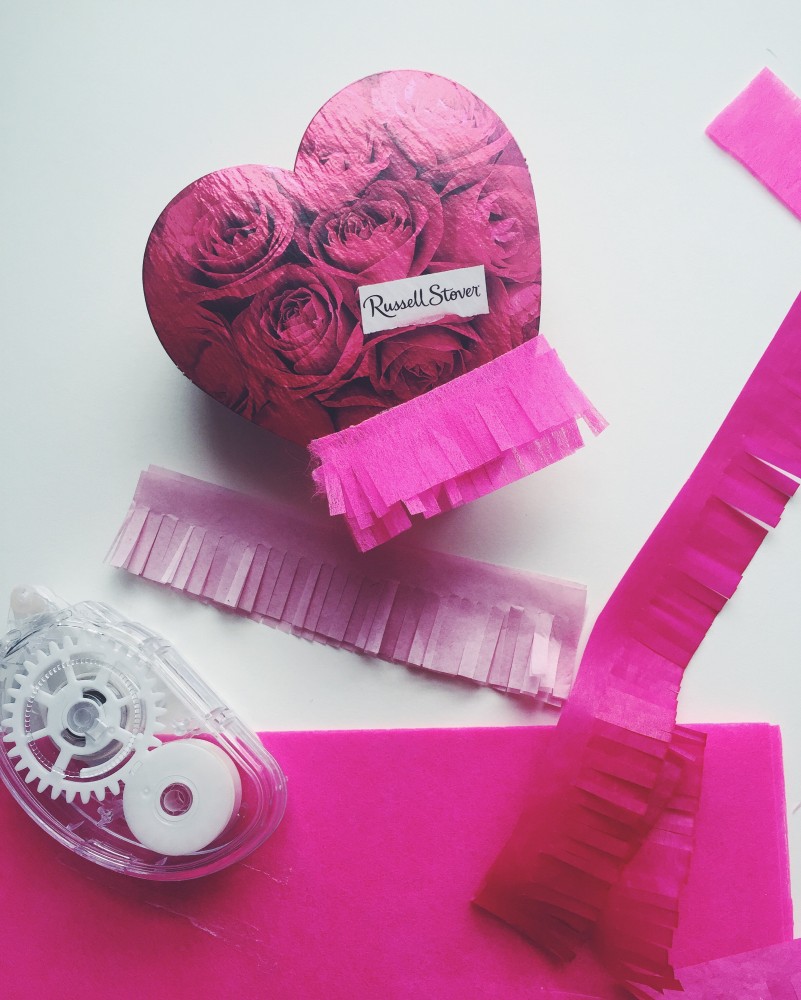
1) Gather varying colors of pink and tissue paper, a glue-stick or scrapbooking tape-runner, a pair of fringe scissors and a box of chocolates (and maybe get some extra chocolates to snack on while crafting so you don’t eat your Valentine’s present).
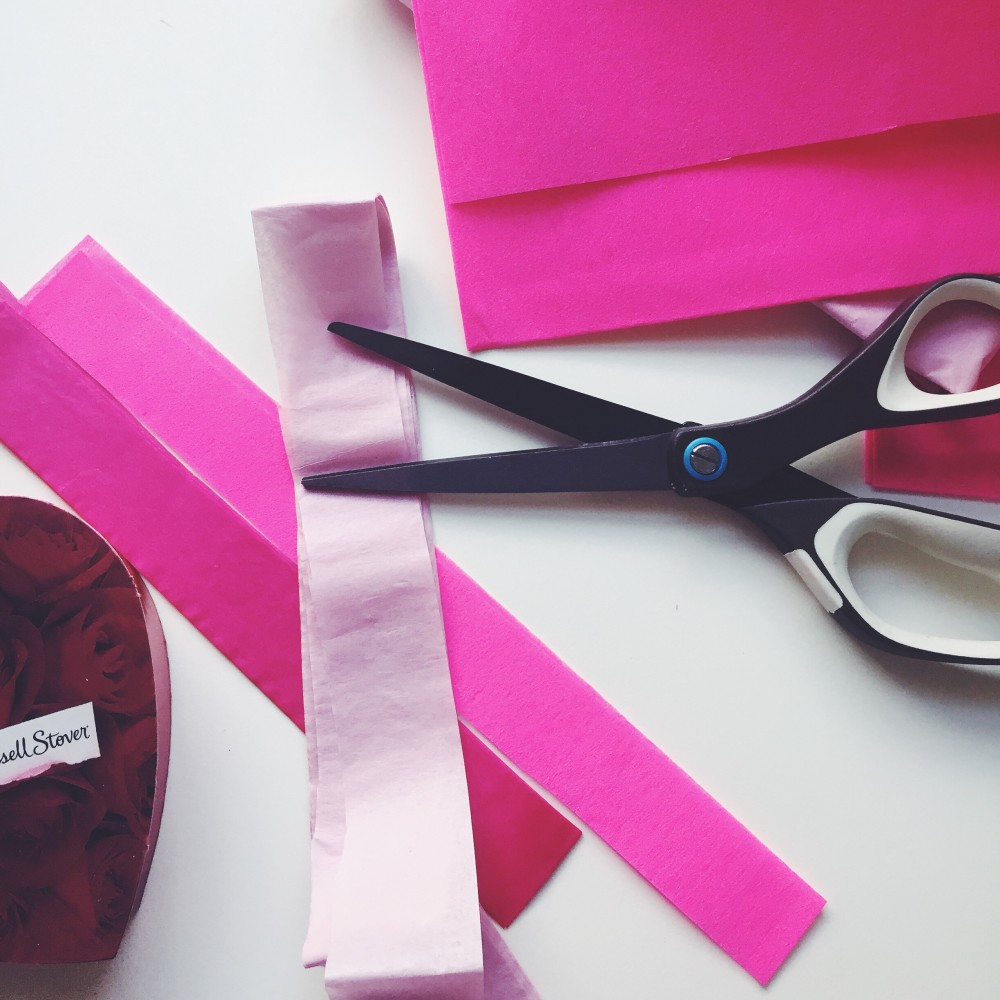
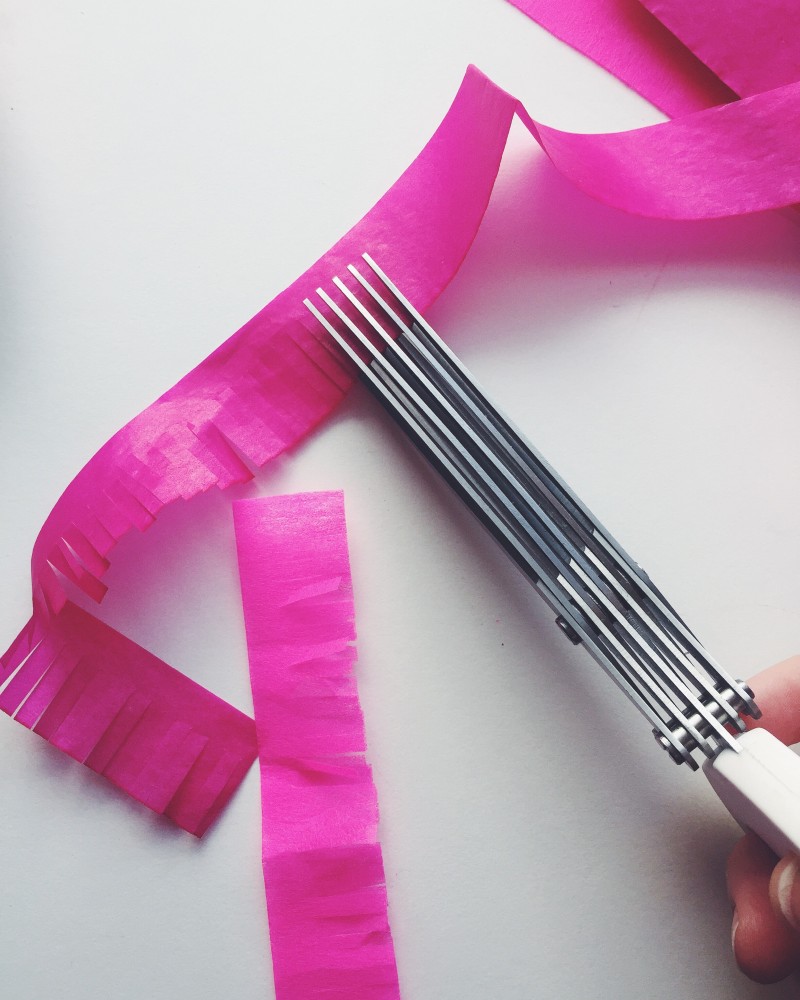
2) Cut the tissue paper into 1″ tall strips, and then use the fringe scissors to cut fringe 3/4 of the way up the strip of tissue paper.
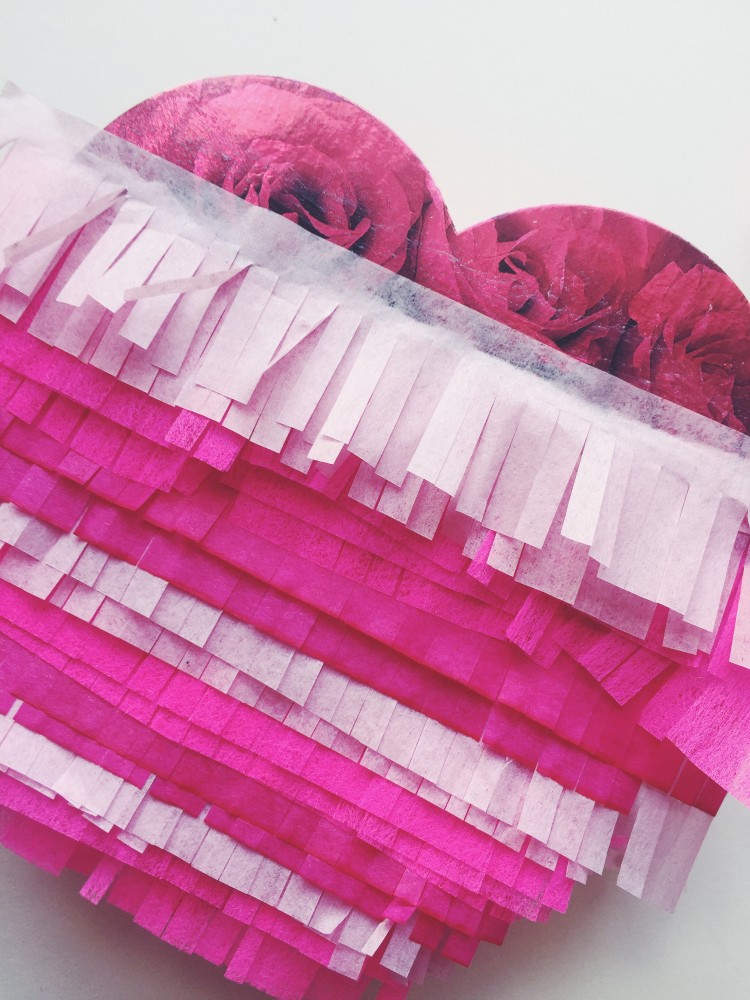
3) Run a strip of the adhesive on the top of the box of chocolates — starting at the very bottom of the box (set the bottom and the chocolates aside to avoid crushing them) and press down one layer of the fringed tissue paper. It’s okay to let the strip of tissue paper hang over the sides — we’ll trim it later!
4) Repeat this process, adding each layer on top of the other until you reach the top of the heart-shaped box. Using regular scissors, trim the edges to reveal the original heart shape of the box.
5) Give this custom chocolate box to your Valentine!

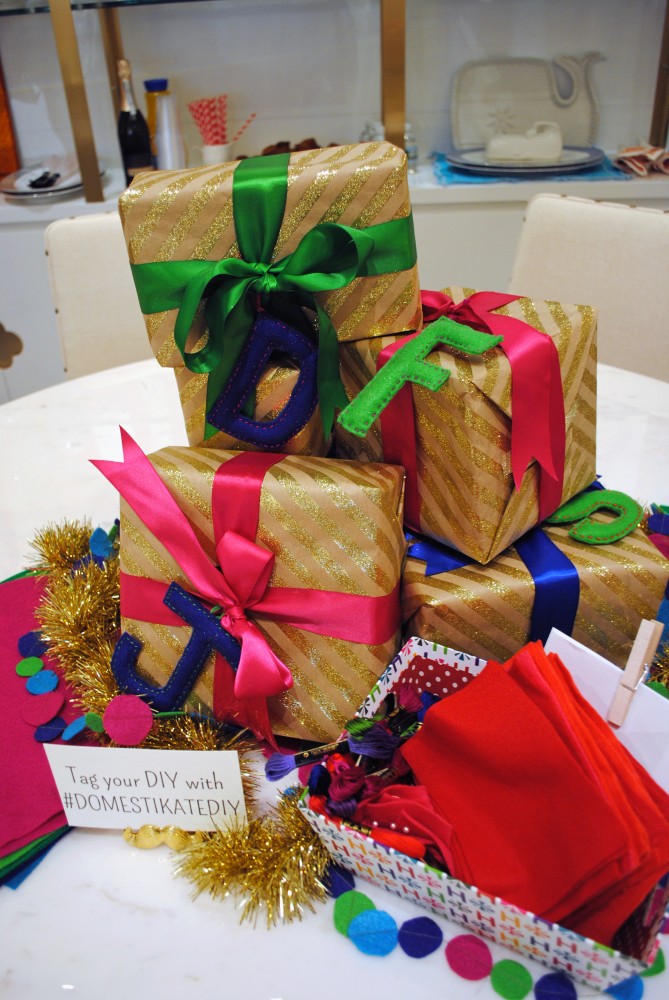
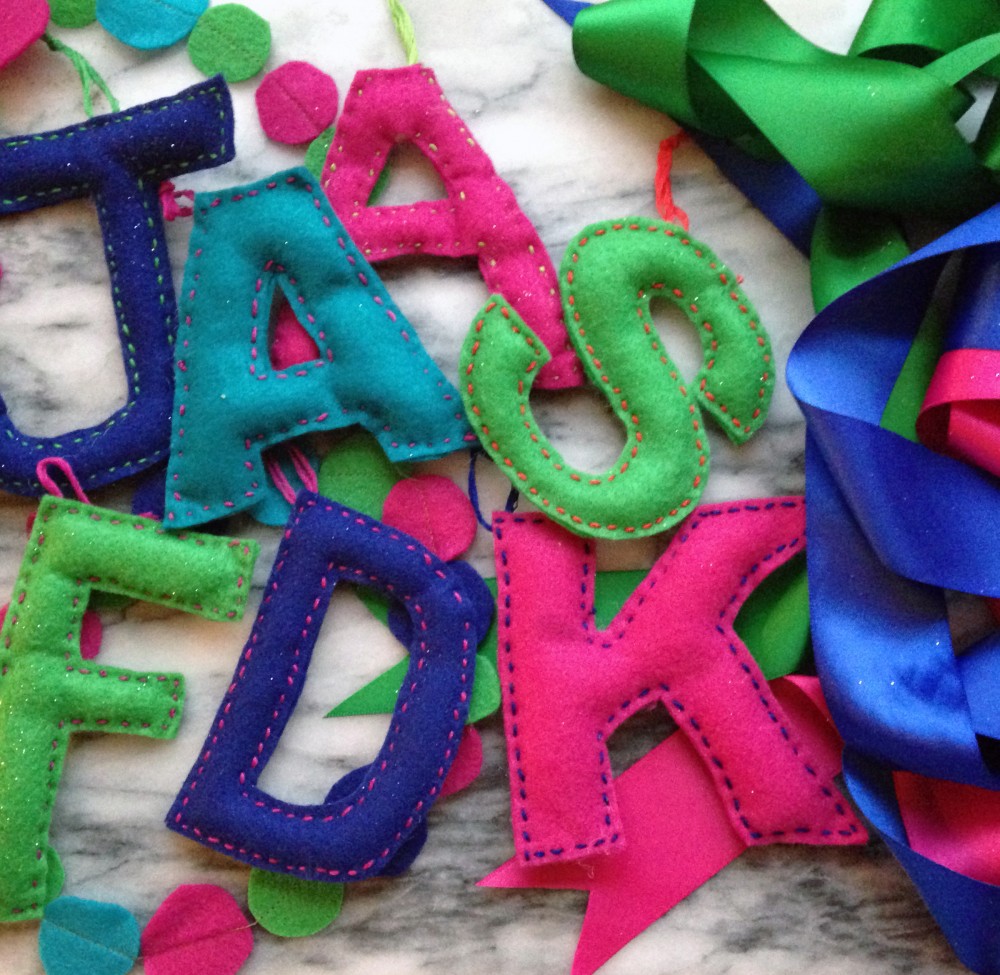
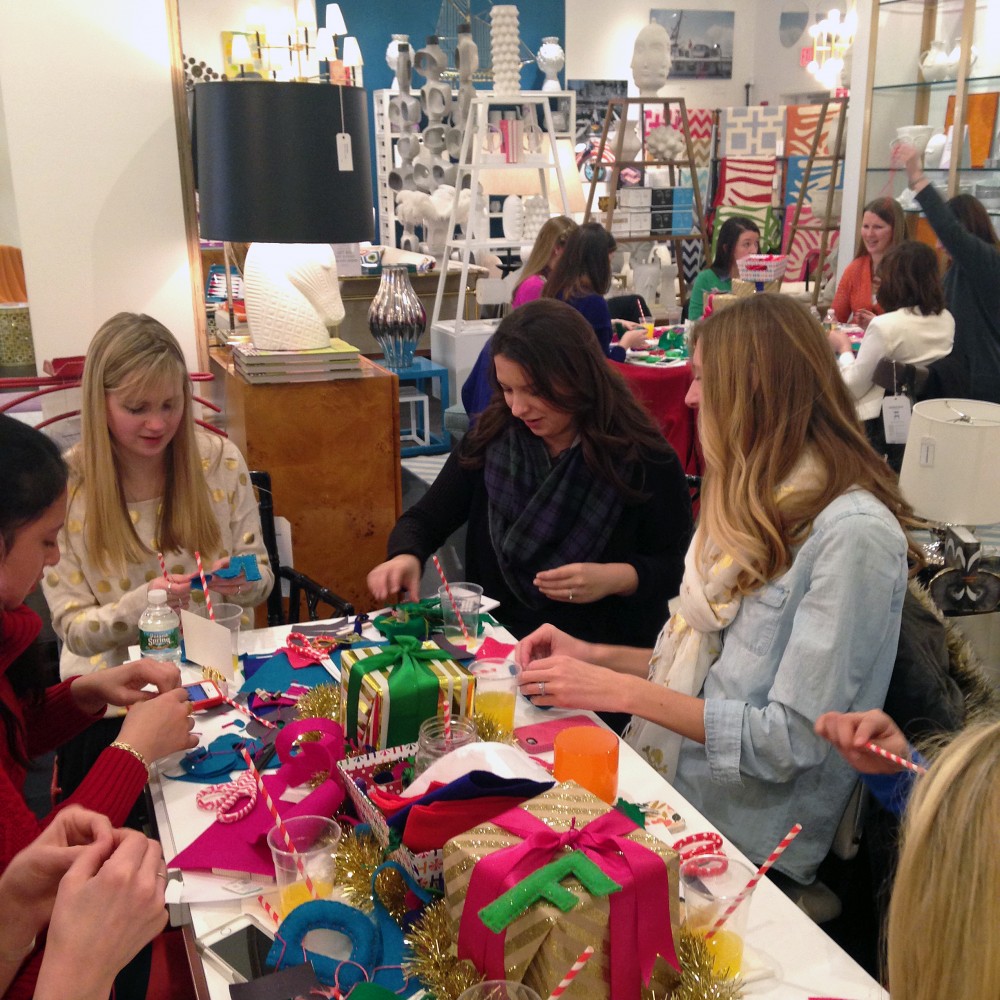
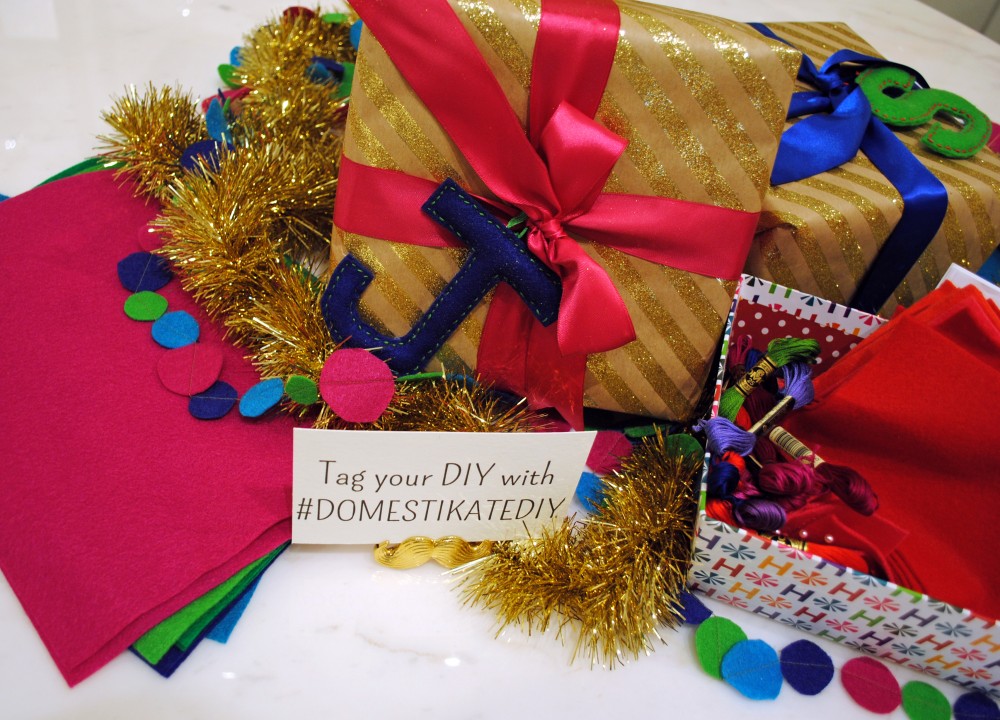
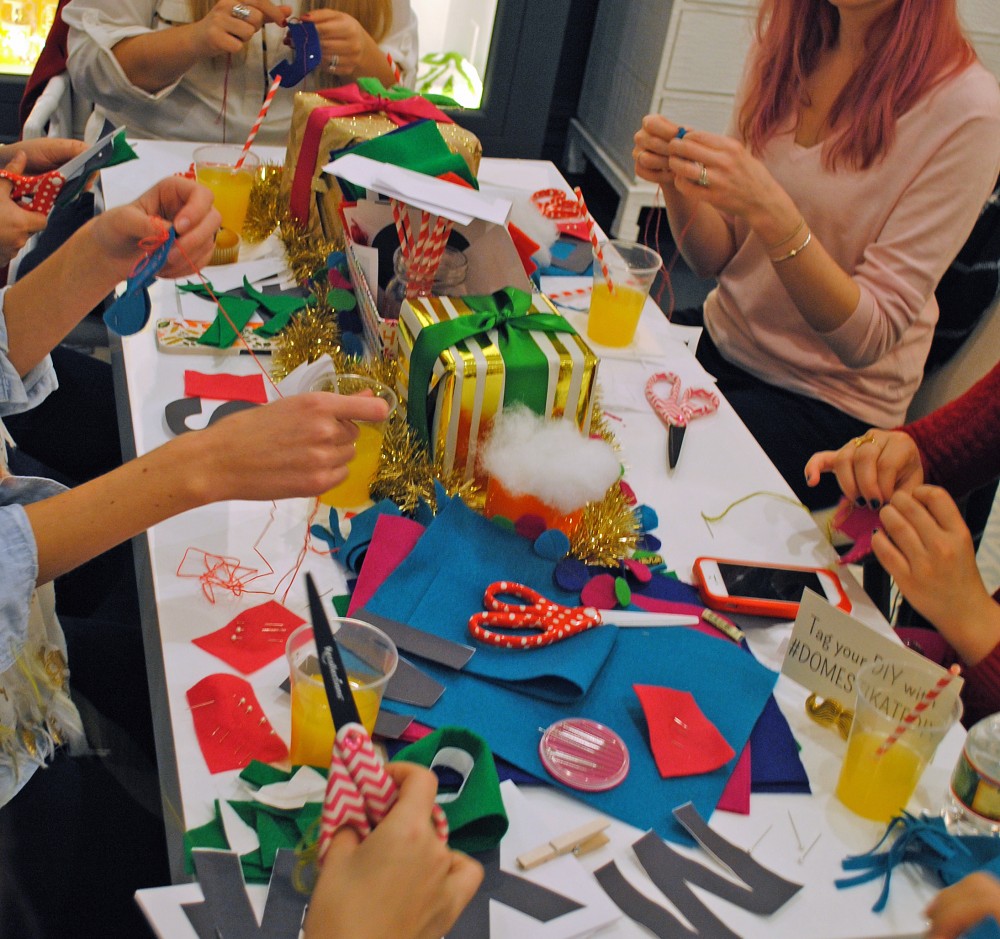
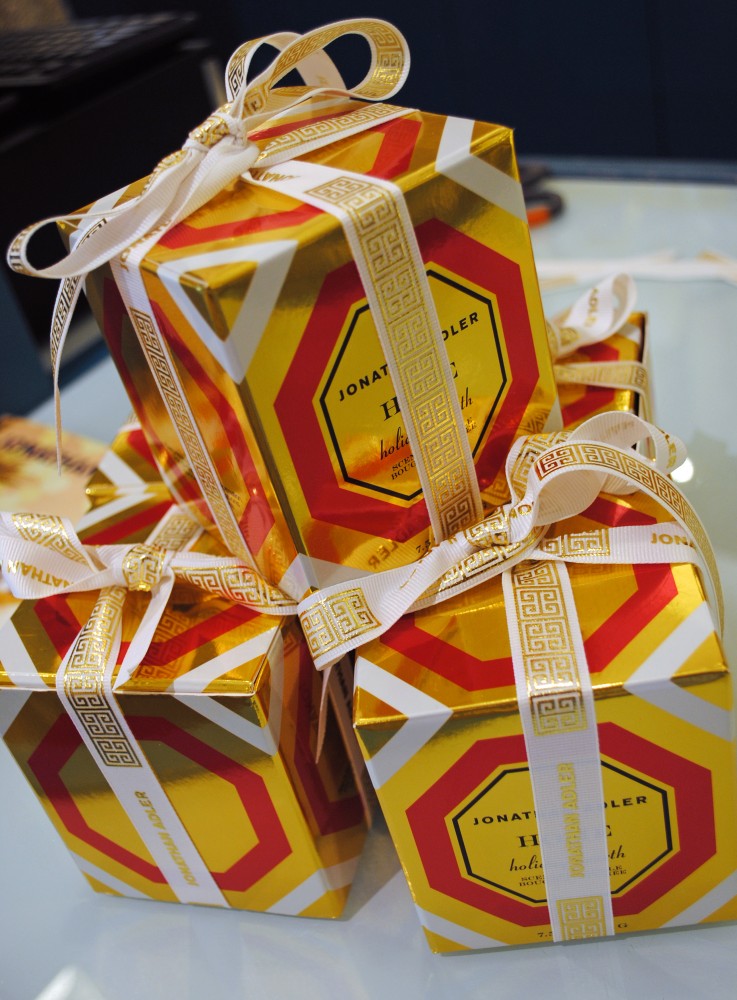
Over the weekend the lovely team at Jonathan Adler invited me to host a little Holi-DIY party for some of my best Boston bloggers buddies in their Chestnut Hill store. Our project for the day was a felt-monogram gift tag that doubles as a keepsake ornament once your friends and family open their gifts! I used a simple tutorial to create the monogrammed felt tags and everyone crafted up a bunch in bright jewel toned (and Jonathan Adler-inspired!) colors. Honestly, what’s better than a chilly winter morning working on holiday crafts with your girlfriends? After popping a little champagne, the JA team sent us home with some festive holiday swag — the perfect ending to a Holi-DIY fete! 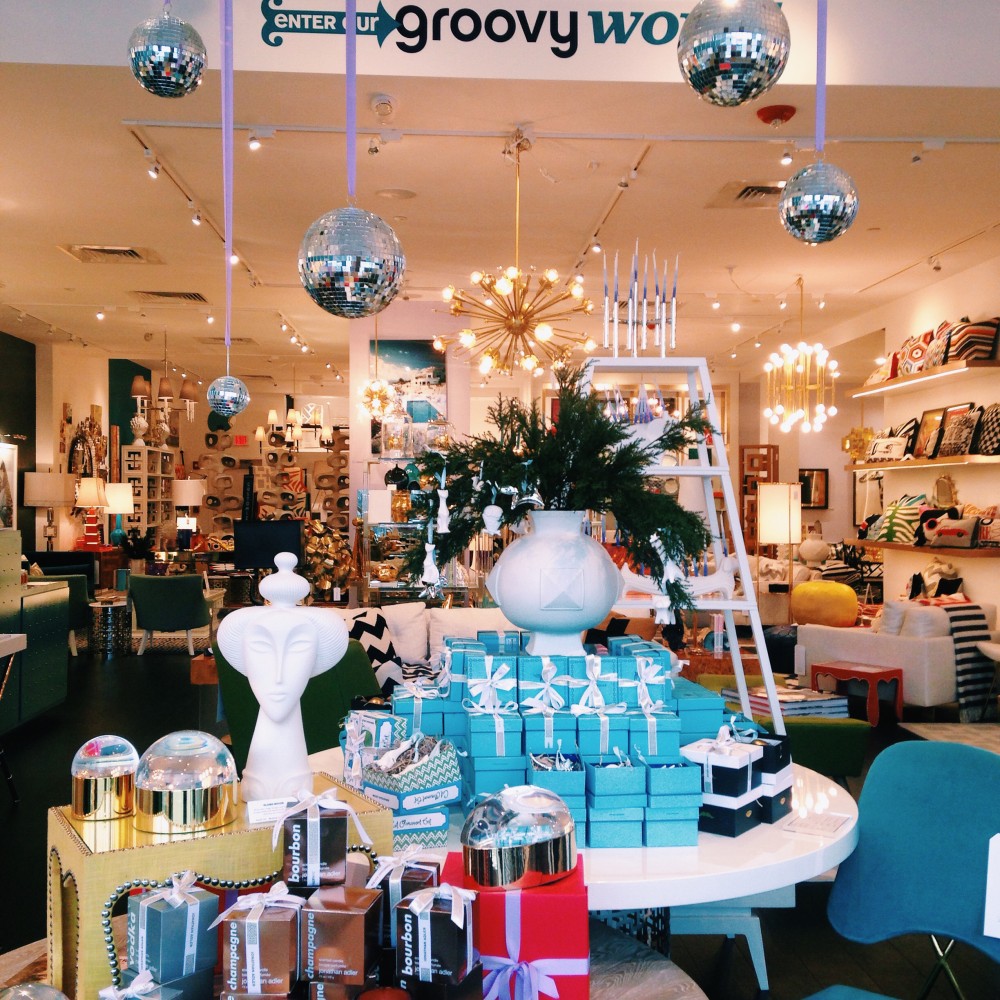
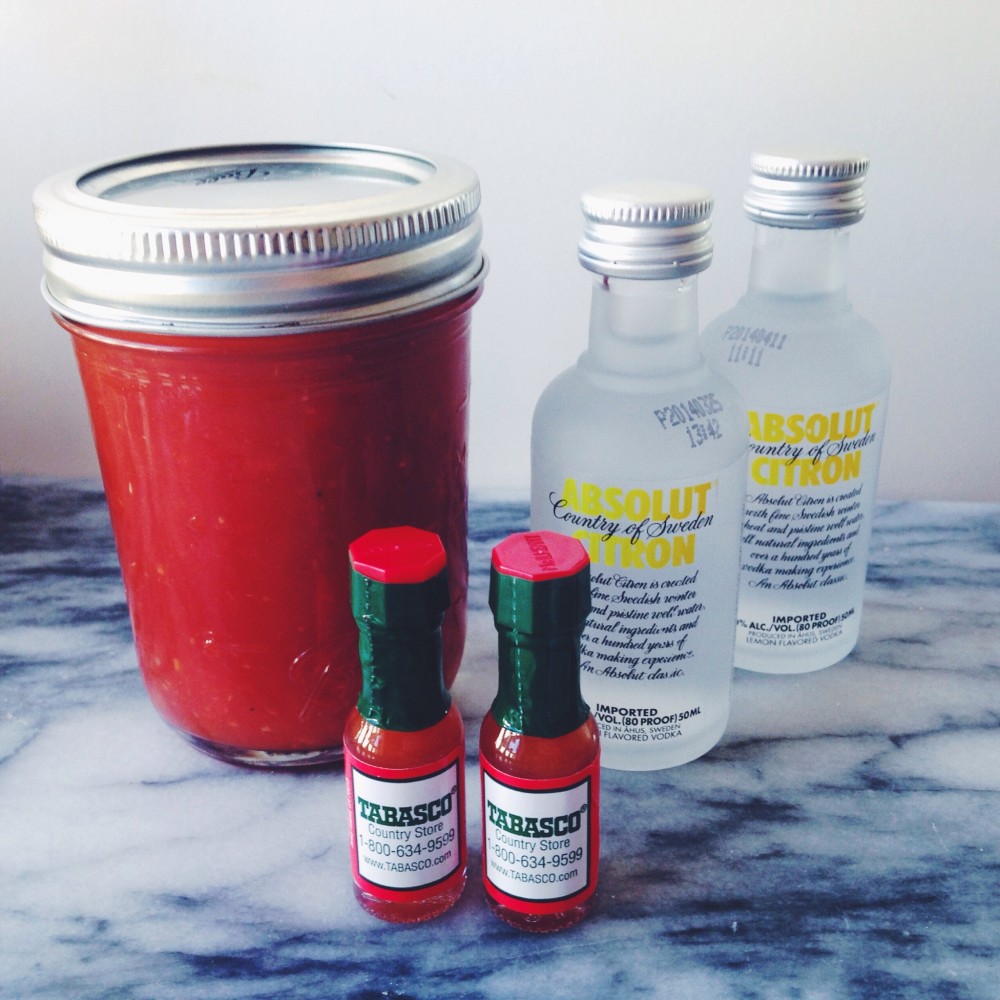
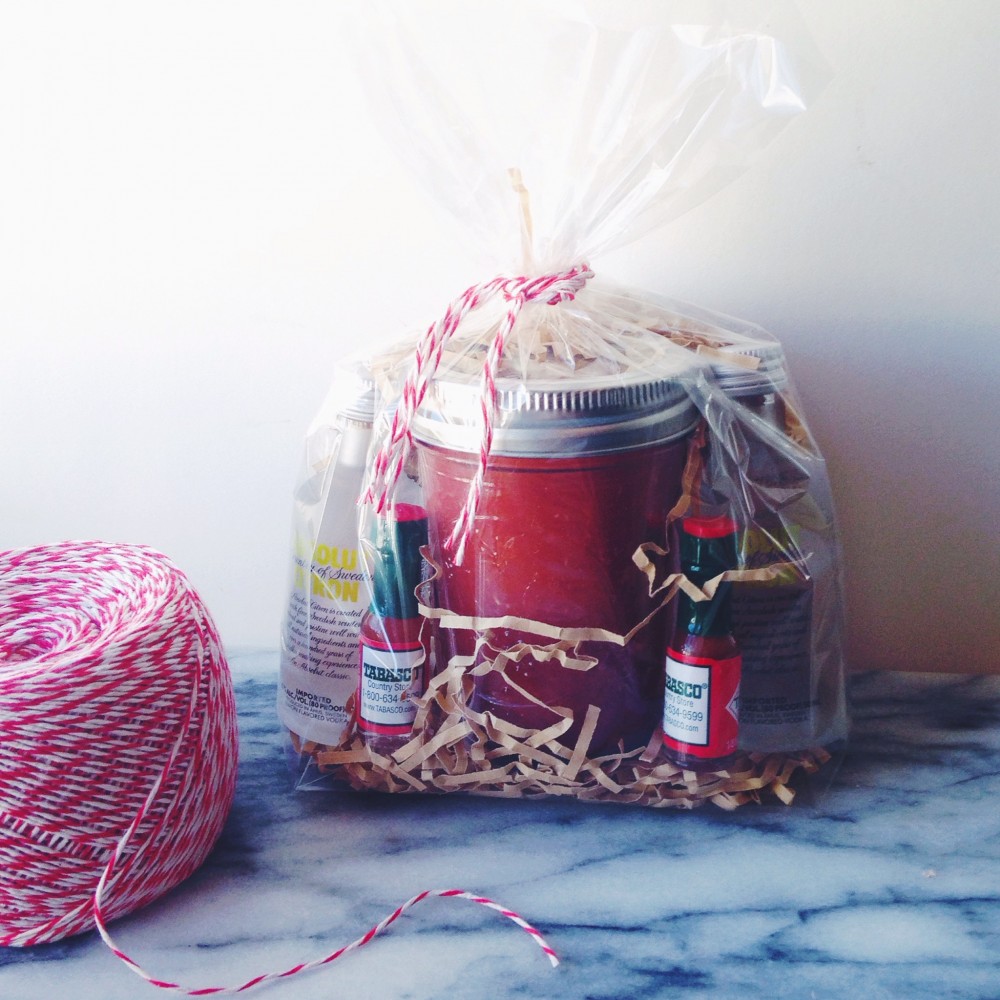
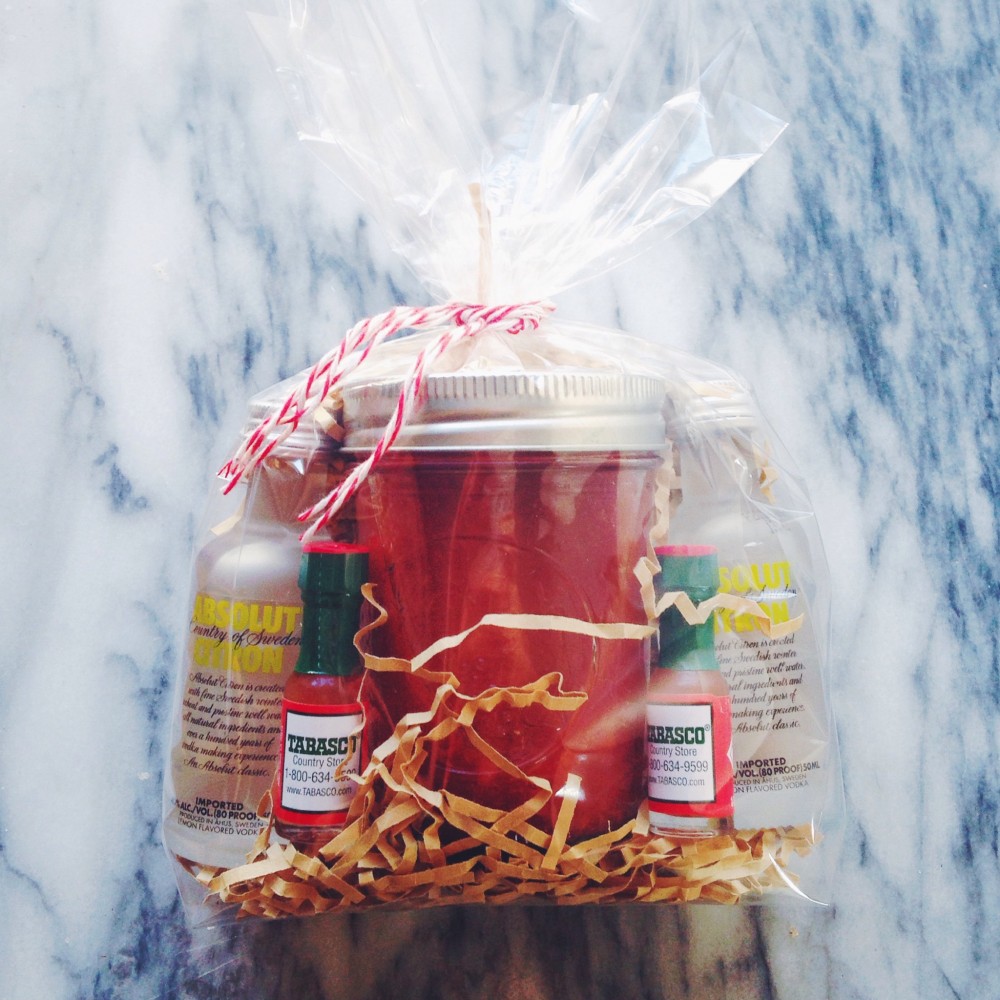
Those that know me well know that I like to brunch, and brunch hard. Among my favorite brunch elements is the Bloody Mary. I love a Bloody Mary for a few reasons: first, they always give me this little burst of nostalgia reminding me of my when I was a kid and my dad would order them when we were on vacation. Every time I order one I get transported back to the porch of the Spring House Hotel in Block Island and think about my dad sipping one on a sunny summer day. I also love them because I’m a sucker for any sort of savory, salty drink; I also love the garnishing options — a big spear of green olives for me please! One of my best buds also has this same affinity for Bloody Marys, so this year for her birthday I made her a little Bloody Mary kit as a party favor. A small jar of Bloody Mary mix, a pair of vodka nips, and teeny-tiny tabasco bottles for a little bit of spice made up a Bloody Mary-on-the-go! I think it’s a perfect idea for a little hostess gift, or favor for a post-wedding brunch!
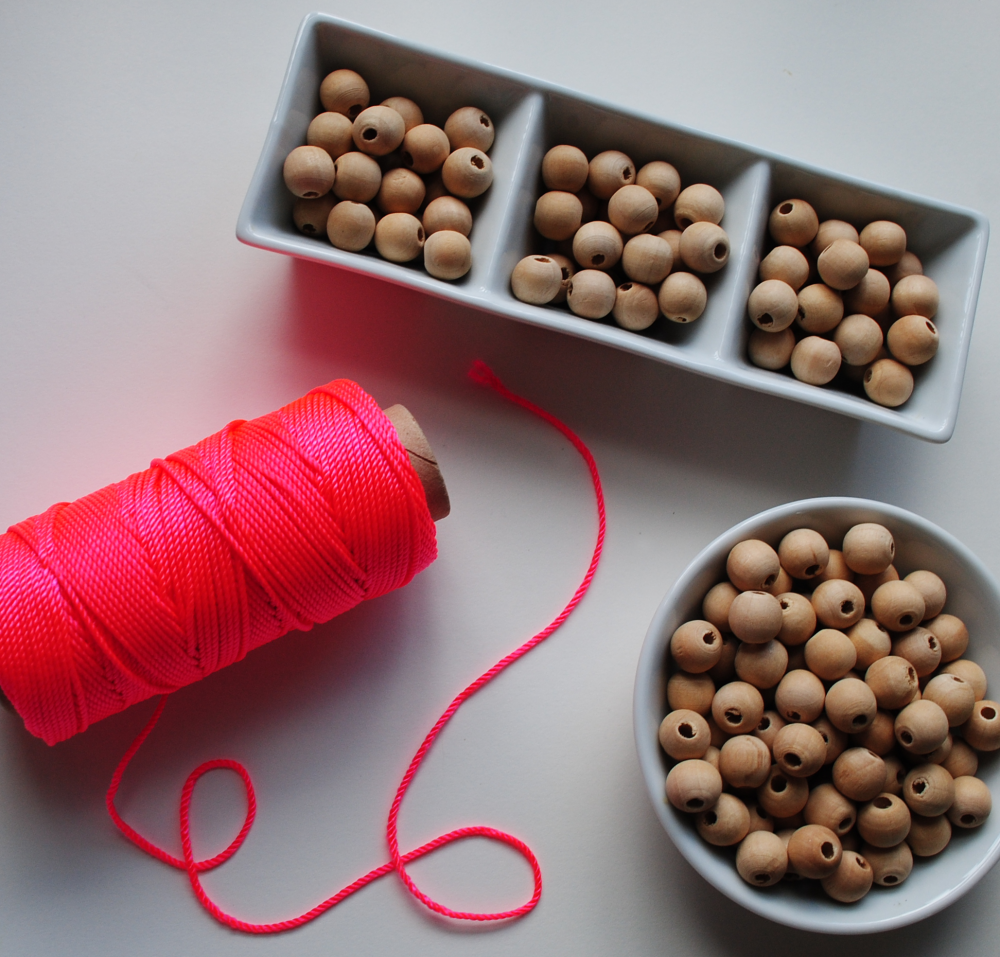
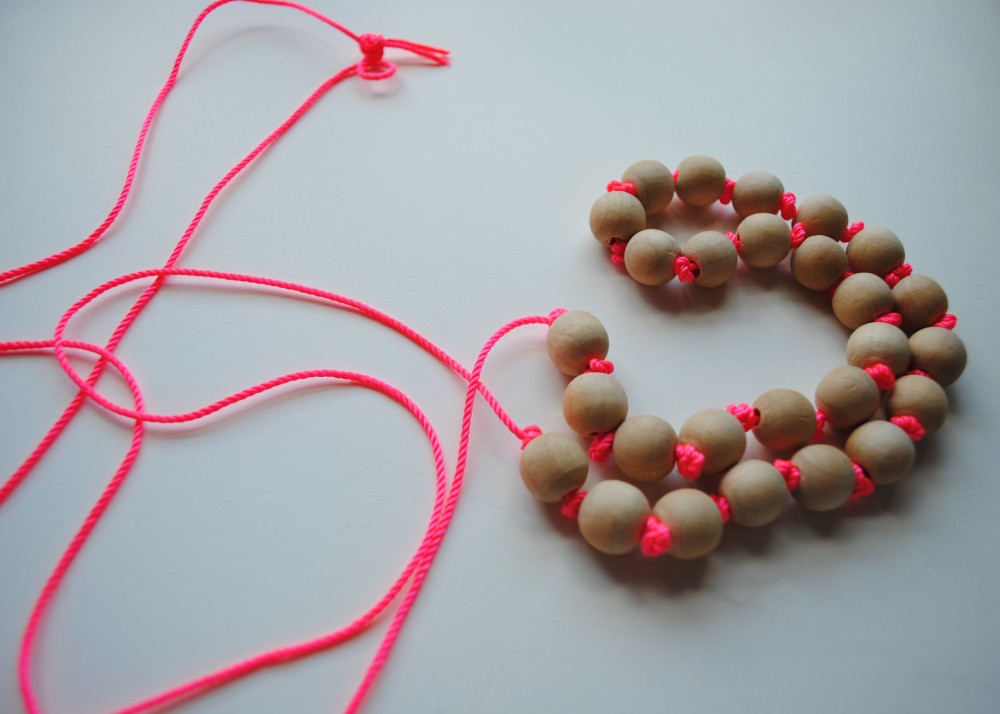
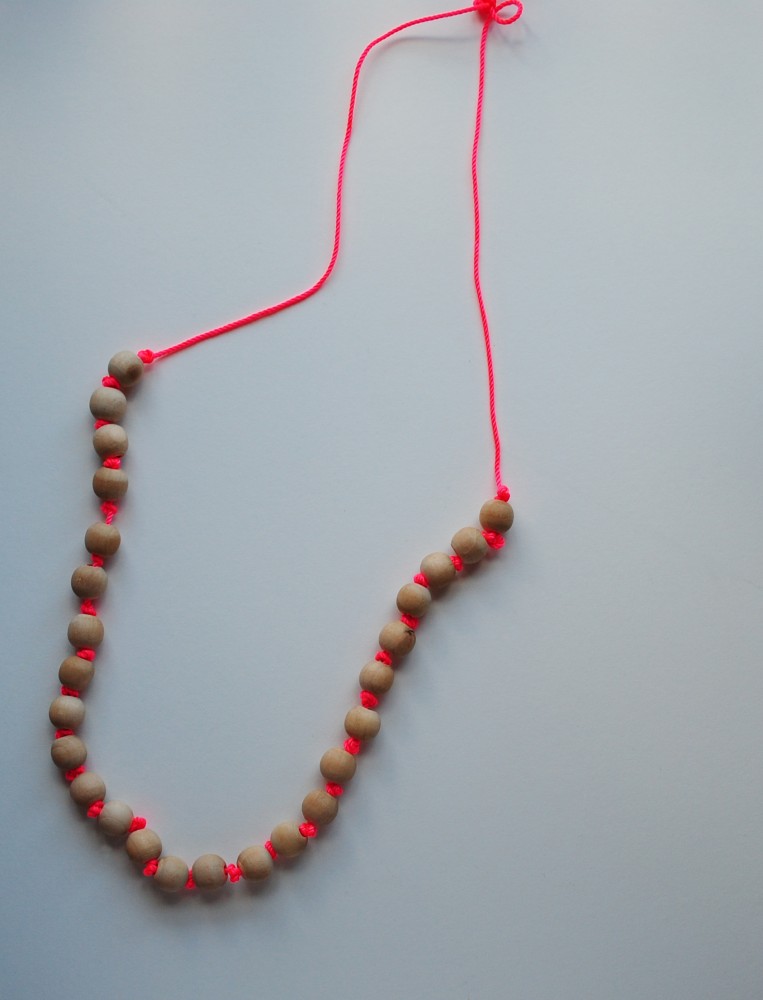
I was in the hardware store a few weeks back and saw this neon cord in a big bin — I picked up and a little light bulb when off over my head — craft project! It’s been awhile since I’ve dabbled in jewelry making, and decided to put this neon cord to good use in my closet by making myself a new necklace. This project is as easy as tying your shoes — if you can make a simple knot, you can make this necklace! I cut a piece of the cord about twice the length I wanted my necklace to be (you lose length as you make knots). Then, starting in the middle, I added a wooden bead and tied a double knot on either end of the bead to hold it in place. Keep working on either side of the center bead, adding on additional beads and knotting just above the bead opening to hold it in place. I found that make a loose knot, and then holding my thumb on top of it while pulling tight helped keep it close to the bead. Repeat until you get to the desired length, and then grab the two ends of the cord and tie them together in a double knot to finish the necklace off! You can add a little bit of clear nail polish to the end pieces after you trim them, as well as a light coat over the top knot to keep it from fraying. Bright, cute and oh so simple, right?
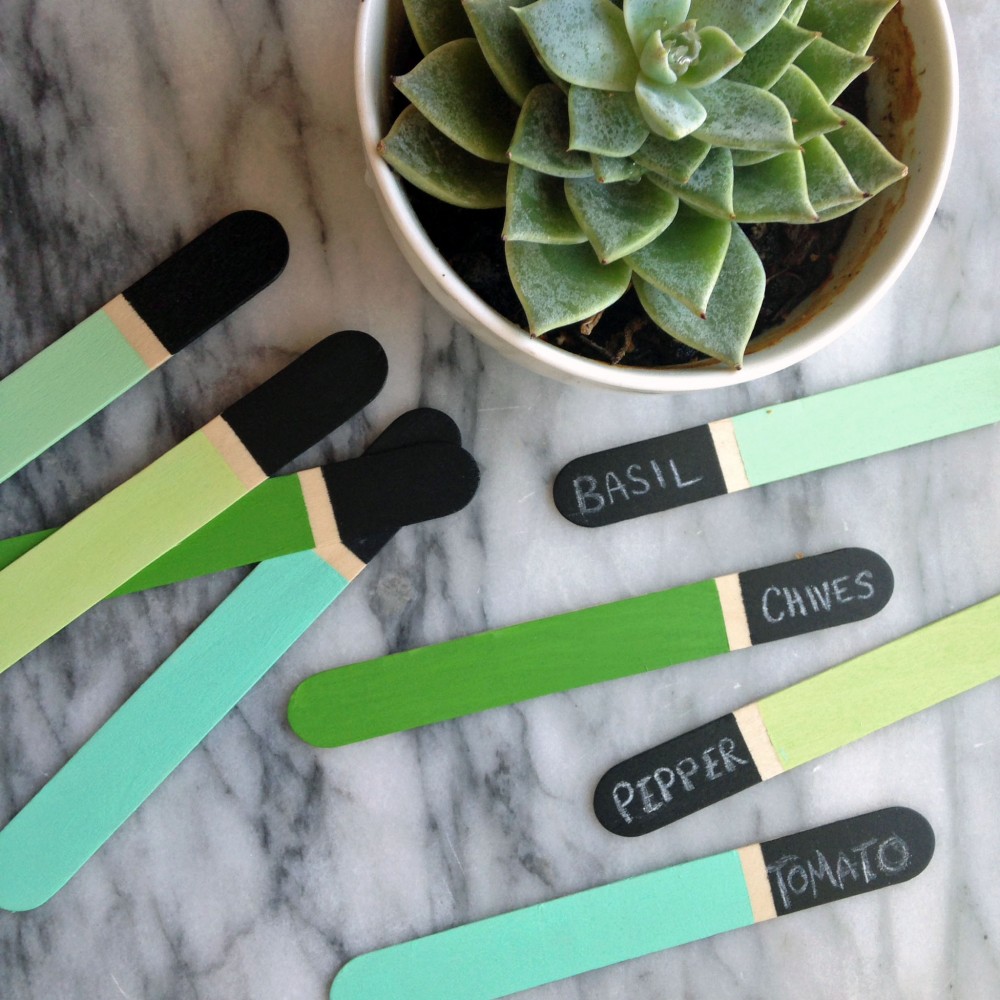
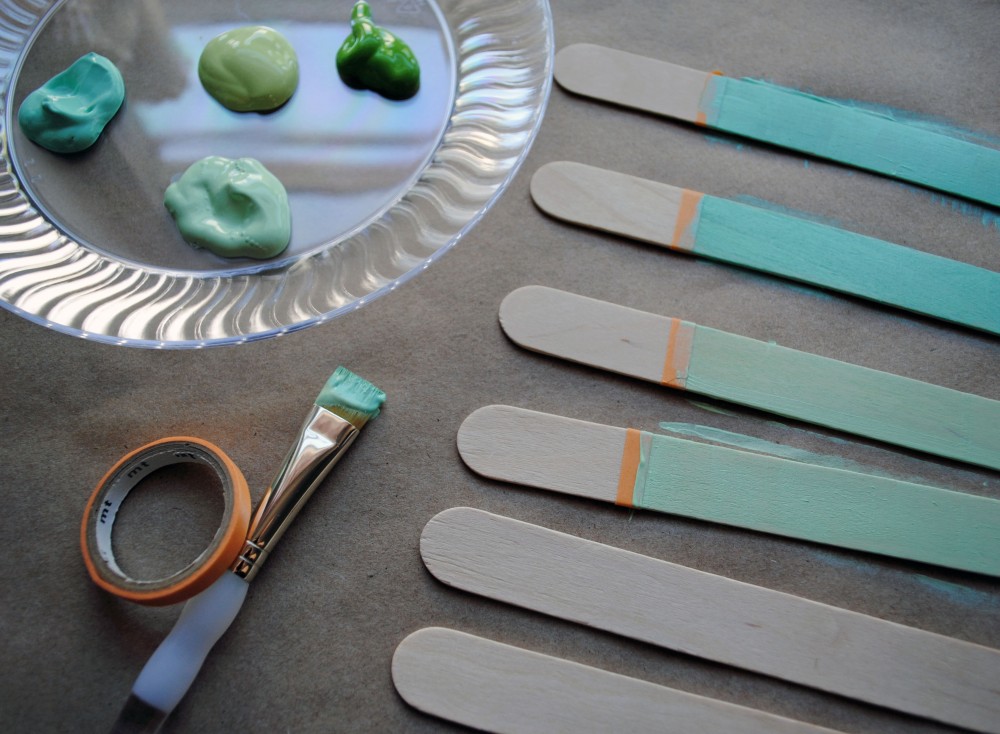
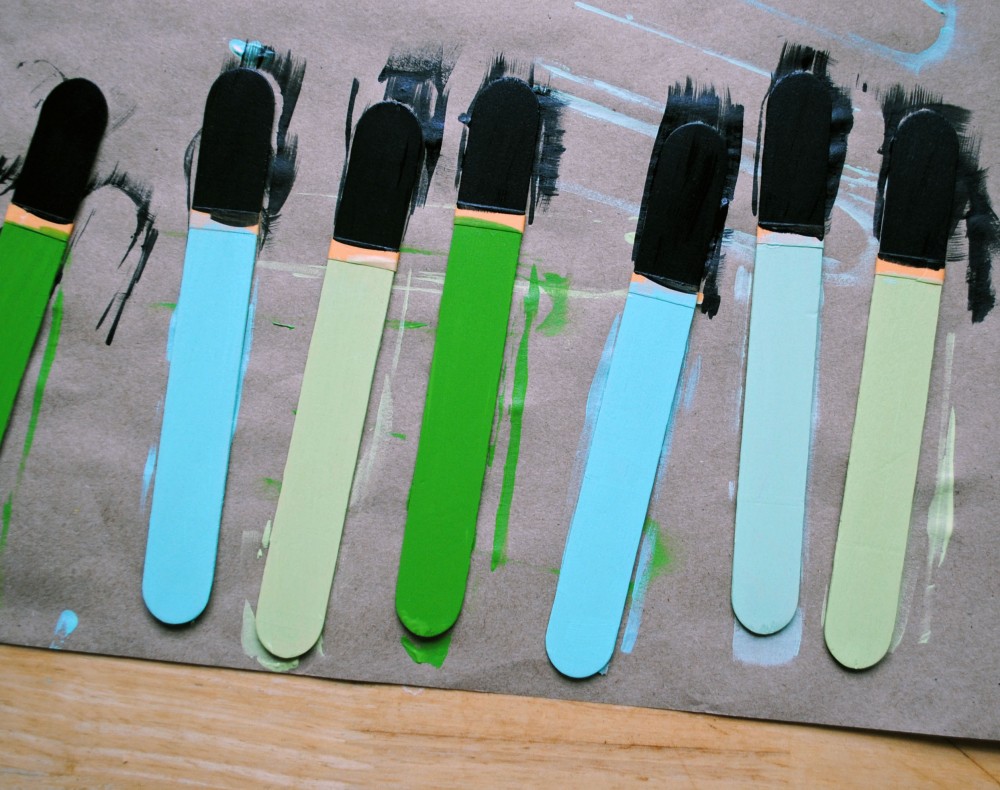
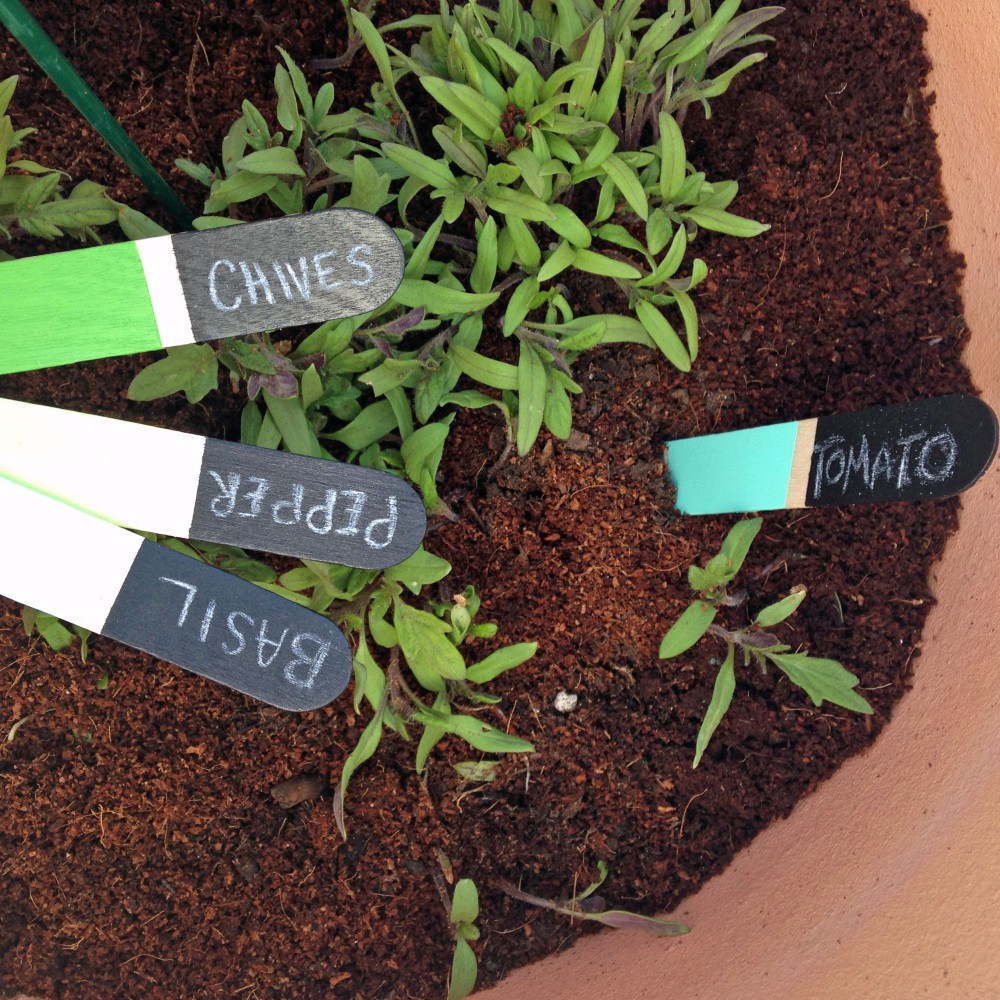
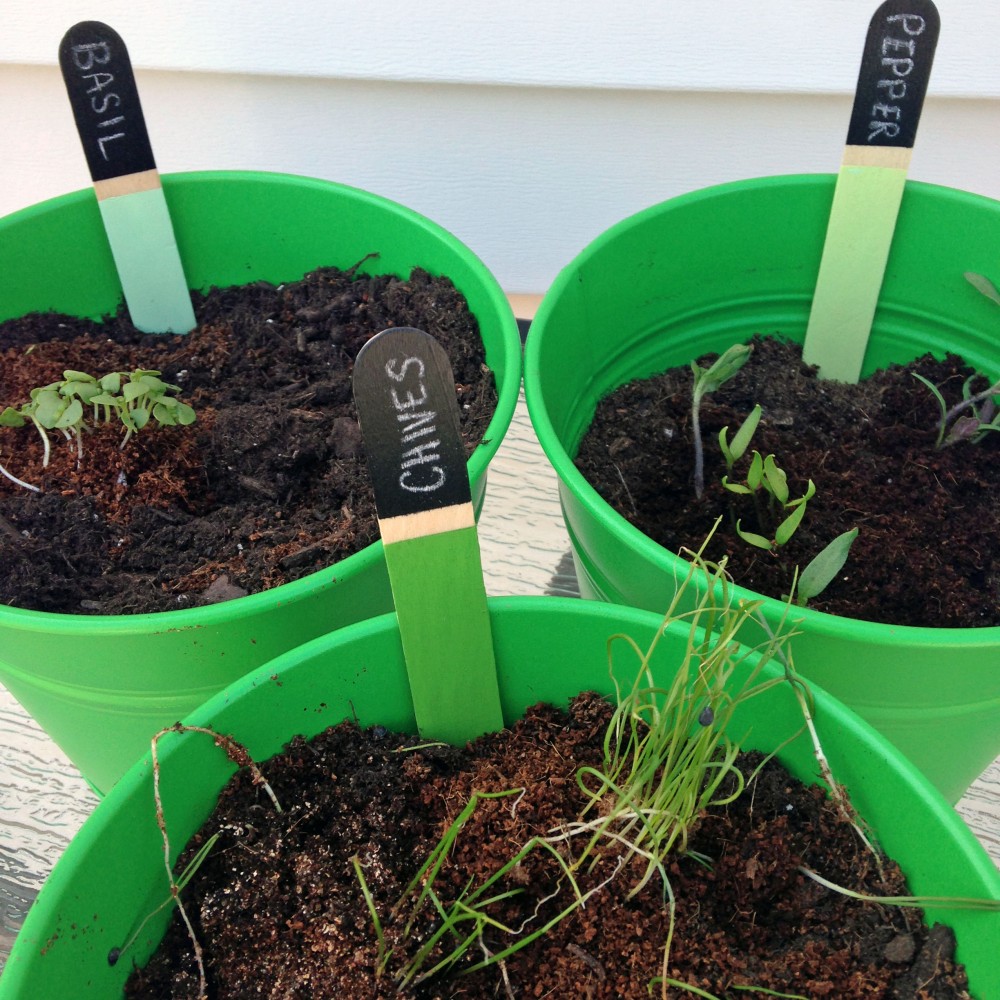
One of my most daunting items on my 30 before 30 list is this: grow something from a seed. That may seem like a fine task for the average human, but for all of my skills in the kitchen and DIY tendencies, I seem to have a black thumb (coupled with some very mischievous city squirrels that like to dig up anything I plant). I am determined this year though to make it happen, and have been growing some herbs and veggies on the porch that were just about ready to be re-potted this weekend into their homes for the summer. I decided to make a few plant markers out of popsicle sticks to keep my seedlings straight! A coat of acrylic paint on the bottom of the sticks gave them a pop of color, and I topped them with some chalkboard paint to make them easy to label — a quick and easy DIY. Now I just need to keep those plants alive! 