On our holiday dinner table, space can be at a premium — and we would always prioritize food and drink over tons of decorative details, which is where the idea for this simple, multi-use DIY came from. I washed out a rich green colored wine bottle with the intention of serving water in it on the Thanksgiving table, and decided to give it one more purpose: a passable menu detailing all of the great Thanksgiving dishes we’ll be feasting on. With a thick permanent marker, I hand-lettered the main dishes down the center of the bottle and finished it off with a large script ‘menu’ title where the base and neck meet. The best part? It costs nothing to make (well, minus the cost of the wine, but let’s be honest: I was going to drink that anyway!). 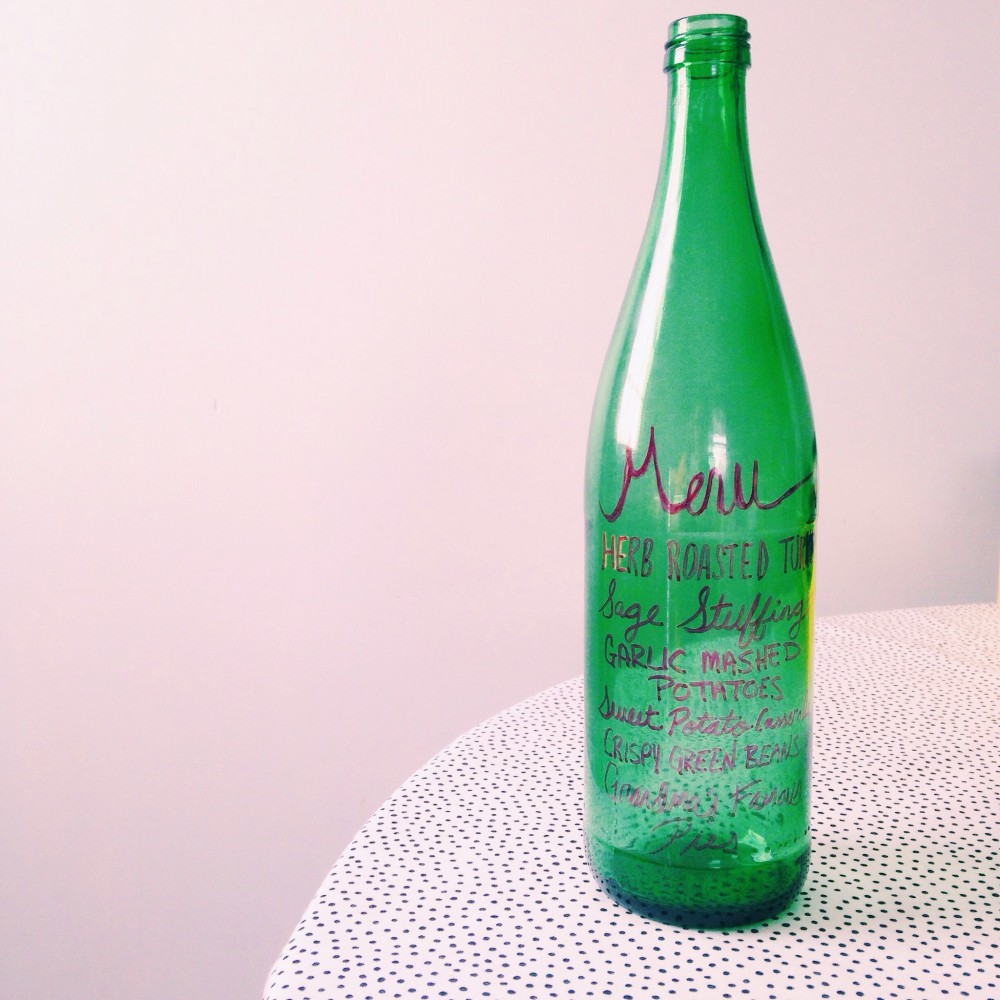
Last weekend was one of my proudest moments while running Boston Bloggers with Alison. We worked with the creative and passionate team at Wayfair to host a full-day conference for local bloggers to kick off the holiday season. It was an amazing group of ladies (over 100 bloggers came from all over Massachusetts and Rhode Island!), and we had so much fun. There were great speakers, DIY sessions (one of which was hosted by me!), awesome blogging tips, including a session about SEO from the expert team at Wayfair and conversation with Alison that asked us “why are we blogging in the first place?” A special shout out to Third Eye Chic Studio for sharing these photographs with me — I was so busy leading my DIY session that I didn’t have time to take any pictures — a few of my favorites from the day are below, and if you’re interested in checking out more, visit the hashtag #HFTHboston on twitter and instagram.
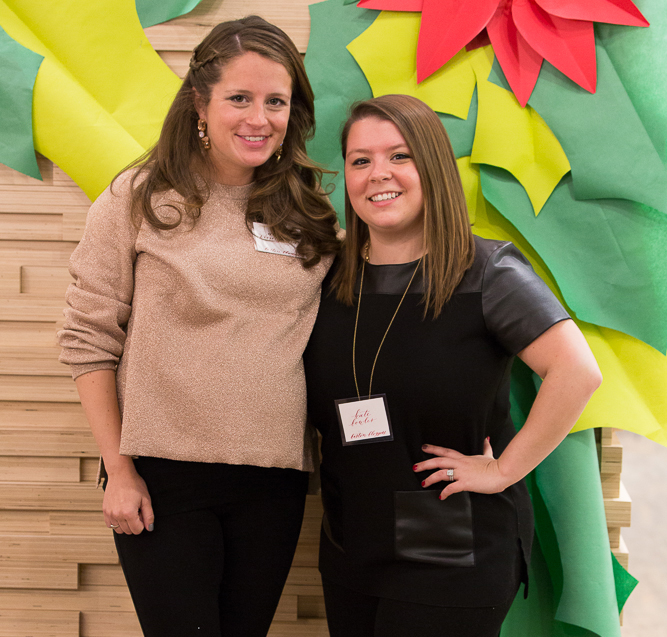
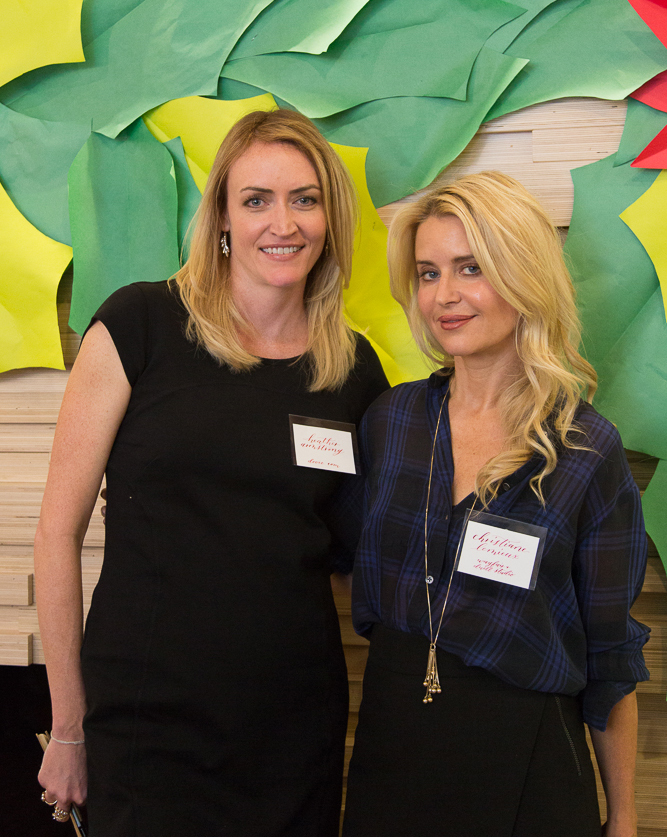
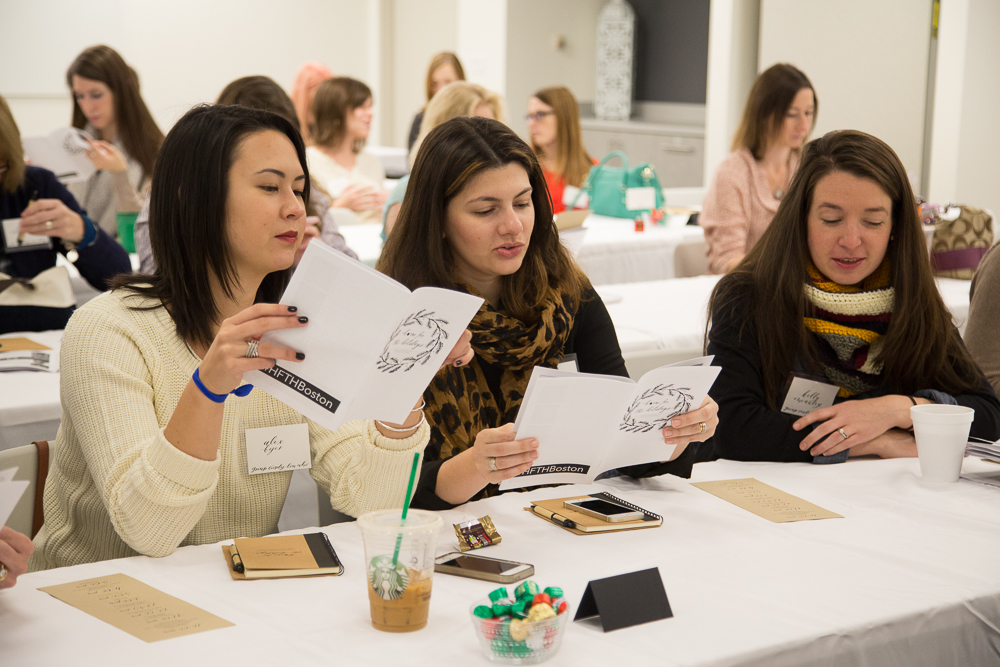 I was setting up for my DIY session and just caught a few minutes of the keynote opening session with Heather Armstrong of Dooce and Christiane Lemieux of Dwell Studio, but what I heard blew me away — these are some amazingly inspirational women that have followed their dreams and made it big. We were so very grateful to both of them for joining the event and sharing their expertise with us (and so thankful that the Wayfair team brought them to the event!).
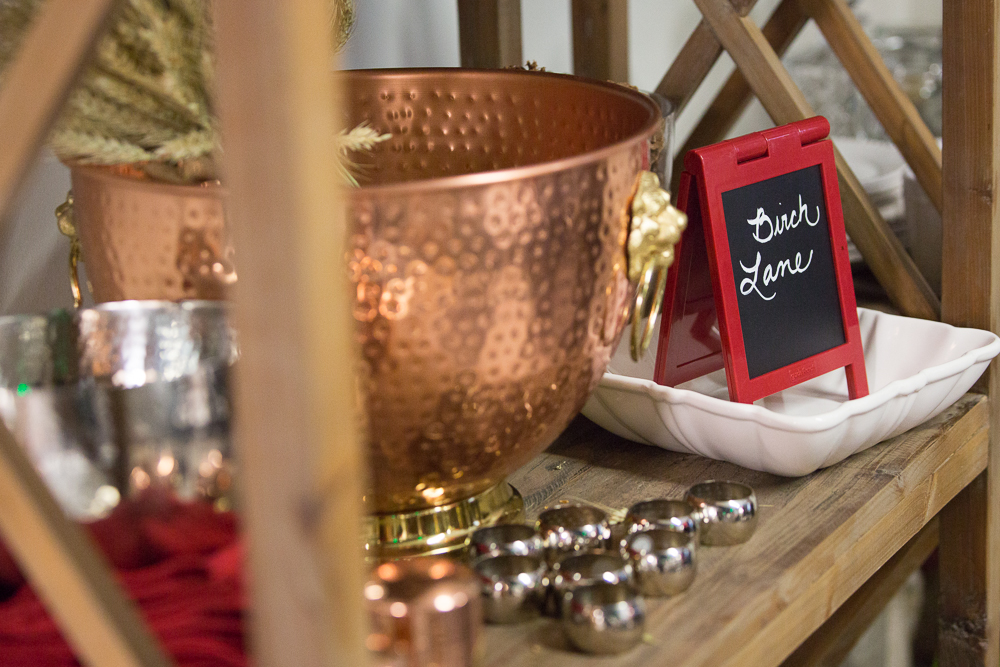
The absolutely charming and talented Abby Larson of Style Me Pretty hosted a tabletop styling session using products from all of the Wayfair brands; it was so great to meet her and her team in person and see them in action — they were truly talented and the results of the tabletop styling were gorgeous!
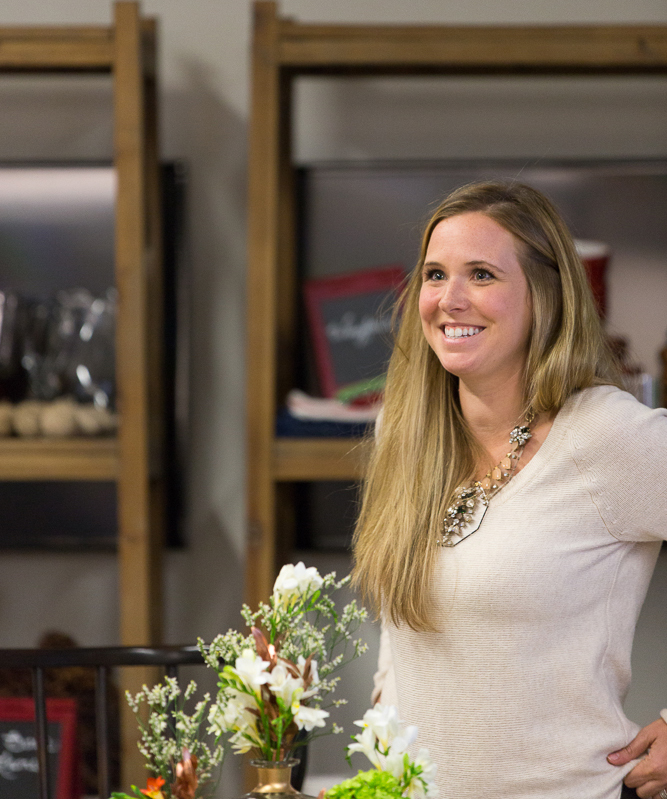
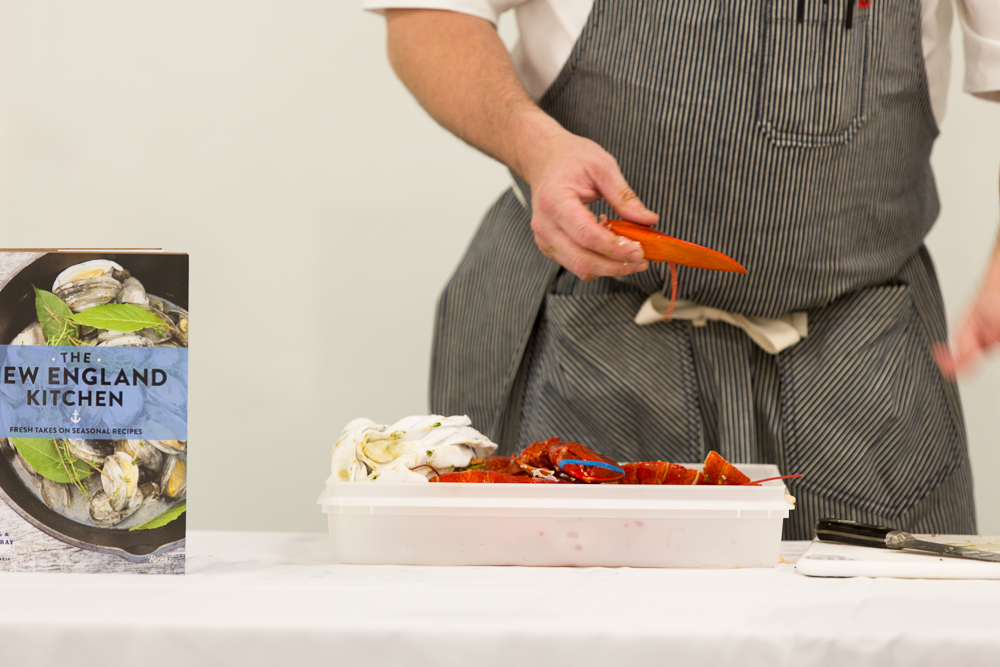
 As a huge fan of Island Creek Oyster Bar, I fan-girl-ed out meeting Chef Jeremy Sewall. Chef Jeremy brought the group through his tips for planning holiday meals. I really loved that it had such a local focus on seafood and ingredients that you can find from New England. I learned so much about seafood (did you know that longer antennas on lobsters indicate they’re fresher? And that all of the lobster from ICOB and Row 34 come from Jeremy’s cousins in Maine?). It was also really enlightening to hear him talk about the process of writing his new cookbook: The New England Kitchen — which I snagged a signed copy of at the end of the event!
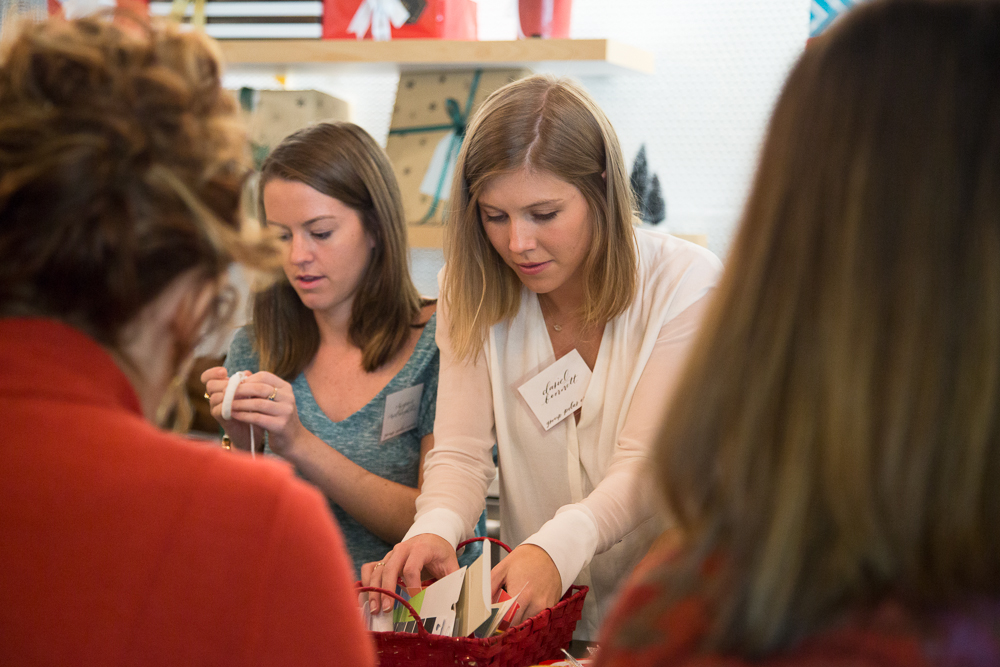
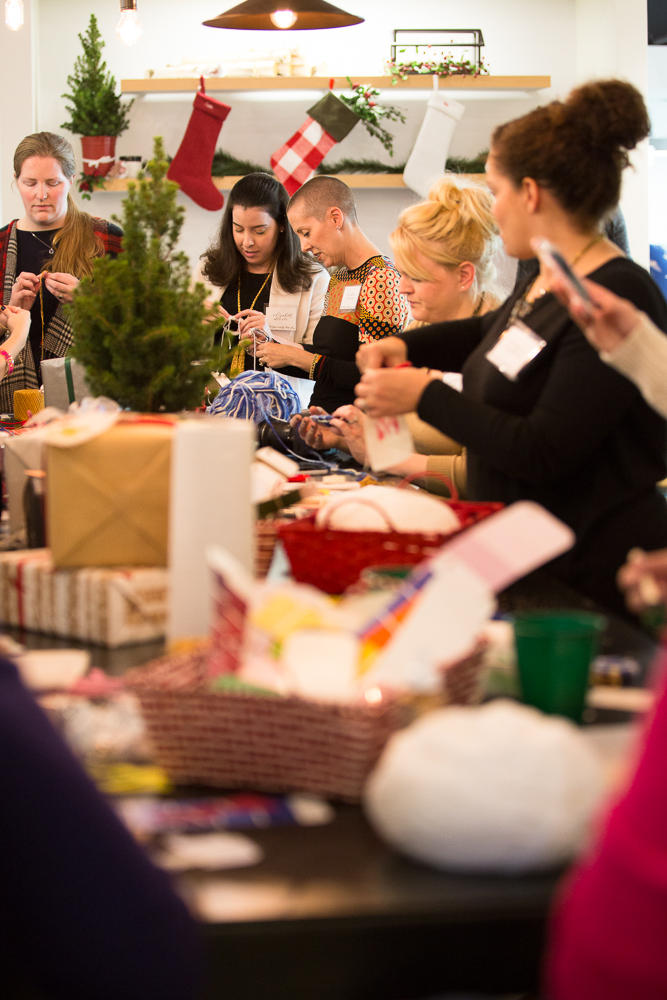
My session was all about getting crafty — the Wayfair team and I worked to create five different DIY gift tags that represented the five major Wayfair brands. It was great getting to demonstrate the DIY ideas and create with the bloggers, but for me the best part was that the groups got to network and chat with each other while working on their projects. I got to catch up with some old blogging friends and finally put a few real-life faces to blog names with new friends too. 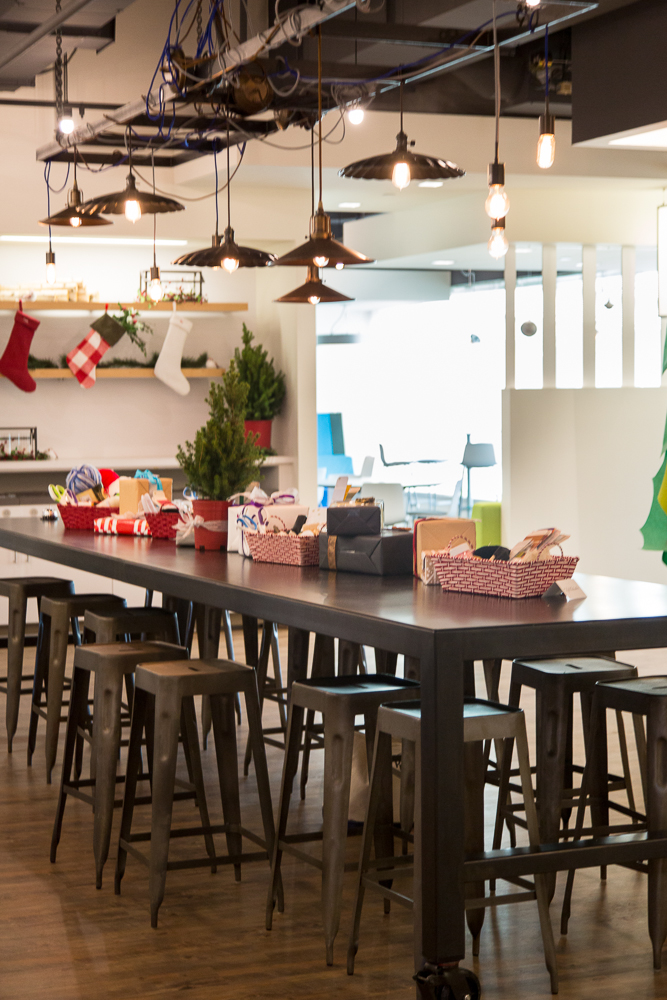
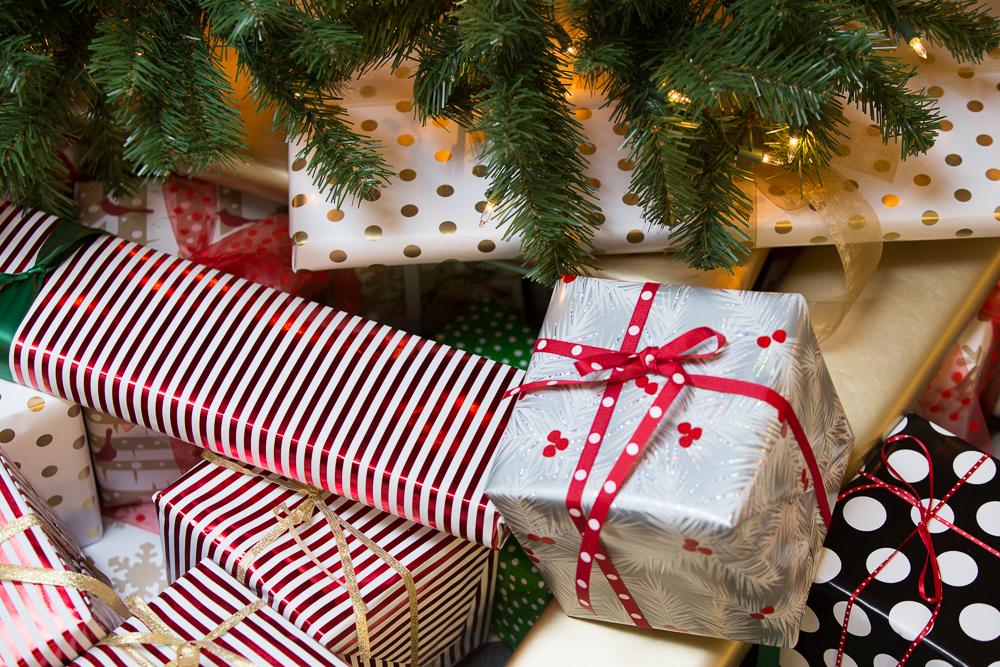
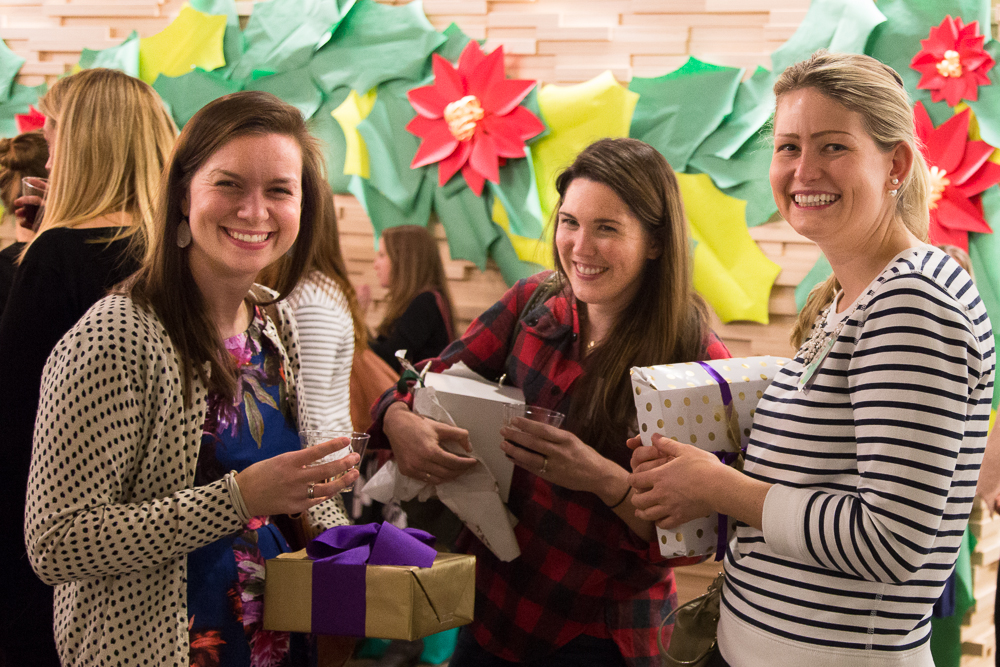
 We ended the day with an amazing cocktail hour and yankee swap that Wayfair generously organized with dozens upon dozens of amazing gifts from their sites. It was a little bit like the Oprah Christmas Special (you get a gift! you get a gift!) and everyone got to swap, cheers, mingle, and enjoy themselves after a long day of getting into the holiday spirit.
 Interested in reading some more recaps from the event? These fabulous bloggers have shared their pictures and impressions of the event too:
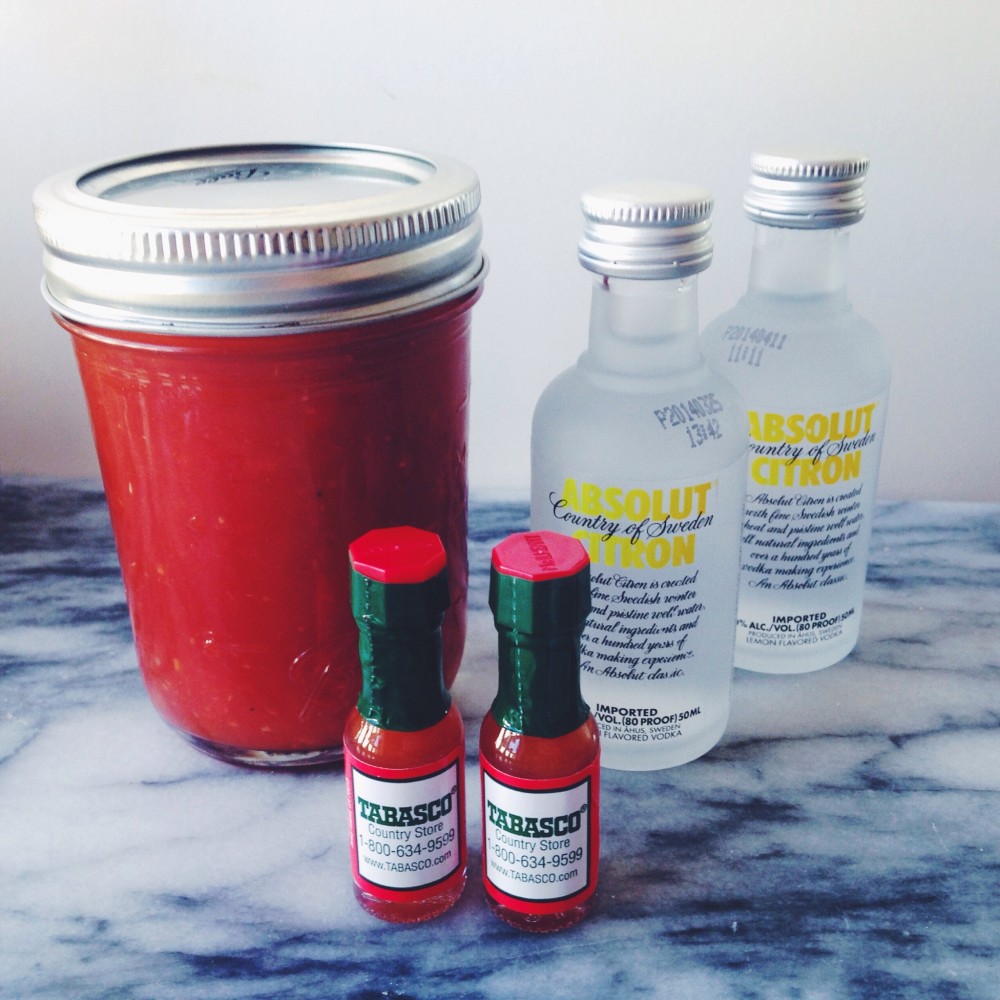
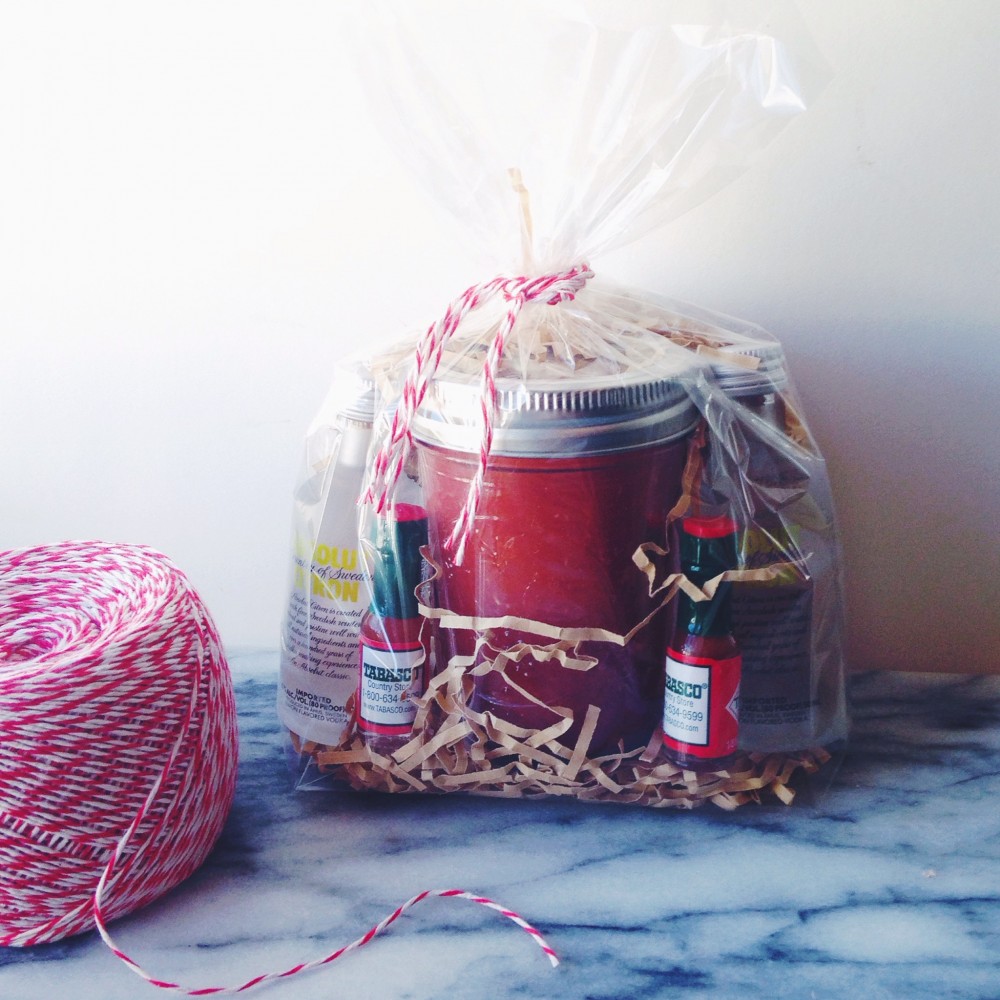
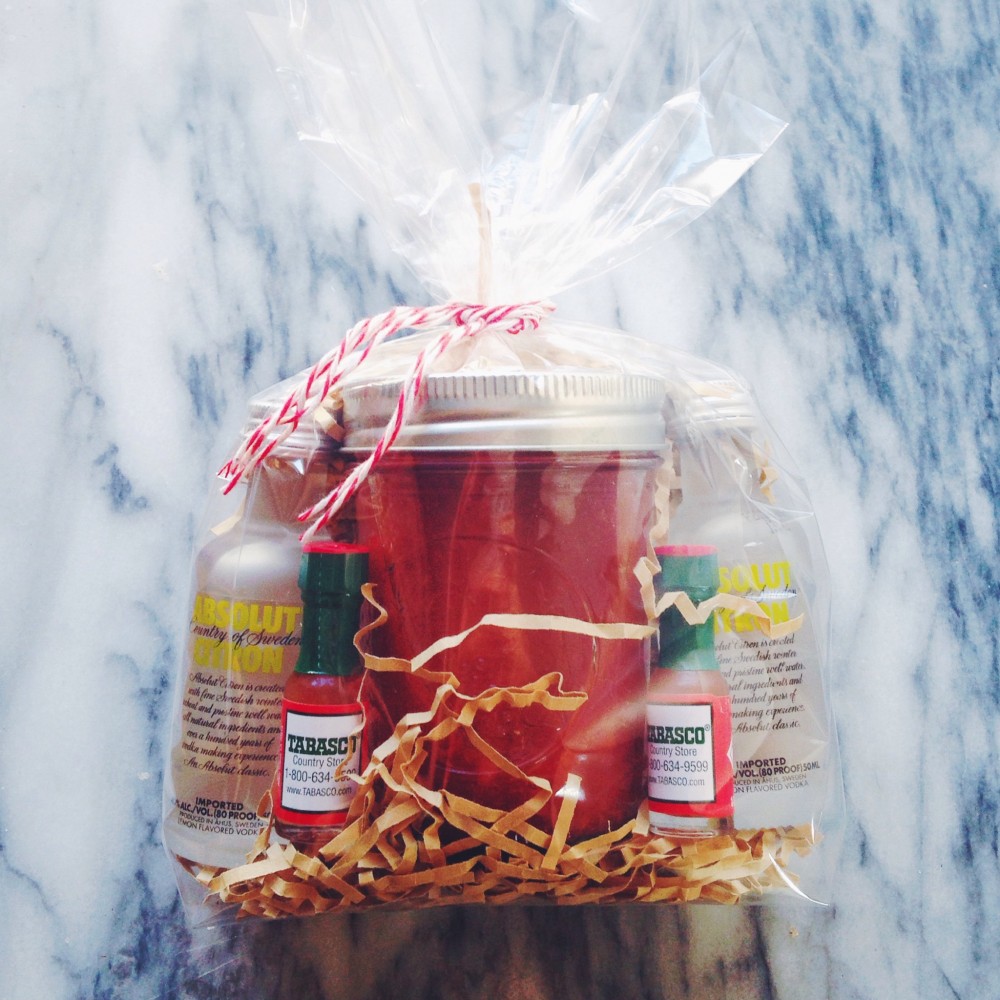
Those that know me well know that I like to brunch, and brunch hard. Among my favorite brunch elements is the Bloody Mary. I love a Bloody Mary for a few reasons: first, they always give me this little burst of nostalgia reminding me of my when I was a kid and my dad would order them when we were on vacation. Every time I order one I get transported back to the porch of the Spring House Hotel in Block Island and think about my dad sipping one on a sunny summer day. I also love them because I’m a sucker for any sort of savory, salty drink; I also love the garnishing options — a big spear of green olives for me please! One of my best buds also has this same affinity for Bloody Marys, so this year for her birthday I made her a little Bloody Mary kit as a party favor. A small jar of Bloody Mary mix, a pair of vodka nips, and teeny-tiny tabasco bottles for a little bit of spice made up a Bloody Mary-on-the-go! I think it’s a perfect idea for a little hostess gift, or favor for a post-wedding brunch!
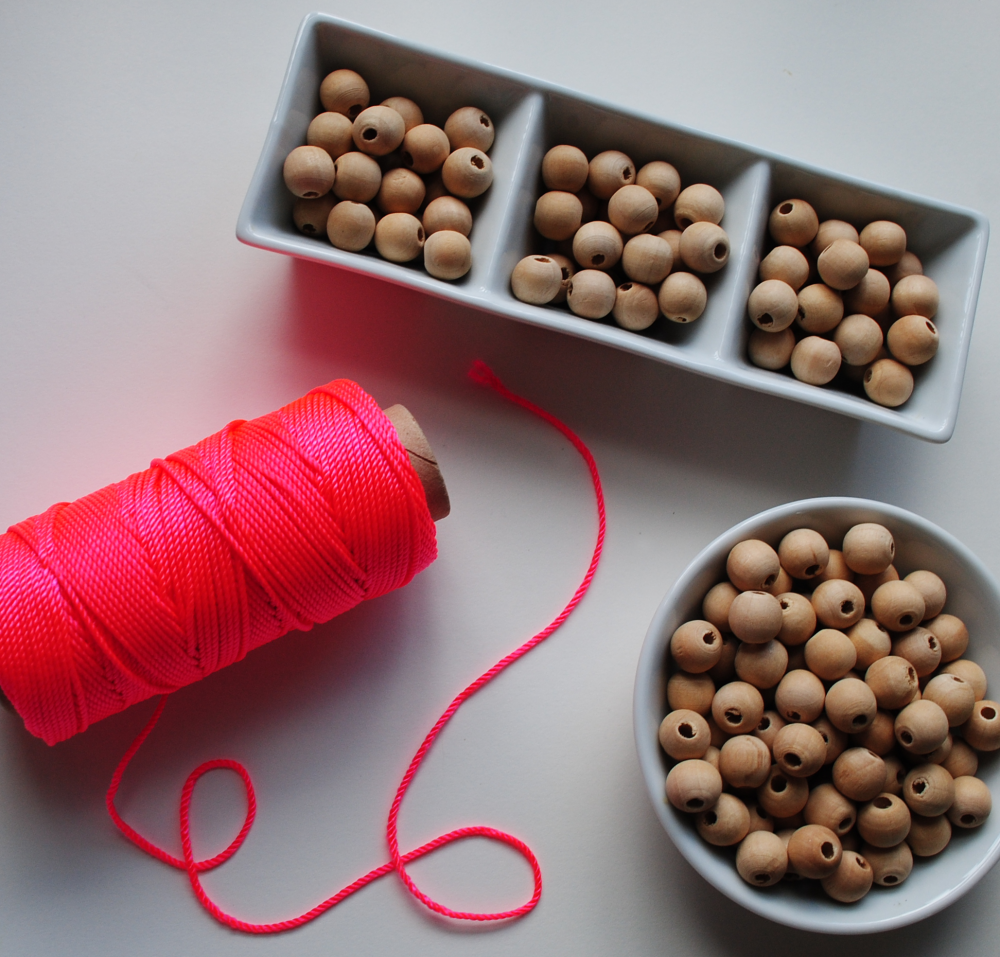
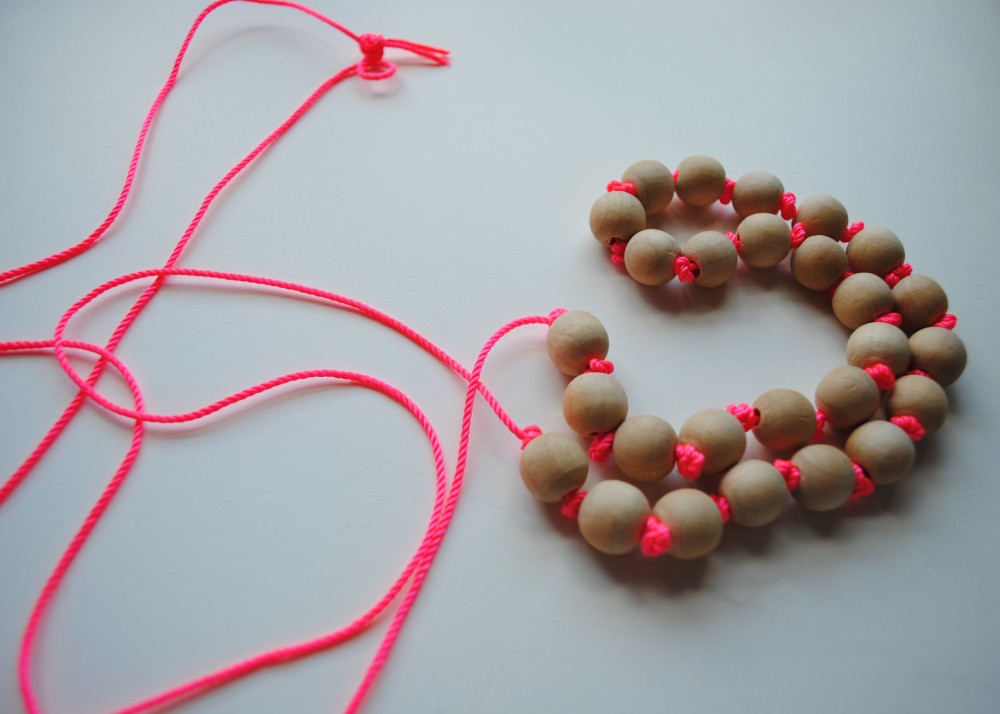
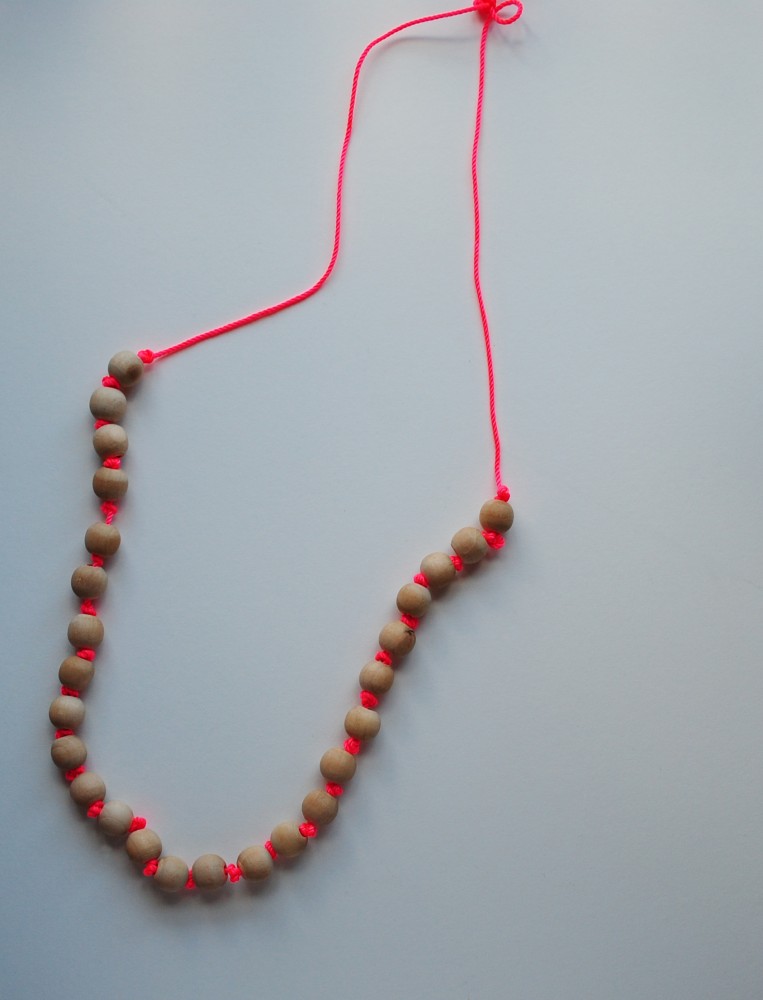
I was in the hardware store a few weeks back and saw this neon cord in a big bin — I picked up and a little light bulb when off over my head — craft project! It’s been awhile since I’ve dabbled in jewelry making, and decided to put this neon cord to good use in my closet by making myself a new necklace. This project is as easy as tying your shoes — if you can make a simple knot, you can make this necklace! I cut a piece of the cord about twice the length I wanted my necklace to be (you lose length as you make knots). Then, starting in the middle, I added a wooden bead and tied a double knot on either end of the bead to hold it in place. Keep working on either side of the center bead, adding on additional beads and knotting just above the bead opening to hold it in place. I found that make a loose knot, and then holding my thumb on top of it while pulling tight helped keep it close to the bead. Repeat until you get to the desired length, and then grab the two ends of the cord and tie them together in a double knot to finish the necklace off! You can add a little bit of clear nail polish to the end pieces after you trim them, as well as a light coat over the top knot to keep it from fraying. Bright, cute and oh so simple, right?
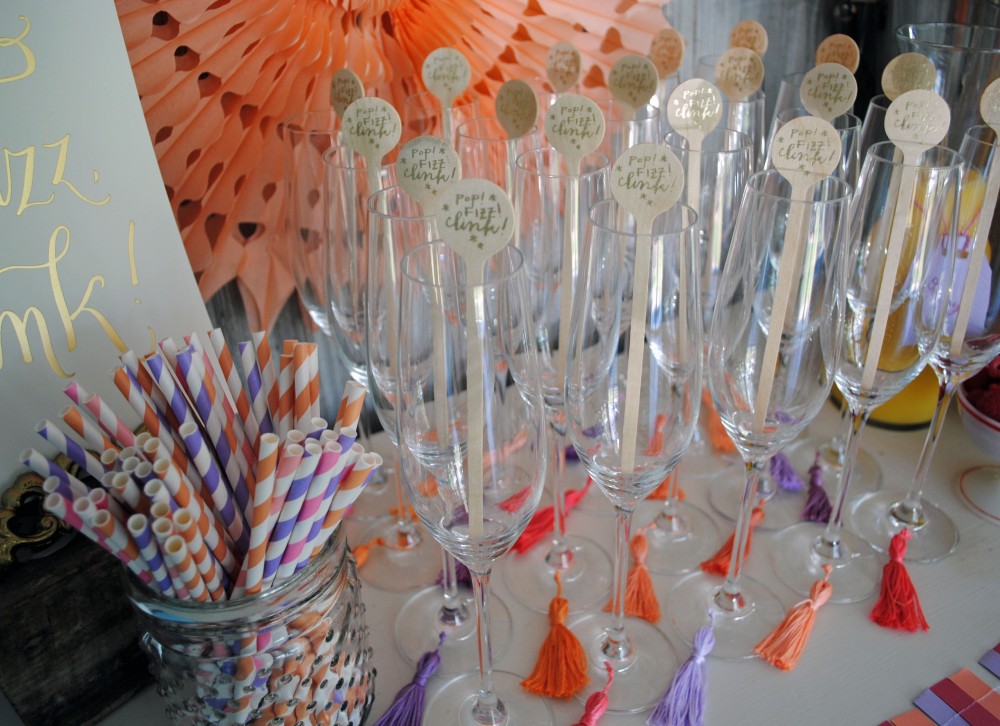
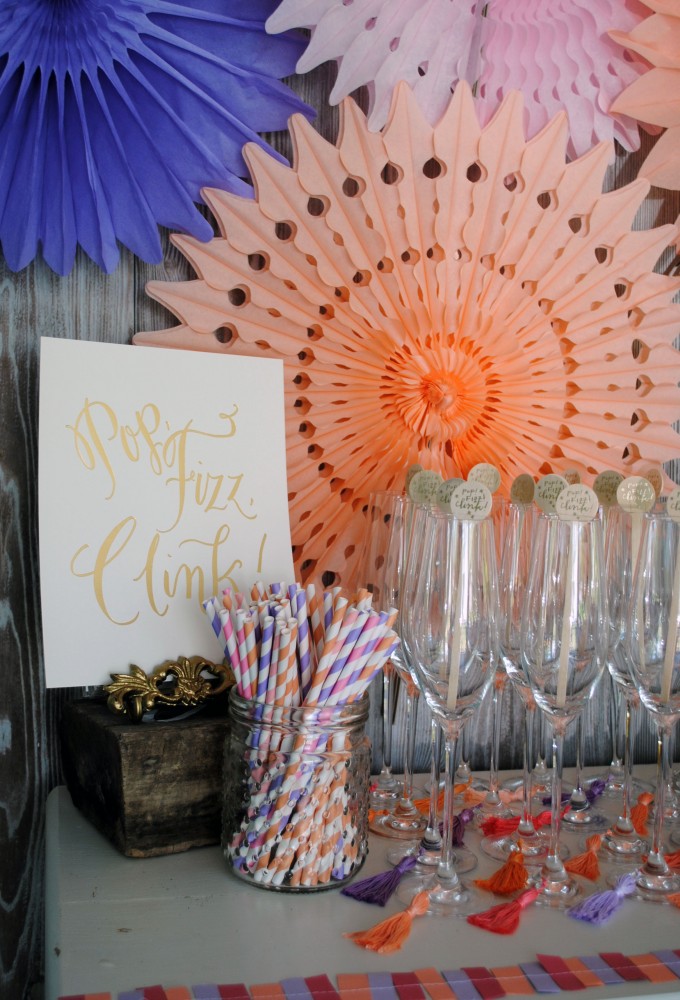
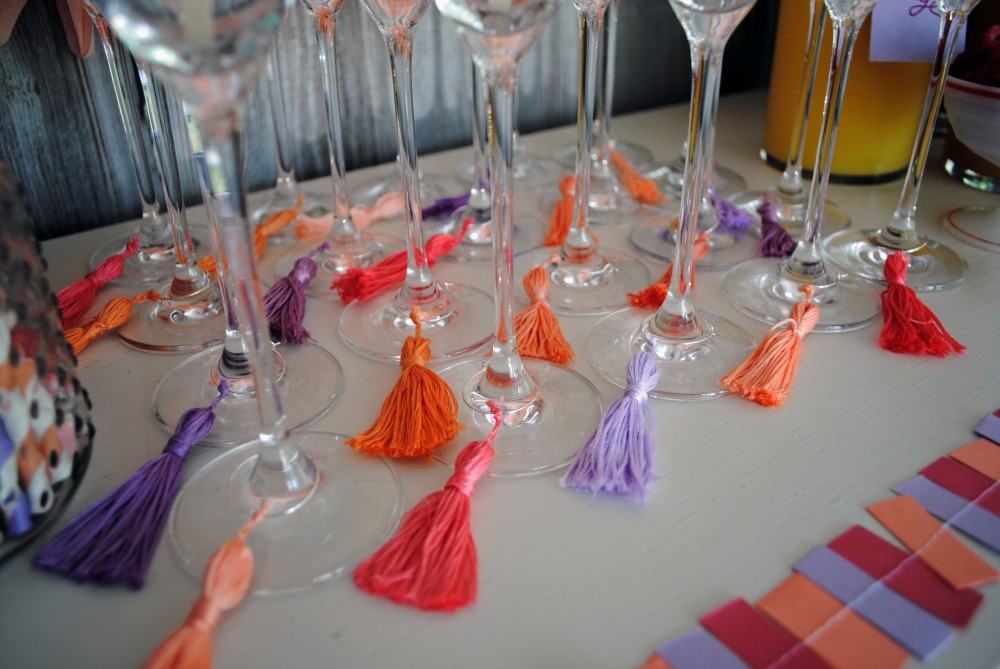
When it comes to planning a bridal shower, it’s the little extra details that make all the difference in creating a special experience. When my fellow bridesmaids landed on a mimosa bar for the shower, I decided it would be fun to jazz up the rented champagne flutes with a little extra flair. Using embroidery floss and an easy-to-find tutorial from Pinterest, I made tassels in coordinating corals, peaches, and lilacs. Using wine charm findings I attached the tassels with an extra piece of embroidery floss. The result was a bright pop of festive color on the champagne flutes, and an easy way for guests to locate their drinks!
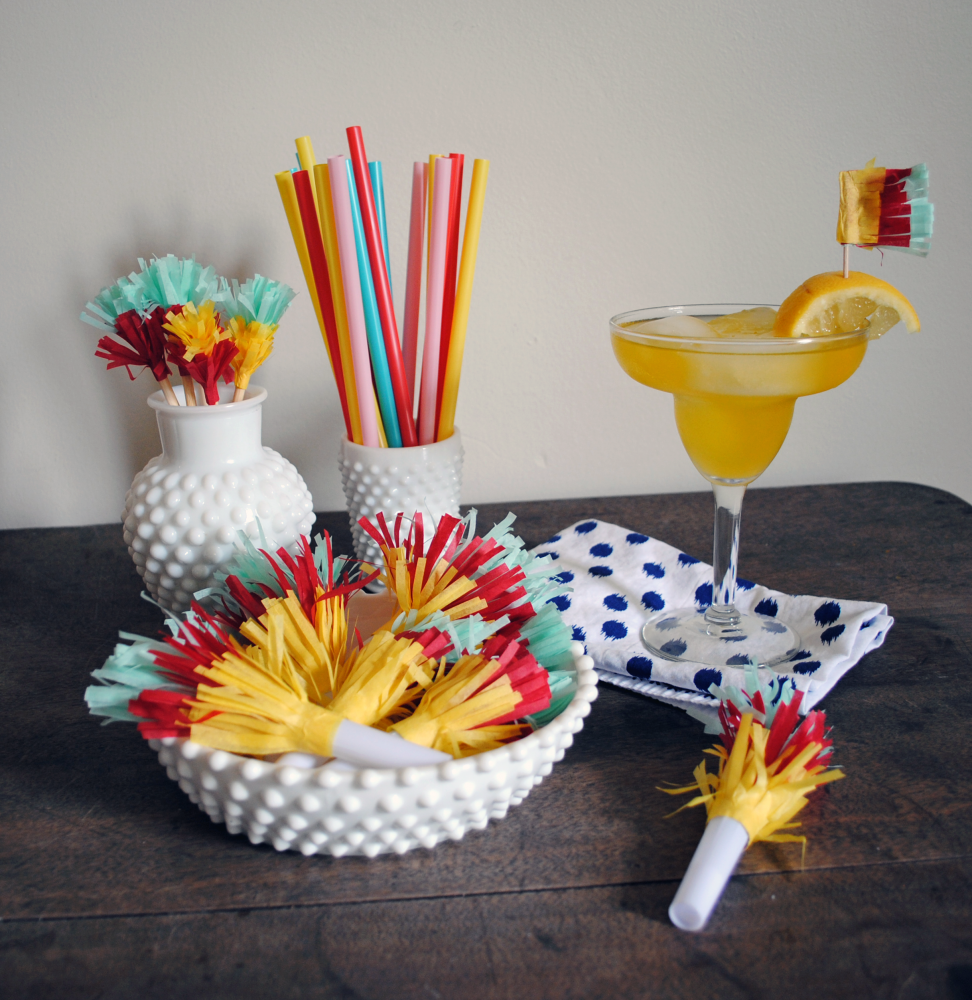
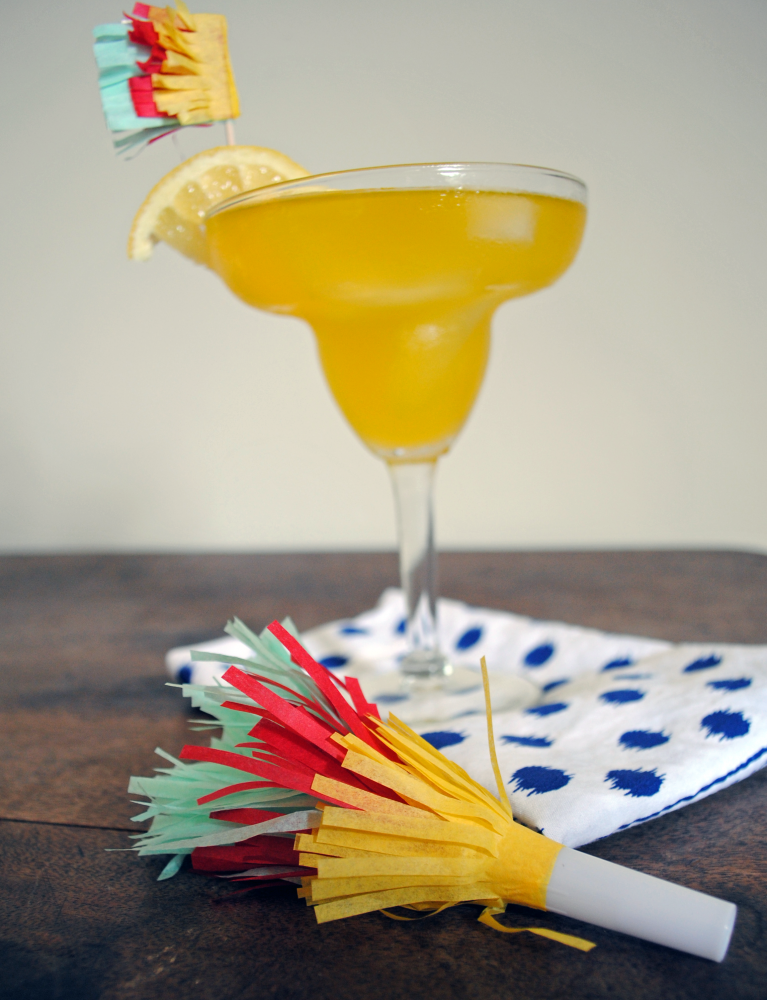
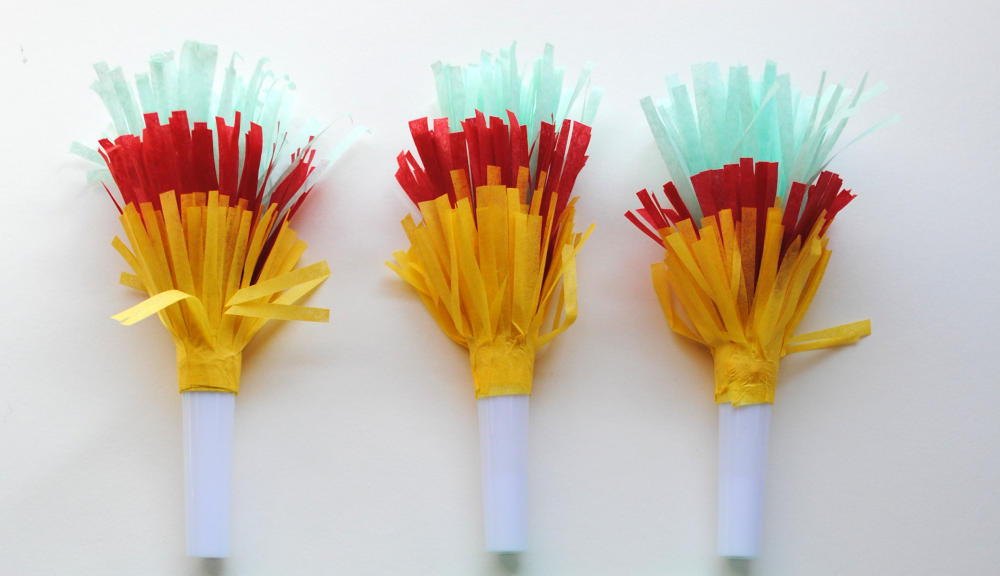
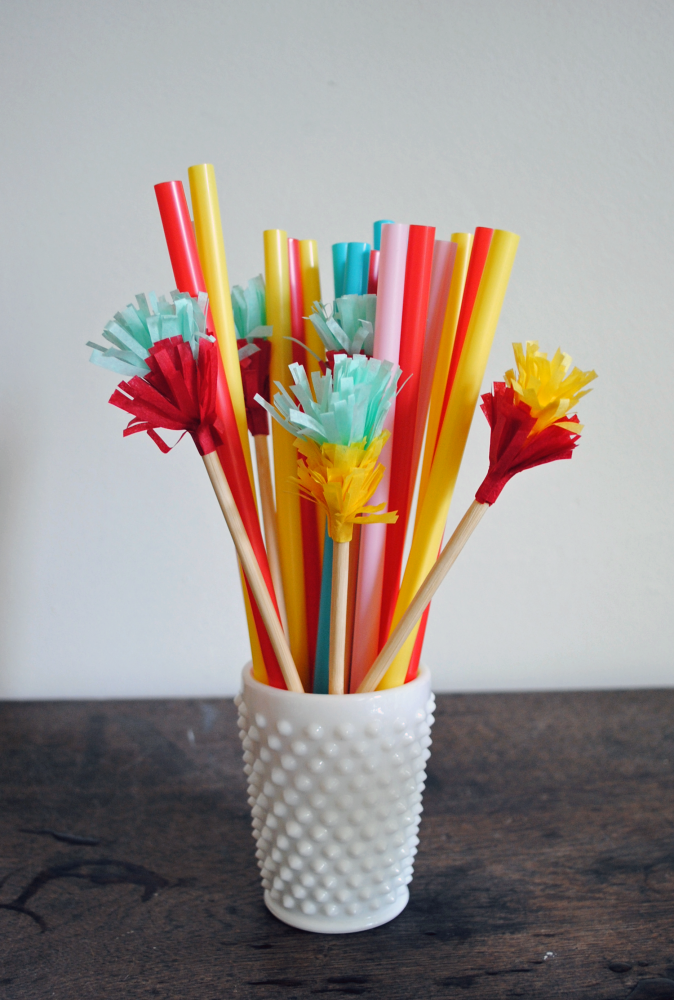
If you follow me on instagram, you may have seen my little brother graduated from high school this week (cue the tears!). He’s the baby in the family, and is lucky to have two big sisters and a mom that L-O-V-E -love throwing parties, so you better believe we’re going to be throwing the biggest and best graduation party for him to celebrate. He requested a taco bar which lead to an obvious theme of fiesta! — so I’ve been busy crafting up piñata-inspired details this week to make sure it’s a fiesta to remember. Using tissue paper, I cut 1.5 inch strips in different colors and used fringe scissors to create the piñata-like texture. Next, I used a glue-stick to coat the non-fringed edge, and began to wrap it around the party horn whistle (I got these at a party store and removed the paper wrappers that came on them). Keep wrapping until you get to the end and add a little extra glue to ensure it’s sealed, then repeat with additional colors layered on top. I replicated the same process for drink stirrers, just wrapping a bit tighter around a small skewer, and used a few extra tiny scraps to make some tooth-pick flags for garnishes; can’t wait to use these at the party this weekend!
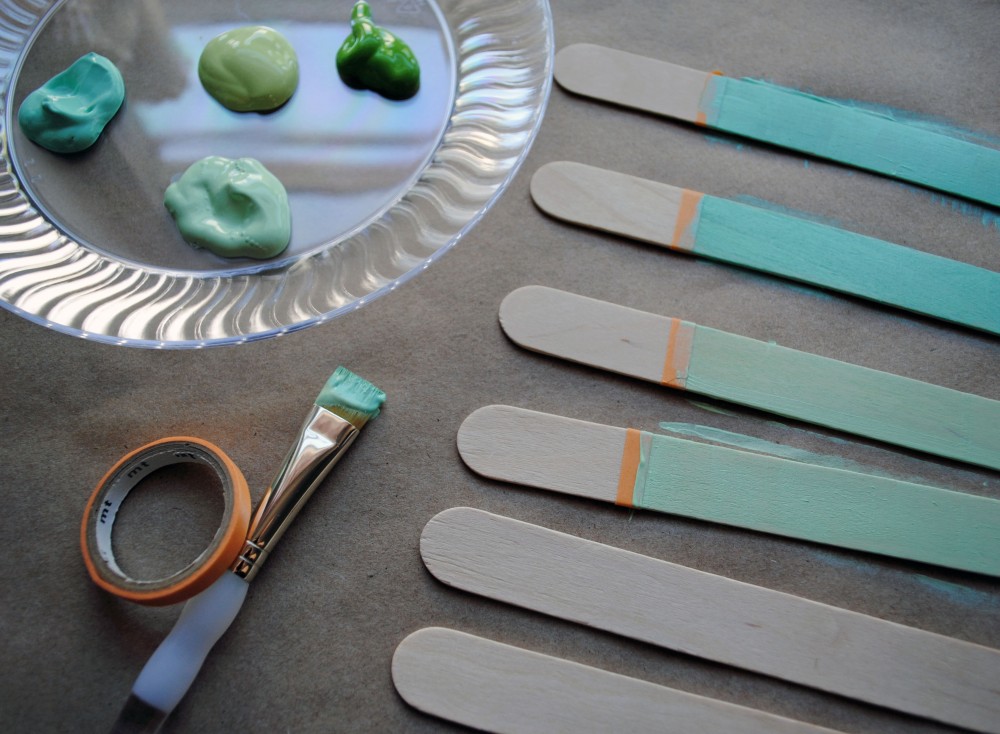
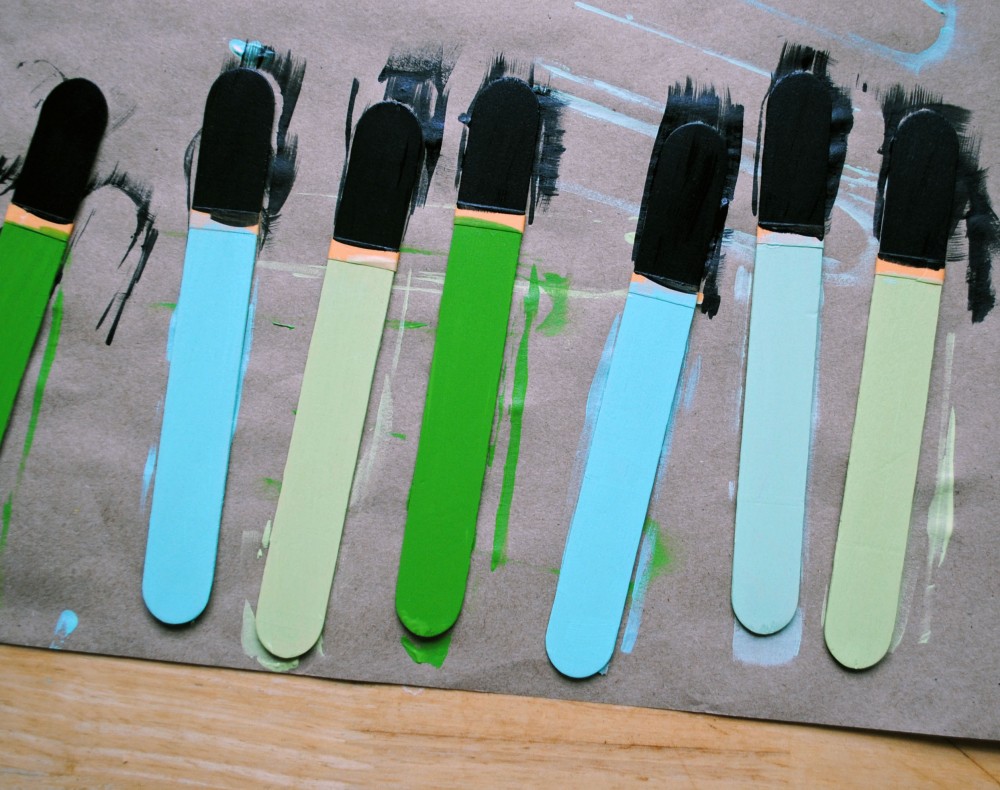
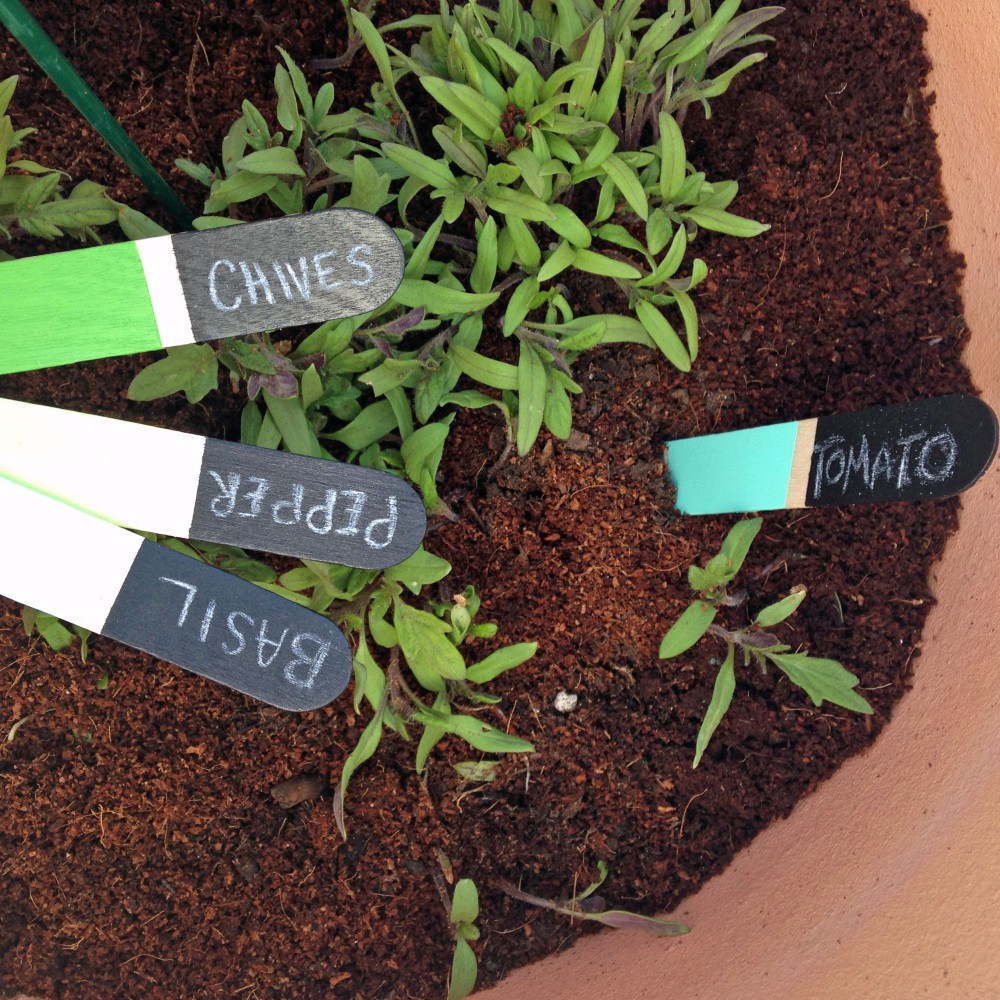
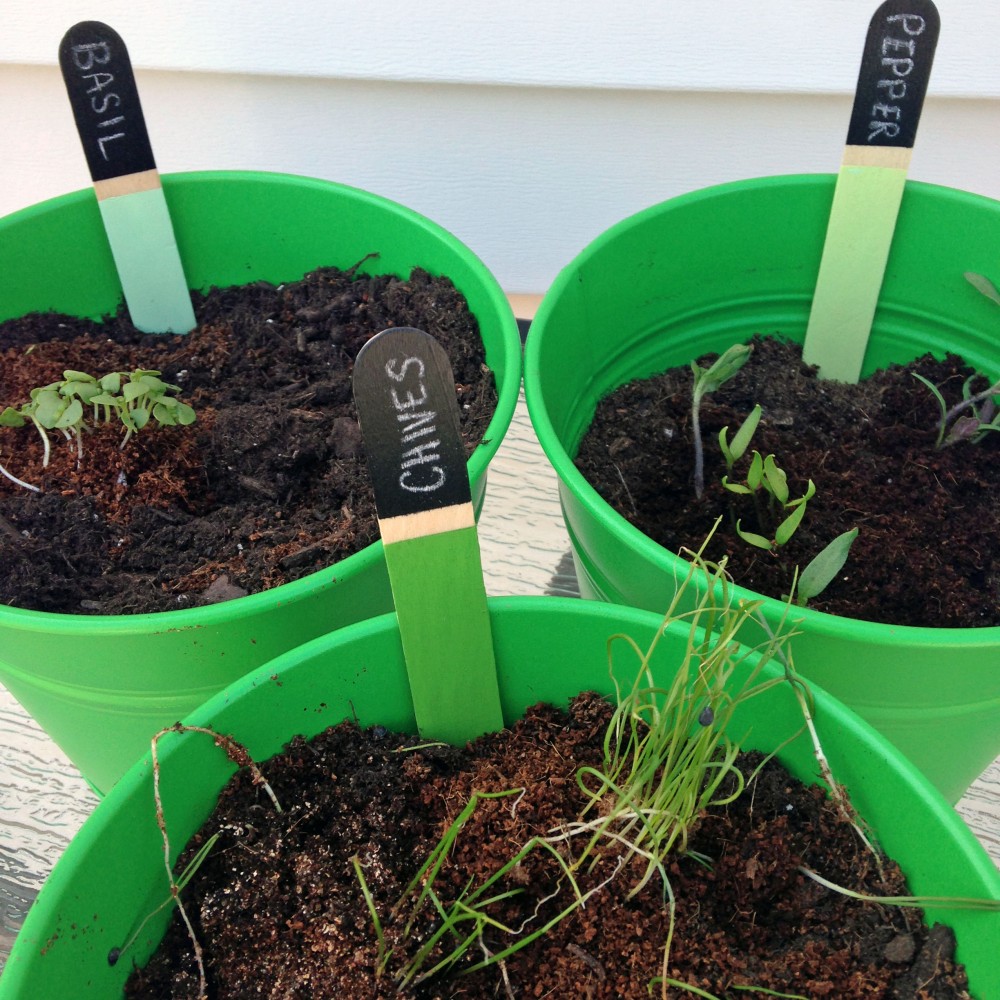
One of my most daunting items on my 30 before 30 list is this: grow something from a seed. That may seem like a fine task for the average human, but for all of my skills in the kitchen and DIY tendencies, I seem to have a black thumb (coupled with some very mischievous city squirrels that like to dig up anything I plant). I am determined this year though to make it happen, and have been growing some herbs and veggies on the porch that were just about ready to be re-potted this weekend into their homes for the summer. I decided to make a few plant markers out of popsicle sticks to keep my seedlings straight! A coat of acrylic paint on the bottom of the sticks gave them a pop of color, and I topped them with some chalkboard paint to make them easy to label — a quick and easy DIY. Now I just need to keep those plants alive! 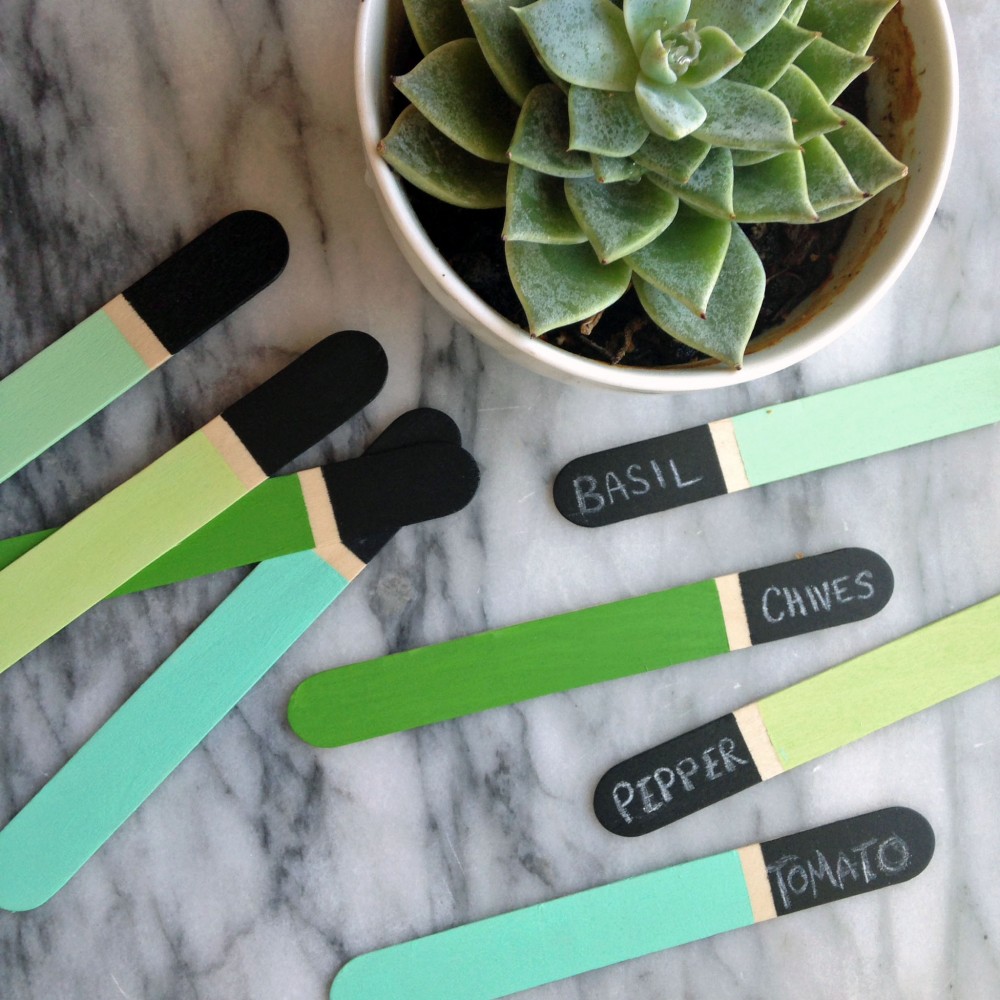
I don’t know about you guys, but this past weekend felt like a summer weekend to me — we had our first warm night out on the porch with friends and sipped on some warm weather beverages. With Memorial Day coming up this weekend, I partnered with Seagram’s Escapes to put together a little DIY to get you in the summer entertaining spirit! I am a fan of all things nautical, and decided to customize some koozies to keep my cocktails cool as the temperature rises. Read on for instructions to create your own nautical drink koozies.
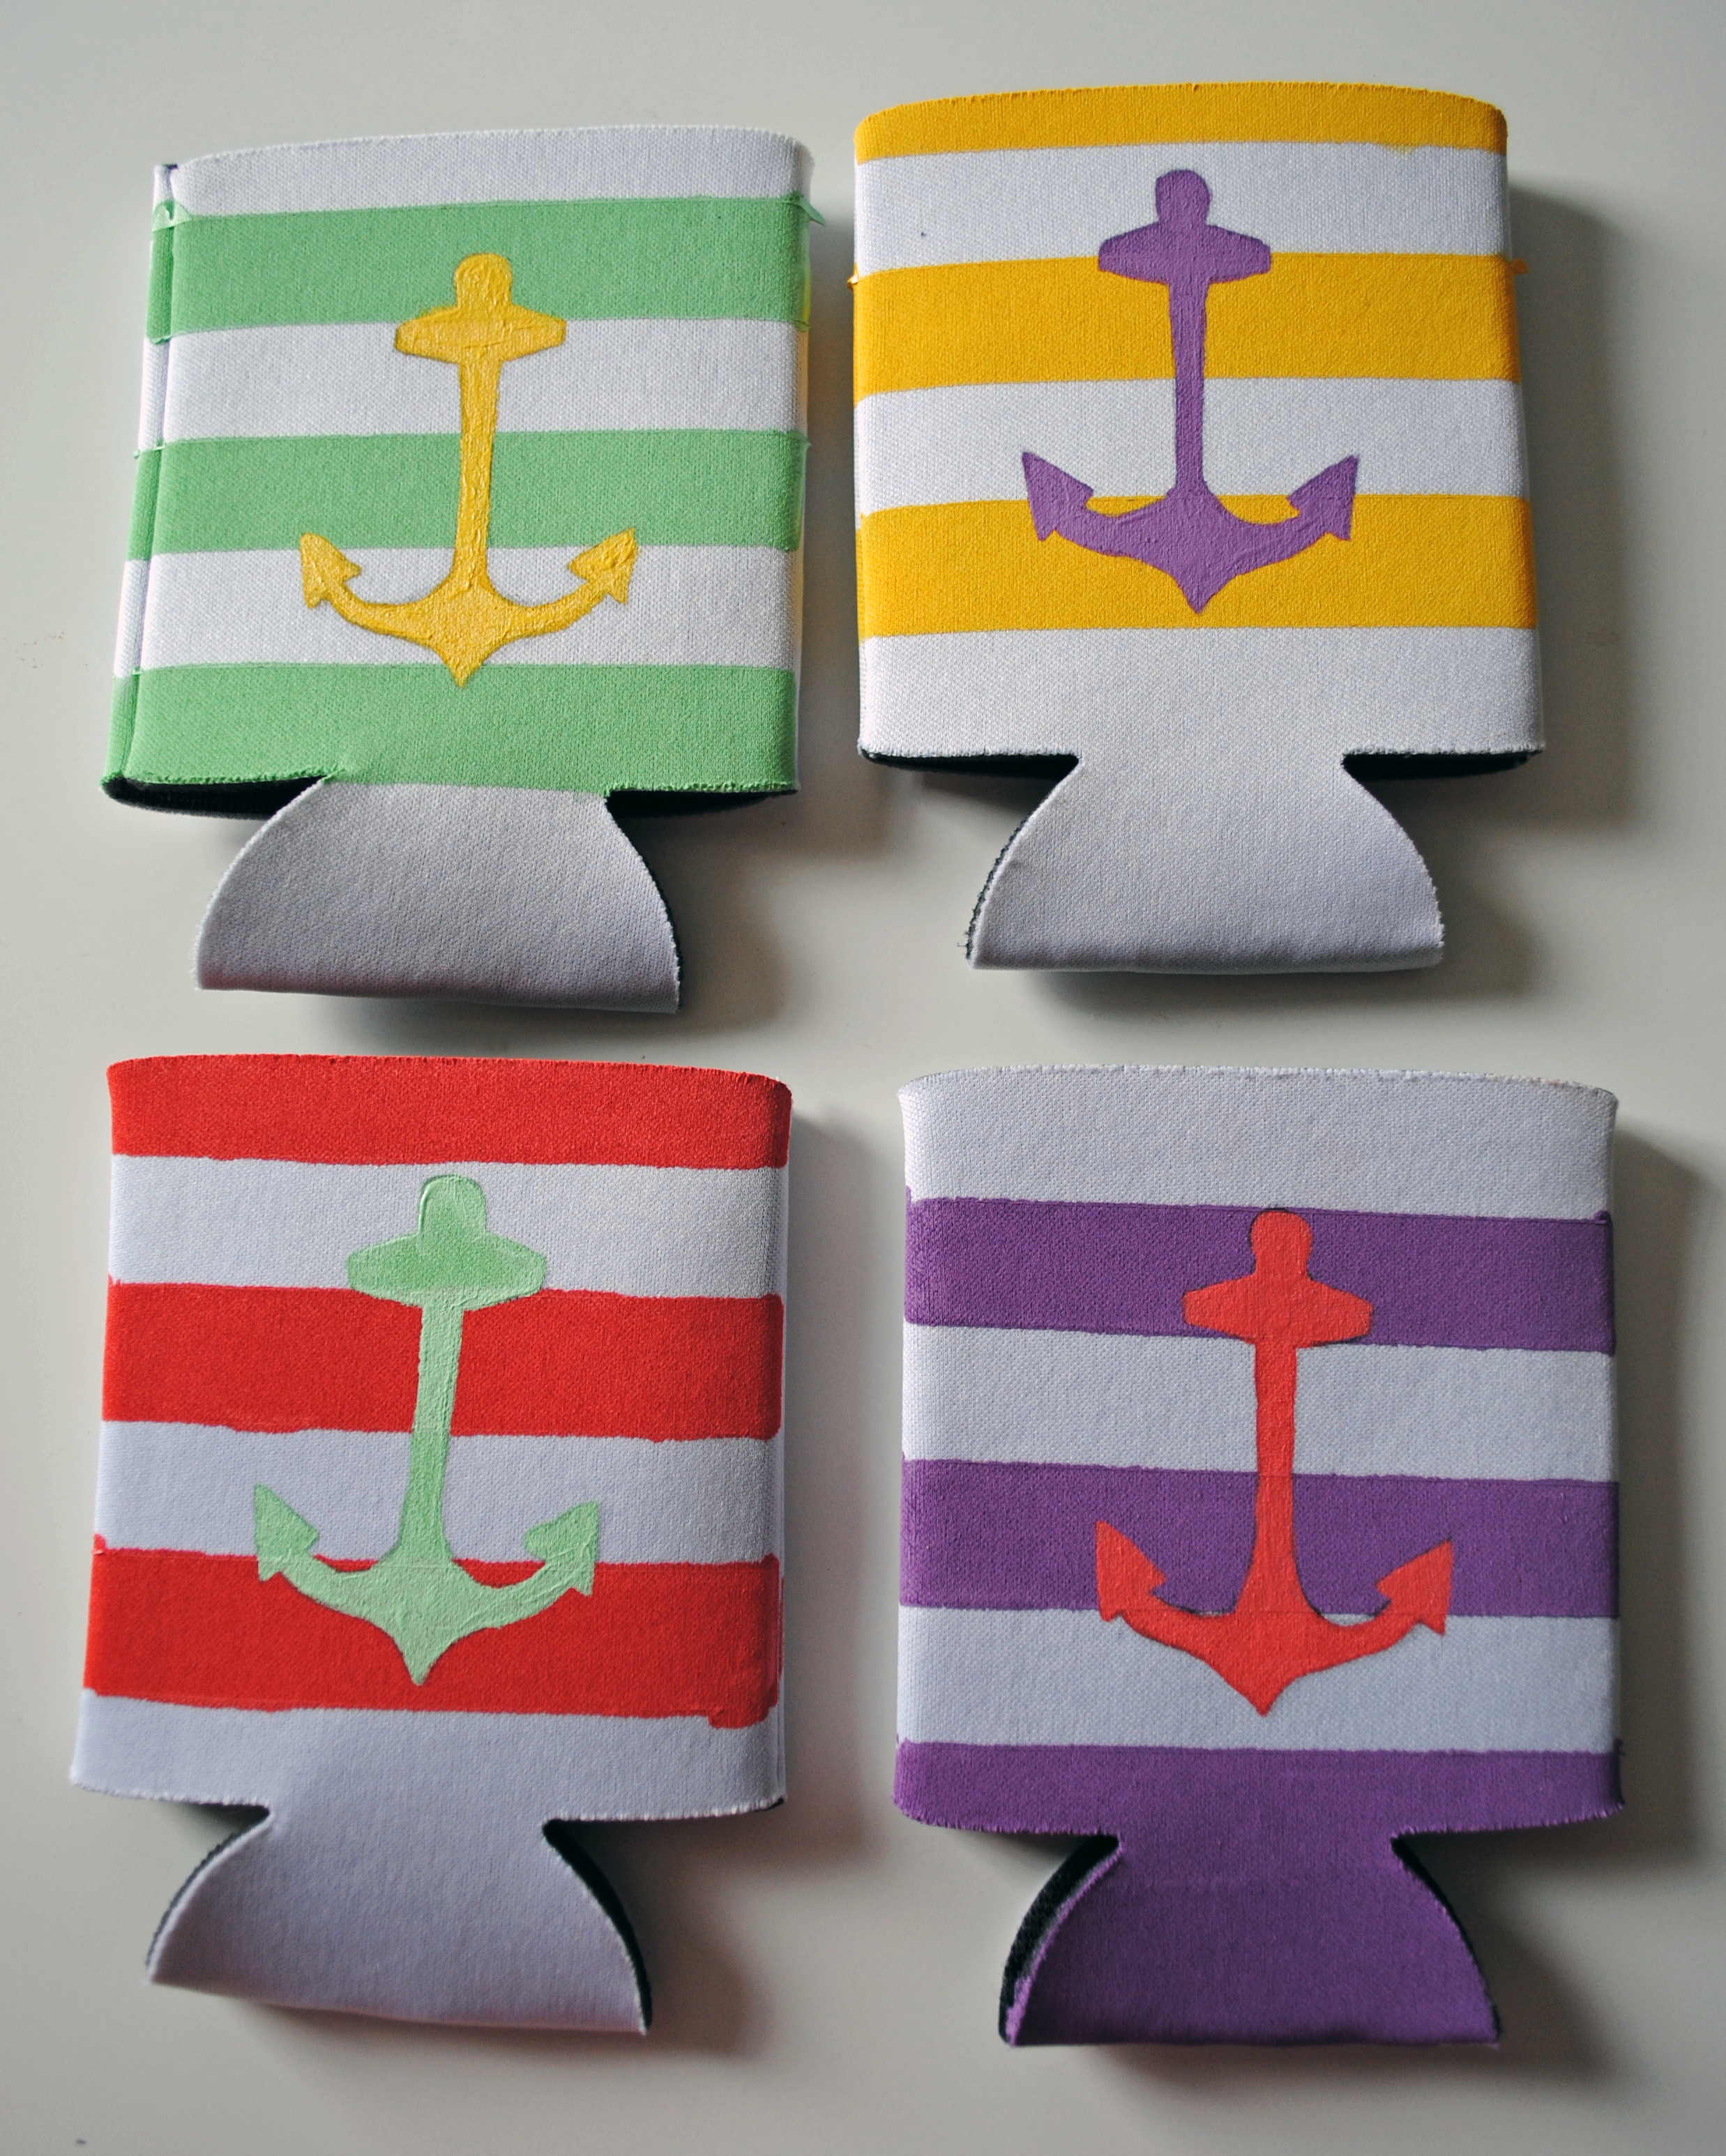
To start, use painters tape to mark off the stripes at consistent intervals on plain white drink koozies (I use the width of the tape to mark off where the next one starts to space them evenly). Once the stripes are taped off, paint the space between the taped lines and let it dry completely before removing the tape. Next, use a pencil to mark off your design — I used a stencil to draw an anchor for a nautical motif — and paint inside the traced shape. You may need to use two coats of paint when using a lighter color over a dark stripe. Be sure to let the koozies dry completely before using!


 If you’re interested in getting into the summer entertaining spirit, head over to the Seagram’s Escapes Facebook page and enter to win a Seagram’s Escapes party kit!
This post was sponsored by Seagram’s Escapes; all opinions and DIY ideas are my own.
To make your own custom koozies visit: Imprinted Koozies
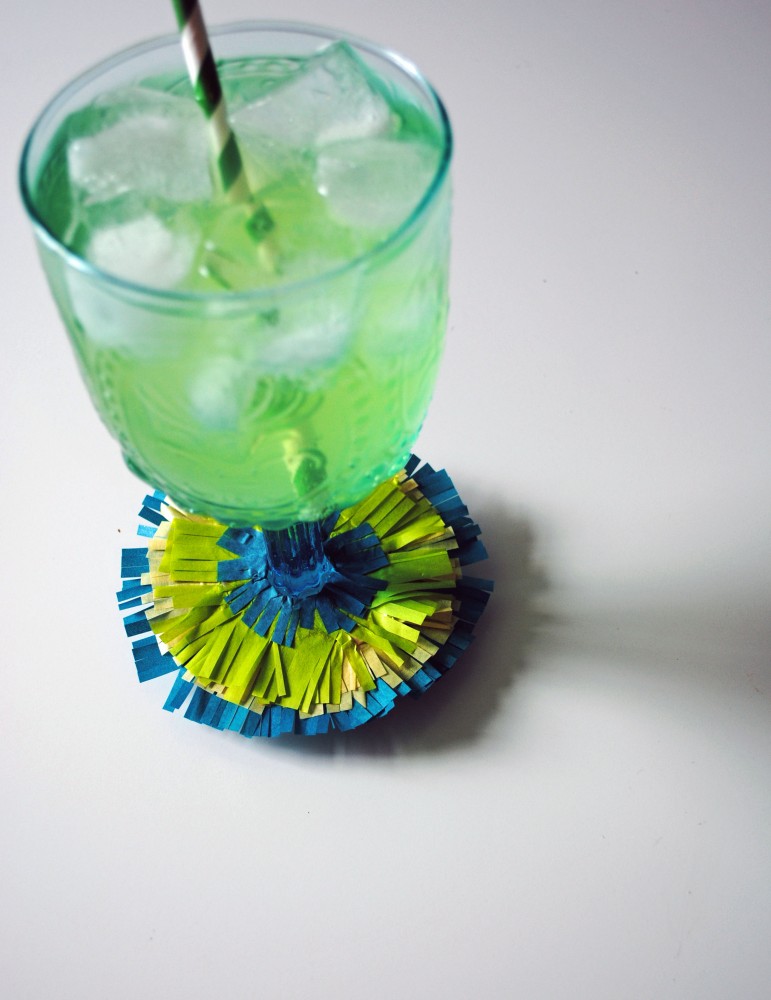
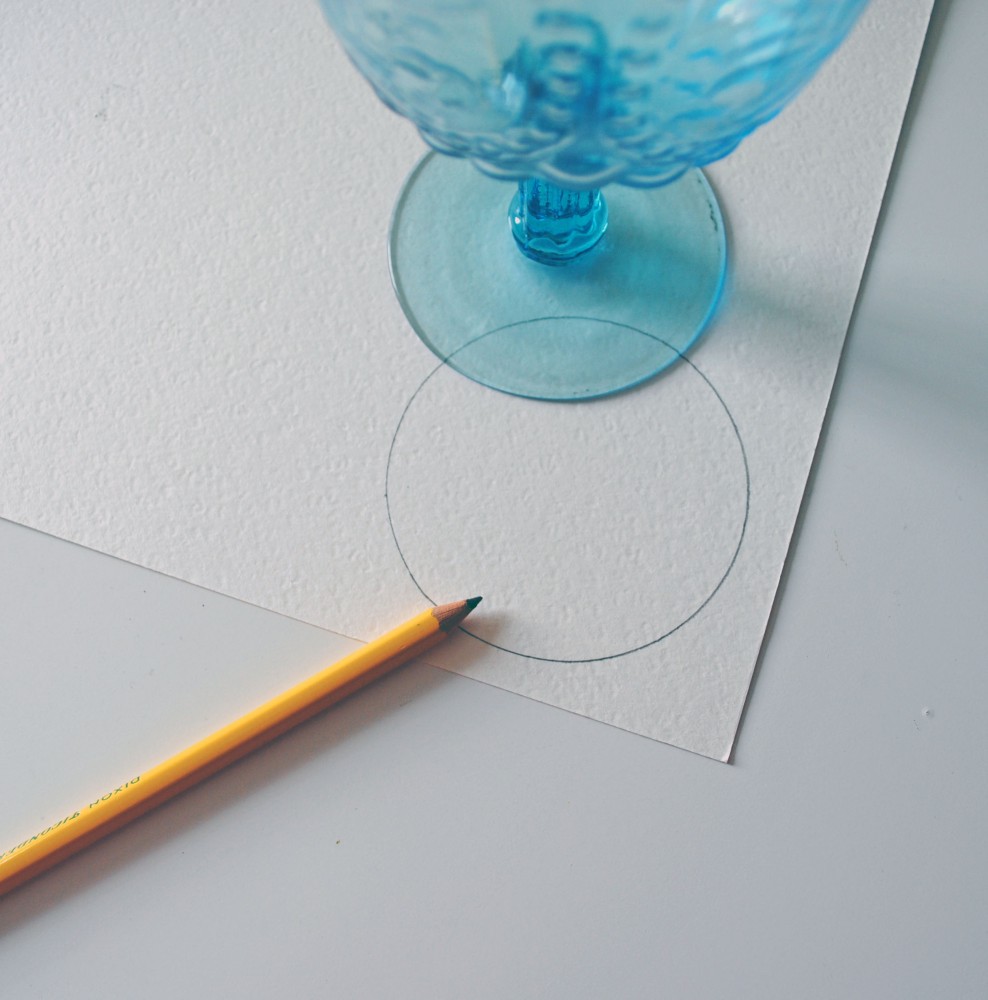
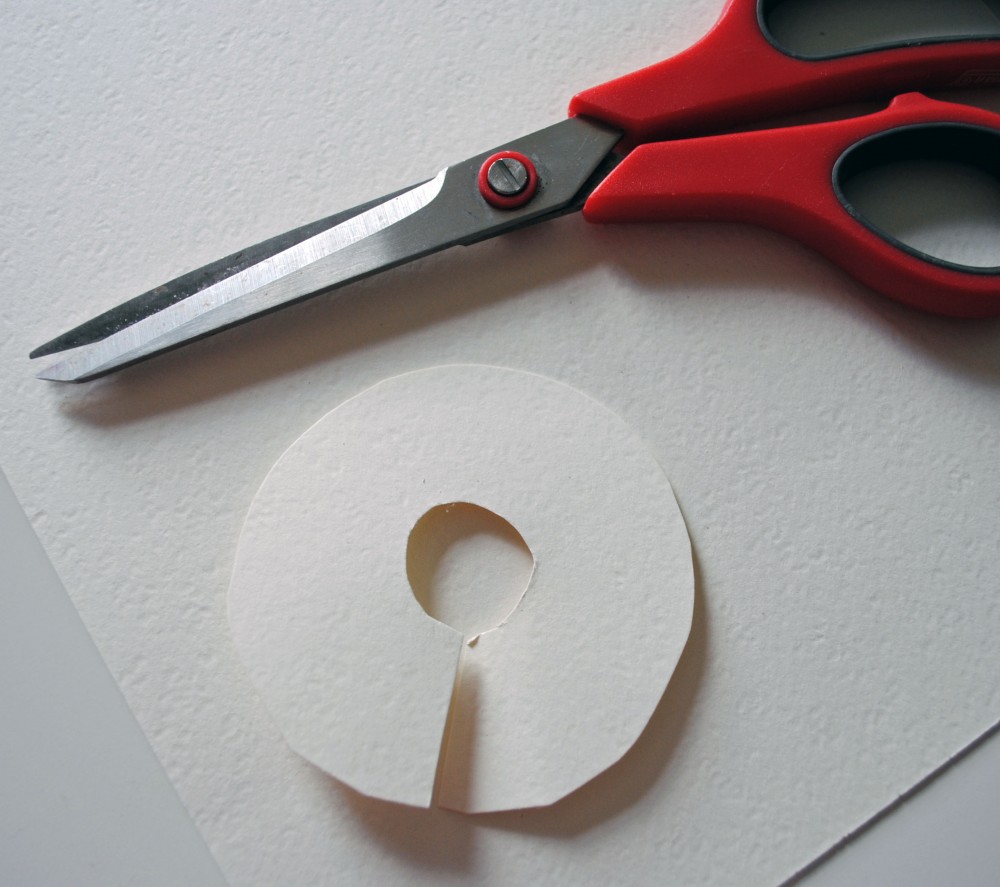
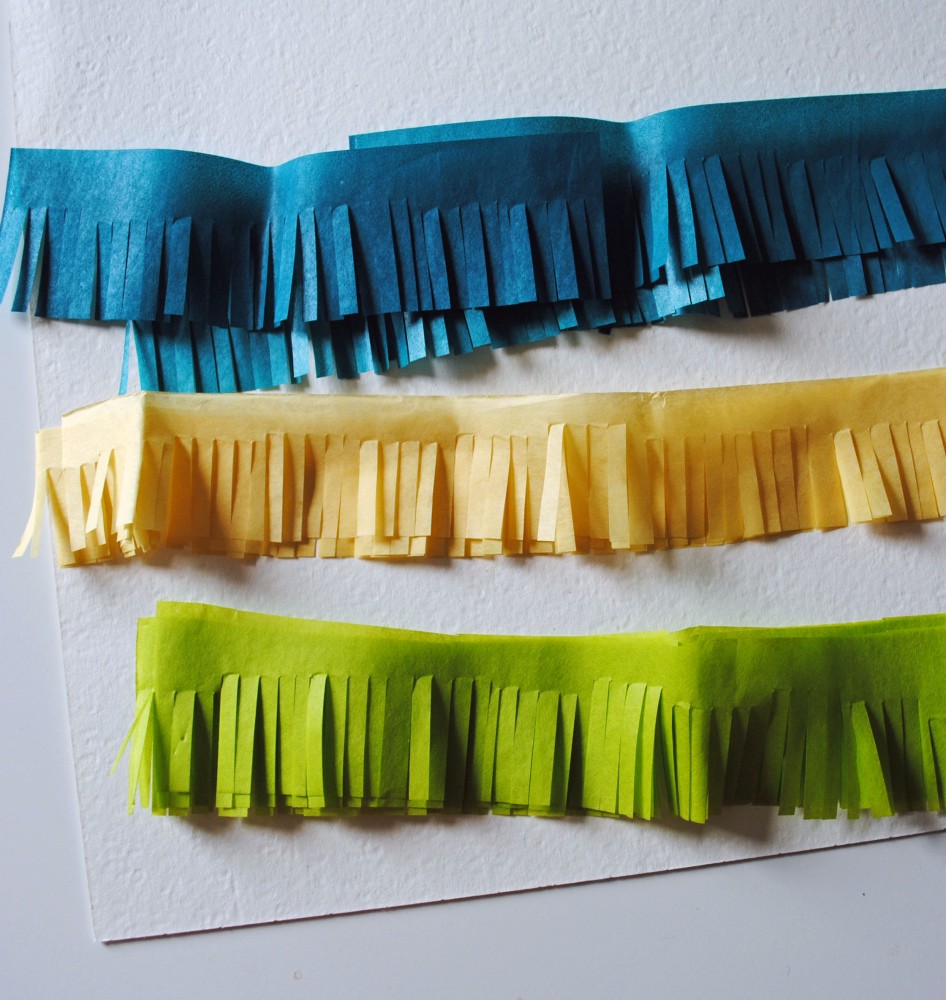
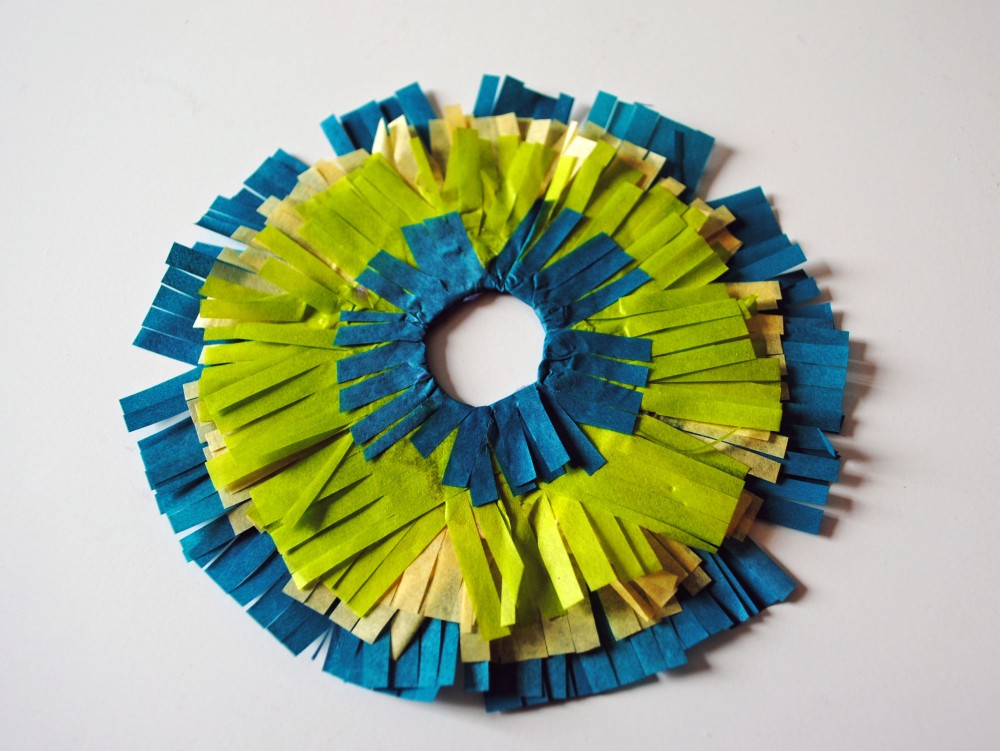
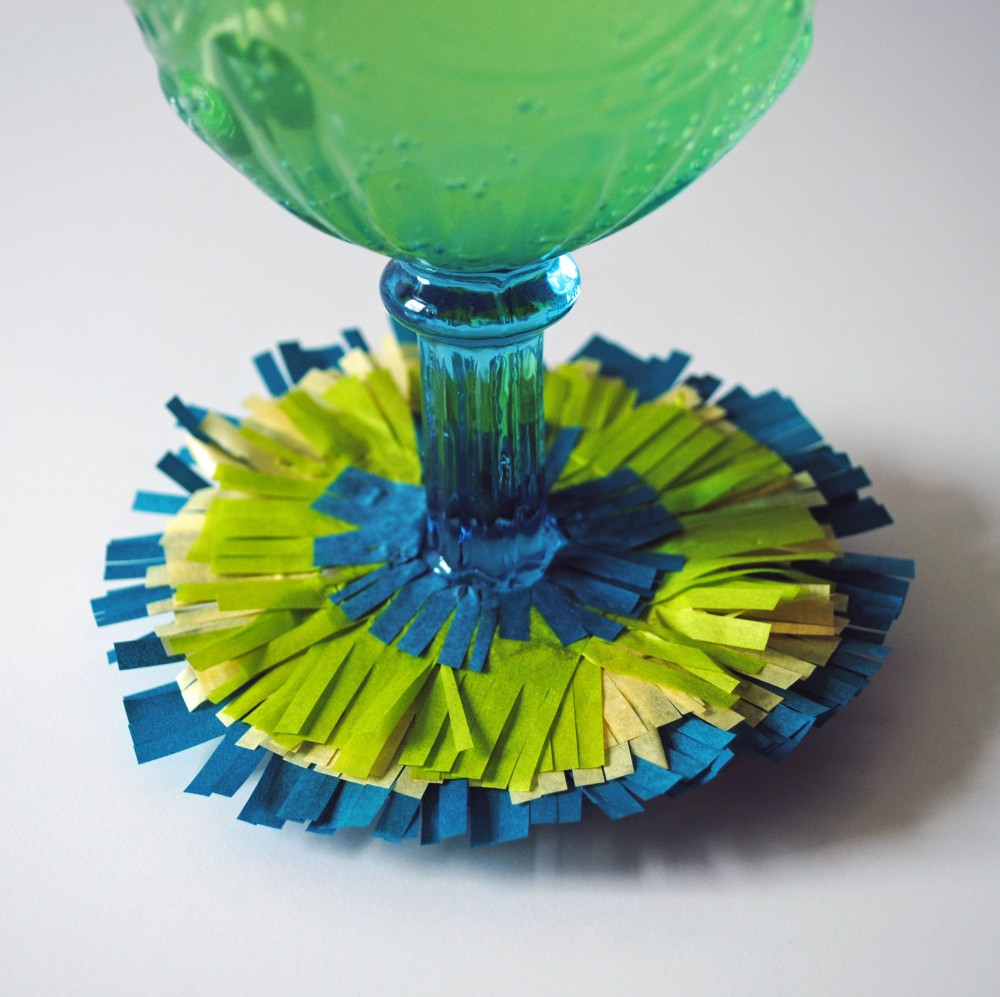
There is no better day than Cinco de Mayo to add a little extra flair to your cocktail, am I right? Which is why I made some pinata-inspired drink markers for our margaritas this year. Here’s how you make them: first, trace the bottom of your margaritas glasses on a piece of card-stock and cut out the circle. Then cut into the center of the circle about halfway, and cut out a smaller circle a little bigger than the circumference of the glass stem. Using strips of colored tissue paper, use fringe scissors to cut fringe. Cover the card-stock circle with glue and then start to wrap the fringed tissue paper around the outside. Repeat and layer on each new color until you’ve covered the full circle, and tuck the ends of the inner layer underneath the center circle to finish. Then slip your little pinata-inspired drink marker on to the bottom of your margarita and get ready to fiesta (think about making them in different colors to help your party guests identify their drinks!).
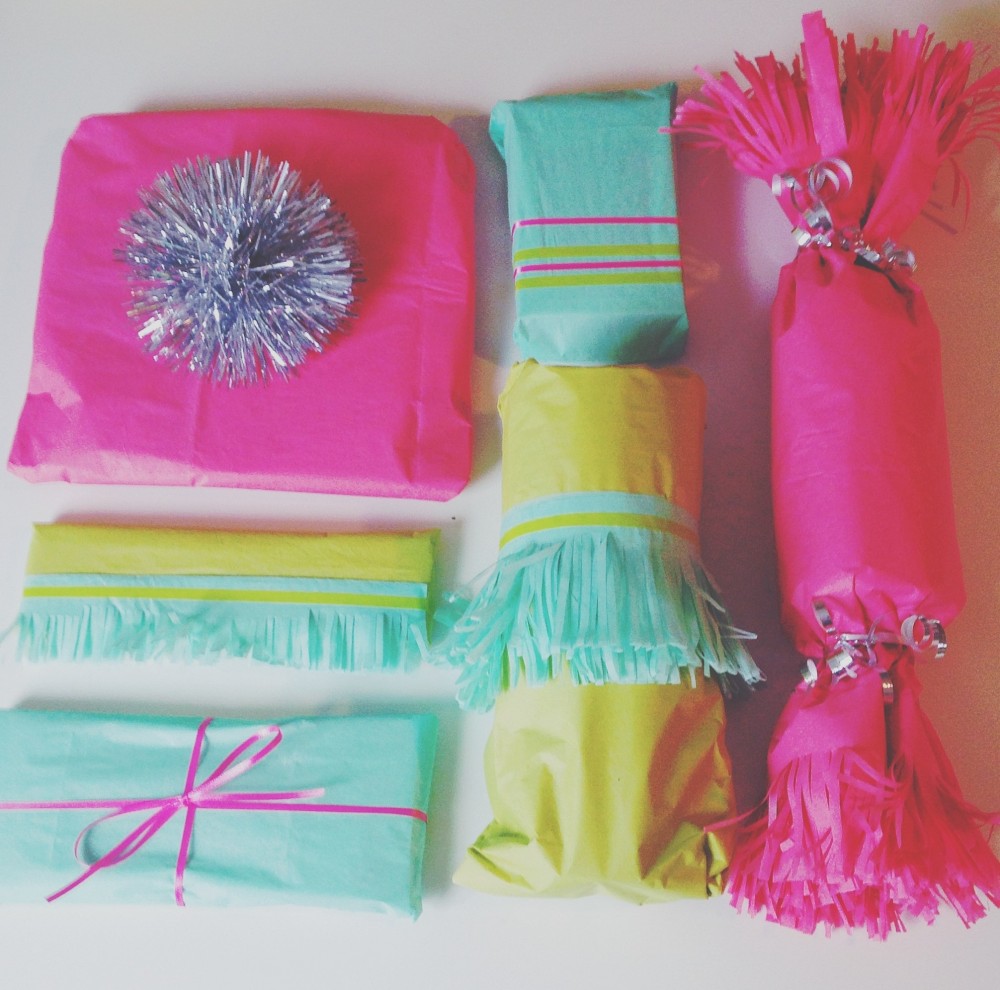
My little sister is born on Cinco De Mayo, so fiesta is a bit of an eternal theme for her birthday celebrations. I sadly can’t make her party this weekend so I decided to send a little fiesta in my place with some festive wrapping. I used fringe scissors, washi tape, and ribbons to give them an extra special treatment — and I think it’s official: I won’t be able to wrap a present without fringe ever again!

