I spent the day shopping at the outlets on Saturday and have come to the conclusion there is no avoiding the sparkles and sequins in every store right now for the holidays.
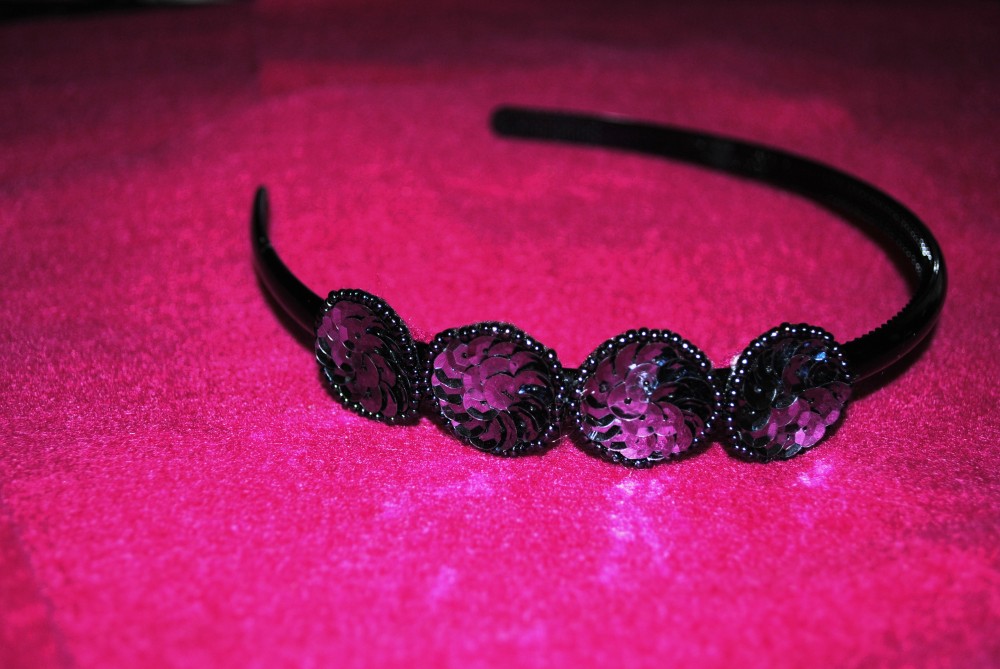
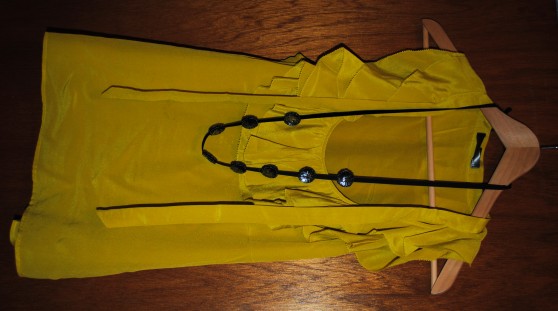
I came home sequin-less from my shopping excursion, but go to work DIYing a few sparkly pieces at home; I think it’s fair to say that sequins and glue guns go together like PB&J:
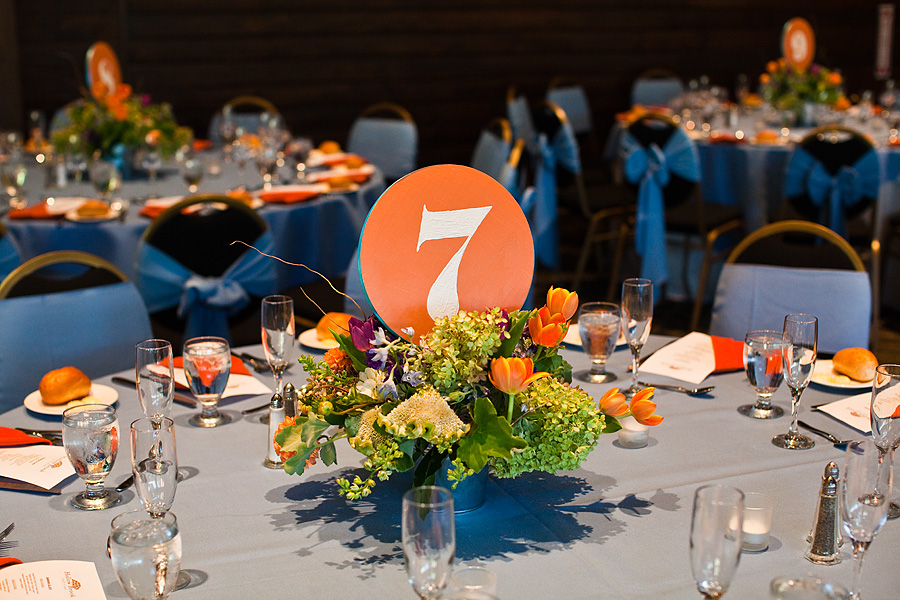
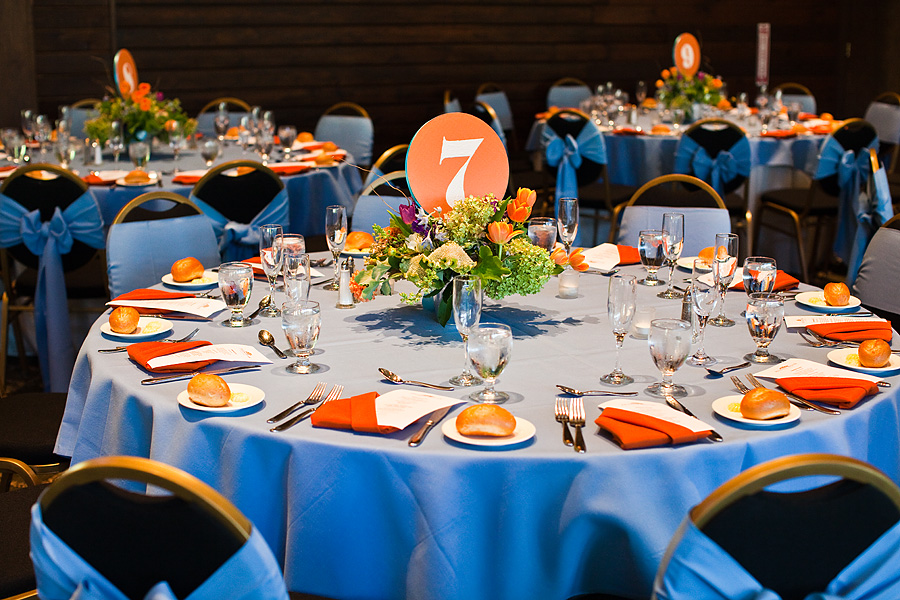
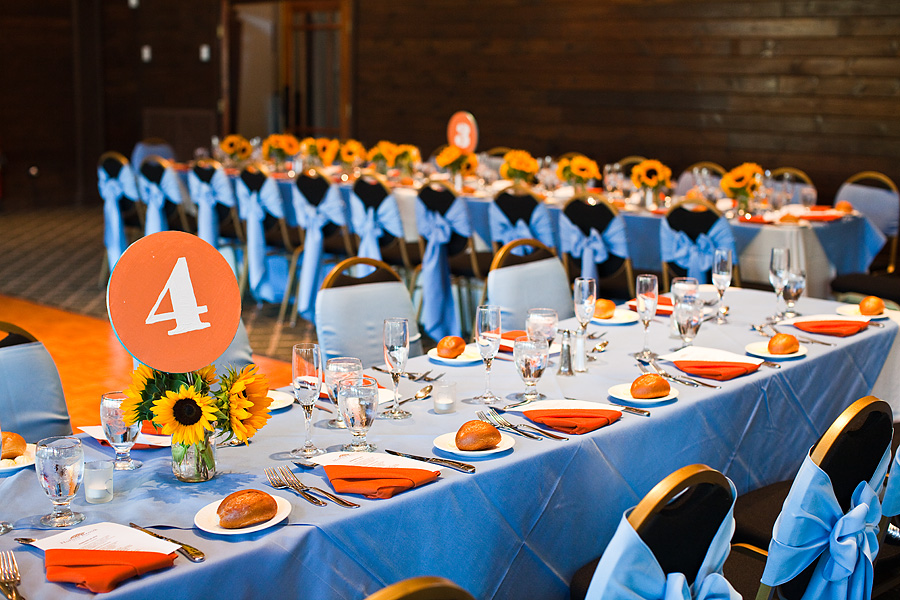
A few weeks ago I gave you a sneak peek at some decorations I was making for my friends’ wedding, and I’m happy to finally share the results.
I used some cake rounds, a little paint, and some ribbon to trim the edges to make the table numbers, and they were a nice pop of color to match the blue and orange theme!
This wedding was absolutely gorgeous. You MUST check out more of the amazing photos here at Bring To Light Photography.
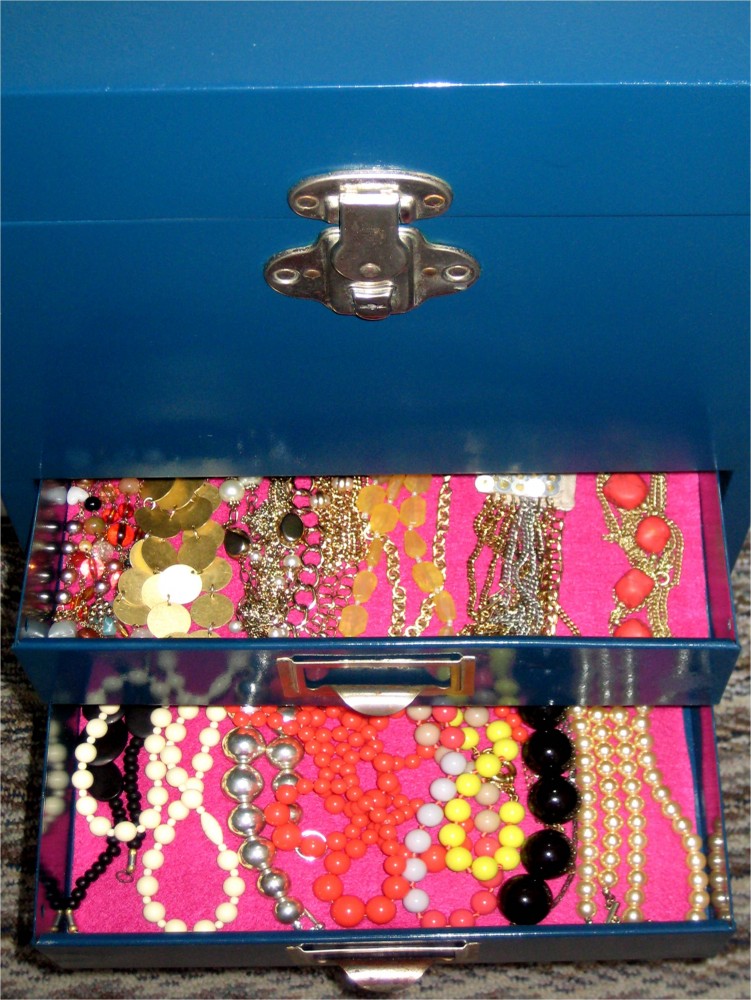
Check out my DIY Jewelry Armoire featured today over on Sweetie Pie Pumpkin Noodle‘s Vanity series, and be sure to check out all of the other great posts featuring blogger’s vanities this week!
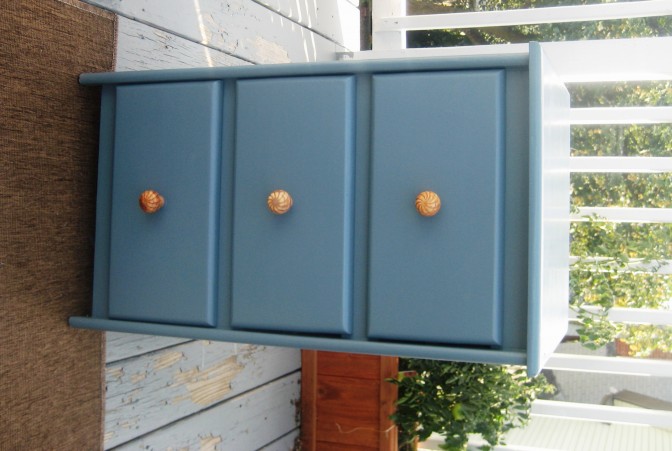
Finally getting around to sharing the first of my Brimfield refurbishment projects! The story of my nightstands is a long and excruciating one. To start, I searched for nightstands to fit in the small nooks next to my bed for weeks on craigslist to no avail. At Brimfield though, I magically happened upon two matching nightstands, that fit my measurement requirements, and were only $20 each! Here’s what they looked like before:
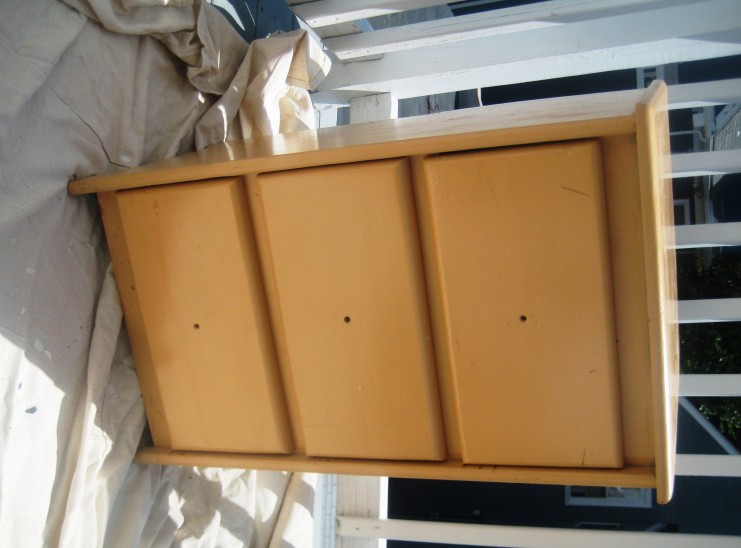 They needed some love and some new paint and hardware. I found the perfect color, Glidden’s French Grey, and scored an amazing deal on some knobs at anthropologie. I fell for the intricate carvings and worn ivory texture of the knobs. They were perfect! (Or so I thought).
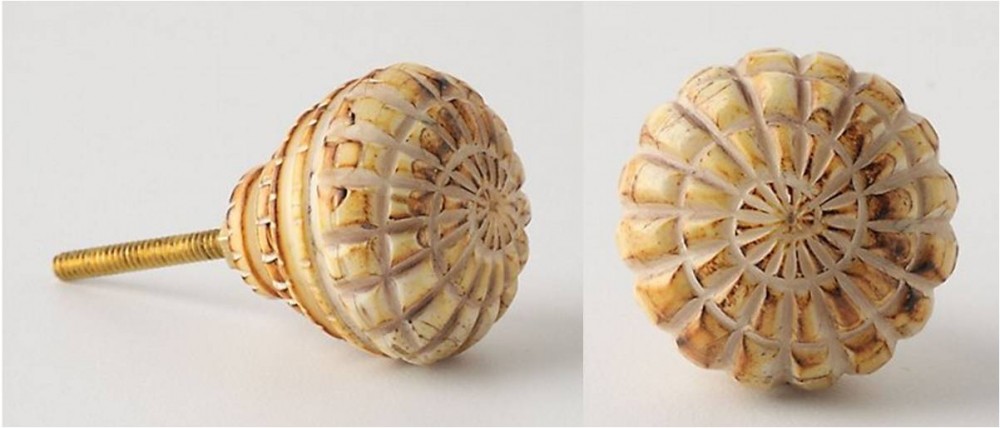 After painting the nightstands, and adding on the hardware — I was, to put it lightly, devastated with the outcome. From far away (as in — at the end of the bed), the knobs looked like unfinished wood and made the grey paint look much more like a blue. They had a shabby-chic-country look and that wasn’t my intention at all.
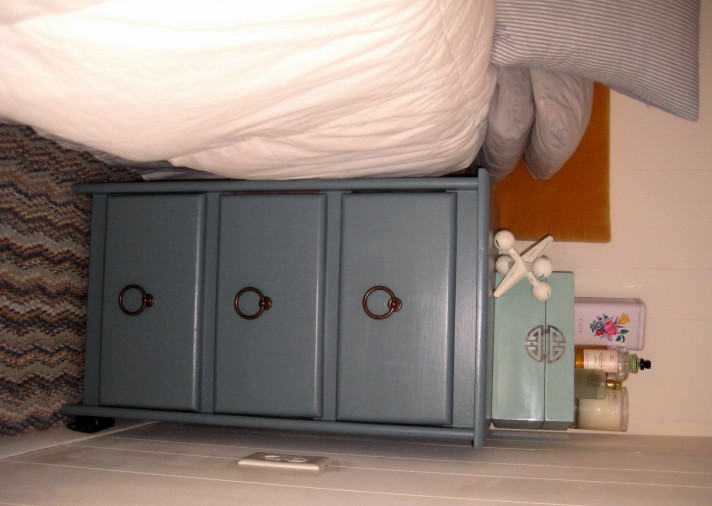
After some deliberation (and whining and moaning) I settled on changing out the hardware to see if I could “save” the look. I’ve admired ring pulls before and decided to bite the bullet and order them:
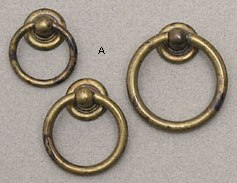 The result? A total save — I’m so happy with the new hardware. The grey looks more grey, and the nightstands no longer look like $20 outcasts!
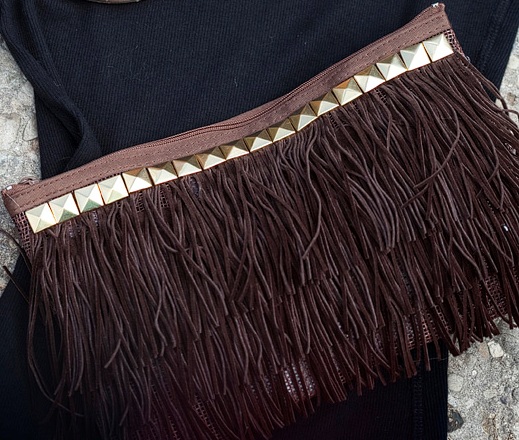
Today I’m going to be sharing the fourth and final of my CREATE COUTURE: The DIY Blogger Challenge tutorials, the Studded Fringe Clutch.
If you like what you see, don’t forget to vote!
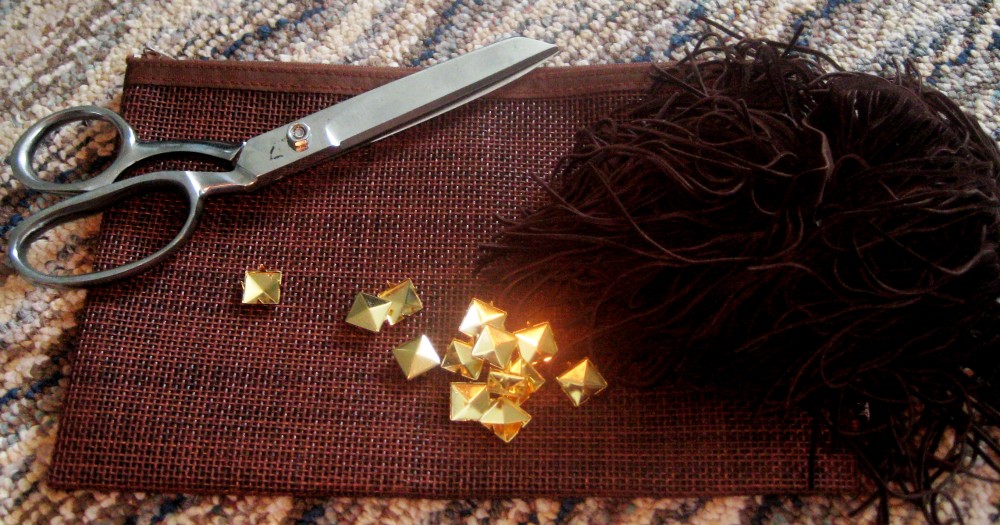
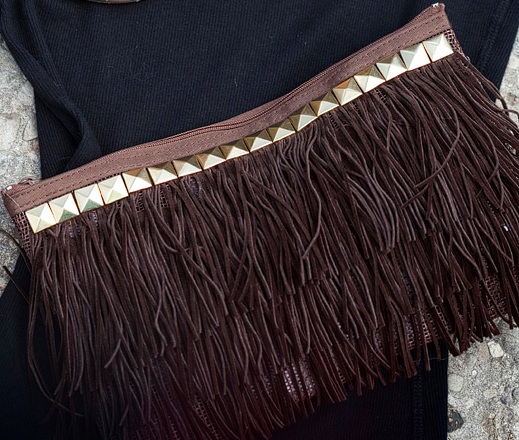 To make Studded Fringe Clutch you will need to first gather your materials. You will need: a hot glue gun, scissors, a pencil case (I found one in a perfect brown to match my fringe since it’s back-to-school season, and there is a large selection available right now), suedette fringe (the amount you need will depend on the pencil case you get, plan for a little over three-times the length of the pencil case), and about 20 XL pyramid studs (again, depending how big your pencil case is you may need more or less).
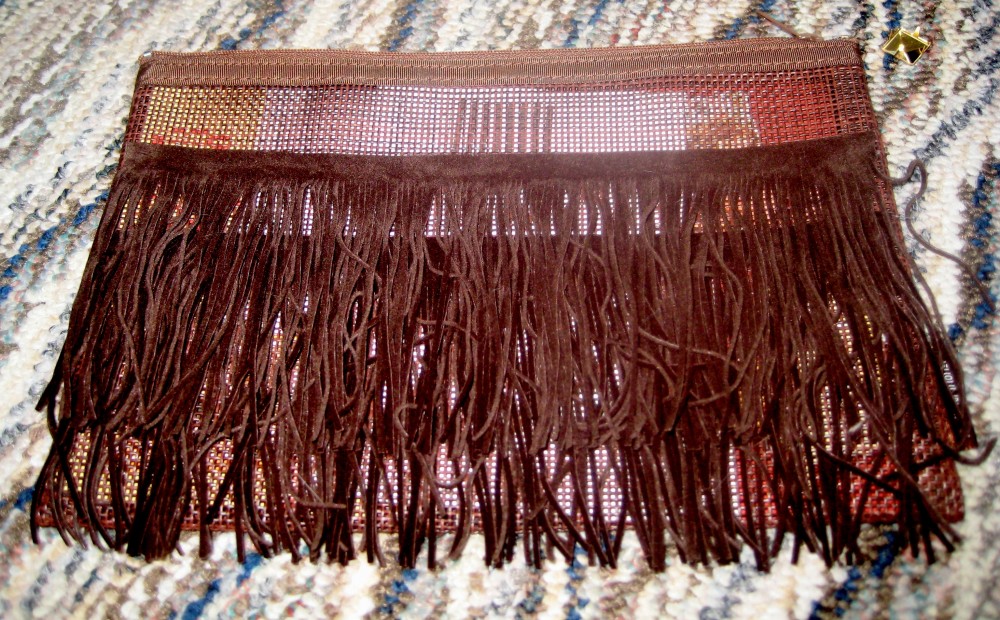
After you have all of your materials, take your fringe and measure it against the width of the pencil case. Use your scissors and cut a piece of the fringe to exactly the length of the pencil case. Then repeat this two more times so that you have three pieces of fringe trim that are the same length.
Next, line up the first piece of trim so that the bottom of the fringe is even with the bottom of the pencil case. Using your hot glue gun, lightly glue the top of the trim down to the pencil case. Wait a few seconds for the glue to set and then line up your second piece of trim so that the top of it sits halfway between the top of the first piece of trim and the top of the pencil case.
Finally, add the third piece of trim so it sits right under the top edge of the pencil case — make sure not to get hot glue too close to the zipper!
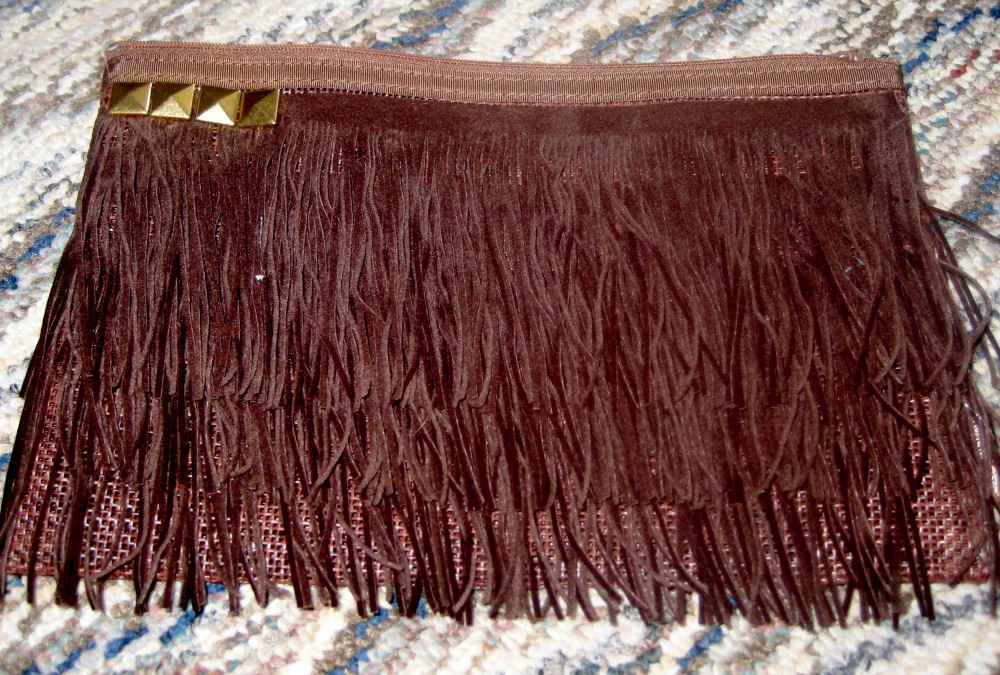
Now you’re ready to add the studs. Push the first stud through the material of your pencil case, making sure the stud lines up with the top edge. Make sure all prongs make it through the case and top layer of fringe, and then push the prongs of the stud back to lock them into place. They are soft enough to push by hand, though you can also use a pair of needle nose pliers too.
Continue to repeat the studding process, keeping the studs close to one another and aligned with the top of the pencil case, until you get all the way to the other edge.
Then enjoy your new rocker-chic studded fringe clutch! Fill it up with your purse essentials, or if you’re feeling particularly studious, perhaps some number 2 pencils!
Remember: Head over to NewYorkDesignShop to check out all of the bloggers’ designs and VOTE!
Other than my eternal gratitude, there’s something in it for you too: by voting for the DIY projects you like the best, you could win one of the winning bloggers’ creations, so head over and cast your vote!
(PS: Thanks to my BFF for taking pictures of my completed projects!)
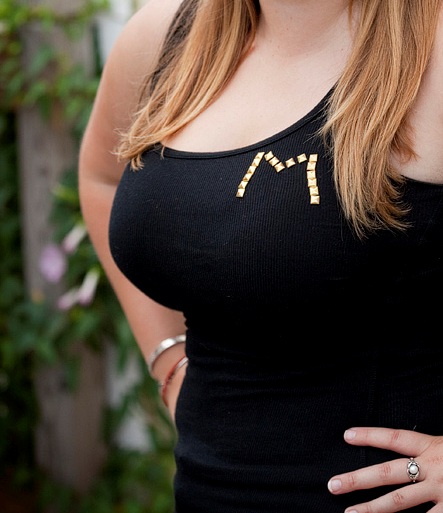
Today I’m going to be sharing the third of my CREATE COUTURE: The DIY Blogger Challenge tutorials, the Studded Monogram Tank.
If you like what you see, don’t forget to vote!
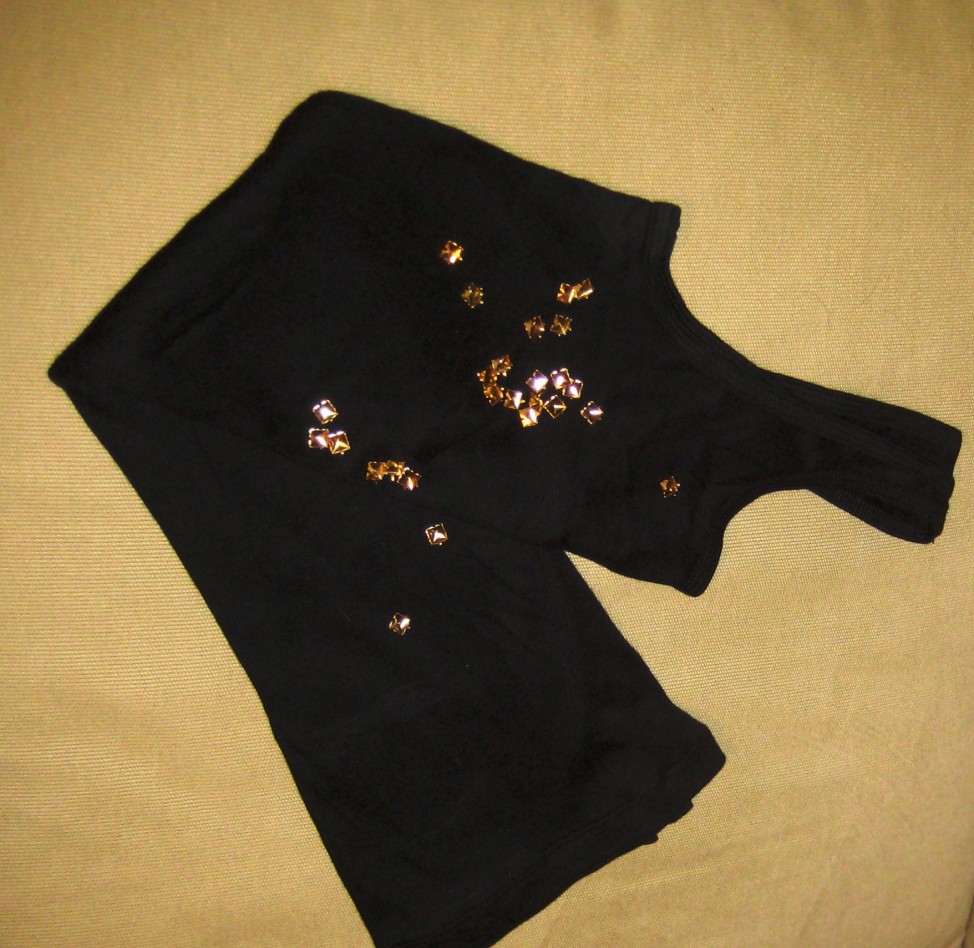
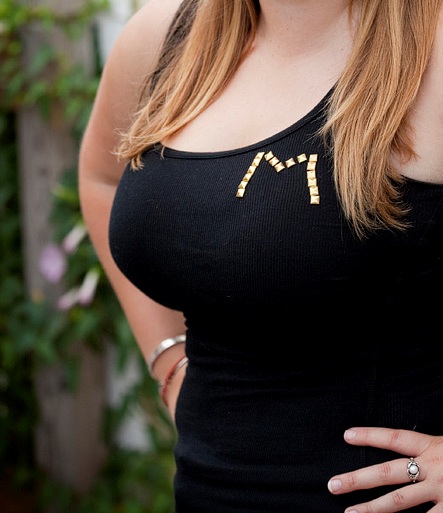 To make Studded Monogram Tank you will need to first gather your materials. You will need: a plain black tank top and a handful of mini pyramid studs.
After you have all of your materials, take your studs and start laying out the shape of your monogrammed letter.
The studs are square, so if you have a complicated letter, or want to do more than one, grab a piece of graph paper and try filling in the squares with a pen to plan out your shape. Then copy the shape with your studs by mimicking the number and layout of the squares.
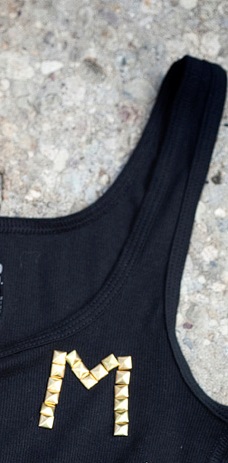
I chose an “M” for my sister’s first name — she’ll be getting this tank as a present for nominating me for this challenge!
Once you have the shape of the letter laid out, then you’re ready to add the studs. Push the first stud through the material of your tank-top. Make sure all prongs make it through the fabric, and then push the prongs of the stud back to lock them into place. They are soft enough to push by hand, though you can also use a pair of needle nose pliers too.
Continue to repeat the studding process, keeping the studs close to one another and aligned with the shape of the letter, until you get all the way to the end of your shape.
Then show off your monogrammed tank — it’s a perfect blend of edgy and preppy!
Remember: Head over to NewYorkDesignShop to check out all of the bloggers’ designs and VOTE!
Other than my eternal gratitude, there’s something in it for you too: by voting for the DIY projects you like the best, you could win one of the winning bloggers’ creations, so head over and cast your vote!
(PS: Thanks to my BFF for taking pictures of my completed projects!)
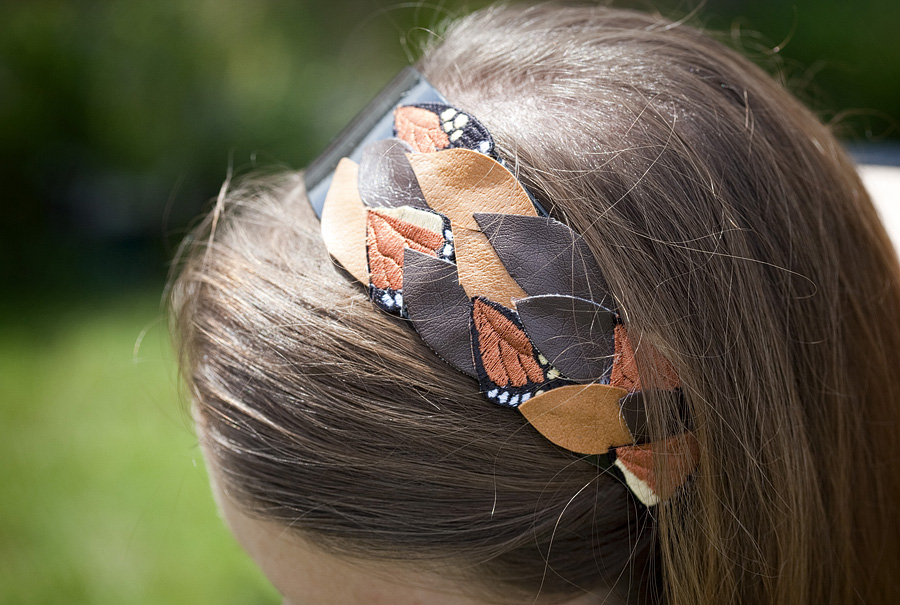
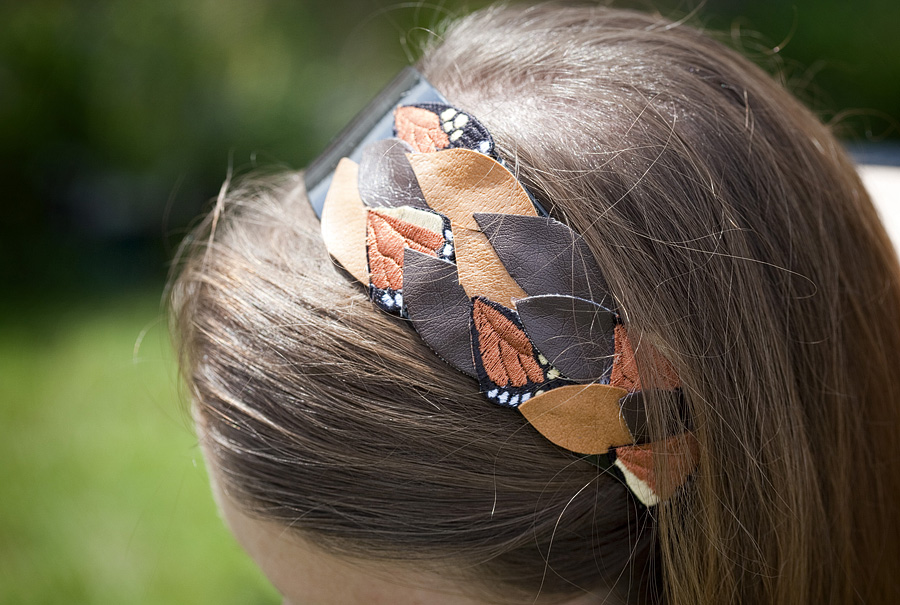
Today I’m going to be sharing the second of my CREATE COUTURE: The DIY Blogger Challenge tutorials, the Woodland Headband.
If you like what you see, don’t forget to vote!
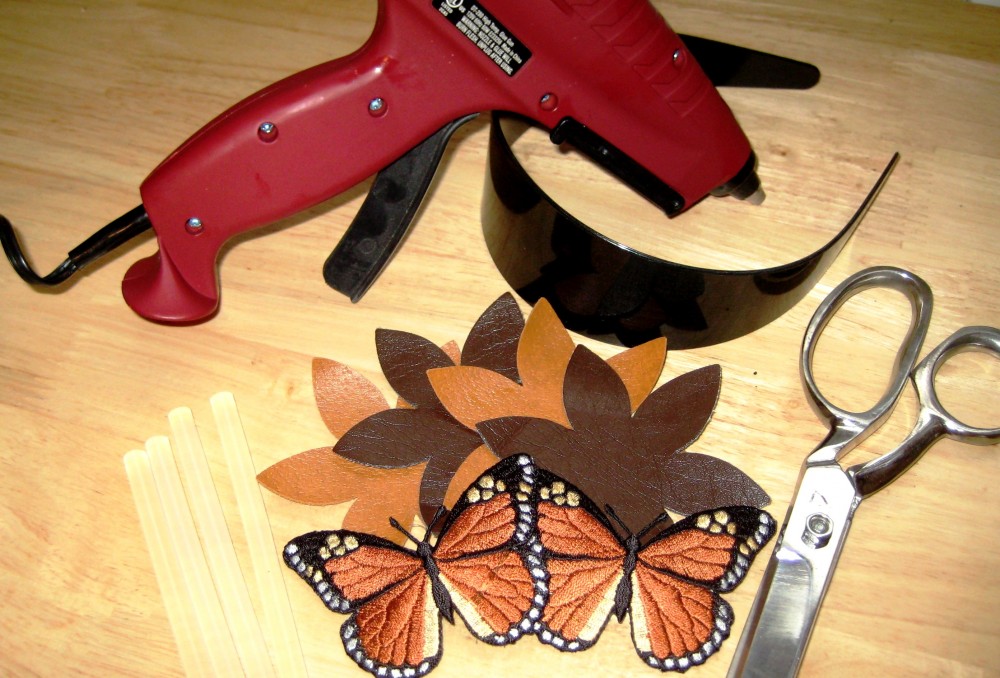
To make Woodland Headband you will need to first gather your materials. You will need: scissors, a glue gun, a plain, thick headband, two large butterfly appliqués, and four large leather flower appliqués (I used the light brown and dark brown colors).
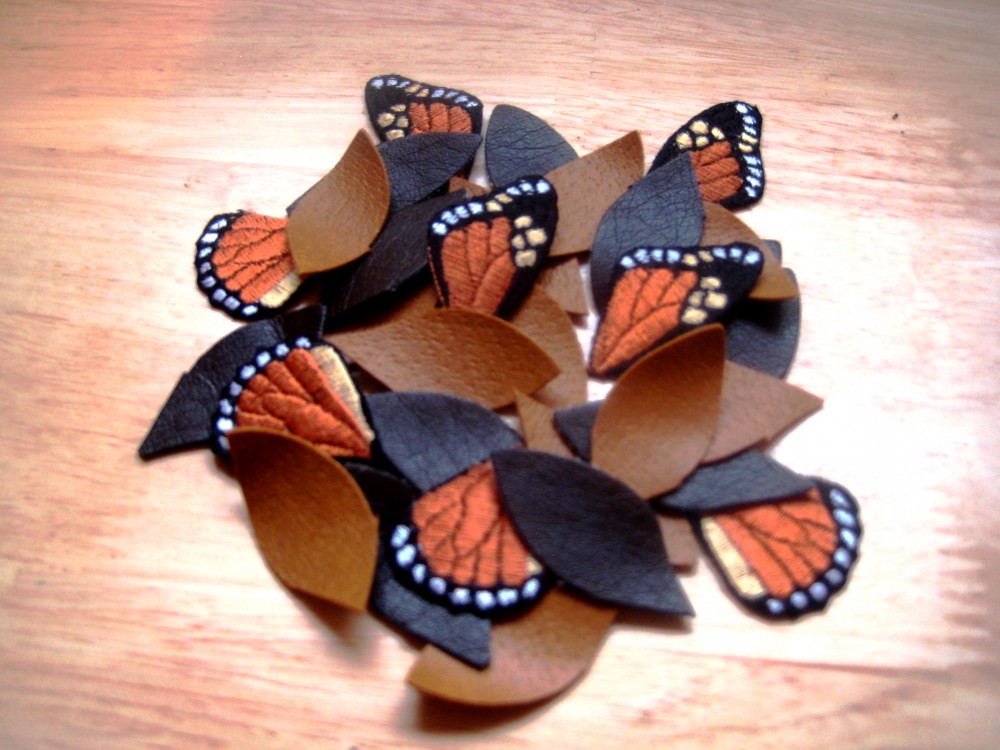
After you have all of your materials, take your scissors and cut the butterfly appliqués in half along the edges of the wings, and then again alongside the edges of the wings, separating the patch into quarters. This should leave you with four pieces for each appliqué.
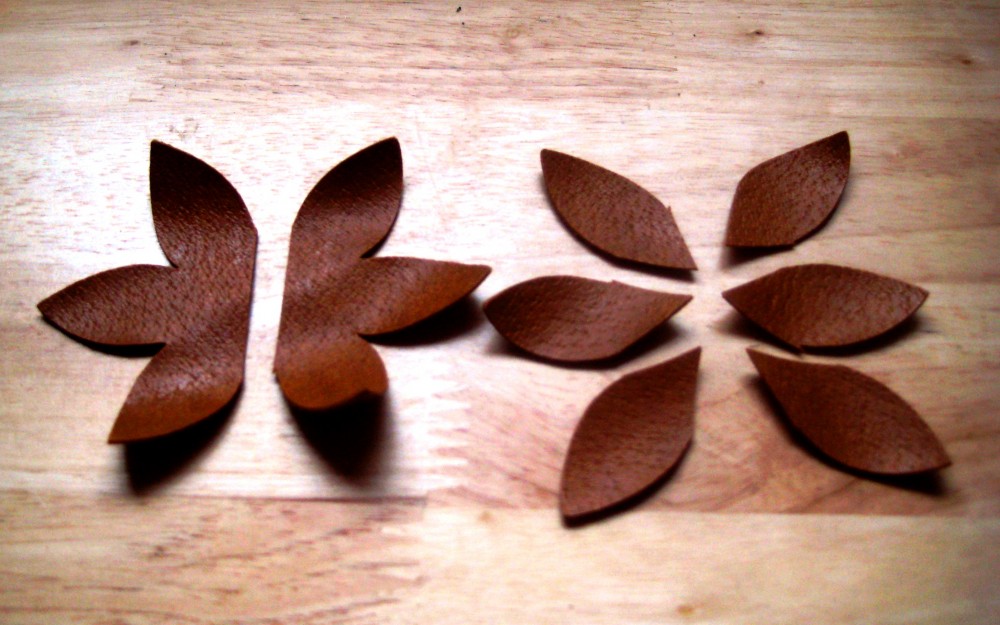
Next, take your scissors and cut the leather flower appliqués in half, and the separate each half into three individual pieces. Cut the pieces at angles to shape each piece into an individual leaf shape.
Now you should have a pile of leather leaves and butterfly pieces. Arrange the pieces however you like, slightly layering each piece over the next and gluing them down onto the headband.
Keep gluing until you reach the bottom. I layered mine in such a way to try and create a braided effect. Make sure to let it dry before you try it on — you don’t want glue-gun strands stuck in your hair!
Remember: Head over to NewYorkDesignShop to check out all of the bloggers’ designs and VOTE!
Other than my eternal gratitude, there’s something in it for you too: by voting for the DIY projects you like the best, you could win one of the winning bloggers’ creations, so head over and cast your vote!
(PS: Thanks to my BFF for taking pictures of my completed projects!)
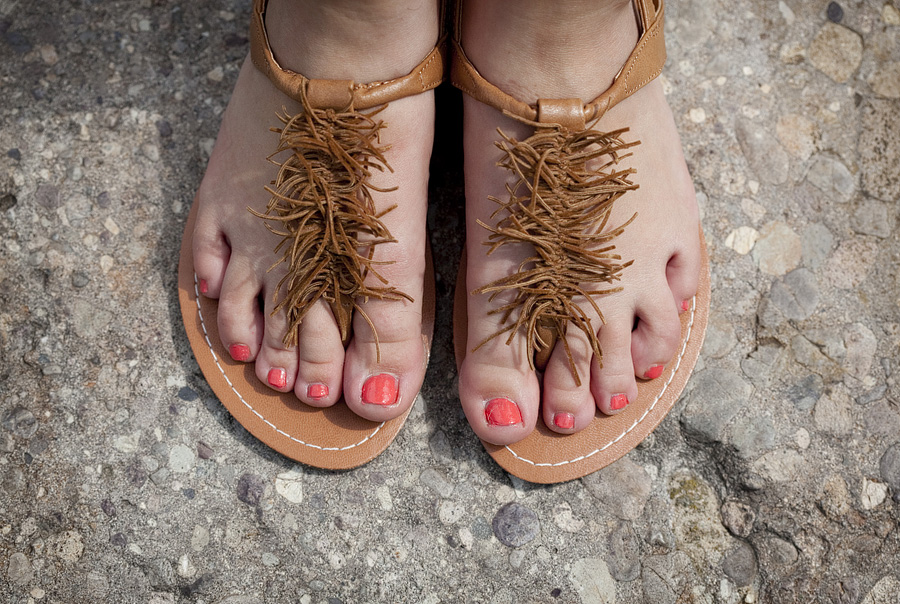
Today I’m going to be sharing the first of my CREATE COUTURE: The DIY Blogger Challenge tutorials, the Bohemian Fringe Sandals.
If you like what you see, don’t forget to vote!
To make the Bohemian Fringe Sandals you will need to first gather your materials. You will need: scissors, plain sandals (mine had some jewels on them, but I just popped them off), and about 6″ of the suedette fringe.
After you have all of your materials, take your scissors and cut all of the fringe threads off of the suede band that holds the trim together. This should leave you with a pile of individual strands of suede.
After all of the strands are cut, get yourself in front of some junky reality TV or a chick-flick, because the next step is a bit tedious! Starting from the top, double-knot individual strands of the fringe around the center section of the sandal, making sure to keep the strands centered.
Repeat this process and continue to tie the strands all the way down the center of the sandal, until you get right to the bridge of where the sandal will meet the toes (you may want to try the sandals on as you get close to the end to make sure the fringe stops at a comfortable spot for your feet).
And there you have it, a little suede tassel trim to spice up your summer sandals:
Remember: Head over to NewYorkDesignShop to check out all of the bloggers’ designs and VOTE! (for me preferably!)
Other than my eternal gratitude, there’s something in it for you too: by voting for the DIY projects you like the best, you could win one of the winning bloggers’ creations, so head over and cast your vote!
(PS: Thanks to my BFF for taking pictures of my completed projects!)
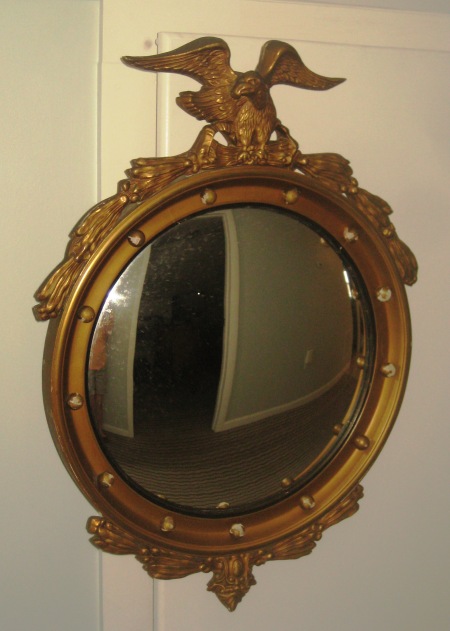
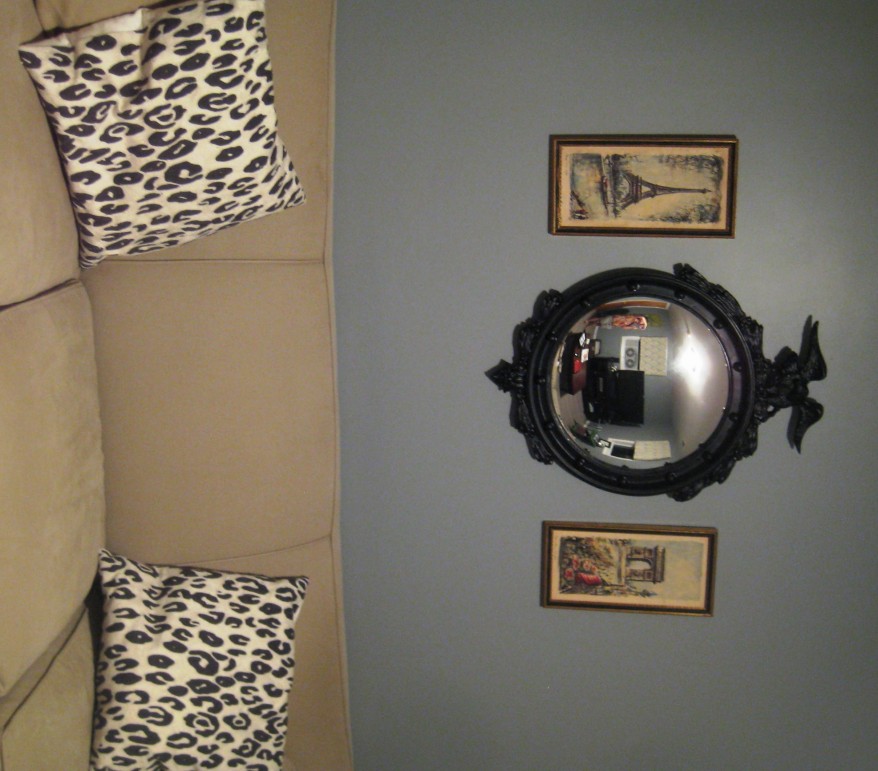
I have another before and after today — this time of the mirror I scored at the Todd Farm flea market. A fresh coat of black paint and this:
…now looks delightful in my living room like this:

