I’ve been documenting the process for my mini kitchen makeover on instagram stories, and am finally sharing the final reveal today! This kitchen nook is small but mighty, and for the past 5+ years I’ve tested 100s of recipes, made more meals than I can count for my family, and wrote a cookbook in it! The space was terribly outdated with old, beat up wood cabinets and a yellowing laminate backsplash. The look of it drove me crazy, but it’s very functional and everything still worked, so I put off making any updates to it until we could do a major kitchen renovation in the future. 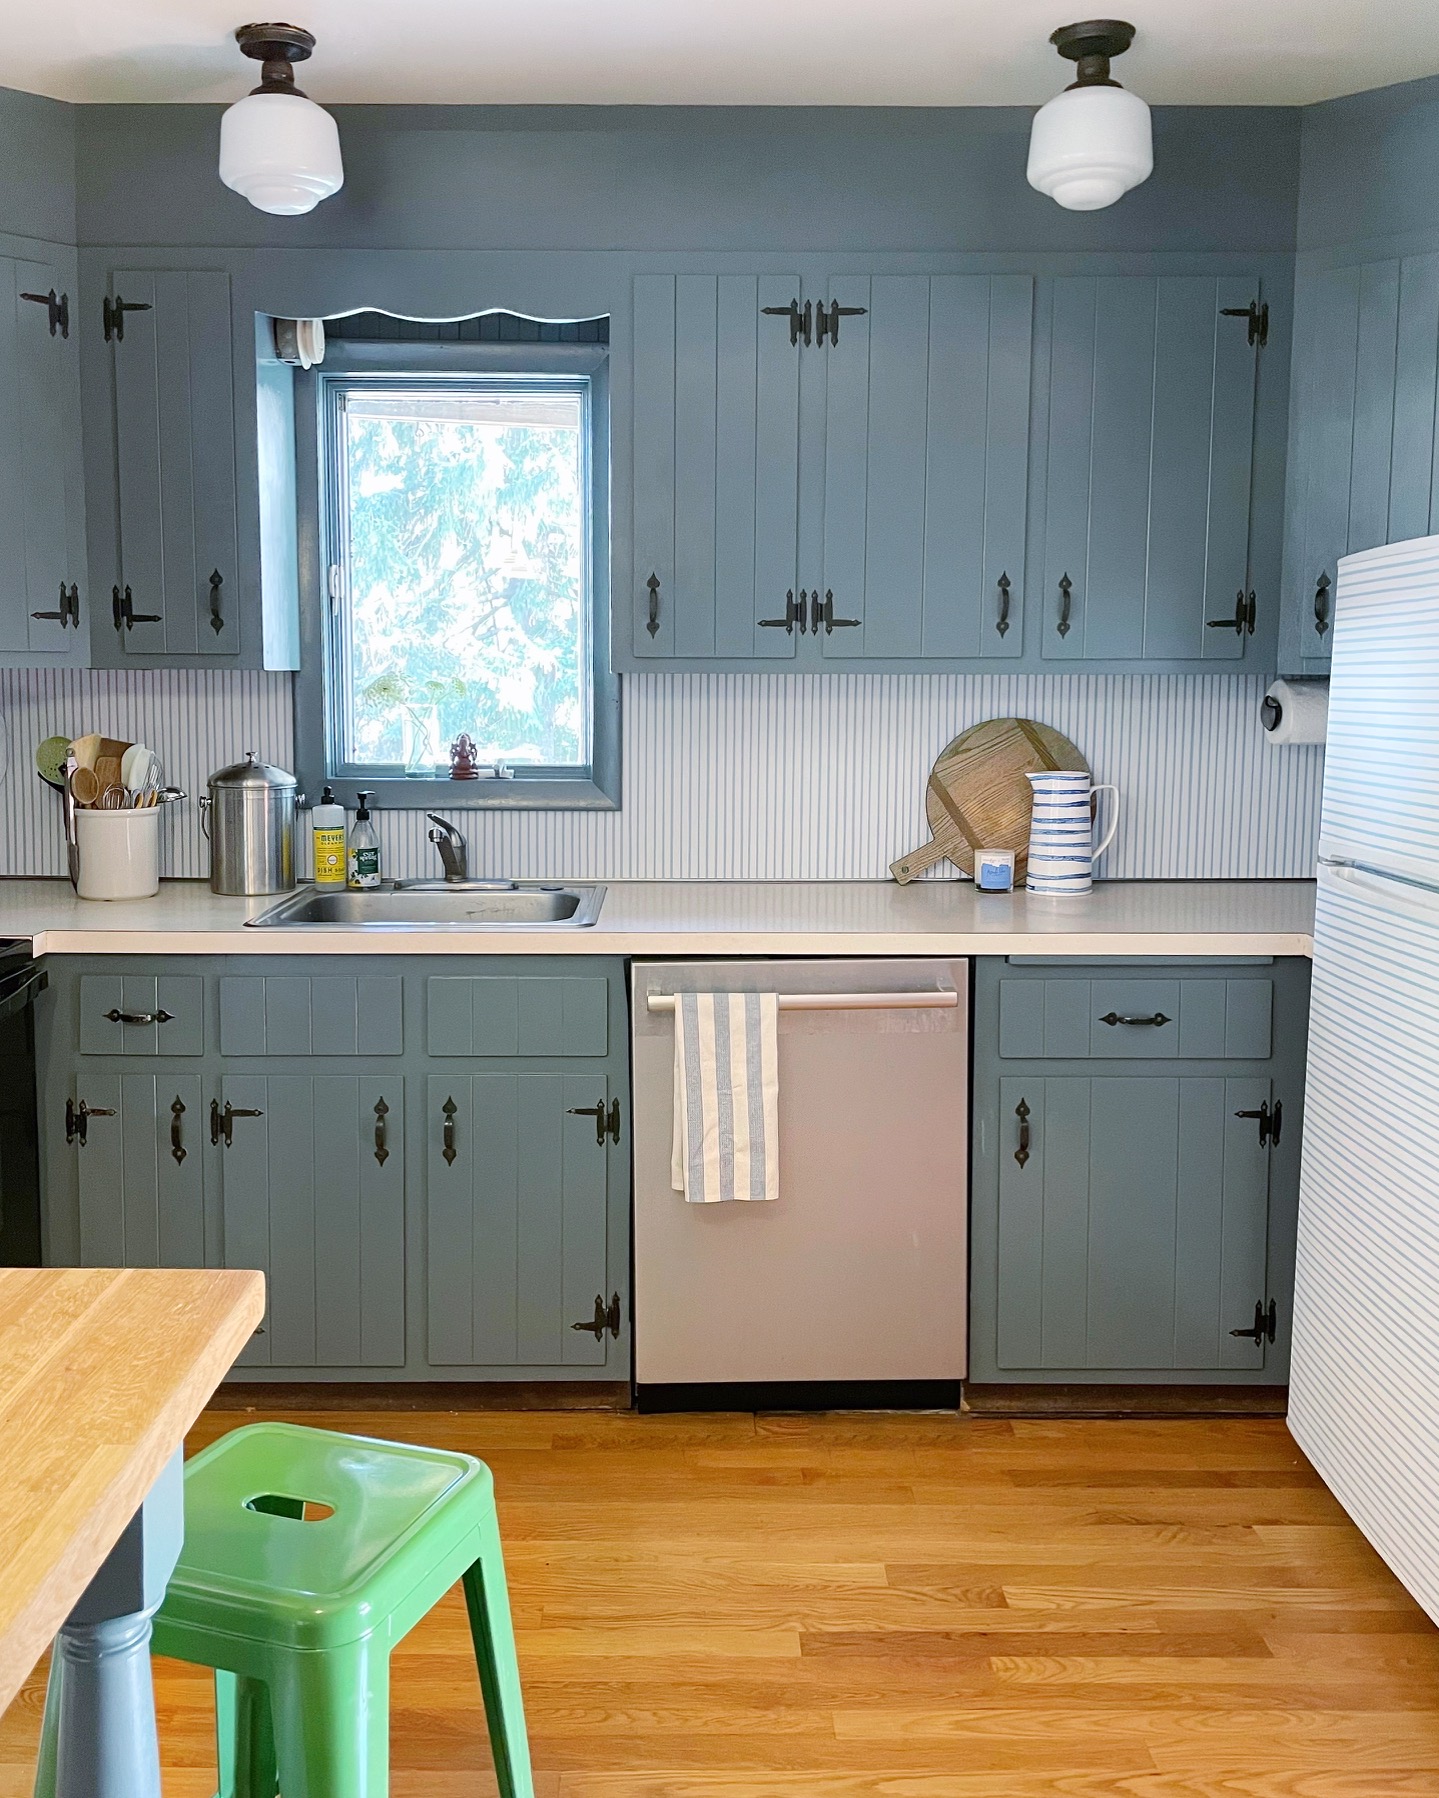 Earlier this summer we worked with an awesome designer and contractor to put together plans for the big kitchen renovation (If you’re local, I can’t say enough good things about Farmhouse Fresh Interiors and Mackenzie Custom Carpentry!). We went into the process with what we thought was an ample budget, but with current supply issues for a lot of the construction materials and some bigger layout changes we decided on with the designer, the costs started to climb a bit higher than we were prepared for. We had to decide if we wanted to cut back on some of our design plans to fit it within our budget or put a pin in the project while we saved for a bit longer. I was admittedly a little bit crushed to put my dream kitchen ideas off for any longer, but we came to the right decision to not compromise on the design. So with our major renovation on pause, I was left looking at my outdated kitchen and knew I had to give it a temporary, inexpensive facelift!
 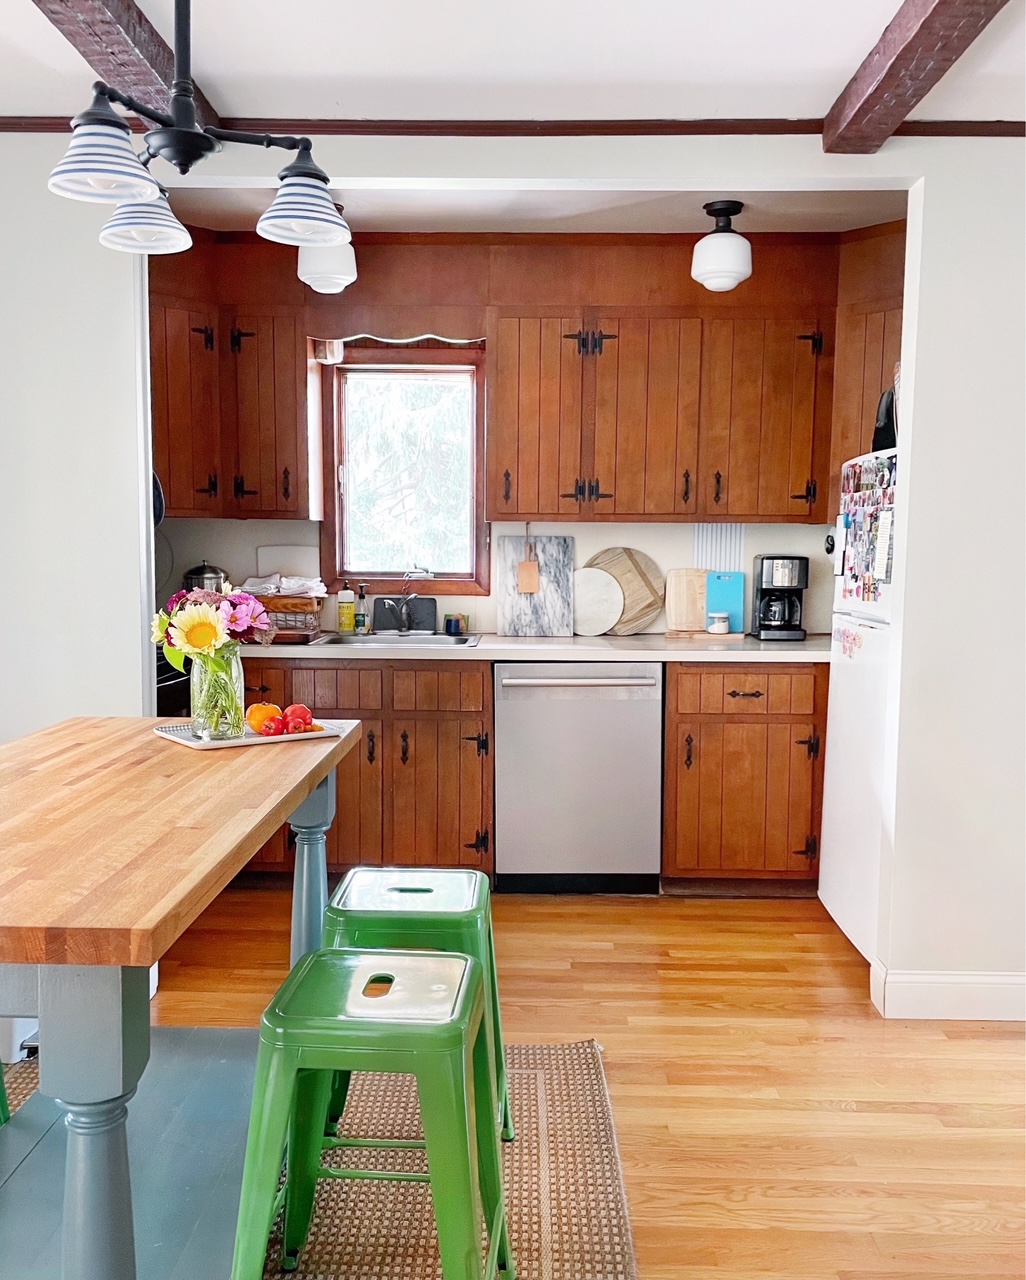 My goal for the project was to give the space an updated look and do it all on a teeny tiny budget. If our long term goal is to fully renovate this space in another year or two, I didn’t want to invest much. My pain-points were the yellowing laminate backsplash, the outdated wood tone, and our mismatched appliances. I honed in on a plan to paint the cabinets with leftover paint I had from our kitchen island that my husband built when we moved in, and then cover the laminate backsplash and the fridge with a playful peel and stick wallpaper from Chasing Paper. Between the paint, wallpaper and prep supplies, the project cost under $350!
The painting process was TEDIOUS but so worth it. I prepped the cabinets with a very strong cleaning solution that removed years of built up grease on the wood. Next I went over the wood with a liquid sander to help degloss the finish, and then I gave all of the cabinets a coat of primer before I started painting. The biggest challenge in painting the cabinets was that I was unable to remove the hardware! The cabinets are OLD and the screws on the cabinet hardware were completely striped, making them impossible to remove. I used a tiny paint brush to cut around all of the hardware and that took an incredibly long time but it was my only option. The color is Knoxville Grey by Benjamin Moore in a semi-gloss finish, and while it was a ton of work I love how the cabinets came out!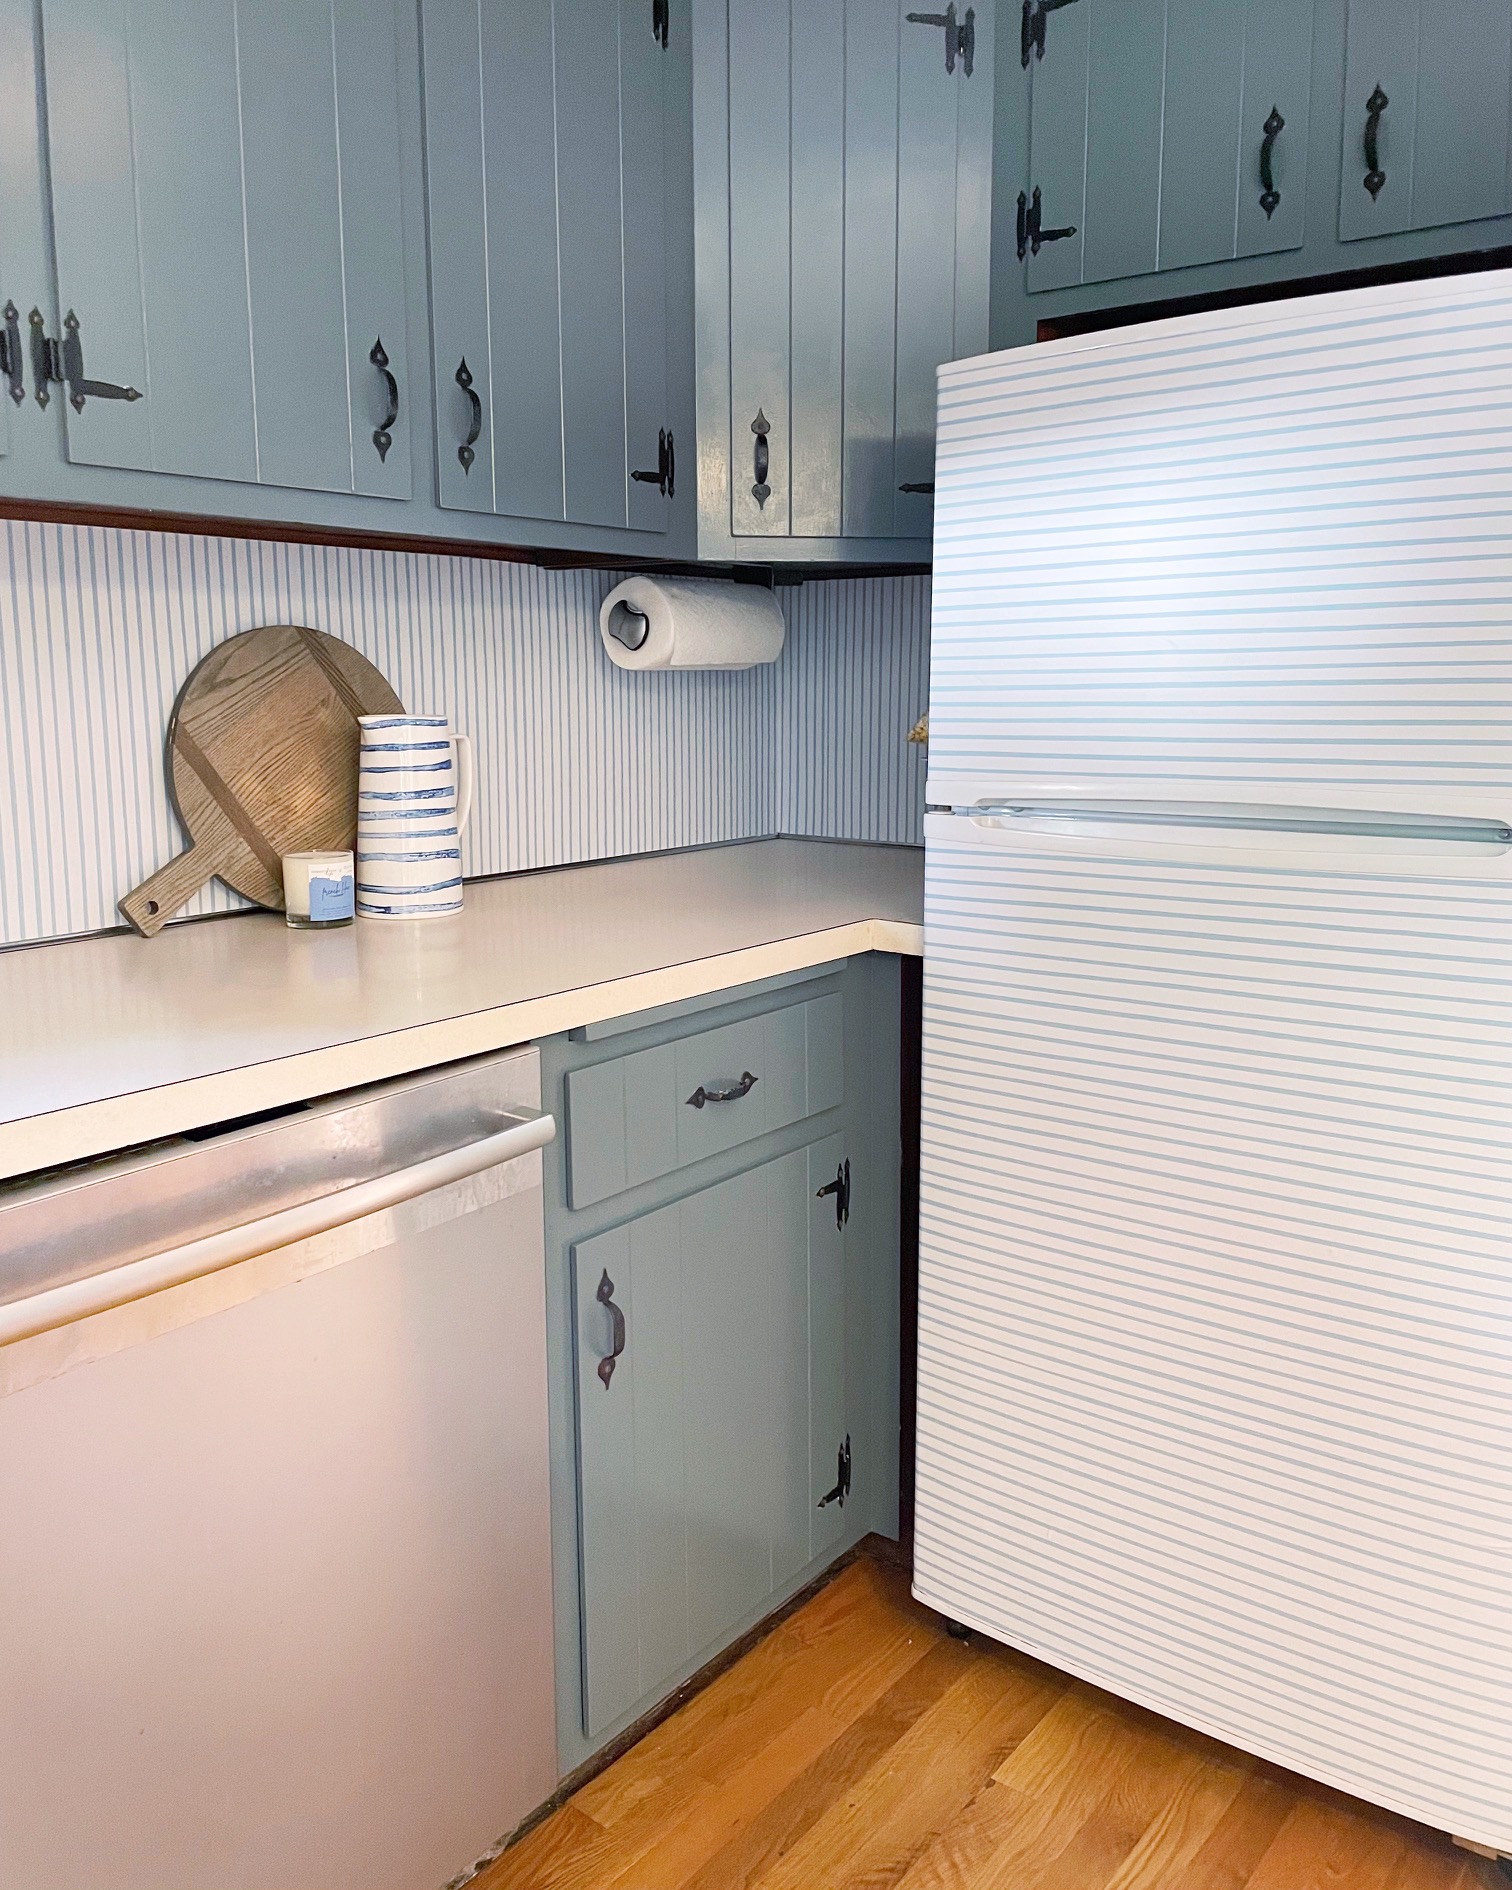 The next step was to install the Chasing Paper peel and stick wallpaper, which I chose in the blue Stripes Away pattern! I got lots of questions on my instagram stories about how durable it would be in the kitchen and how the installation went! For durability, I bought a sample of the wallpaper I wanted to use and I stuck it up on the backsplash for over a month before I installed it. It wiped clean and stood up to the wear and tear of kitchen use during that time (I’m a messy cook, so I’m a great test case for this!), which gave me enough confidence to install it. A good tip I have for removable wallpaper and tiles: keep a few scrap pieces on hand to replace any sections that get too scuffed up to clean down the line.
The installation process is incredibly easy, the more you do it, the better you’ll get! Covering the entire backsplash and the refrigerator took me maybe 3 hours (with some toddler interruptions, of course!). For this type of installation where you’re working in tighter nooks and crannies, I like to cut the wallpaper into smaller pieces before placing it on the final surface. And one of these bamboo dish scrapers is a great tool to use for smoothing out air bubbles. I’m so happy with out how it turned out, it adds so much interest and color to the space, and gives off that playful vibe that matches my cooking style. I’ve pulled in a few blue and white striped accessories from my collection to give the space a finished look – it’s a whole new kitchen! 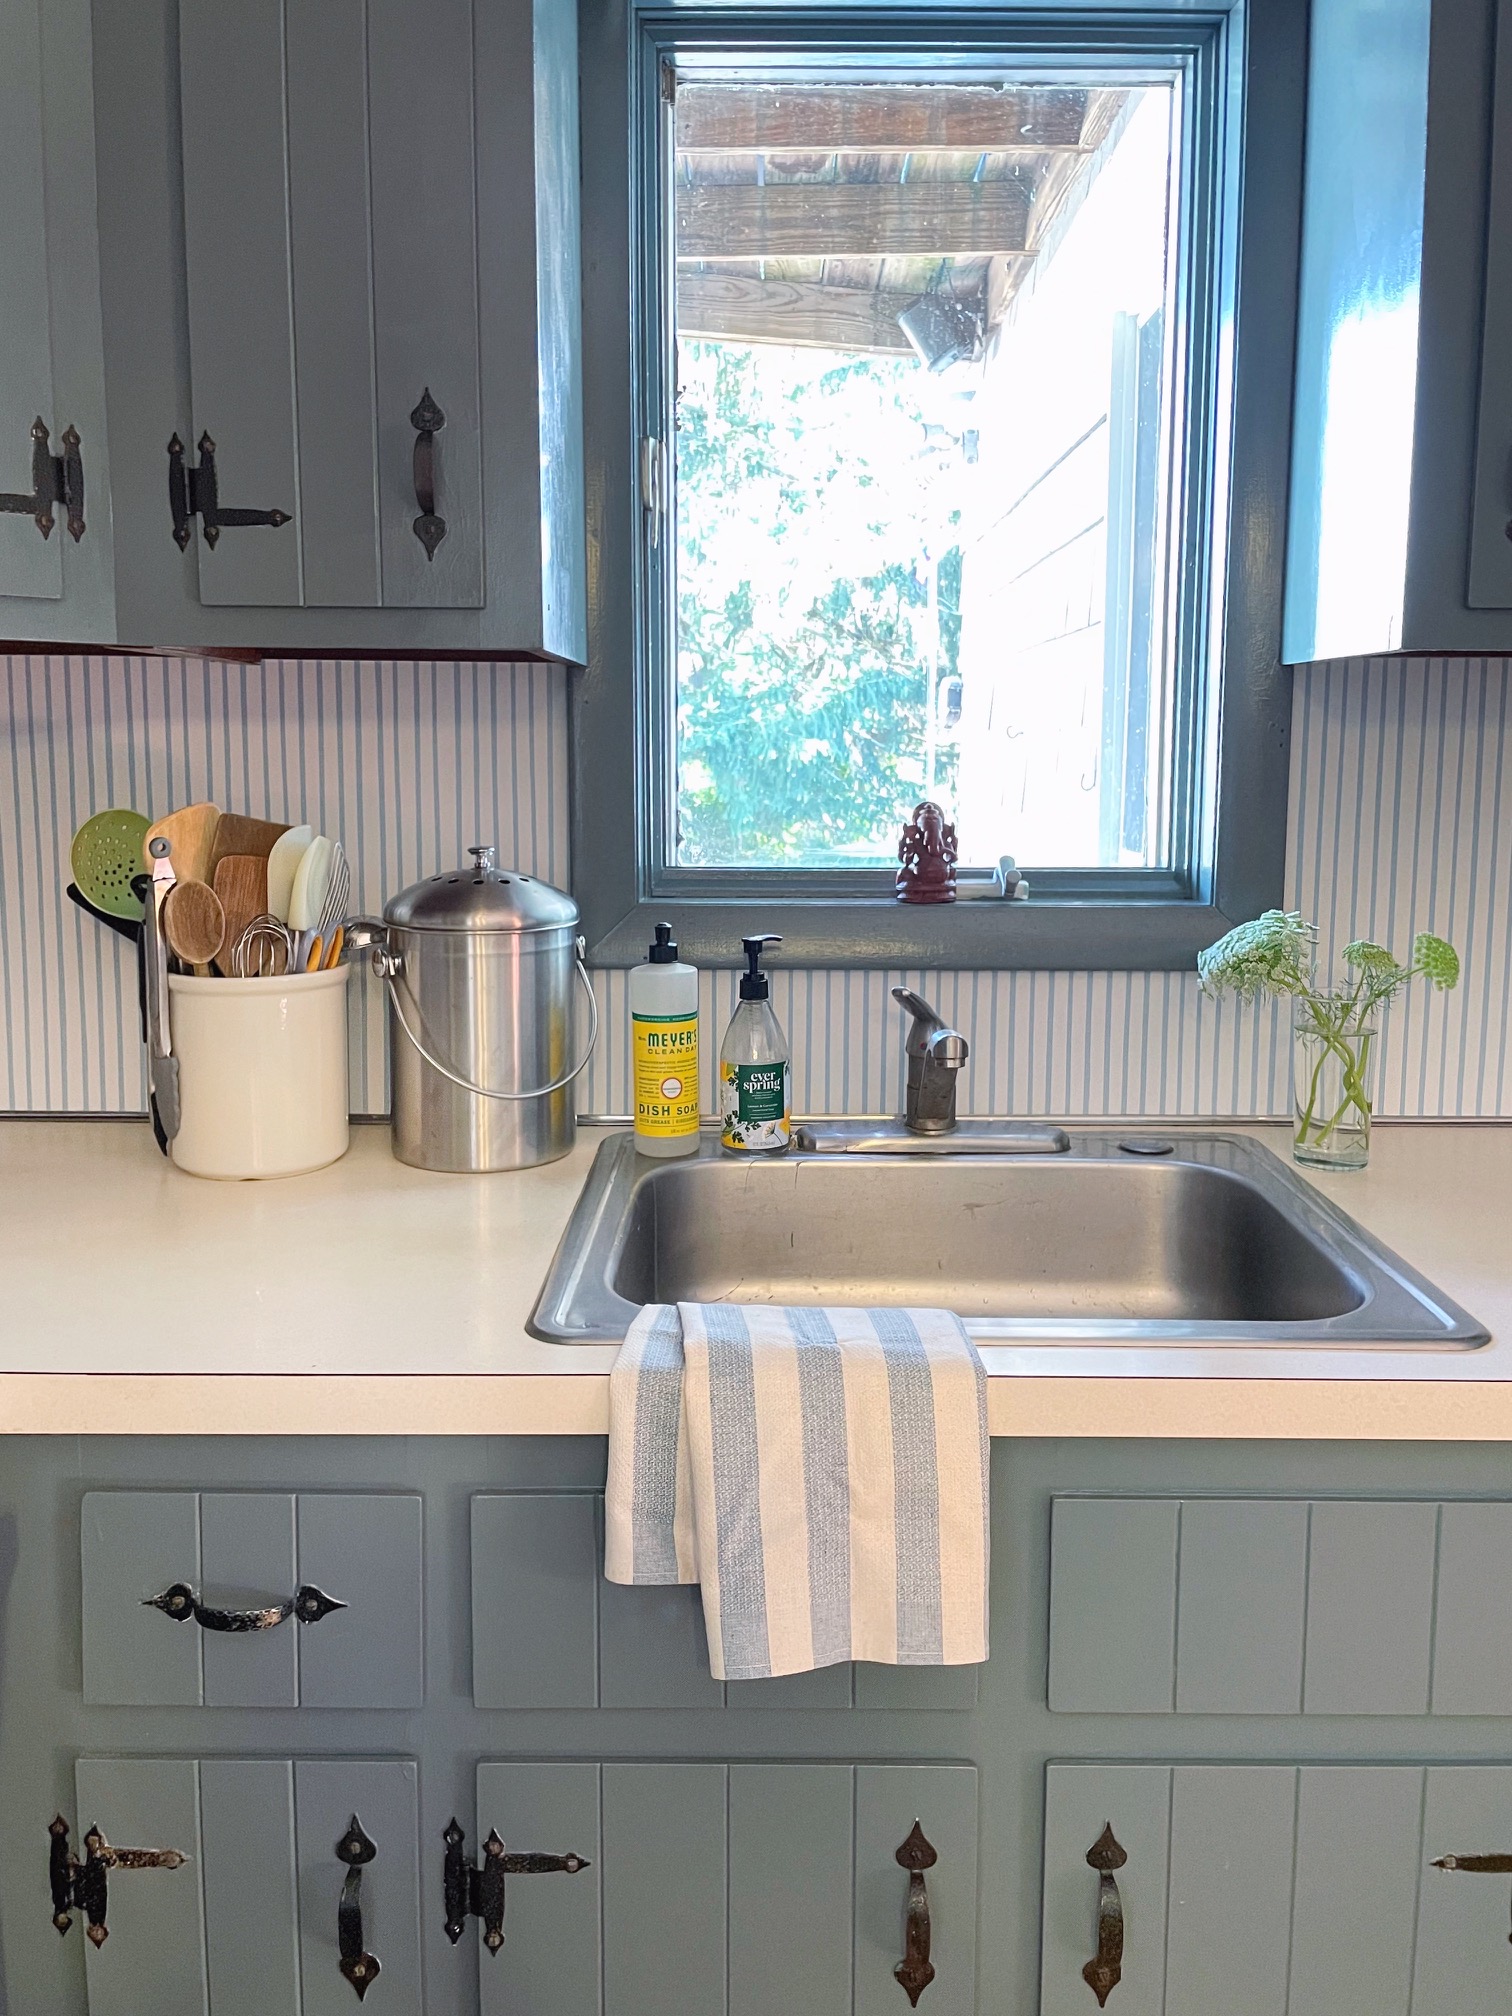
SHOP THE POST
Please note: The wallpaper used in this project was gifted from Chasing Paper. All opinions, images and content are my own. Thank you for supporting brands that support this site.







I love this kitchen! I would want this is in my home.
Thanks so much!
Love the color of the cabinets! darling kitchen!
Thank you!